As I promised this afternoon I am going to post some progress of my Fokker D.VII here. I see that Epeeman has started a thread on thesame subject. I am sure that his version is going to look more interesting as he is going for the lozenge version D of the kit. I am following the D version as well, but it should in the end become an LVA version as it has flown in the Netherlands in 1919 and 1920. The D.VII have remained into service until 1936. Visually it will be quite boring compared to the WNW versions, but it will be a dutch plane. So the lower surfaces will be LVA blue and the upper parts LVA khaki with orange balls showing its nationality

My progress so far:
The 'after market' decals for the LVA Fokker have been purchased more than 2 years ago. At that time Dutchdecal has produced a set of decals especially for Wingnut Wings 1:32 kits meant for LVA versions. There are a number of options for a Fokker D.VII, but also for a Bristol F2B, SE-5A and the Sopwith Pup. The WNW Sopwith Pup kit has been ordered by me already 2 years ago, but is still awaiting construction.
These are a number of the LVA Fokker D.VII options of the decal set:
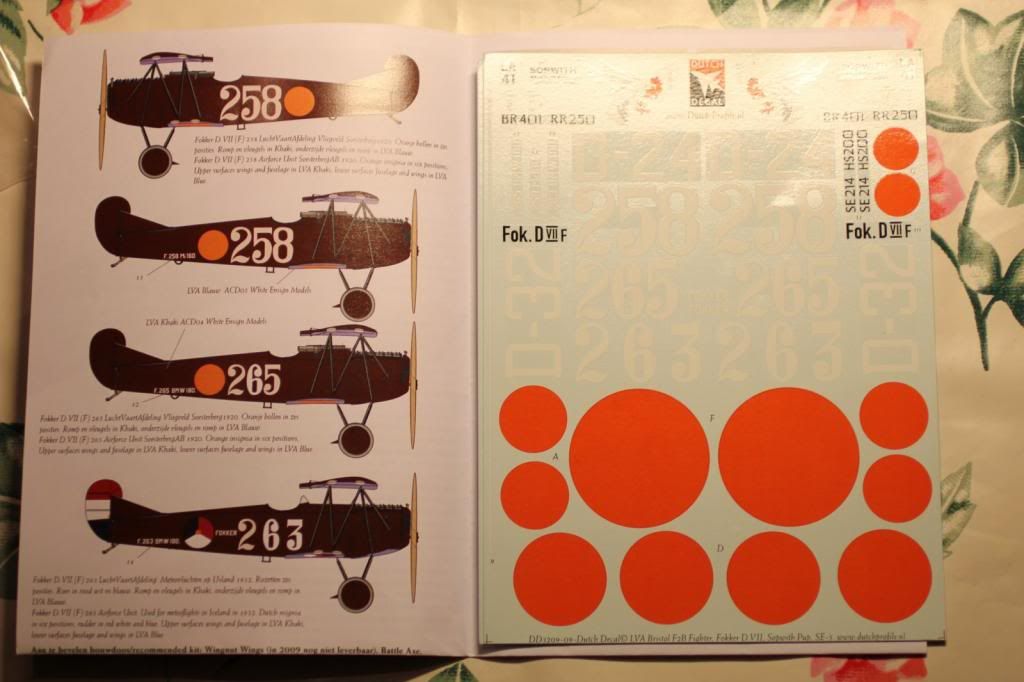
There is only one version that can be build with the WNW kit, as only 10 D.VII's from the LVA were equipped with the Mercedes DIII engine. All others had a BMW engine. Perhaps WNW will bring out a BMW version of the D.VII as well. They will probably have at least one customer for it.
Since arrival of the kit, I have been studying the manual and comparing the kits versions with the WNW versions. Some issues were not clear at first, but an E-mail to WNW soon recieved a reply from Richard Alexander claryfying most questions. I was very pleased with this service.
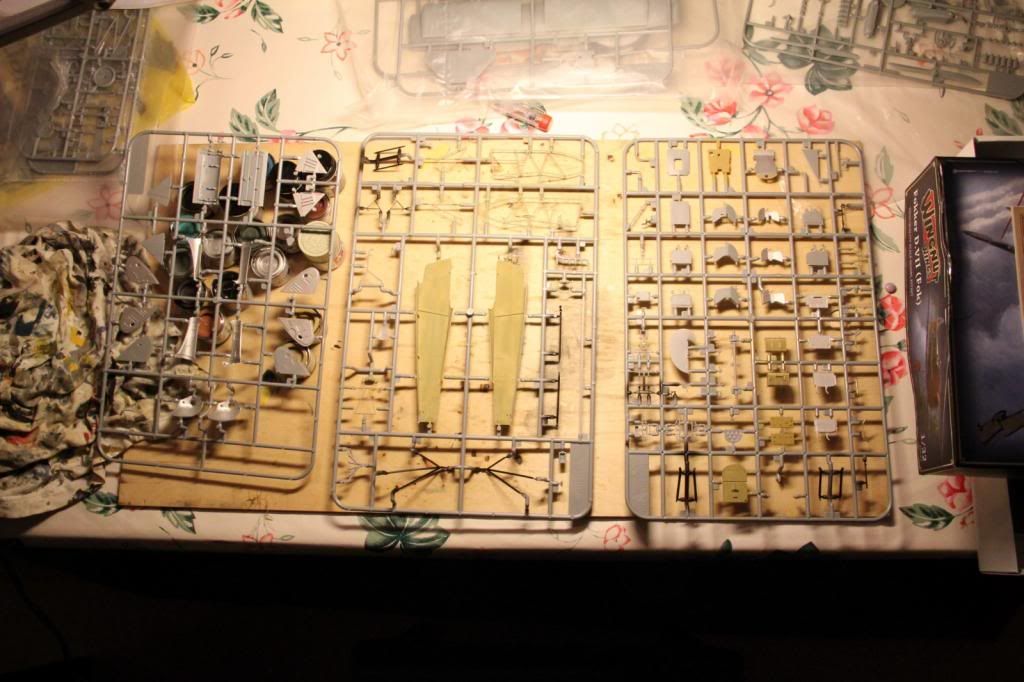
Now on the 29th I started construction by airbrushing most items that are necessary for the interior.

After this there is still a lot of work to be done before assembly can start. The instrument panel for instance has been sprayed light wood and has afterwards been treated by the wood creating tip at the WNW site by putting burnt omber oil paint on top. It has now recieved a cote of clear varnish to start with the decals and some separate parts.
After some painting and decalling it was time to start construction.
First the main items:
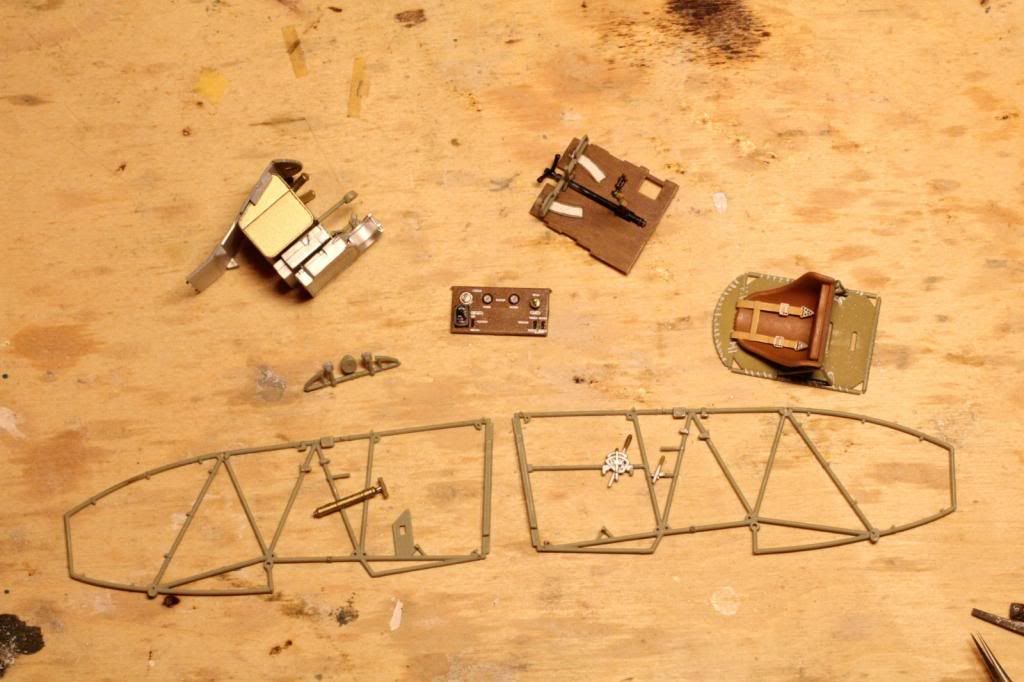
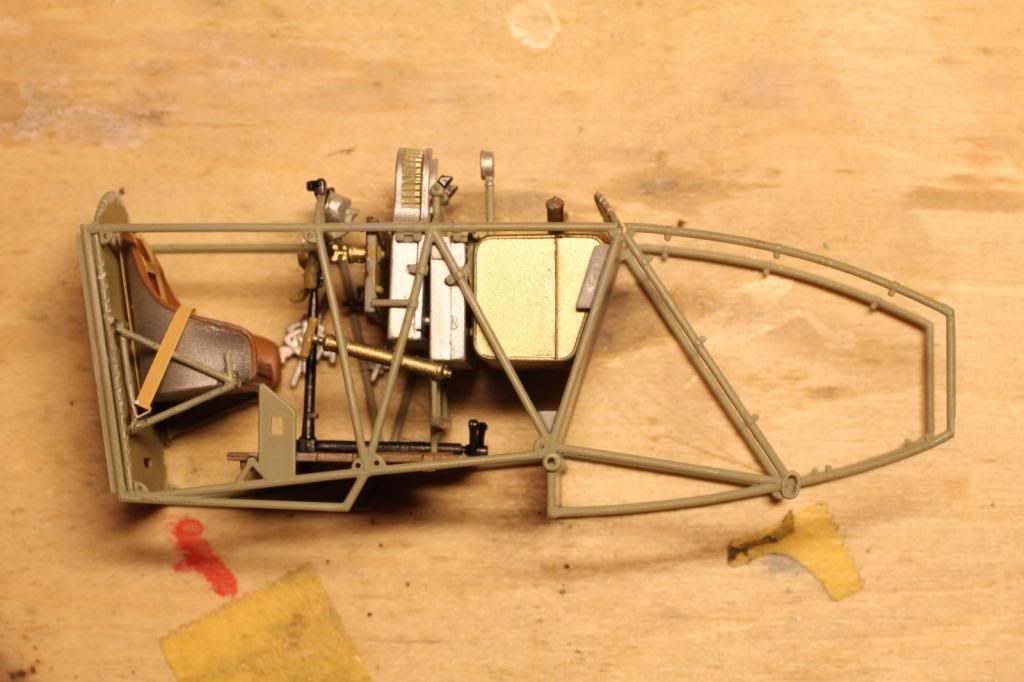
You see here the frames, the cockpit floor with the rudder pedals and the control stick, the instrument panel, the back wall of the cockpit with the pilot's seat and a sub assembly consisting of the fire wall, gasoline tank, empty belt box and ammunition box.
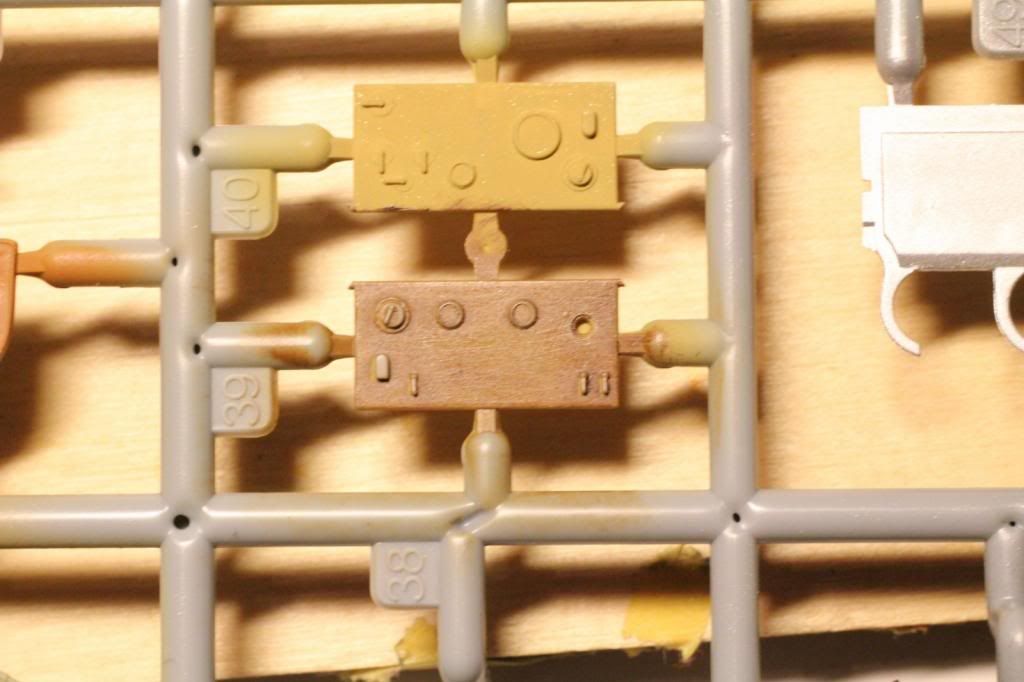
Most work has been done for the instrument panel:
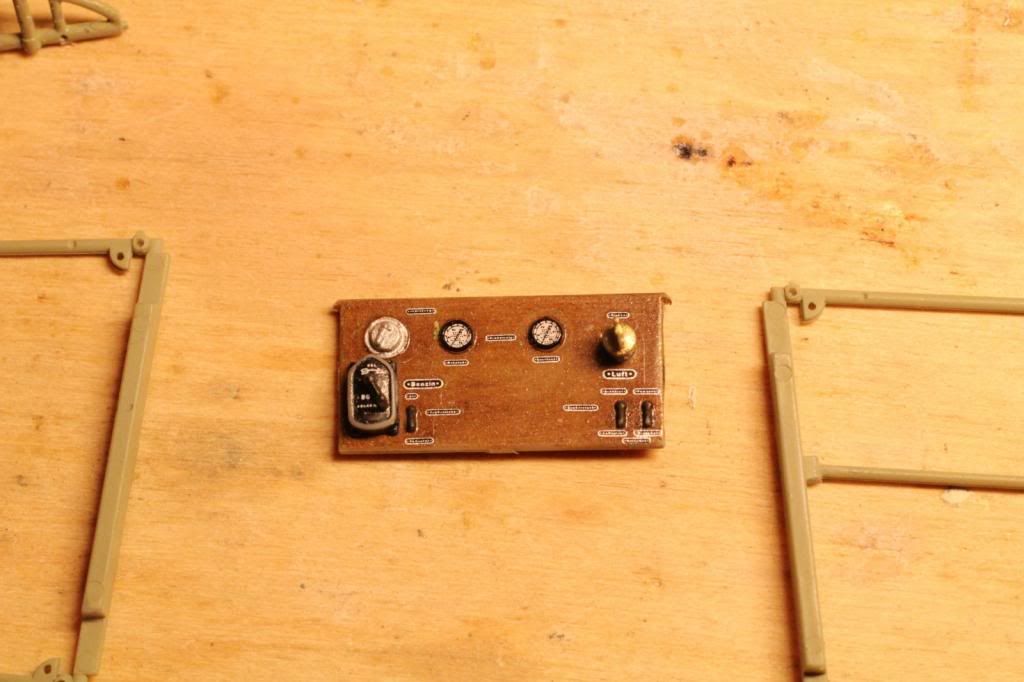
Most signs cannot be read, but you see benzin at the left and luft to the right and underneath the handle you can actually read BOSCH.
I am not sure if the german words on the panel are correct. I expect that they had been replaced by dutch versions.
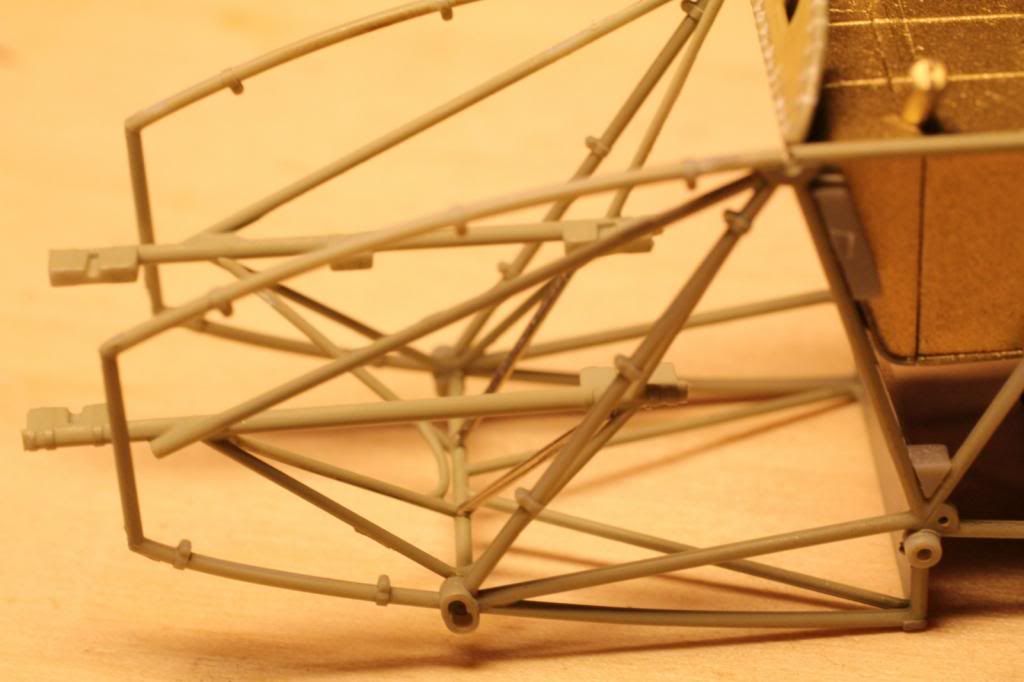
I then first fitted the subassembly to the right hand steel tube frame:
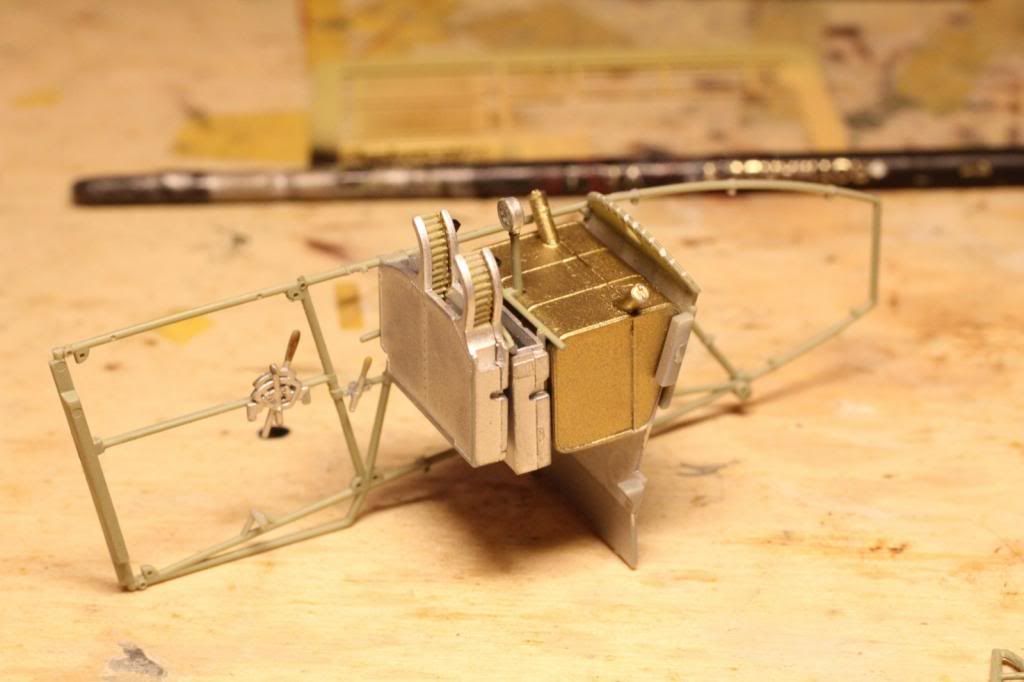
Then the cockpit floor followed. The rudder pedals apparantly found a bearing between the empty belt box and the ammunition box, because it fits in between and there is a small dent in the box to position this part correctly. I just glued the items to the left hand frame and fitted the right hand frame without glue to be able to position all the parts first before glueing all parts together.
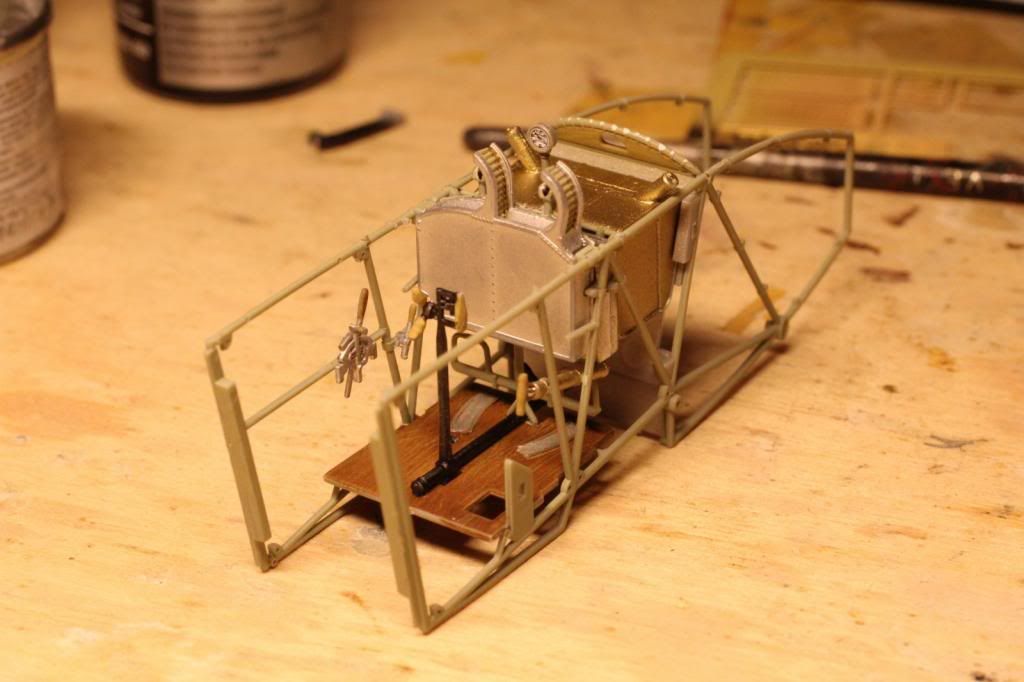
Next in line is the instrument panel:
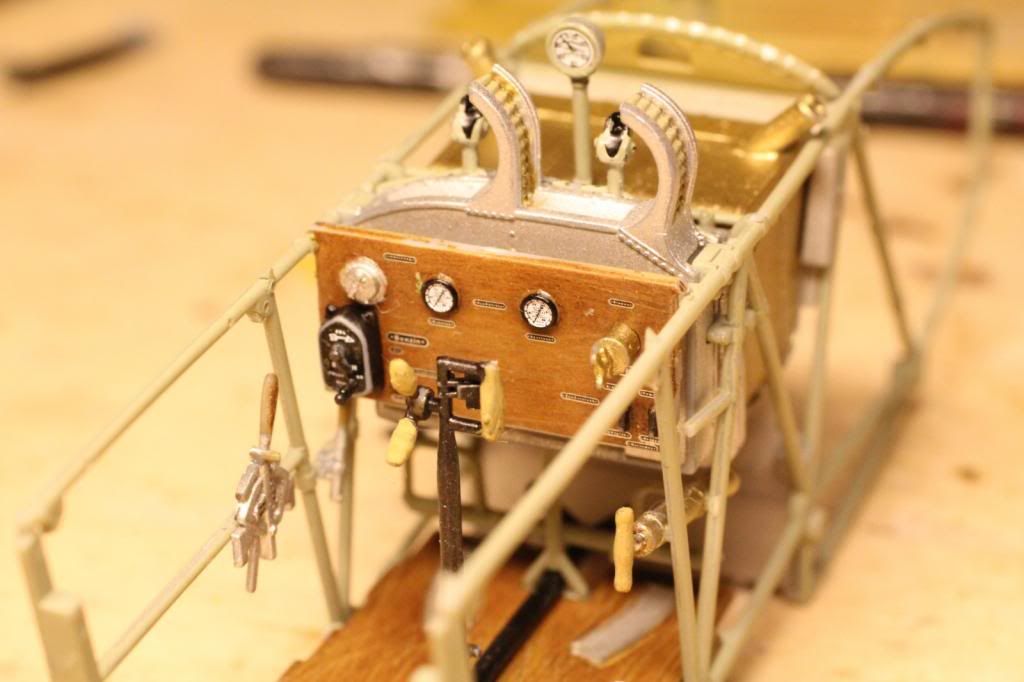
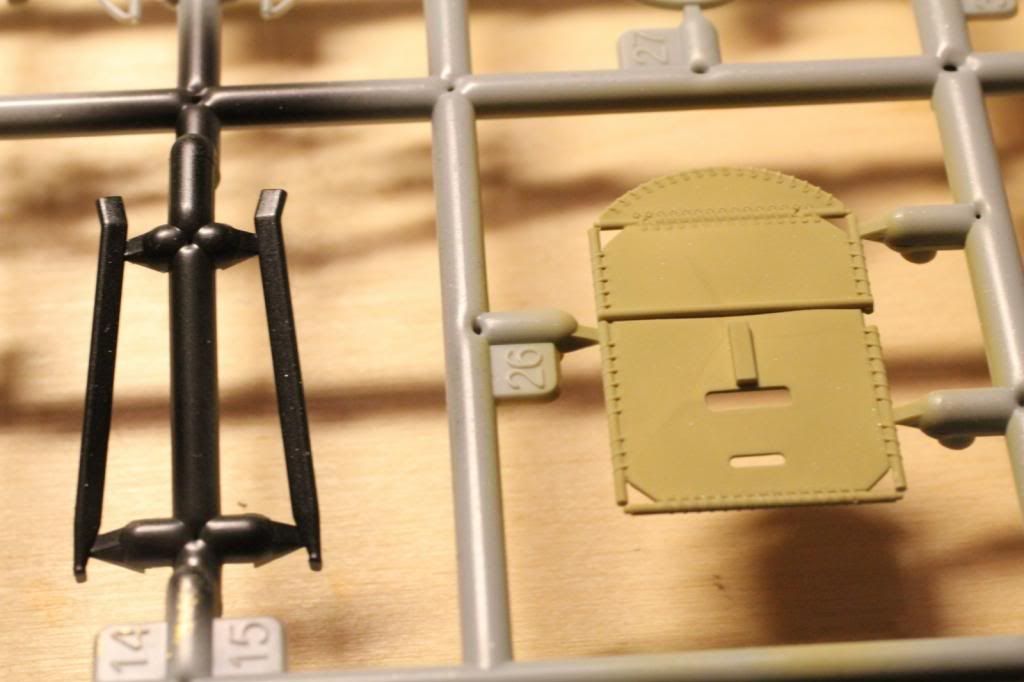
And then the supports for the Spandau machine guns and the altimeter or rpm meter:
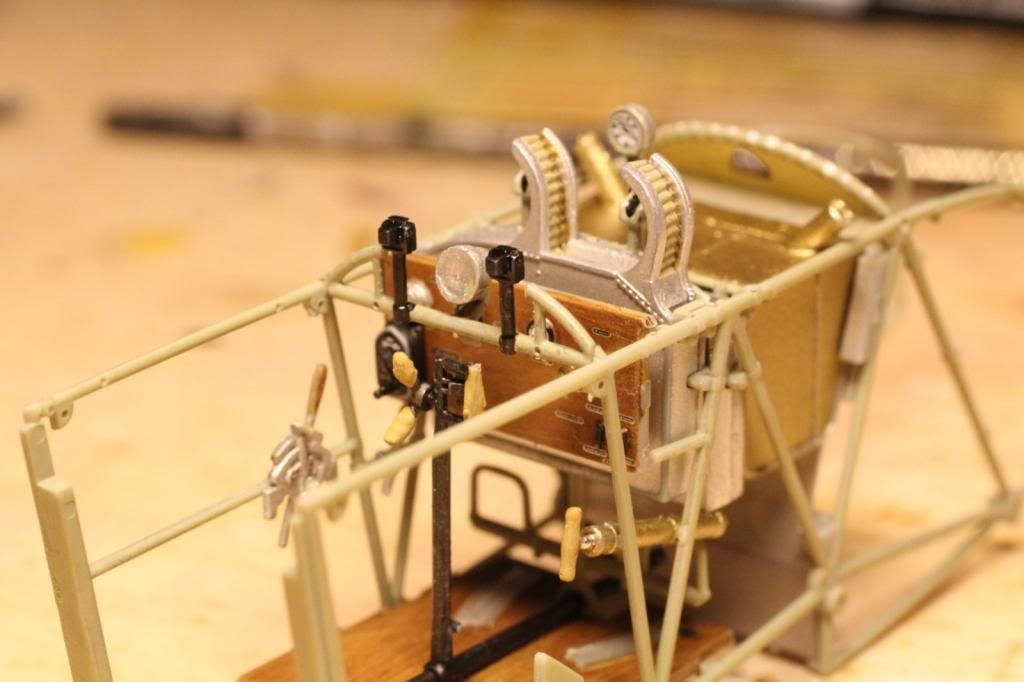
Now you won't see much of the instrument panel anymore, but that goes for a lot of items in this kit.
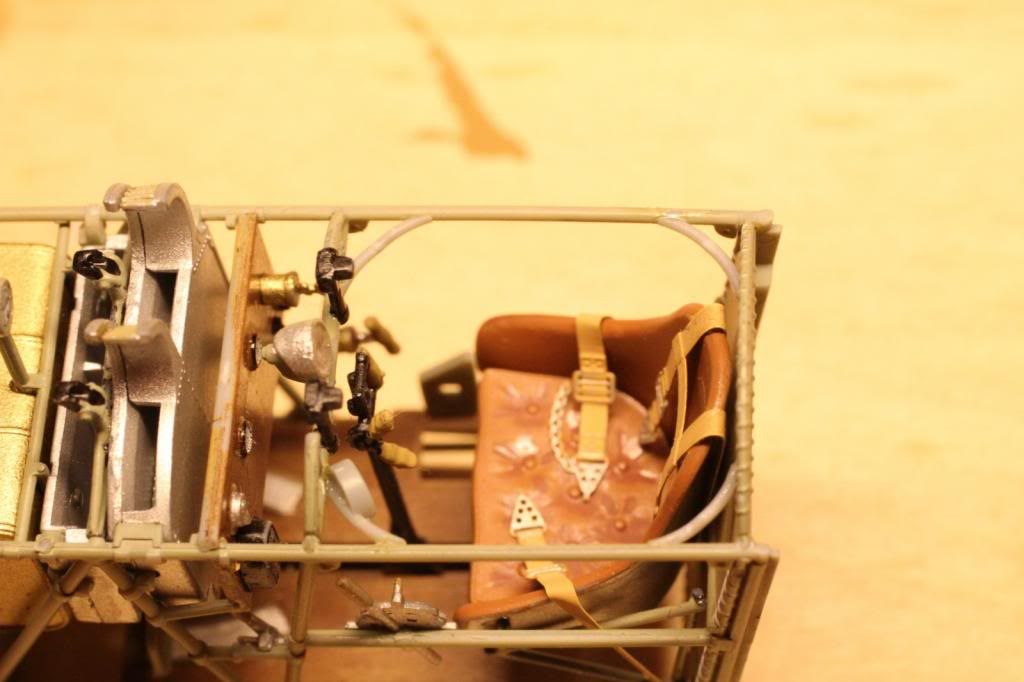
And last the back wall with the pilot's seat:
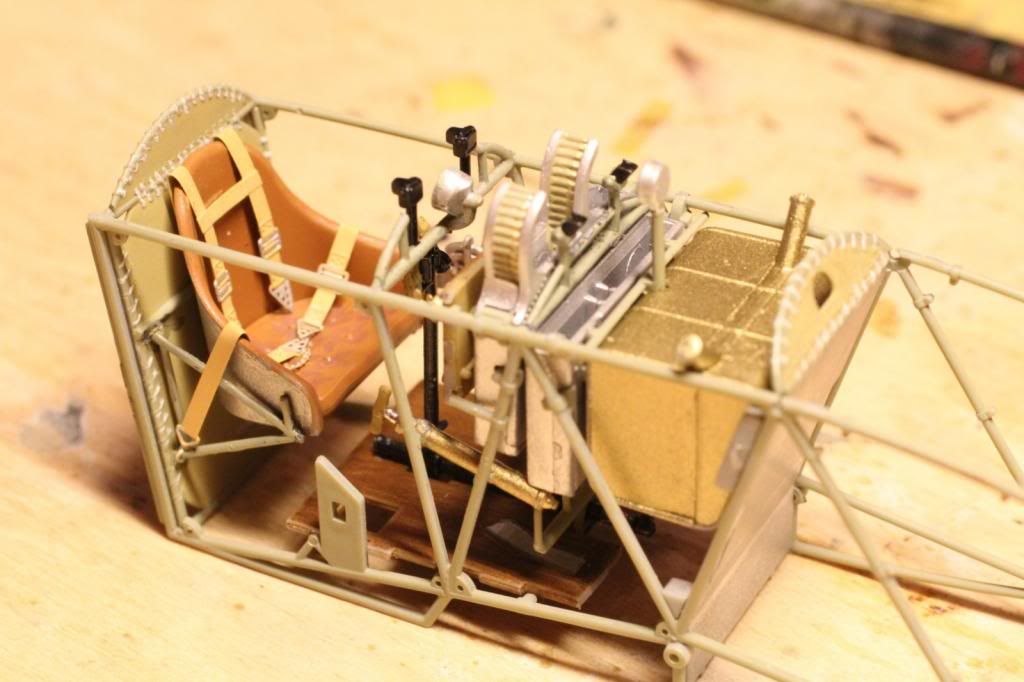
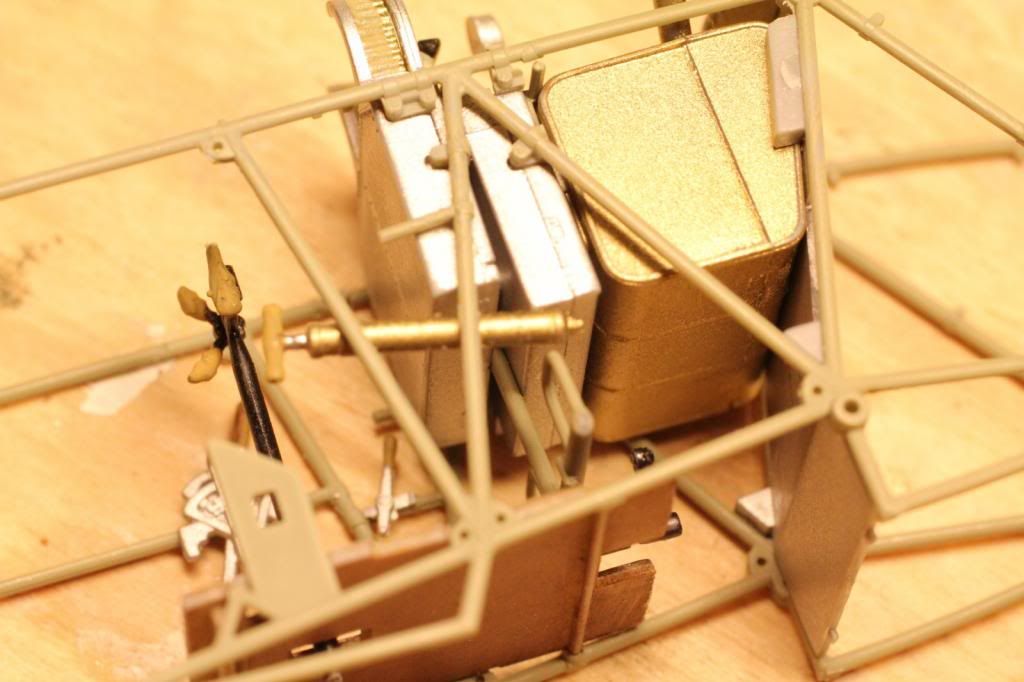
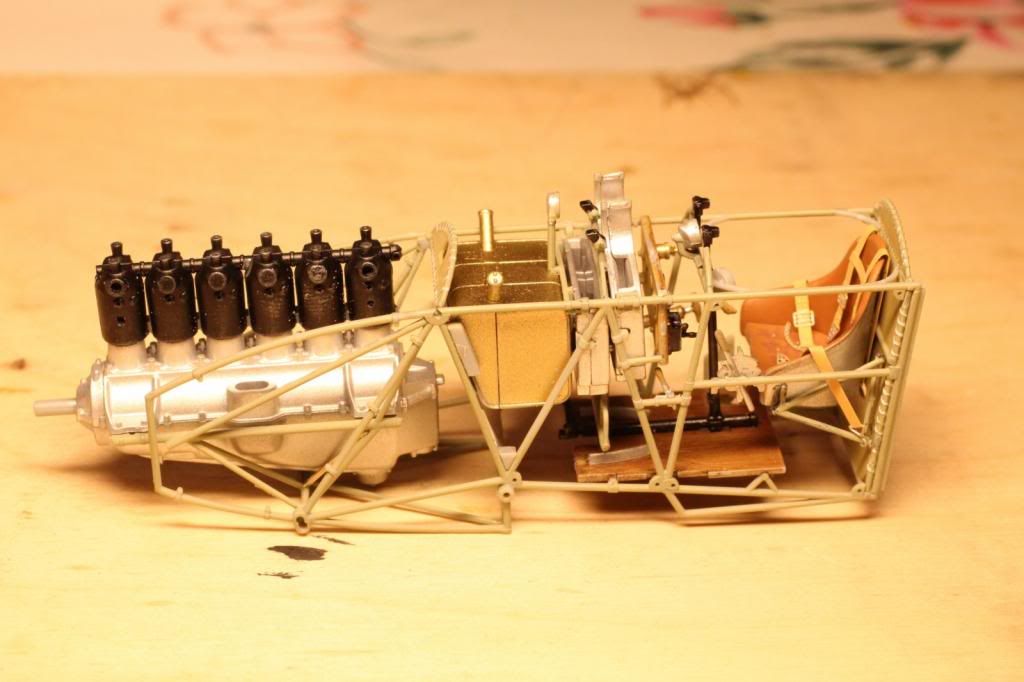
And here is the full interior from the side.
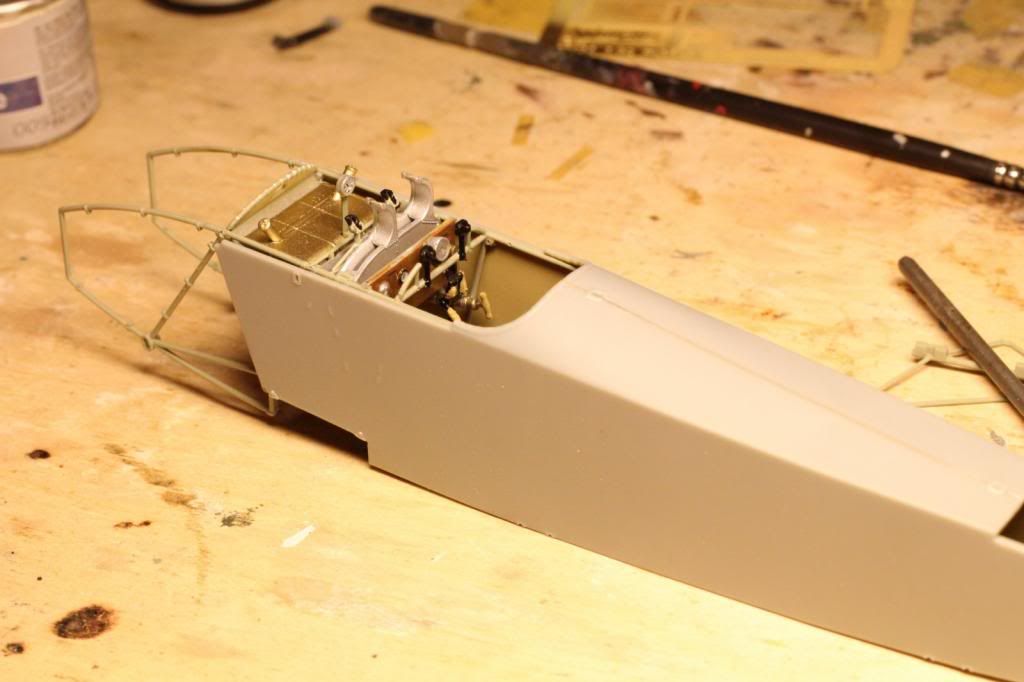
I couldn't resist test fitting it into the fuselage halves and as for everything up until now everything fits beautiful:
Next step is the Mercedes D.III engine and the 4 parts for the support in the forward frame section.
I am following the color guide of Wingnut Wings, although it is rather uncertain that everything has been thesame in the LVA D.VII version. I was a little bit surprised at the brass tank for instance, but in a replica built by Vroege Vogels, there was also an unpainted brass tank fitted. I have also seen pictures of metal instrument panels in stead of the wooden version. These instrument panels are a study in itself as I have noticed a large number of variants in indicators and their locations.
The interior still needs som fine tuning. The compass needs to be installed and the control wires should be attached. If you want to really go into detailling you might consider introducing some plumbing between the handpump and the tank and ofcourse at the back of the instrument panel the wires should be connected to the engine compartment. But I will leave all that to the really fine detail enthusiasts
/>/>/>/>/>
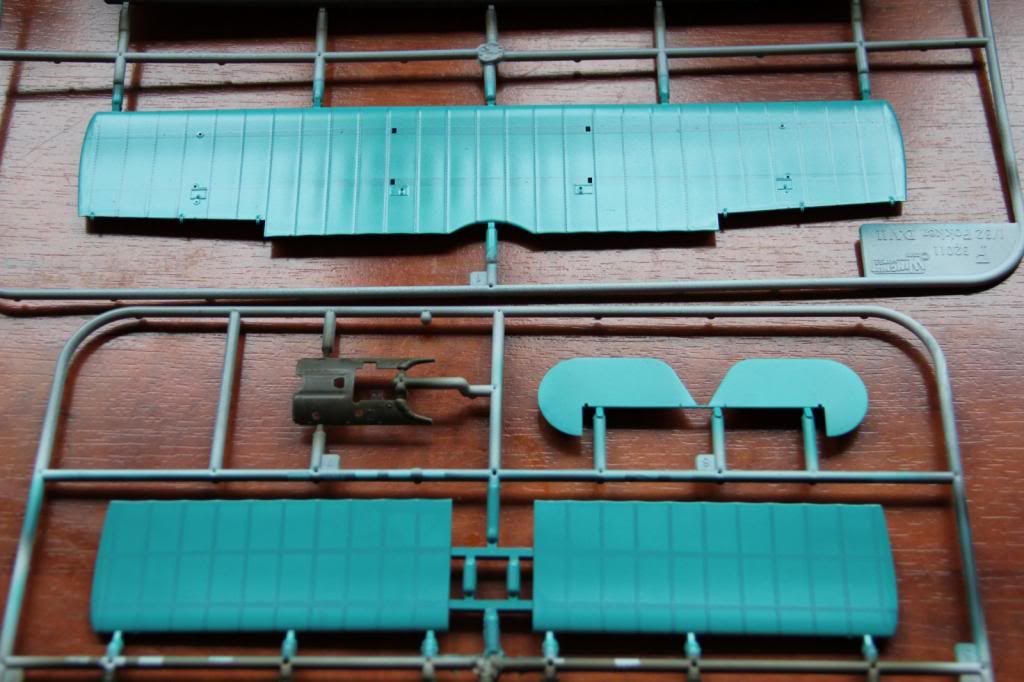
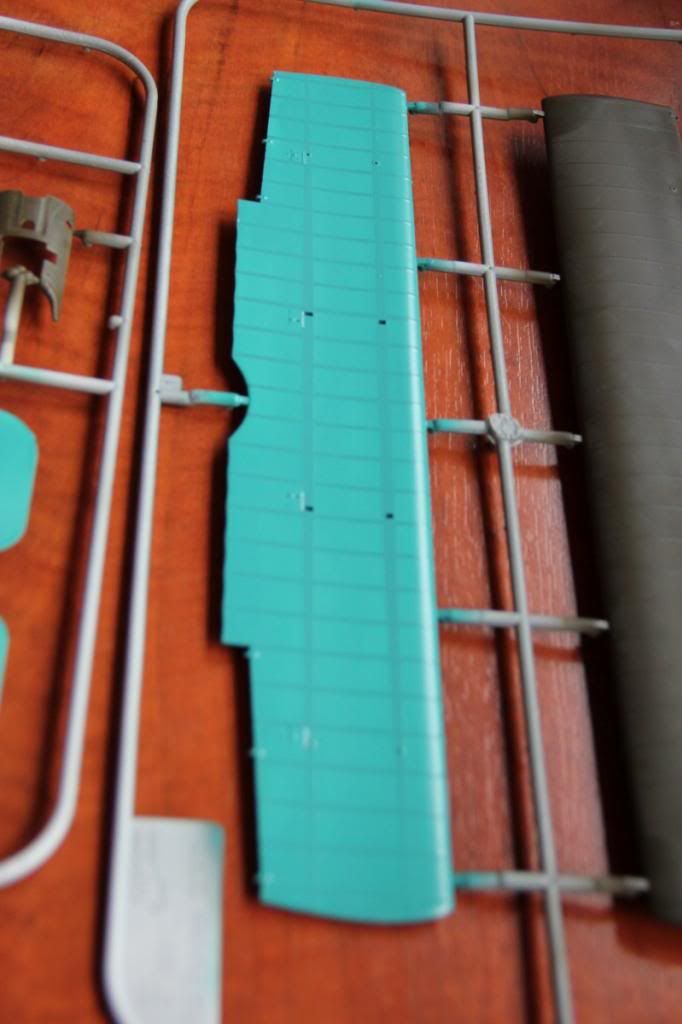
I am trying to do some pre shading and/or post shading on the wings. The underside will be painted in LVA blue and here the ribs and main girders might be a little bit darker than the rest. So I found a technique on this site which I tried, but I am not completely happy with it. It may require another coat of blue before it is wat I expect:
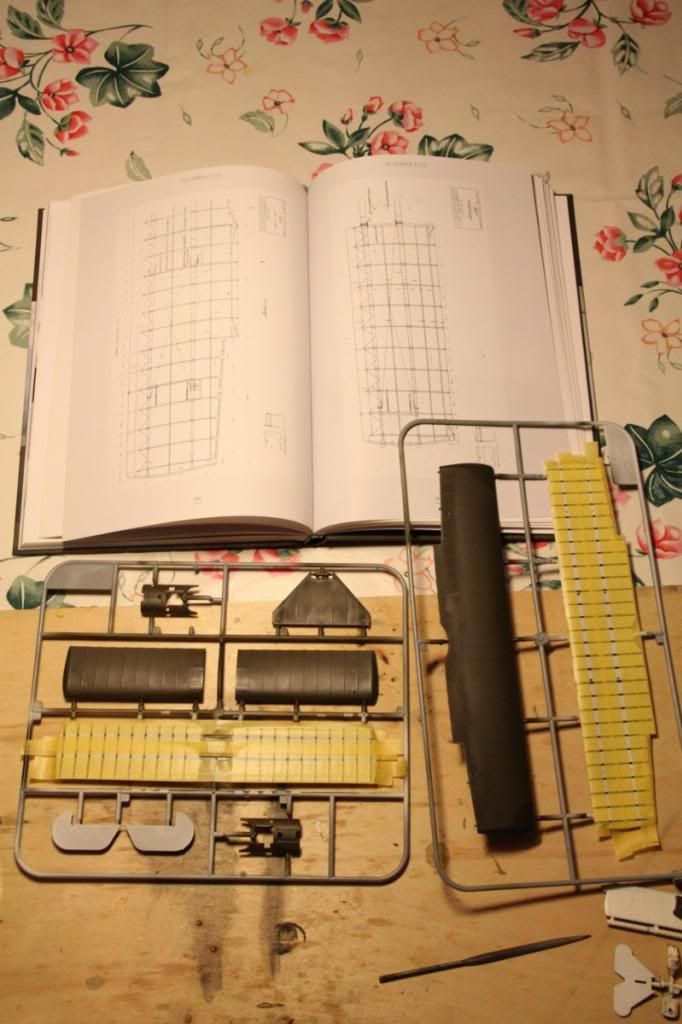
Here you see the ribs already done and the main giders in Tamiya tape for the next run of dark grey.
Here is the intermediate result with LVA blue:
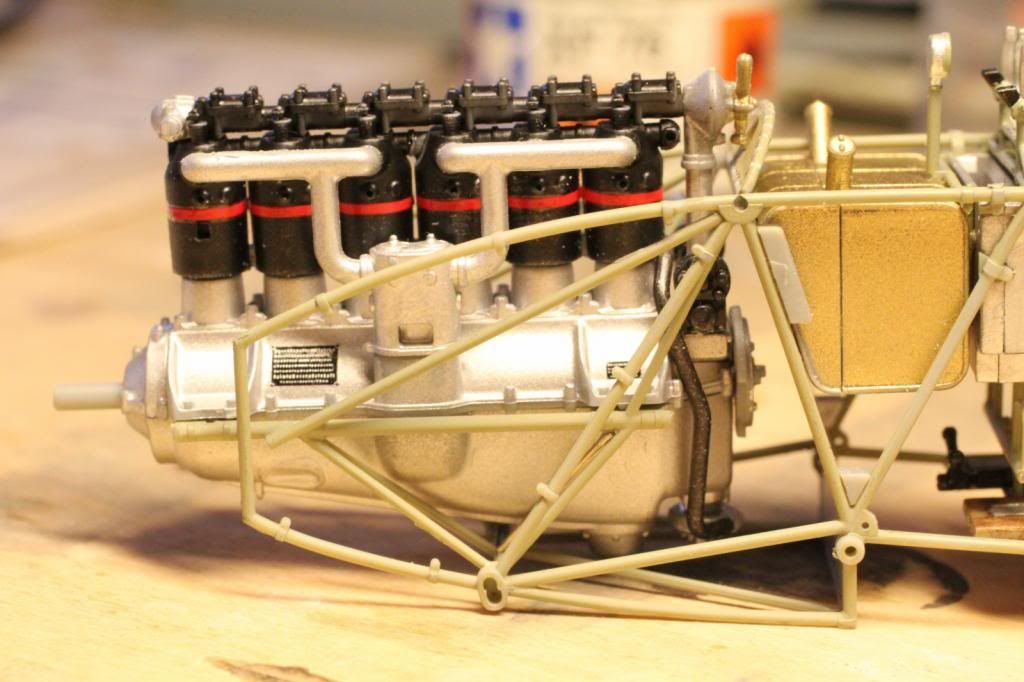
Then the engine is waiting to be put together. Here are the first 5 parts sitting in the frame:
In the meantime four girders have been glued in the corners. One is also the support for the altimeter.
4 parts are needed for the engine support in the forward frame. I misplaced one part, so I replaced that with 0,7mm wire.
The engine itself is another piece of art from Wingnut Wings. It consists of a large number of parts and decals:
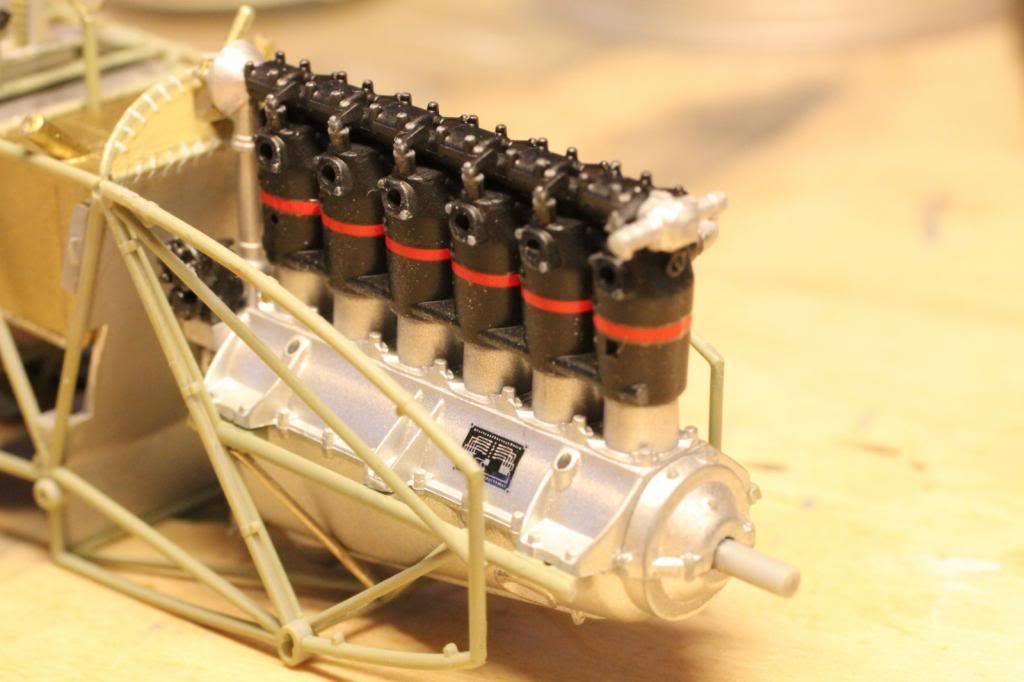
The intake part is going to painted black, but the carburetor is remaining in aluminium (there are several pictures of D.III engines and in some the intake is black and in others it is unpainted metal):
I am considering some extras as they are not part of the kit, but clearly visible. There are holes in the cylinders, but no spark plugs. Also there is a tube which contains the power lines for the spark plugs. The openings are all there, so I am thinking of a suitable way of connecting the power cable between a spark plug and the tube and at the end of the tube the six wires between the magnetos and this tube. I also found on this site here two suggestions for spark plugs. The pictures at pages 11 and 12 of the manual clearly show these power lines, although they are hanging loose from the tube and also I don't see the spark plugs installed.
I am going to make the spark plugs from brass tubes and I ordered the etched nuts from vectornuts. So that will be slowingme down a little bit. Today I also noticed that on the intake side of the engine you see next to the spark plugs a kind of valve. On a picture with german texts they are called Zischhahn, in translation it should be pet cocks or cylinder cocks as they are called in steam engines. I suppose that they are there for cleaning the engine during maintenance, but I am not sure. It seems that I can make these pet cocks with handrail knobs I have somewhere from DJH locomotive kits and som wire. I will show the result if it is worthwhile.
regards,
Ivo

