Author Topic: Kempf's Dr.I roden 1/32  (Read 19674 times)

Offline lcarroll

  • Administrator
  • Hero Member
  • ******
  • Posts: 8586
Re: Kempf's Dr.I roden 1/32
« Reply #45 on: December 07, 2013, 08:18:57 AM »
Paolo ,
   I used enamel for the streaking on mine. The colours were Model Master, 1 part #2096 Chocolate Brown to 2 parts #2106 French Khaki over a base coat of #2102 Afrika Braun. I used a combination of stiff bristle brushes and a "semi dry brush" approach. I liked the results, you can check it out on the completed Models Threads or on my Featured Modeller thread from last year. Hope this gives you some help.
Cheers,
Lance

Offline Nigel Jackson

  • Hero Member
  • *****
  • Posts: 2608
Re: Kempf's Dr.I roden 1/32
« Reply #46 on: December 07, 2013, 08:42:00 AM »
Hi

I think you're definitely right to consider oils; their slow drying time gives you lots of time to work on the streaking.

As to colour, when I had a go at this my starting point was to mix an olive that looked right by combining lamp back with small amounts of either yellow ochre or cadmium yellow (I can't quite remember which, so I'll have to try and re-mix some). Application was with a stiff square-cut brush, about one-quarter of an inch wide - the sort of thing also used by some for dry-brushing.

As with so many things it comes down to personal preference and what works for you. I think experimenting on plastic card etc as you are doing is essential, and part of the answer is to be prepared to take off quite a lot of colour.

Best wishes
Nigel

Offline rhallinger

  • Hero Member
  • *****
  • Posts: 1976
Re: Kempf's Dr.I roden 1/32
« Reply #47 on: December 07, 2013, 08:52:37 AM »
Paolo:

You can check out this link to my Dr.I build of Lothar Von Richthofen's tripe for some information on how I did the streaking with artist's fast-drying oils over acrylic base.  There's also a helpful link to another tutorial:

http://forum.ww1aircraftmodels.com/index.php?topic=1009.0

Best of luck!  Your're doing fantastic work on this trio of tripes! ;D

Regards,

Bob

Offline mc65

  • Full Member
  • ***
  • Posts: 216
Re: Kempf's Dr.I roden 1/32
« Reply #48 on: December 08, 2013, 04:42:22 AM »
oh oh oh! I knew, santa exists!😜

thank you all very much!😘
when I'll be back home I'll throw the acylics in the paint's drawer, and sit patiently on the mail box.... just asked to a friend with a shop on line an olive green form abteilung's range.

assuming It's necessary to involve colors that smell, I'll go for oils, I like too much their capability to forgive my goofy hand.

thank you again and again, the images (and explanations) are quite inspiring, to me. With these hints, I'll try to do my best with, er, those twelve airfoils!

cheers, p. ;)

Offline mc65

  • Full Member
  • ***
  • Posts: 216
Re: Kempf's Dr.I roden 1/32
« Reply #49 on: December 12, 2013, 05:13:49 AM »
waiting for the olive green, I did some to close the fuselages.
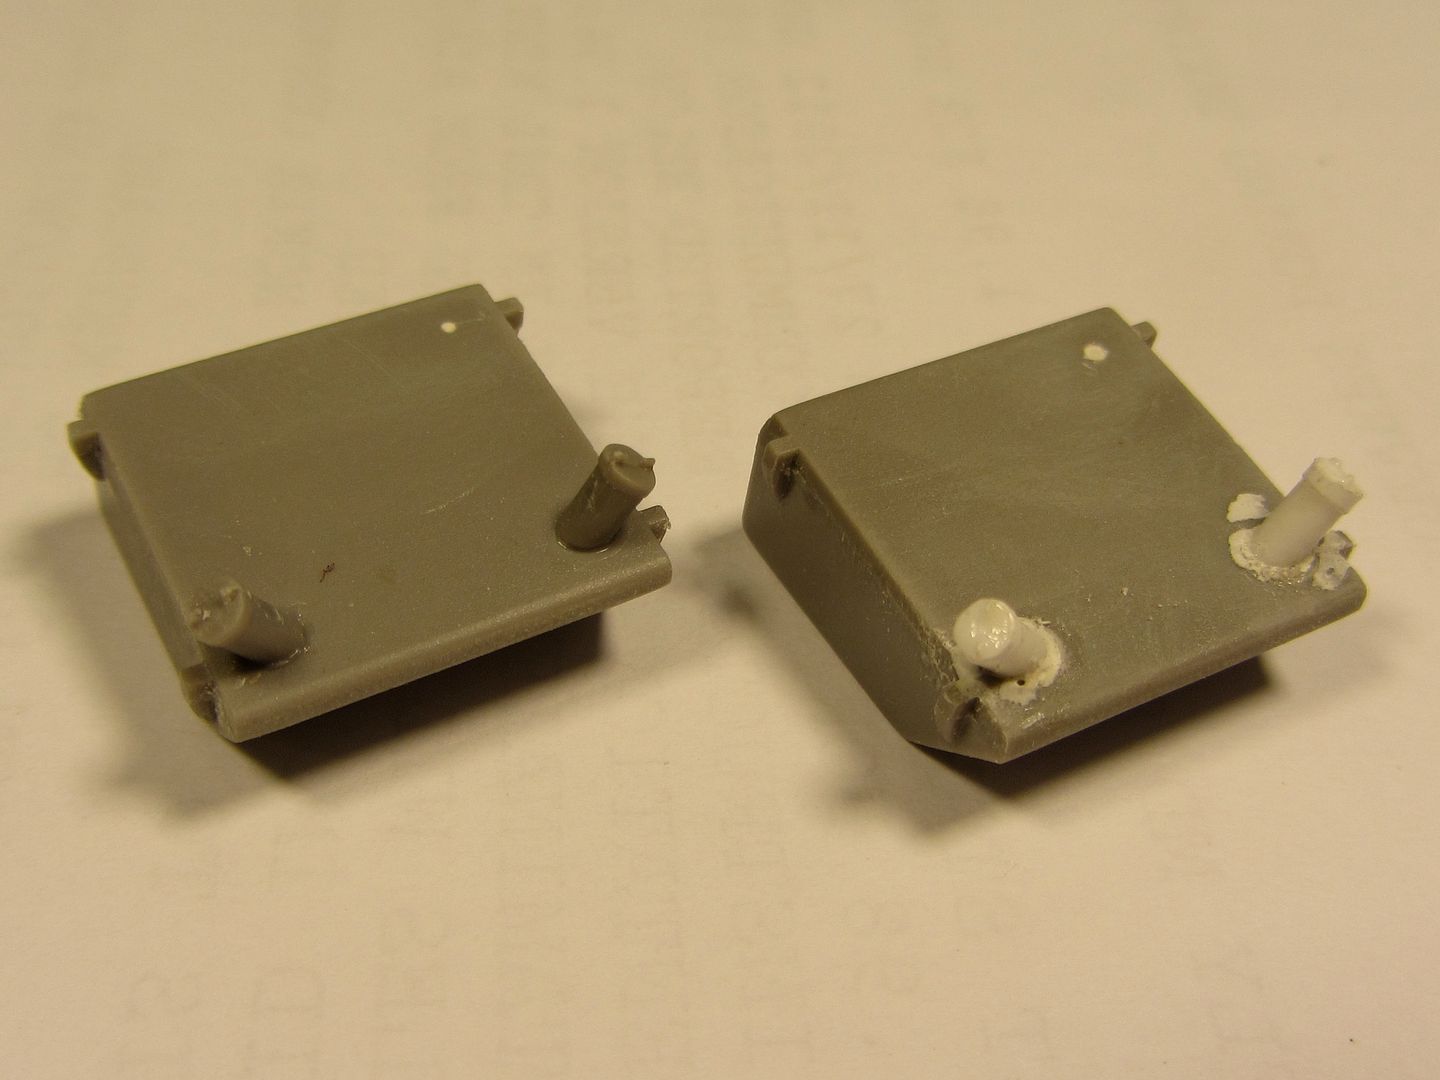
the fuel/oil tanks,
9050

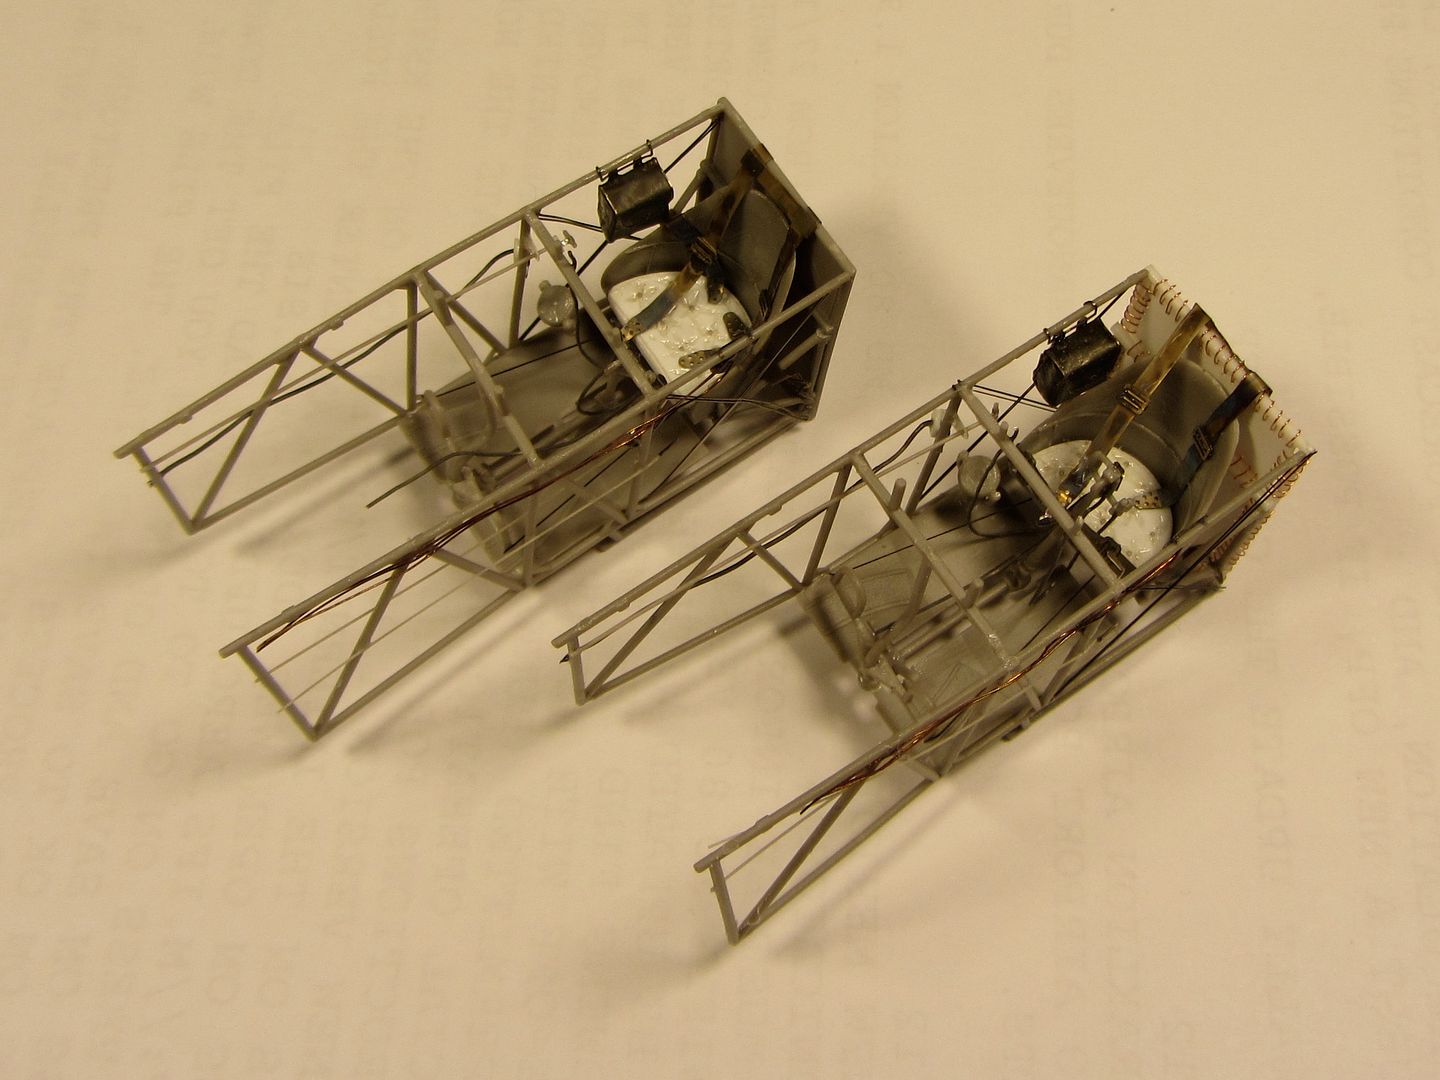
and the two other cockpits. I decided to try the laced back on the kit that will remain to me.
9053

also, I modified the pressure pump on the starboard side. the first one will have the old (mistaken) one, patience...
9058

on my "copy" I decided to strap the cloche back to the seat with the harnesses. in this manner the elevator will be in the up position , rather unnaturally to the view, but I want to try it.
9057


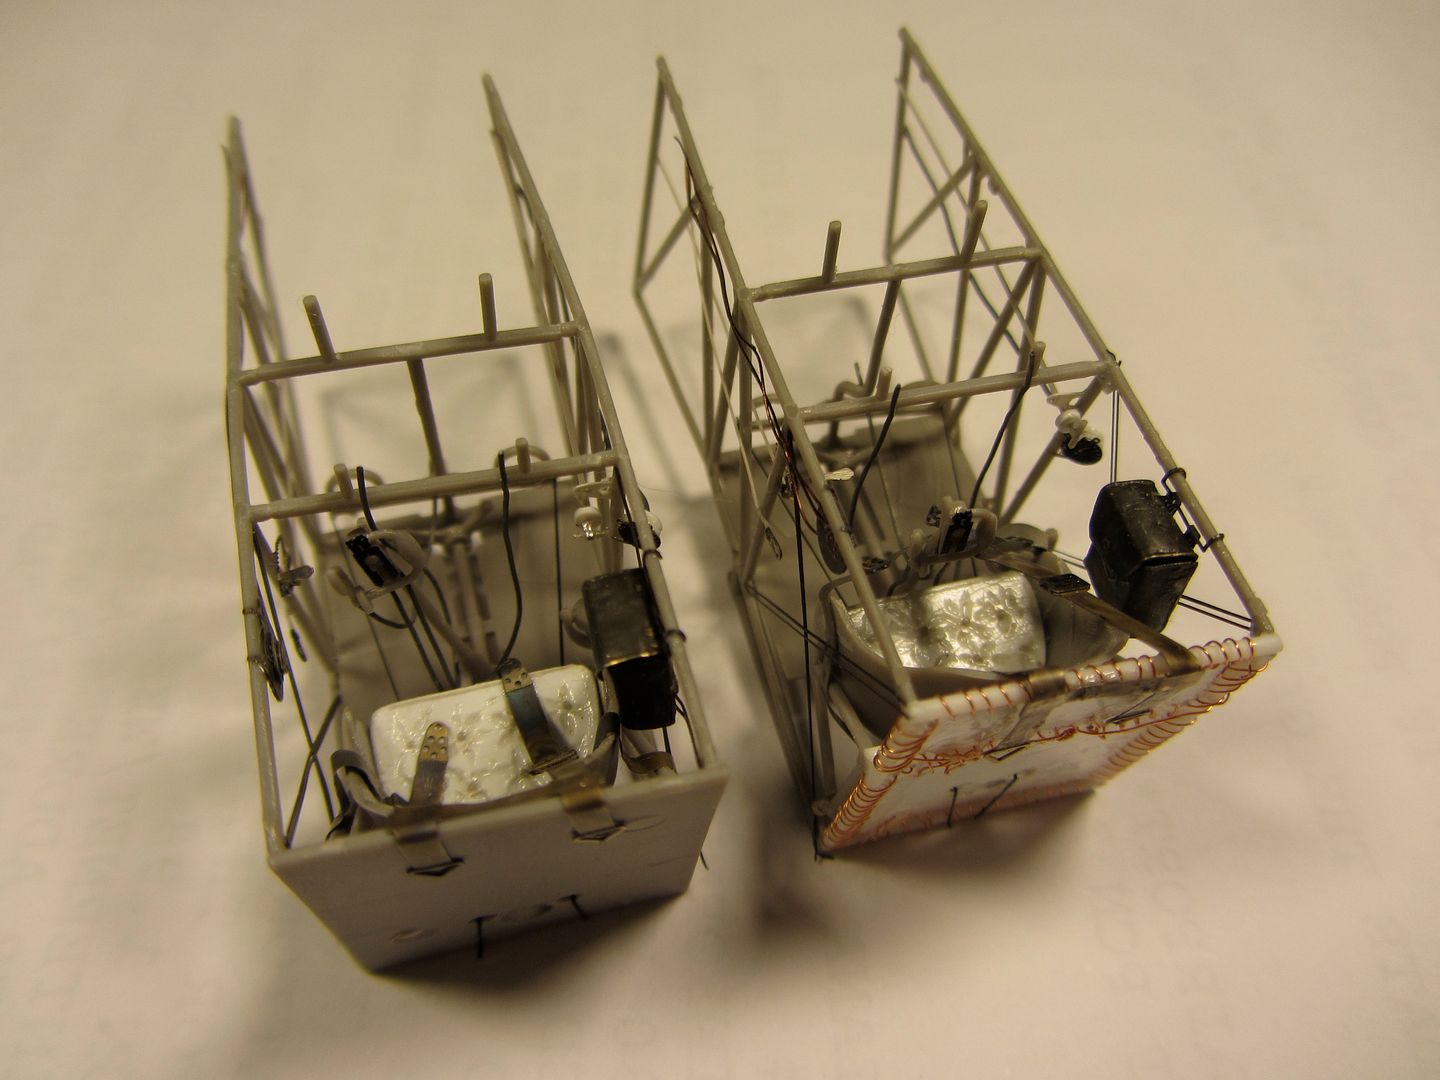
working on the two new structures, I realized some mistakes done on the first one... the cables from cloche to spandaus. they shouldn't go under the ammo containers... I'll see how to modify that.
also the compass was wrong, I did it leveled with the floor, but it should be parallel to the ground! I modified it easily.
9061

that's all, at now, greetings, p. ;)

Offline uncletony

  • Hero Member
  • *****
  • Posts: 4350
    • Aircraft In Pixels
Re: Kempf's Dr.I roden 1/32
« Reply #50 on: December 12, 2013, 05:31:07 AM »
Looks great Paolo...

Rereading your log, I can't tell for certain but it seems you might be confused about a small detail ... the fuel gauge is the instrument in the fairing on the top of the fuselage between the guns. The tachometer is typically on the floor behind the control column...


Offline mc65

  • Full Member
  • ***
  • Posts: 216
Re: Kempf's Dr.I roden 1/32
« Reply #51 on: December 13, 2013, 12:19:36 AM »
we are the usual...
first I go by glue, then I curse myself for the lack of documentation! :-[

some kind soul has any reference image relative to layout of the cockpit? of DR.I I have nothing, if no instructions roden! ::)

thank you, again, bo, another beer on your credit! ;D ;D ;D

Offline uncletony

  • Hero Member
  • *****
  • Posts: 4350
    • Aircraft In Pixels
Re: Kempf's Dr.I roden 1/32
« Reply #52 on: December 13, 2013, 01:51:17 AM »
Paolo -- I will pm you later with some info. Don't worry -- except for the fuel gauge these instruments tended to be placed willy-nilly. So unless you've used up your Maximal furl gauge decals you are in good shape :)

Offline pepperman42

  • Hero Member
  • *****
  • Posts: 4483
  • Sergeant, my brown pants.......
Re: Kempf's Dr.I roden 1/32
« Reply #53 on: December 13, 2013, 05:24:47 AM »
Your work looks great. Small corrections dont detract from it!!

Steve

Offline xmald

  • Hero Member
  • *****
  • Posts: 1093
Re: Kempf's Dr.I roden 1/32
« Reply #54 on: December 13, 2013, 07:28:25 AM »
Your Fokker factory looks great anyway!
Best regards
Filip

Offline Mark

  • Sr. Member
  • ****
  • Posts: 258
Re: Kempf's Dr.I roden 1/32
« Reply #55 on: December 13, 2013, 12:37:32 PM »
VERY nice work! And thanks for such a detailed build log--this will be my next project and I plan to build it as Udet's Jasta 4 ride (if I think I can handle all the striping).  :)

Mark

Offline RAGIII

  • Hero Member
  • *****
  • Posts: 19108
Re: Kempf's Dr.I roden 1/32
« Reply #56 on: December 13, 2013, 02:59:49 PM »
Very nice and detailed work on your interiors! I plan to build another DR1(Encore) soon and have picked up a couple of Ideas from your build already! Thanks,
RAGIII
"A man has to know his limitations": Harry Callahan

"Don't slop it on" Lynda Geisler

Offline ALBATROS1234

  • Hero Member
  • *****
  • Posts: 2657
Re: Kempf's Dr.I roden 1/32
« Reply #57 on: December 13, 2013, 03:25:08 PM »
heres some stuff to help you with the interior:

scroll down page: http://pwm.org.pl/viewtopic.php?f=12&t=9876&start=0

this review has nice 3d images: http://www.hyperscale.com/2012/reviews/books/kagerofokkerdribookreviewrb_1.htm


Offline Ernie

  • Hero Member
  • *****
  • Posts: 3961
  • "Once more into the breach"
Re: Kempf's Dr.I roden 1/32
« Reply #58 on: December 13, 2013, 09:34:09 PM »
I keep getting the feeling I'm seeing double, Paolo, but the good thing
is they both look wonderful.  Super work!

Cheers,
Ernie :)
The new old guy, take two...

Offline mc65

  • Full Member
  • ***
  • Posts: 216
Re: Kempf's Dr.I roden 1/32
« Reply #59 on: December 15, 2013, 09:02:13 PM »
thank you all, gents! :D :D :D

now I have some cleaner ideas about cockpit and  other details... maybe later some pictures! thank you again.

I imagined to build these models oob, as my friend wanted, but just did not do it, somehow I have to intervene on some (the most obvious) distortions that I see. simply my fault.

cheers, p. ;)