Author Topic: Kempf's Dr.I roden 1/32  (Read 19642 times)

Offline Ernie

  • Hero Member
  • *****
  • Posts: 3961
  • "Once more into the breach"
Re: Kempf's Dr.I roden 1/32
« Reply #30 on: December 01, 2013, 11:41:34 AM »
Paolo, the screen stitching is gorgeous.  Nicely done!

Cheers,
Ernie :)
The new old guy, take two...

Offline Nigel Jackson

  • Hero Member
  • *****
  • Posts: 2608
Re: Kempf's Dr.I roden 1/32
« Reply #31 on: December 01, 2013, 07:23:52 PM »
I absolutely agree with Ernie on the stitching. Great stuff, Paolo!

Best wishes
Nigel

Offline mc65

  • Full Member
  • ***
  • Posts: 216
Re: Kempf's Dr.I roden 1/32
« Reply #32 on: December 03, 2013, 12:40:57 AM »
....you say? ::) I'm not so sure to use it... I'll give a coat of primer, and let's see.

meanwhile, alienation!
9011

9012

if working in a series simplifies changes to make to the parts of the kit, certainly produces a state of mind rather insane. neverthless, keep on going.

augh, p. ;)

Offline mgunns

  • Hero Member
  • *****
  • Posts: 2255
Re: Kempf's Dr.I roden 1/32
« Reply #33 on: December 03, 2013, 02:15:28 AM »
Hello Paolo:

I think the stiching will be fine once the "fabric" is painted and you highlight the stiching.  Once in the airplane with the seat, seat belts, and everything else that will be packed into the cockpit, it will look like it belongs.  You are taking on quite a project.  Good Luck and it will be fun to see how you progress through the build.

Best

Mark
Mark

We few, we happy few.....

Offline RAGIII

  • Hero Member
  • *****
  • Posts: 19105
Re: Kempf's Dr.I roden 1/32
« Reply #34 on: December 03, 2013, 03:14:00 AM »
You are making great progress on a very ambitious project! I am looking forward to your next update!
RAGIII
"A man has to know his limitations": Harry Callahan

"Don't slop it on" Lynda Geisler

Offline coyotemagic

  • Hero Member
  • *****
  • Posts: 7710
  • "Here's to not buggering it up." -Winston Chuchill
    • My Models
Re: Kempf's Dr.I roden 1/32
« Reply #35 on: December 03, 2013, 03:19:48 AM »
Outstanding work so far, Paulo!  I'm really looking forward to watching your progress on this project.
Cheers,
Bud
"All men dream: but not equally. Those who dream in the dark recesses of the night awake in the day to find all was vanity. But the dreamers of day are dangerous men, for they may act their dreams with open eyes, and make it possible." -T. E. Lawrence

Offline lcarroll

  • Administrator
  • Hero Member
  • ******
  • Posts: 8586
Re: Kempf's Dr.I roden 1/32
« Reply #36 on: December 04, 2013, 01:21:01 AM »
This just keeps getting better and better, Paolo. A joy to follow your progress!
Cheers,
Lance

Offline pepperman42

  • Hero Member
  • *****
  • Posts: 4482
  • Sergeant, my brown pants.......
Re: Kempf's Dr.I roden 1/32
« Reply #37 on: December 04, 2013, 11:48:48 AM »
Im 3 weeks behind on this great build. Nice work!! Looking forward to more updates.

Steve

Offline Des

  • Administrator
  • Hero Member
  • ******
  • Posts: 9325
    • ww1aircraftmodels.com
Re: Kempf's Dr.I roden 1/32
« Reply #38 on: December 04, 2013, 12:01:48 PM »
Great work so far Paolo but you certainly have your work cut out for you.

Des.
Late Founder of ww1aircraftmodels.com and forum.ww1aircraftmodels.com

Offline mc65

  • Full Member
  • ***
  • Posts: 216
Re: Kempf's Dr.I roden 1/32
« Reply #39 on: December 06, 2013, 11:57:52 AM »
yes... it's a long way to achieve some results, working like that. ::)

I received the eduard's PE, so I pushed up some detailing on fuselage(s) wings (a lot of wings!) and tails...
9021

9026

this time I tried to chew a little the map cases:
9024

also, I worked on the basic spandaus. nextly, the rear details.
9023

with PE, mr. kit's fokker dedicated colors finally arrived home. unfortunately, I've very little free time, these days. :-[
9027

but managed to do some trying on paper, tomorrow (maybe) I'll try the green straining on torquoise...
9039

cheers, p. ;)

Offline RAGIII

  • Hero Member
  • *****
  • Posts: 19105
Re: Kempf's Dr.I roden 1/32
« Reply #40 on: December 06, 2013, 12:19:37 PM »
Terrific Progress x3!
RAGIII
"A man has to know his limitations": Harry Callahan

"Don't slop it on" Lynda Geisler

Offline Ernie

  • Hero Member
  • *****
  • Posts: 3961
  • "Once more into the breach"
Re: Kempf's Dr.I roden 1/32
« Reply #41 on: December 06, 2013, 03:43:17 PM »
I have to hand it to you, Paolo.  I have a hard time keeping one project
going...three is some task!  Thanks for sharing this busy build(s).

Cheers,
Ernie :)
The new old guy, take two...

Offline ALBATROS1234

  • Hero Member
  • *****
  • Posts: 2657
Re: Kempf's Dr.I roden 1/32
« Reply #42 on: December 06, 2013, 04:15:49 PM »
first of all i must say, nice work on a great kit. i like rodens 1/32 dr.1. recently some were requesting a wnw dr.1 but i say this kit can be made into a fine dr.1 so wnw should do other planes that have no kit in 1/32. your detailing looks nice. i like the way you shaded details in the cockpit as well as the overall color scheme you used on the cockpit. some comments. i think the mr. kit fokker pale green is for fokker eindeckers and fokker olive green is for dr.1. second to my eye the eduard photoetch map casepart looks bulky. i dont use mine. i like to use german ww2infantry pouches designed for 1/35 figures. to me this looks better.like the type you find with figure sets,the pouch that mounts on the soldiers rear. i have spares if you wish me to send you some.

Offline xmald

  • Hero Member
  • *****
  • Posts: 1093
Re: Kempf's Dr.I roden 1/32
« Reply #43 on: December 06, 2013, 07:55:59 PM »
A really nice Fokker factory you `ve got here mate!
Best regards
Filip

Offline mc65

  • Full Member
  • ***
  • Posts: 216
Re: Kempf's Dr.I roden 1/32
« Reply #44 on: December 07, 2013, 08:04:02 AM »
thanks all...

albatros, you're right, the eduard's map case it's too bulky, I'll try to do something smaller. the WH map cases seems a good idea, except I fear they may seem too what they are, to my eyes!

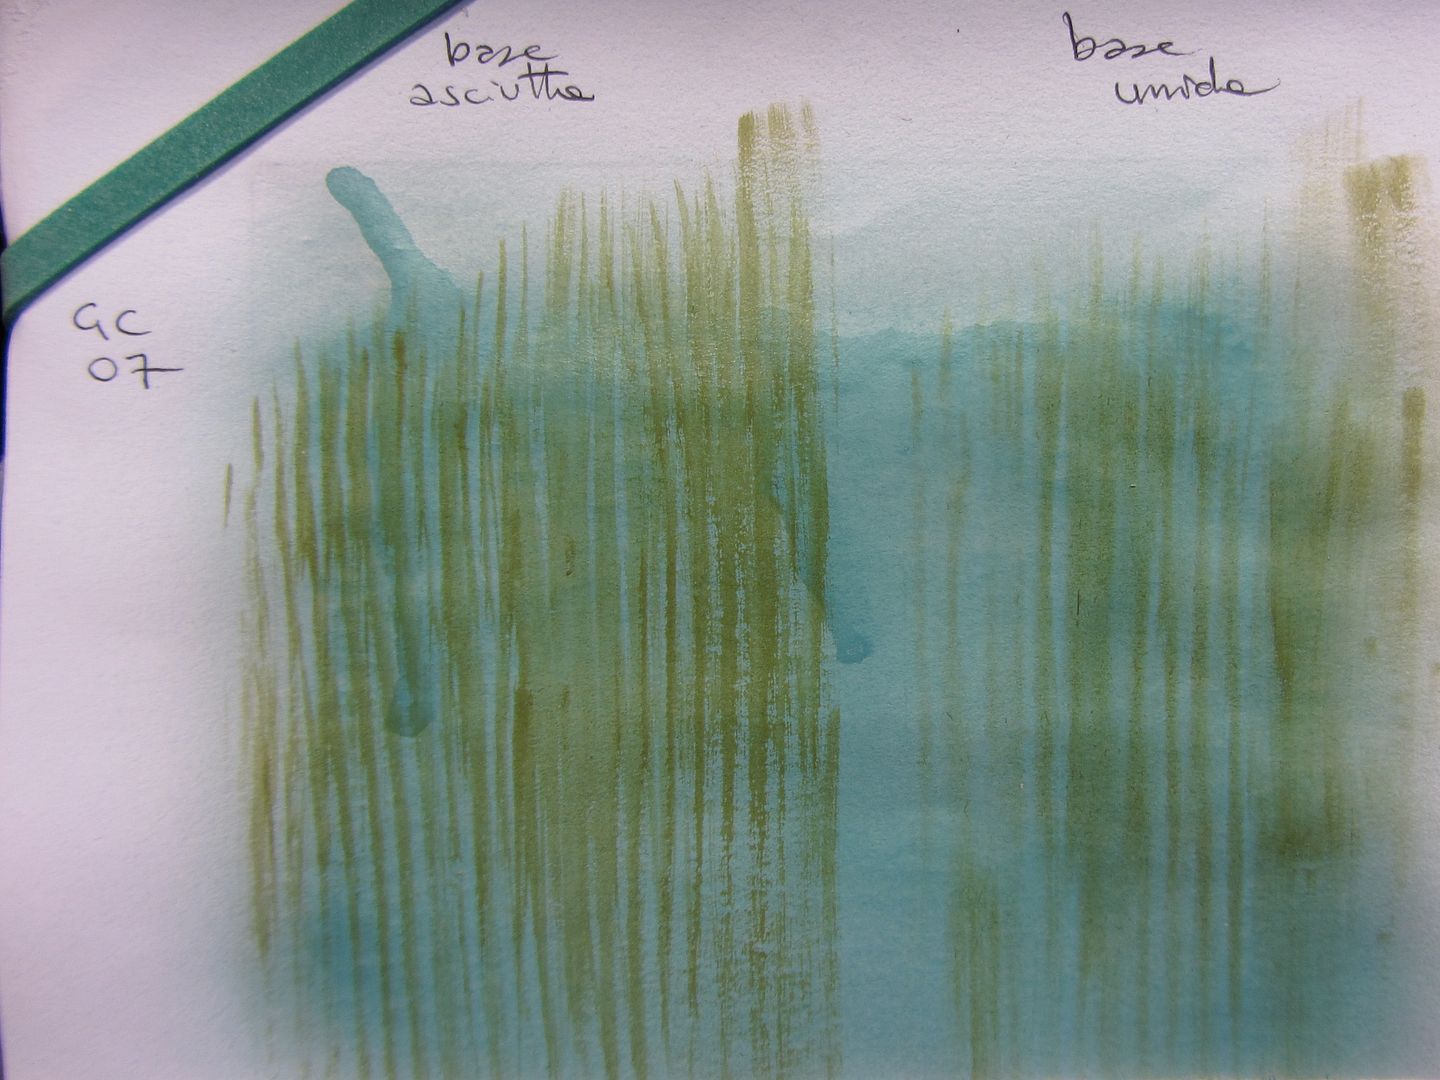
about the green, I a-gree(n) with you, the pale one is too light. today I did some trials, and I reached those results:
1) the green alone it's not enough, to reach the desired effect. I think it's necessary to add something else, maybe a light brown?
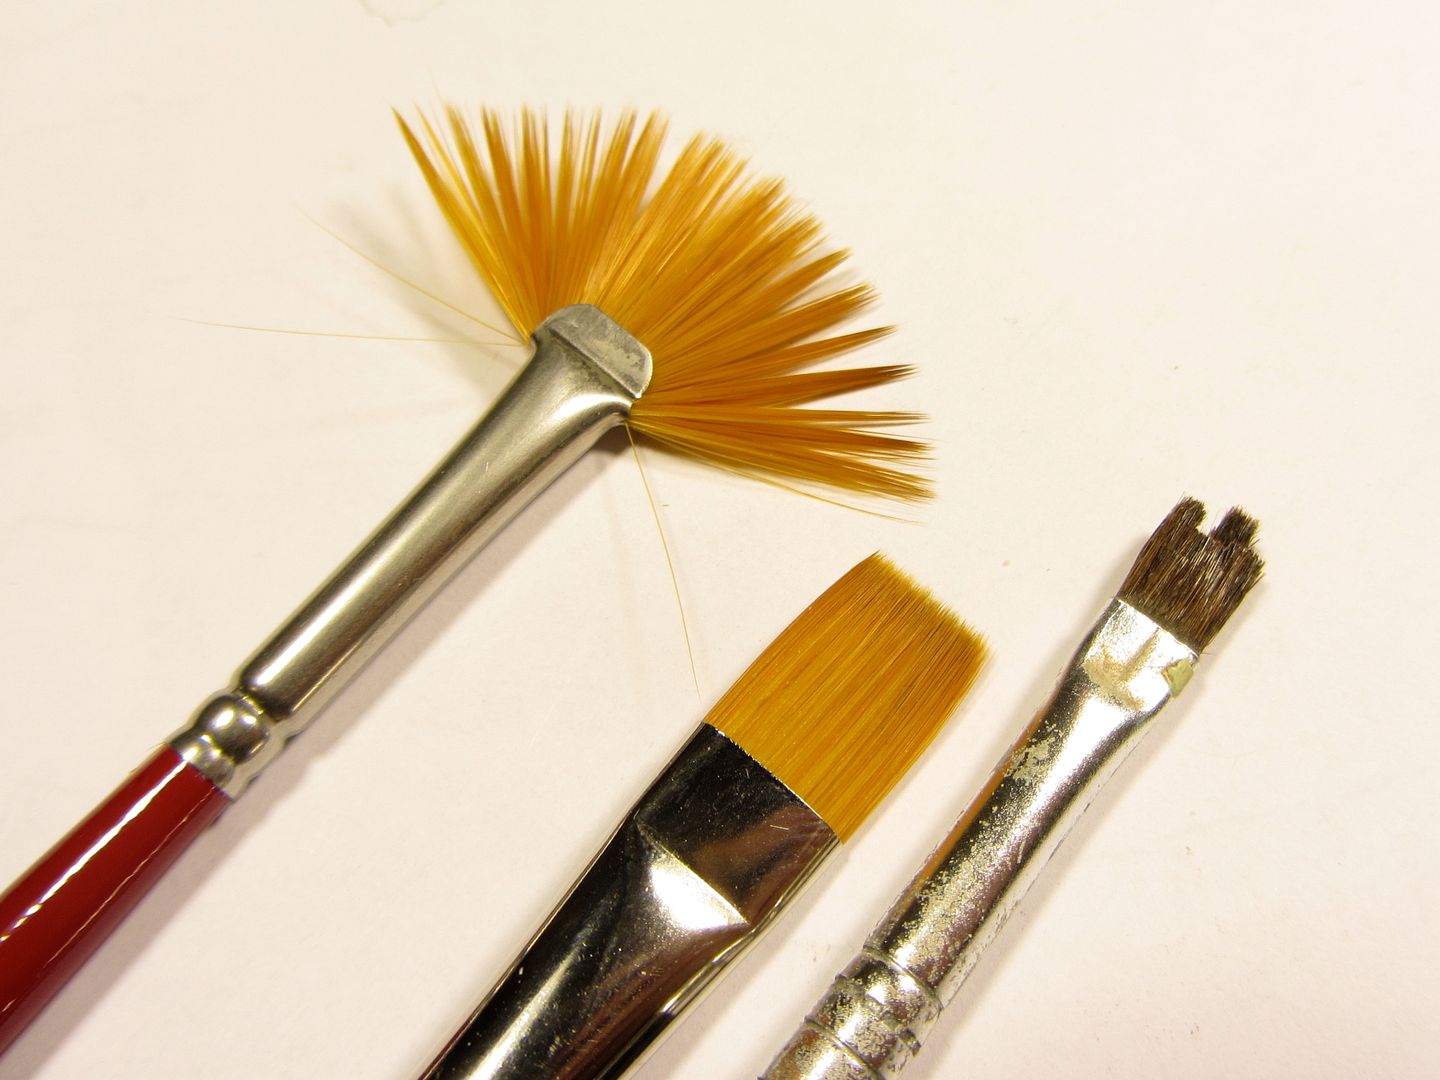
2) also the techniques are not satisfactory. I tried with acrylics applied with various kind of brushes on dry and dampened, plain and future-coated surface.

9041

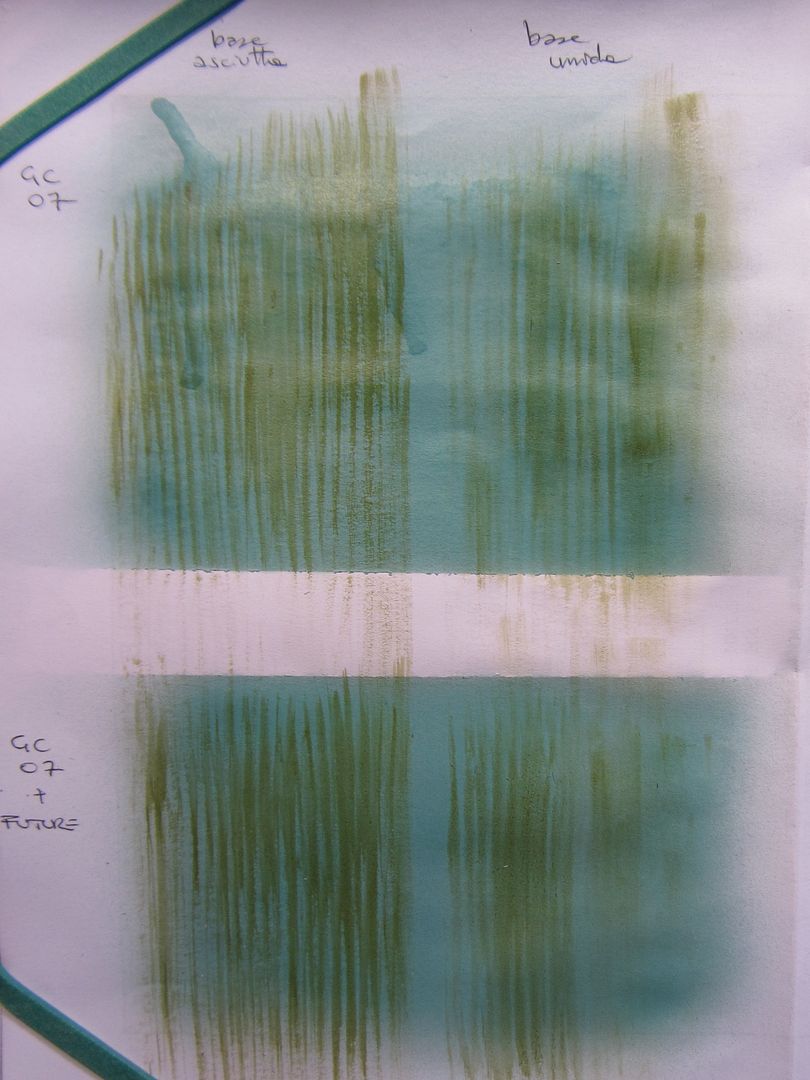
the streaking is too hard-edged, and there is no time to work, with acrylics.
9043

9046

I think that oil colors will work better, to obtain the typical fokker canvas, but I have no idea about wich colors I may use!

any ideas about?

bye bye, p. ;)