Dan, I'd say the rib tapes on the lozenge would suffice, especially in 1/72 scale. Just the decal thickness would be close to scale. This is shaping up beautifully. Can't wait for the next update.
Cheers,
Bud
Thanks Bud, that's exactly what I was hoping to hear. As for the next update, read on!
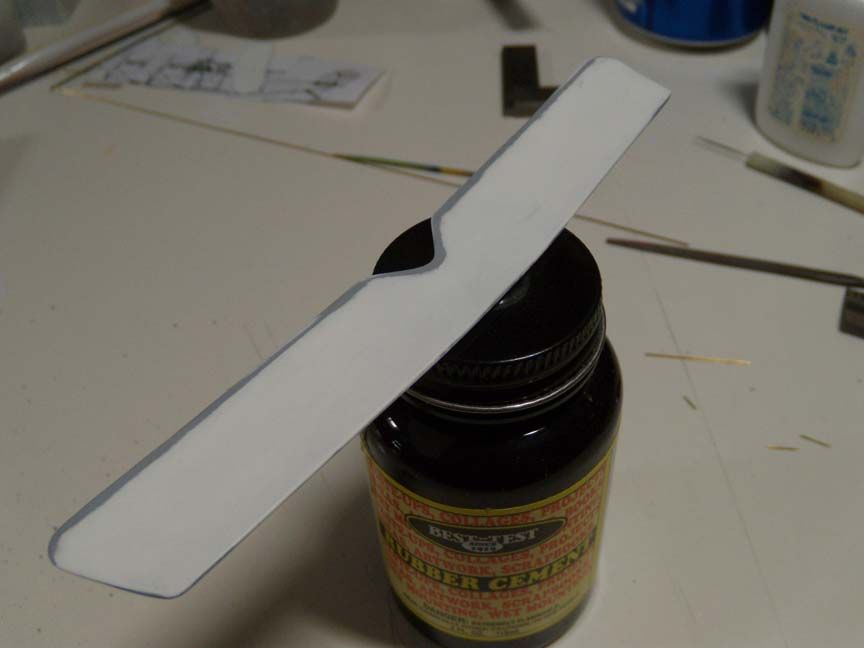
With the cockpits done, I cut out the wings and sanded them down. It was obvious that they were a bit thinner than the ones on my previous Albatros build so I decided to glue "skins" of .015" plastic to the bottoms of them. I cut the skins 1/16" short of the trailing edge and then scraped that step down with one of those big rounded X-acto blades. A little bit of filler was needed to blend things in but it allows for a nice thin trailing edge.
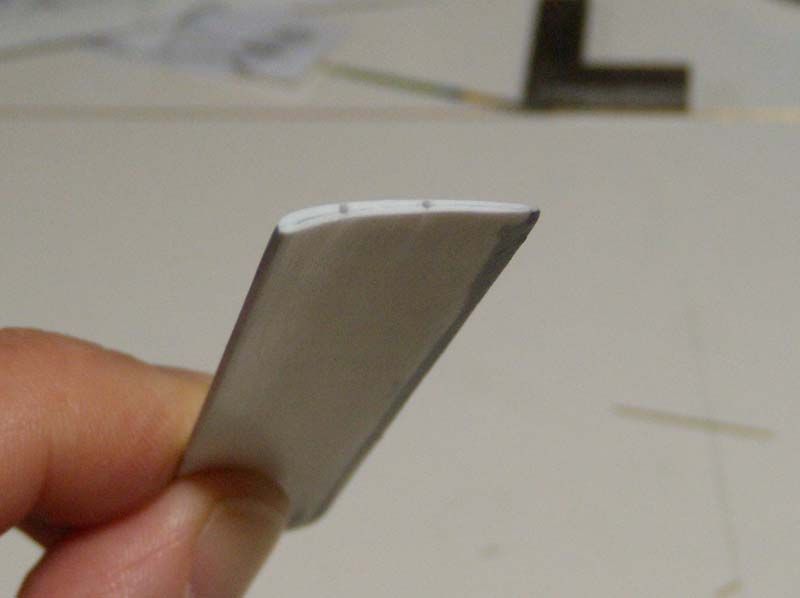
Here's a shot of the root end of one of the lower wings with the skinning in place, the wing section is very close to that shown in the drawings I'm using. The nice thing about having two layers glued together is that drill bits seem to guide themselves nice and straight between the two.
While I was waiting for filler to dry, I started making a jig to hold things in alignment.
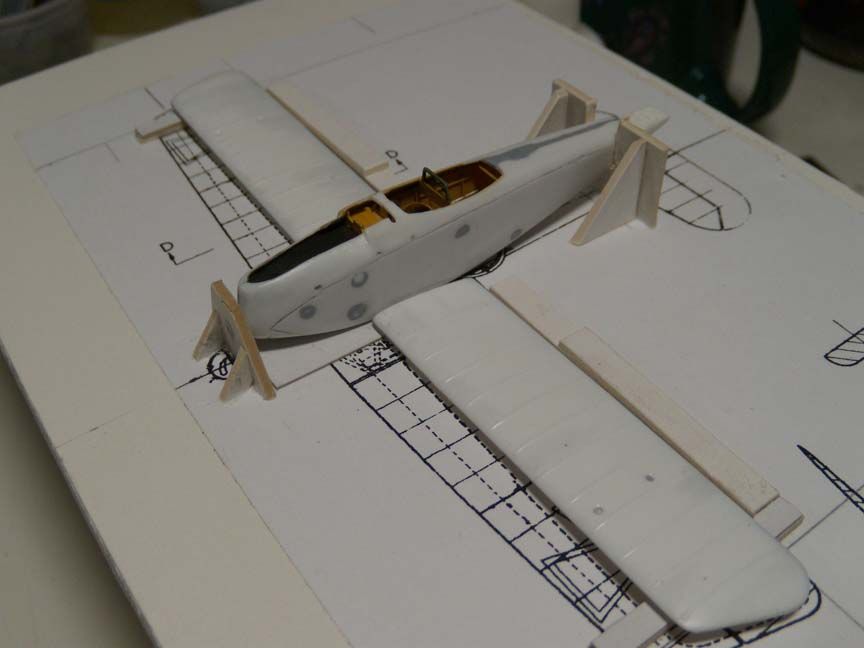
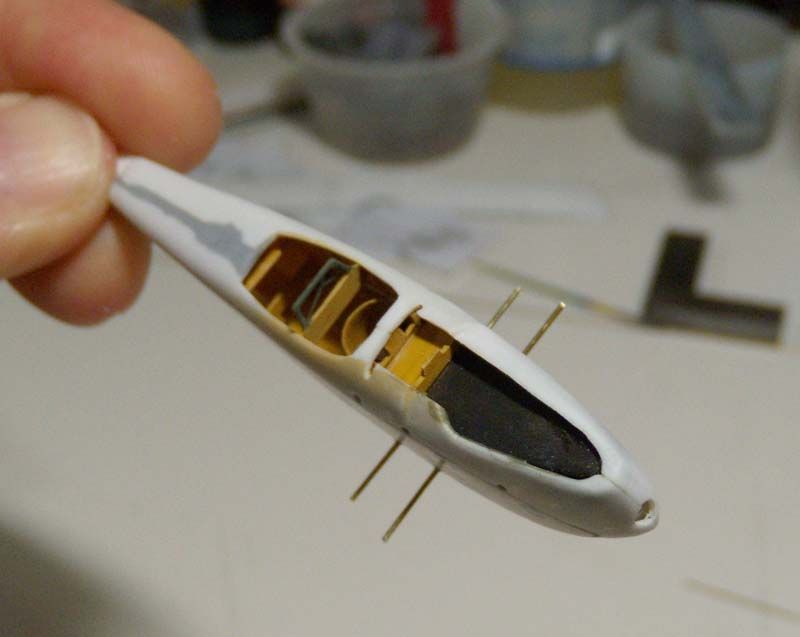
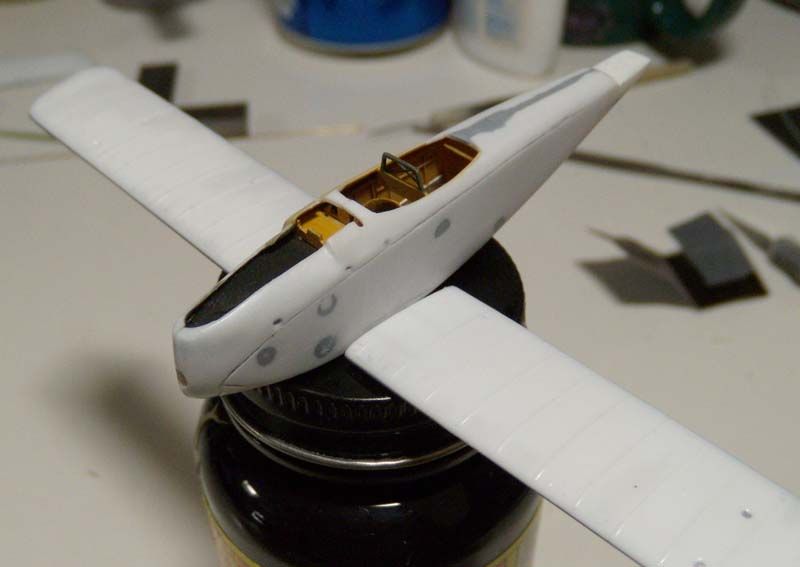
I drilled holes in the wings for brass rod "spars", then temporarily put sharpened bits of rod in the holes and pressed it against the fuselage while its all lined up in the jig and that showed me where to drill into the fuselage sides. I was able to get two brass rods all the way through the fuselage so I will have a pretty sturdy attachment of the lower wings. They slide on and off so nicely that I may wait until after the lozenge decals go on before gluing them permanently.
So that's where it stands at the moment, I'll probably work on the landing gear next, but like the Albatros, I won't permanently attach any of it so that I can continue using the jig when it comes time to fit the upper wing.
Thanks for looking!
-Dan

