My computer has been under repair for almost two weeks now, it looks like it's dead so I'm waiting for a new one to be built.
I've just installed an image soft on my wife's computer so I can go on posting WIP.
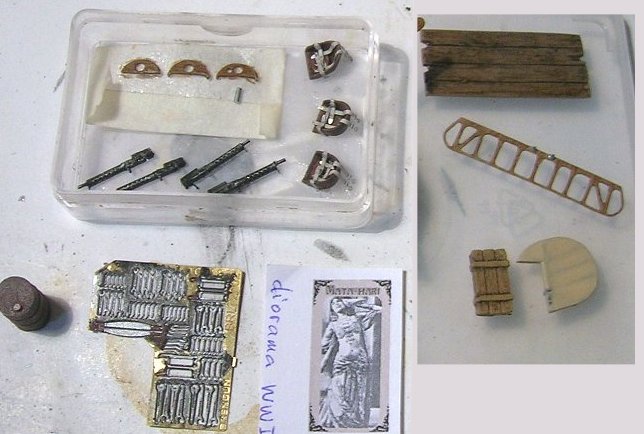
From top to bottom then left to right: the dashes waiting for the oil to dry and their gauges; seats with Eduard belts; a rusted fuel tin; painted Brengun PE tools; the Mata-Hari bill; the table i will put spares and tools on; the D-III's elevator structure; a wooden box and the D-III's 'paper covered' rudder:
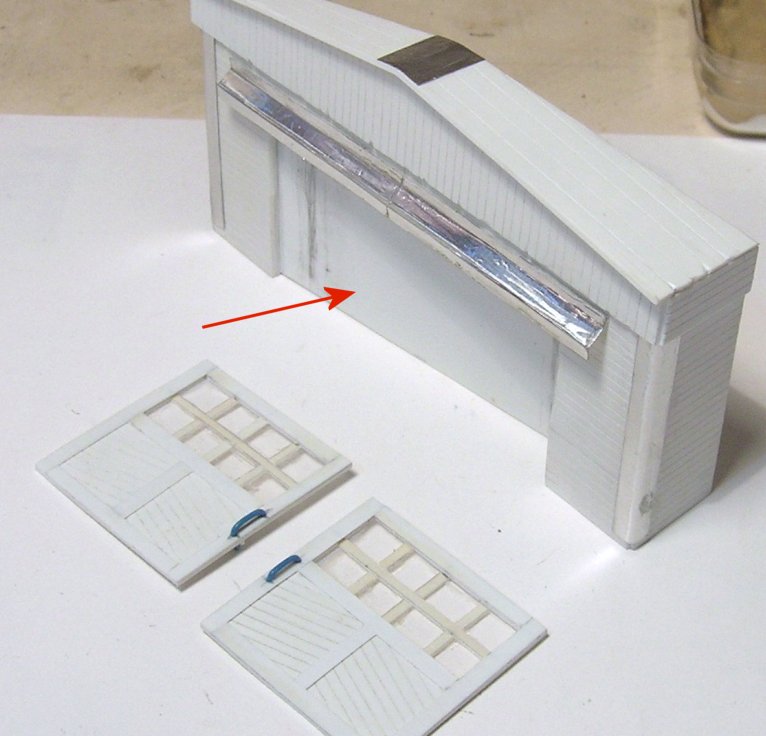
Next, the hanger. Built from engraved plastic and aluminum sheet from the measures of the CG scene. Thin plexi for the door windows and electric wire for the handles. The arrow shows the plate that will be painted dark gray to create a fake depth for the hanger:
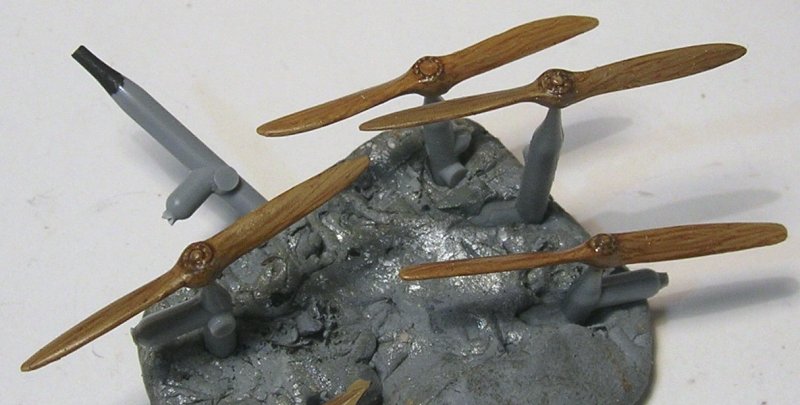
Four props from various makes, the paint of which (oil) has taken more than a week to cure. This is due to the fact that oil has been used almost without thinner to simulate wood grain.
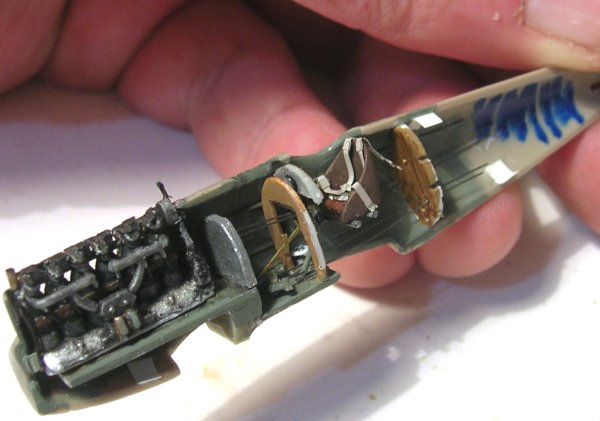
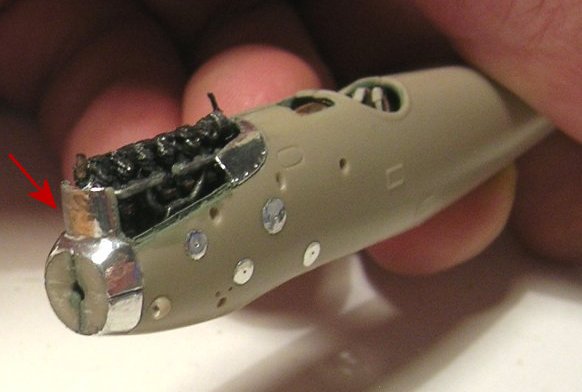
A fuselage prior to be closed with rudder pedals, cables, stick, gauges, belts, walls, etc...and the size of my fingers show there is not much room to house all this...

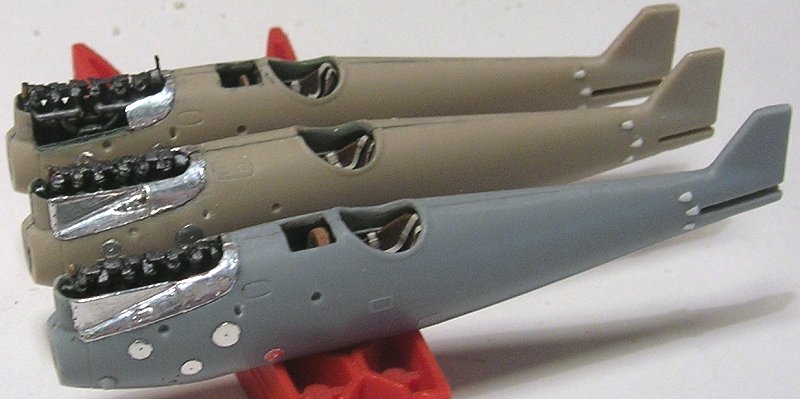
All three fuselages glued:
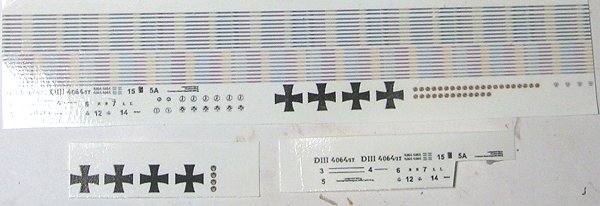
The first decal sheets I've printed for this build: Stark's D-III s/n, stencils, gauges, some crosses, Pfalz logos, and lozenge upper and lower rib tapes for Böhning's machine:
After that, I've taken the adhesive aluminum over to complete the metal panels. The one on which the arrow points is one-piece like on the real aircraft. Then the lower metal fairing was added.
At last, a thin aluminum band was used to create the reinforcement belt between the front gear legs. All metal parts or hatches are made from aluminum which I hope, will add realism when the kits are painted and weathered.


