Author Topic: Fokker E.II 69/15 Kurt von Crailsheim  (Read 29533 times)

Offline miamiangler

  • Full Member
  • ***
  • Posts: 194
Re: Fokker E.II 69/15 Kurt von Crailsheim
« Reply #75 on: May 02, 2013, 09:09:42 AM »
Hi Dirk,
   Looks very nice , keep up the good work .Did you use 1mm tape for the rib and tubing masks on the wings and fuselage ?


                                                                                                                                                            Willi

Offline uncletony

  • Hero Member
  • *****
  • Posts: 4349
    • Aircraft In Pixels
Re: Fokker E.II 69/15 Kurt von Crailsheim
« Reply #76 on: May 02, 2013, 09:27:45 AM »
Looks great, dirk, bravo

Offline pepperman42

  • Hero Member
  • *****
  • Posts: 4431
  • Sergeant, my brown pants.......
Re: Fokker E.II 69/15 Kurt von Crailsheim
« Reply #77 on: May 02, 2013, 12:06:44 PM »
Excellent work. Quick question - do you spray future? If yes what psi?

Steve

Offline dirk

  • Full Member
  • ***
  • Posts: 246
Re: Fokker E.II 69/15 Kurt von Crailsheim
« Reply #78 on: May 02, 2013, 04:29:16 PM »
Hi Dirk,
   Looks very nice , keep up the good work .Did you use 1mm tape for the rib and tubing masks on the wings and fuselage ?


                                                                                                                                                            Willi

Hi Willi, I am using normal Tamiya Tape at about 8mm width and cut 1mm stripes with a scalpel.

Cheers and love to hear news from your project.

Let`s vote for a Fokker Group build , Dirk

Offline dirk

  • Full Member
  • ***
  • Posts: 246
Re: Fokker E.II 69/15 Kurt von Crailsheim
« Reply #79 on: May 02, 2013, 04:35:36 PM »
Excellent work. Quick question - do you spray future? If yes what psi?

Steve

Hi Steve, thanks for your feedback. To your question: I allways use my Harder & Steinbeck Evolution Airbrush with at around 30 psi (Revell Professional Compressor). 

Cheers, Dirk

Offline pepperman42

  • Hero Member
  • *****
  • Posts: 4431
  • Sergeant, my brown pants.......
Re: Fokker E.II 69/15 Kurt von Crailsheim
« Reply #80 on: May 02, 2013, 09:54:17 PM »
Thanks Dirk. I thought a higher pressure was needed. I was down at 18 and found it went on "grainy" Fortunately the settling characteristics of the Future solved the problem but Im thinking AVOIDING it would be better. Do you wet coat it or mist it on?

Steve

Offline dirk

  • Full Member
  • ***
  • Posts: 246
Re: Fokker E.II 69/15 Kurt von Crailsheim
« Reply #81 on: May 03, 2013, 01:50:58 AM »
Hi Steve,

I use Future as a varnish. The distance that I use is about 8-10cm and Future behaves light any other acrylic varnish under a pressure between 30-35 psi. You can cover the areas quite quick but need good light to see the coat and avoid flooding. Be sure to clean the airbrush well before use and clean the airbrush with an ammonia based liquid, in the US its Windex, I suppose. Flood the airbrush with water afterwards.

Dirk

Offline pepperman42

  • Hero Member
  • *****
  • Posts: 4431
  • Sergeant, my brown pants.......
Re: Fokker E.II 69/15 Kurt von Crailsheim
« Reply #82 on: May 03, 2013, 03:20:37 AM »
That is the other problem I have - seeing it going on!! Again the settling properties help to level it out in the case of a bit too much Future but Im going to try spraying from the 8-10cm you suggest. I was further away, at a lower pressure which I think caused the problems.

Steve

Offline dirk

  • Full Member
  • ***
  • Posts: 246
Re: Fokker E.II 69/15 Kurt von Crailsheim
« Reply #83 on: May 03, 2013, 03:32:14 AM »
Hi Steve,

to make that future thing a little more complicated: If the pressure is too high, the airflowwill cause the future to be reflected from the fuselage. Mist will becloud the eyes and the effect on the model is towards zero... ;D But all in all its quite easy if you find the right pressure, light and distance. Be sure to use future undiluted.

Cheers, Dirk

Offline dirk

  • Full Member
  • ***
  • Posts: 246
Re: Fokker E.II 69/15 Kurt von Crailsheim
« Reply #84 on: May 03, 2013, 03:52:52 AM »
Dear friends,

here is some progress on painting the crosses on the wings:

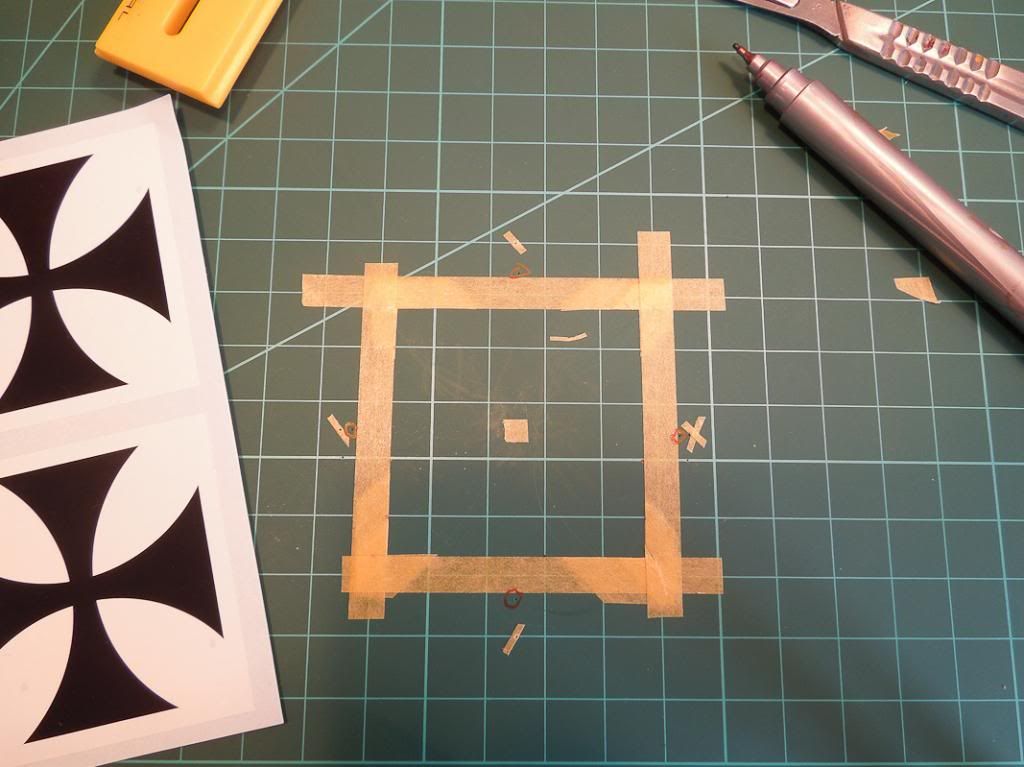
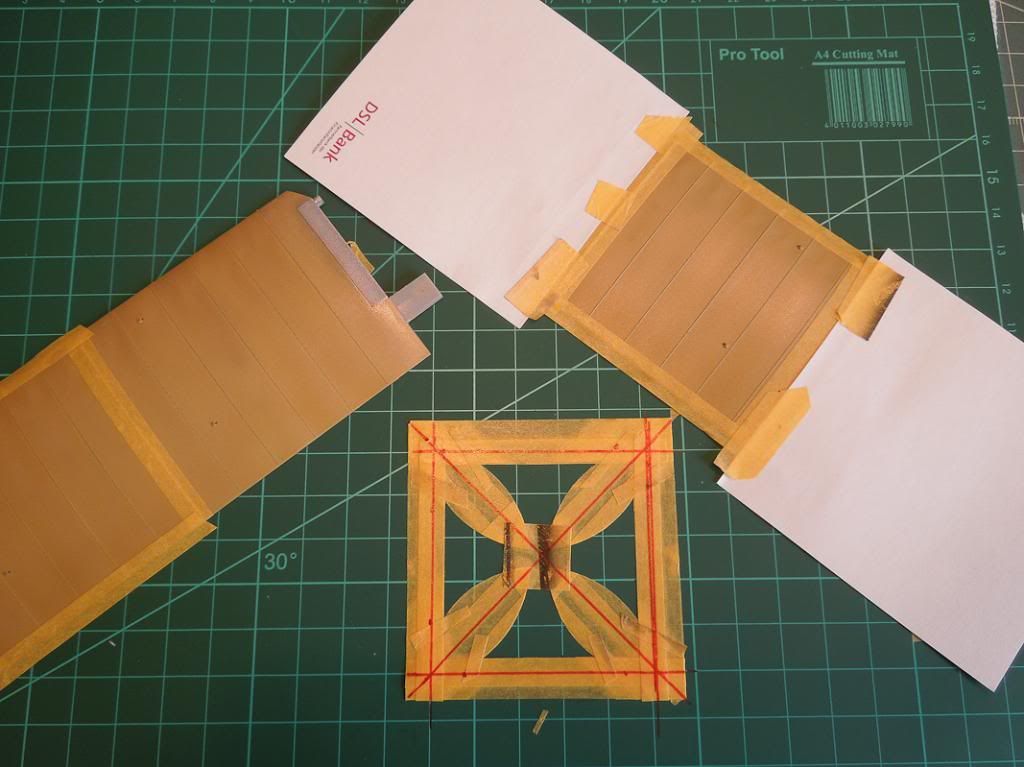
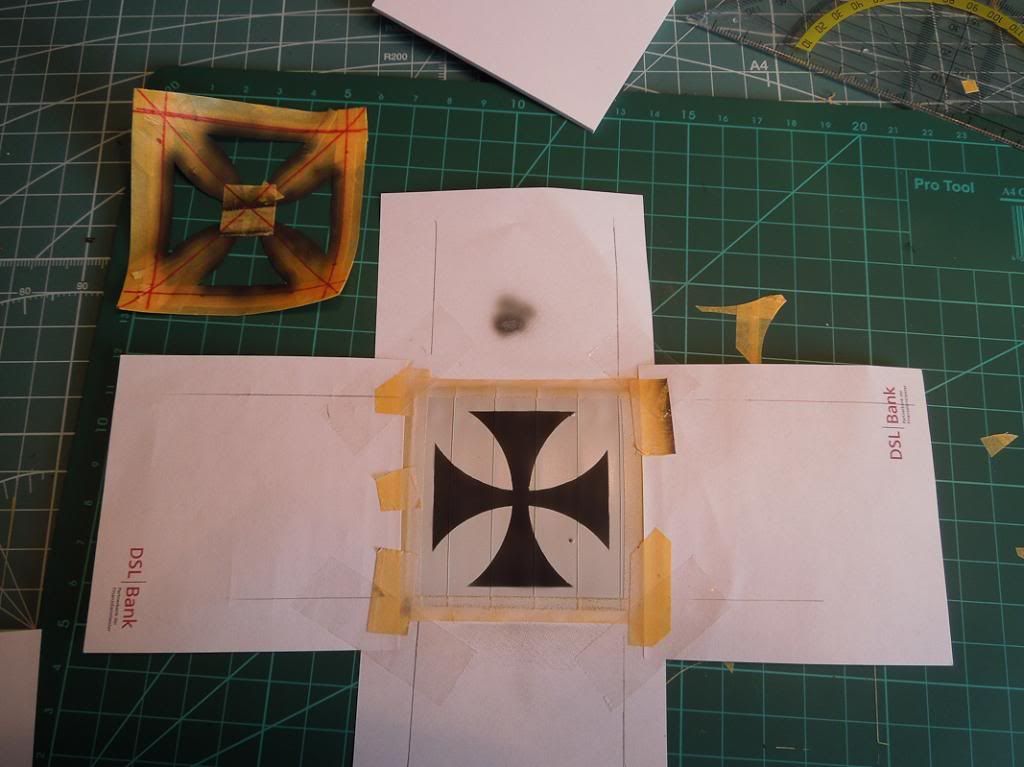
First I sticked some masking tape that will fit the four ellipses that are needed to spray the crosses. The radius is easy to find: The cross decals on wingnuts sheet are arranged in a fousquare pattern. Between the four decals are the numbers of the decals, positioned in a circle. the middle of the circle is the centerpoint for the circle that will touch both, the left and the righthand decal.

The tape around the ellipses marks the outer fousquare border of the white base for the crosses.


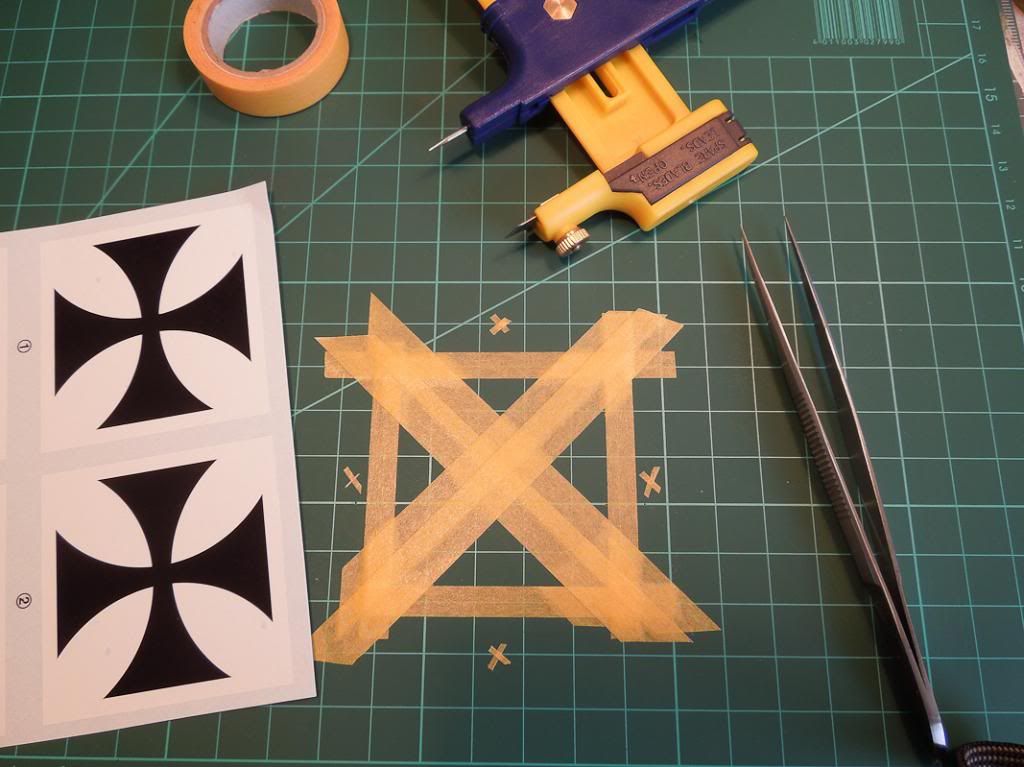
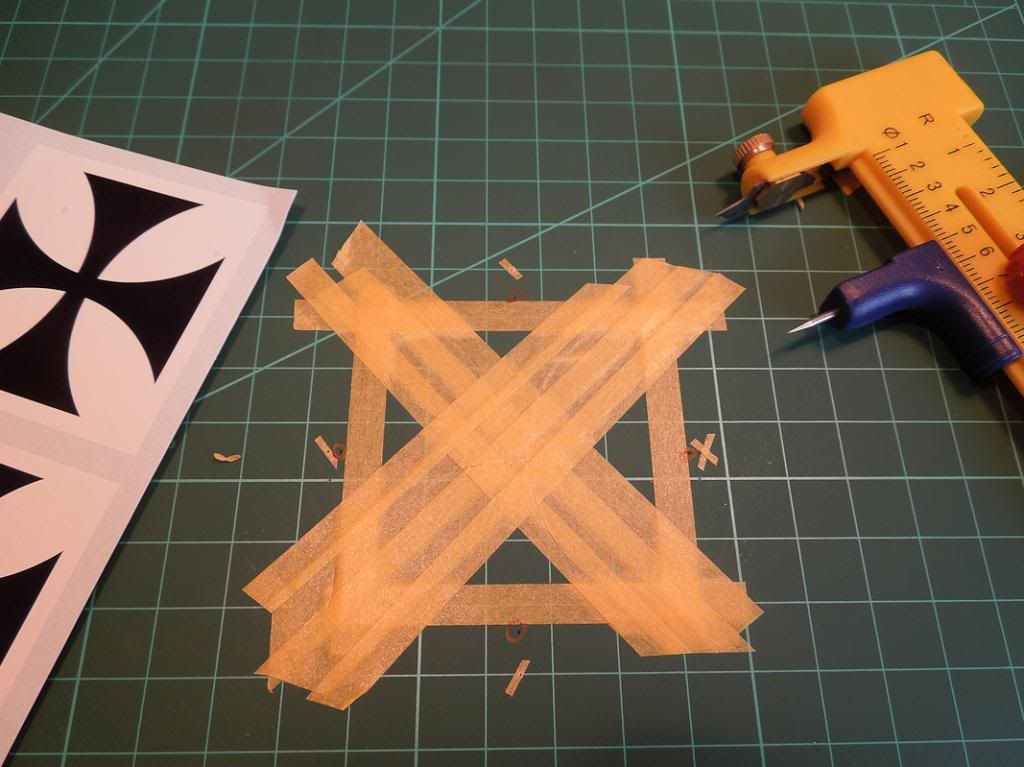
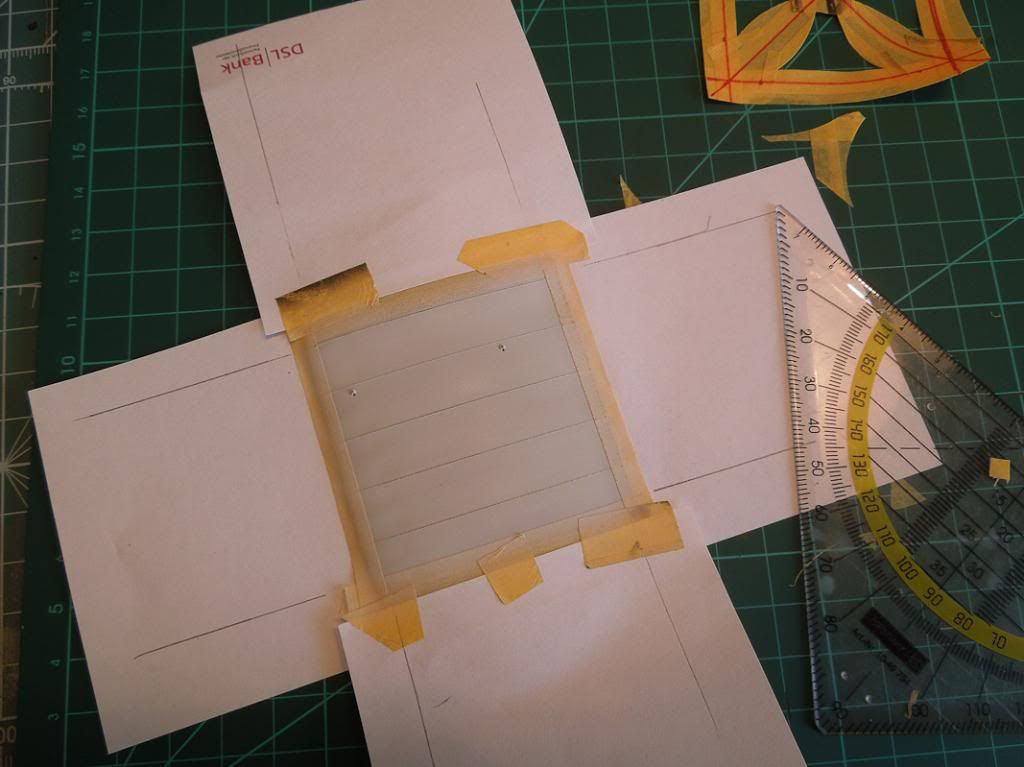
The ellipses are cutted out by using an olfa cutter.


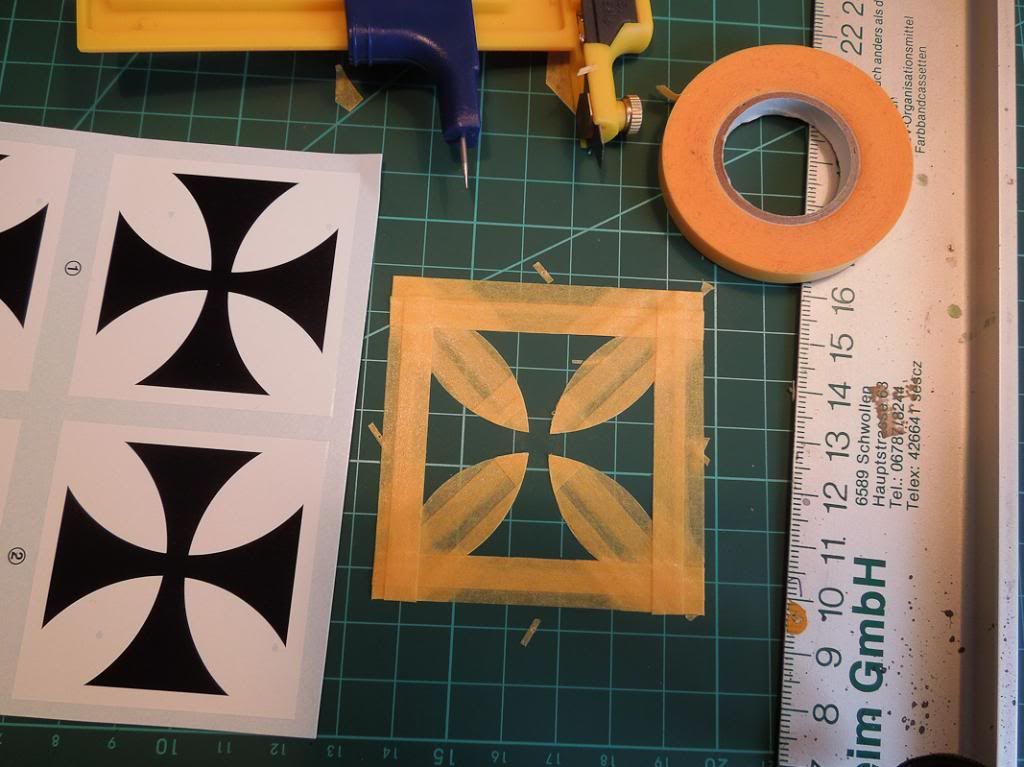
The ellopses are secured by using some tape. The outer line for the white base is masked.


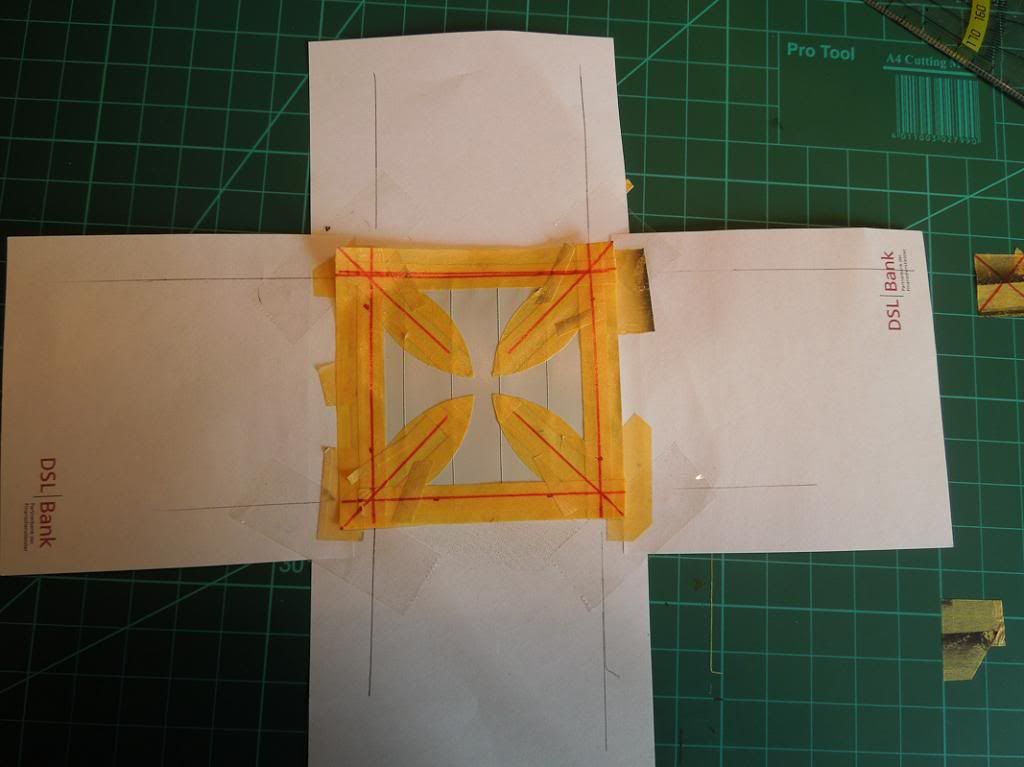
Tamiya XF-2 is sprayed, sanded down and sealed with future.


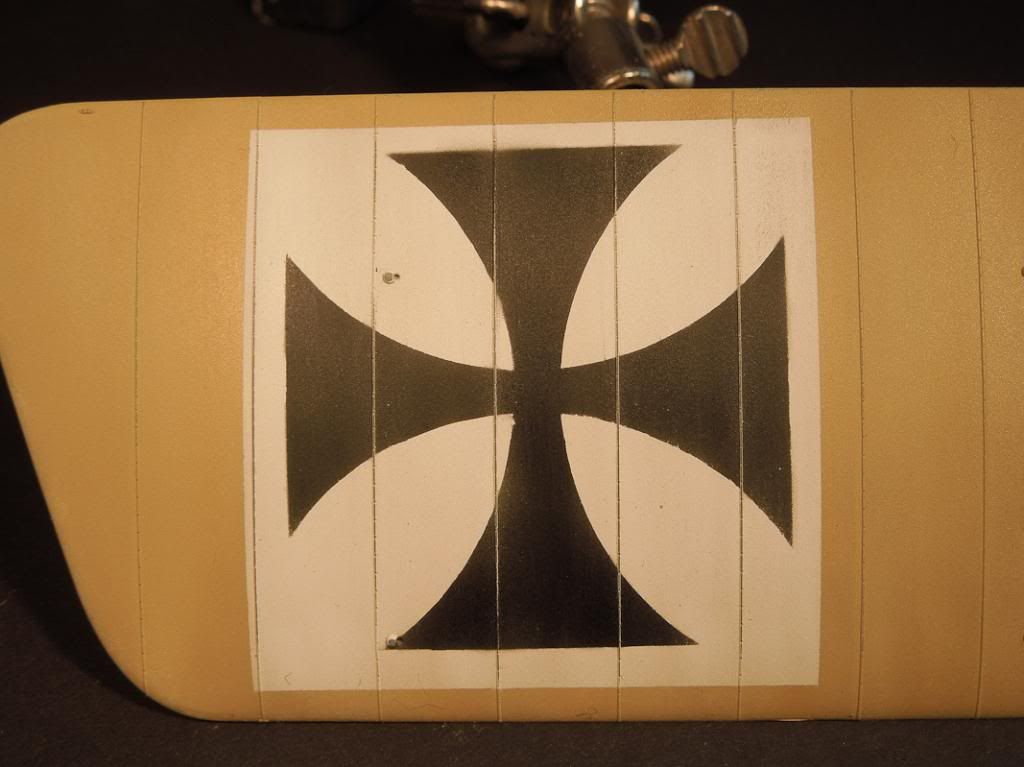
After two hours of drying Post it Notes are used for masking and got some helping lines.


The cross was painted by using XF-69 Nato Black first. XF-1 follows in irregular patterns and satuaration. The mask was peeled off.


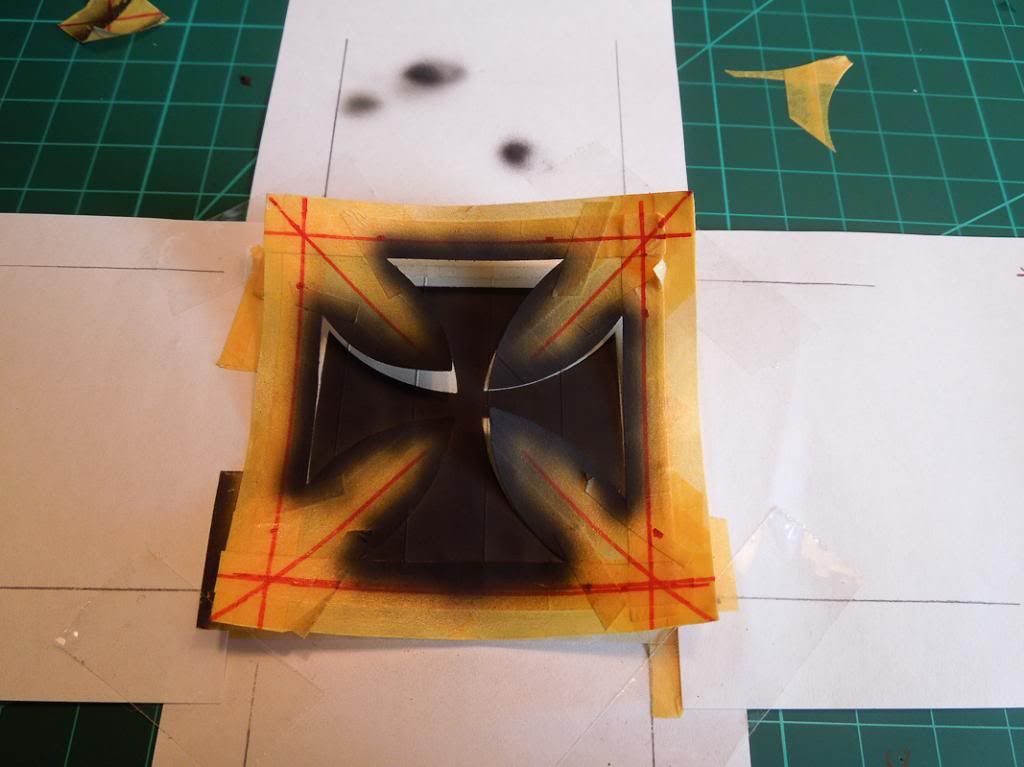
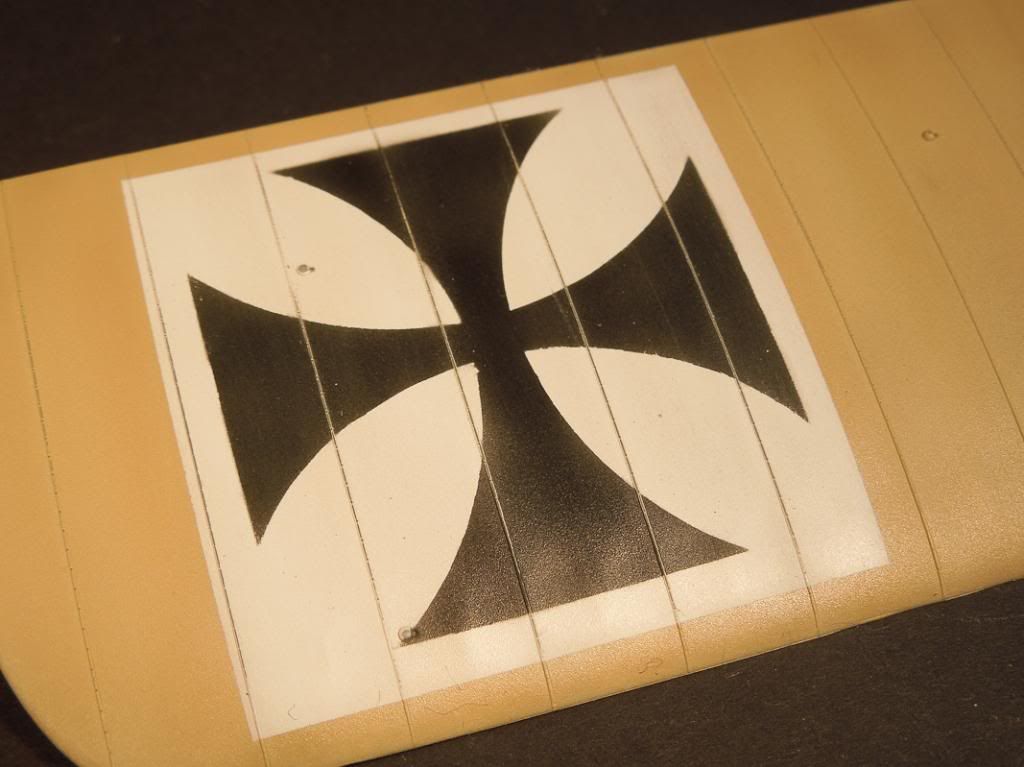
And the result after - you guess it... sanding and some future as varnish:


Hope you like it,

with greetings from Geramny,

Dirk


Offline RAGIII

  • Hero Member
  • *****
  • Posts: 18793
Re: Fokker E.II 69/15 Kurt von Crailsheim
« Reply #85 on: May 03, 2013, 04:03:35 AM »
OK, I am now even more impressed  :D Excellent work on the masks and painting of the crosses!!!!
RAGIII
"A man has to know his limitations": Harry Callahan

"Don't slop it on" Lynda Geisler

Offline coyotemagic

  • Hero Member
  • *****
  • Posts: 7710
  • "Here's to not buggering it up." -Winston Chuchill
    • My Models
Re: Fokker E.II 69/15 Kurt von Crailsheim
« Reply #86 on: May 03, 2013, 04:27:03 AM »
Simply gorgeous paint work, Dirk!
Cheers,
Bud
"All men dream: but not equally. Those who dream in the dark recesses of the night awake in the day to find all was vanity. But the dreamers of day are dangerous men, for they may act their dreams with open eyes, and make it possible." -T. E. Lawrence

Offline dirk

  • Full Member
  • ***
  • Posts: 246
Re: Fokker E.II 69/15 Kurt von Crailsheim
« Reply #87 on: May 03, 2013, 04:59:06 AM »
For the crosses on the undersurface of the wings I choose a minor different method that proofed to be far more easy, especially in alignthe both masks. After the wing has been masked  and painted white, the mask for the crosses was cut to size of the white area. After fixingthe maskt onto the white area a small gap of around 1mm showed the correct alignment on all four sides. After masking the gaps, the crosses were sprayed. Life can be so easy  ;D


Cheers, Dirk


Offline IvotB

  • Sr. Member
  • ****
  • Posts: 426
Re: Fokker E.II 69/15 Kurt von Crailsheim
« Reply #88 on: May 03, 2013, 06:39:59 AM »
Dirk, the results are really stunning. It will always look different and more accurate than decals. We should see the real thing surely, but on your pictures they look perfect. Now it doesn't look like they are painted, they are!

regards,
Ivo

Offline Chris Johnson

  • Hero Member
  • *****
  • Posts: 1959
Re: Fokker E.II 69/15 Kurt von Crailsheim
« Reply #89 on: May 03, 2013, 09:28:50 AM »
Thanks for sharing your techniques Dirk. You make it all look so easy. I just wish it was!

Cheers,

Chris
You can have it good; You can have it fast; you can have it cheap. Pick any two, but all three are impossible.