Hi again... life again... good to have one though.
Excellent progress. Your rigging prep should make the process go smoothly!
RAGIII
Thanks Rick! One would have thought that the rigging would be smooth sailing, but not really. My fault probably, but it has been sorted now. I'll explain more below.
Great progress Fredrik!
I, too, like the effect. If you tried to do that I bet you couldn’t!
Guy
Ohh, a dare! I have actually been thinking about how to make conscious use of this effect... We'll see on the next model if I dare try that. Good progress on the Bismarck! I am following, just so you know... but from a back seat.
What a huge spider 
Good luck and have fun with the rigging!
Cheers,
Frank
Thanks Frank! I brought the model up to show the rest of the family and was greeted with "What a hairy aircraft!?", so spider or hairy monster?!
Since the last update I have been tinkering with rigging and other small details. It might actually be finished before next weekend, unless life gets in the way again...
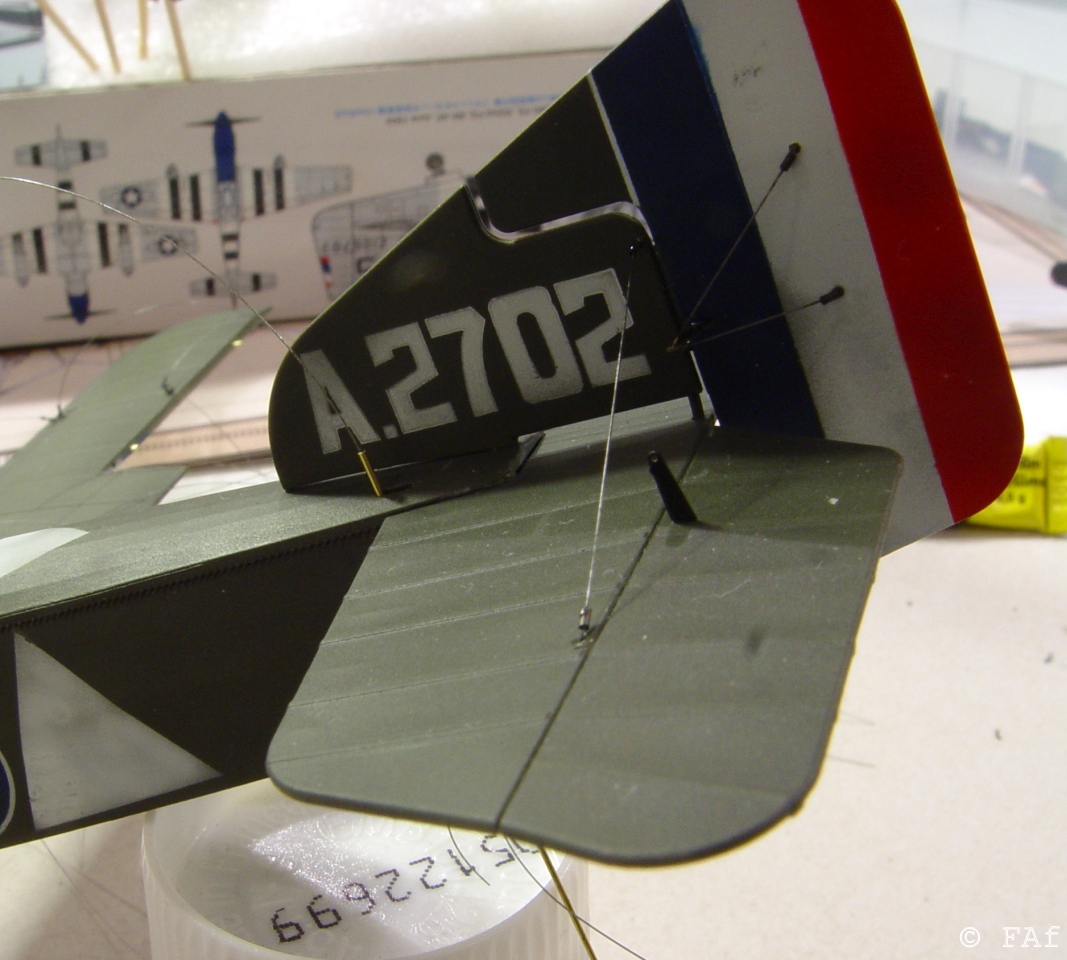
I realised that I needed a way to tighten the rudder control wires and that I should have thought about that before I closed the fuselage. I solved it by drilling a hole from the underside and then I used a bit of brass tube to guide the wire from the top. It worked but one can see that the wires aren't really running forward... if one looks closely.
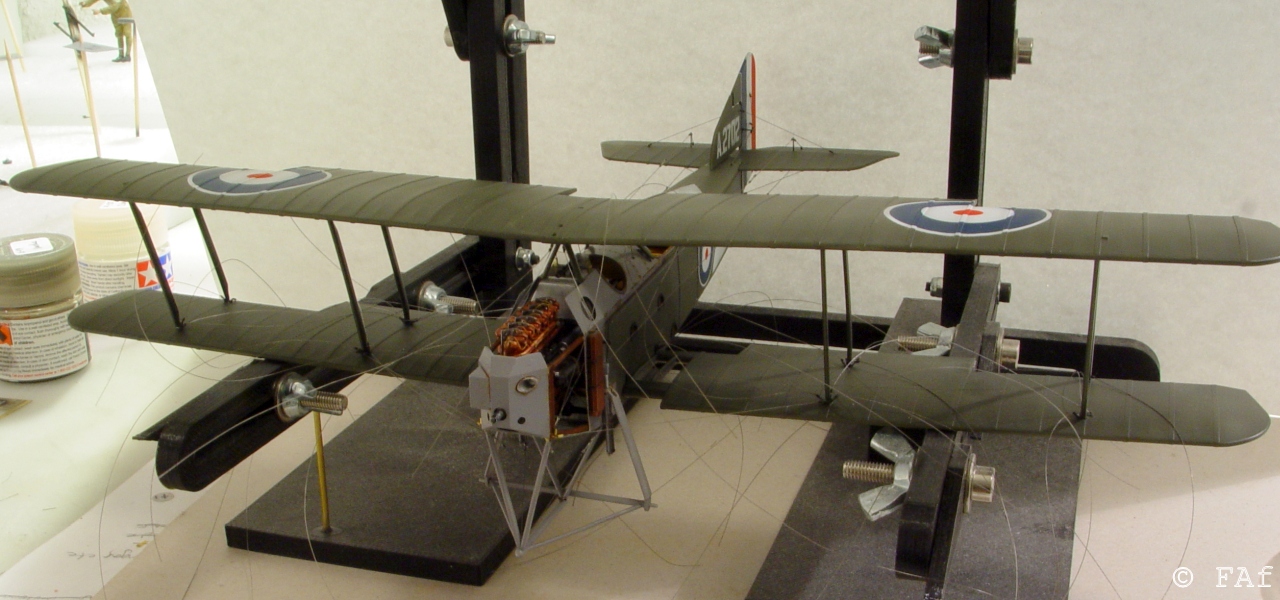
The struts went in like they should and the top wing came on with a bit of work. Quite tricky to align all eight interplane struts and the cabane ones and as it turned out, the top wing went on a bit off the mark. Probably my fault though. The main problem was that I didn't catch this until I had completed the rigging!
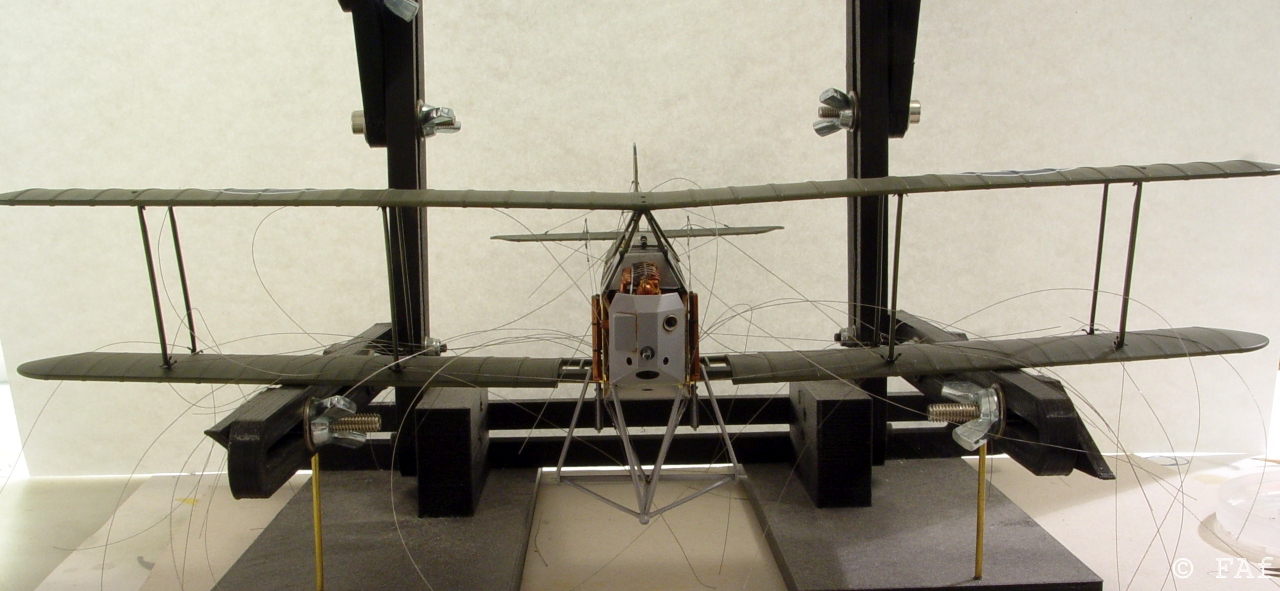
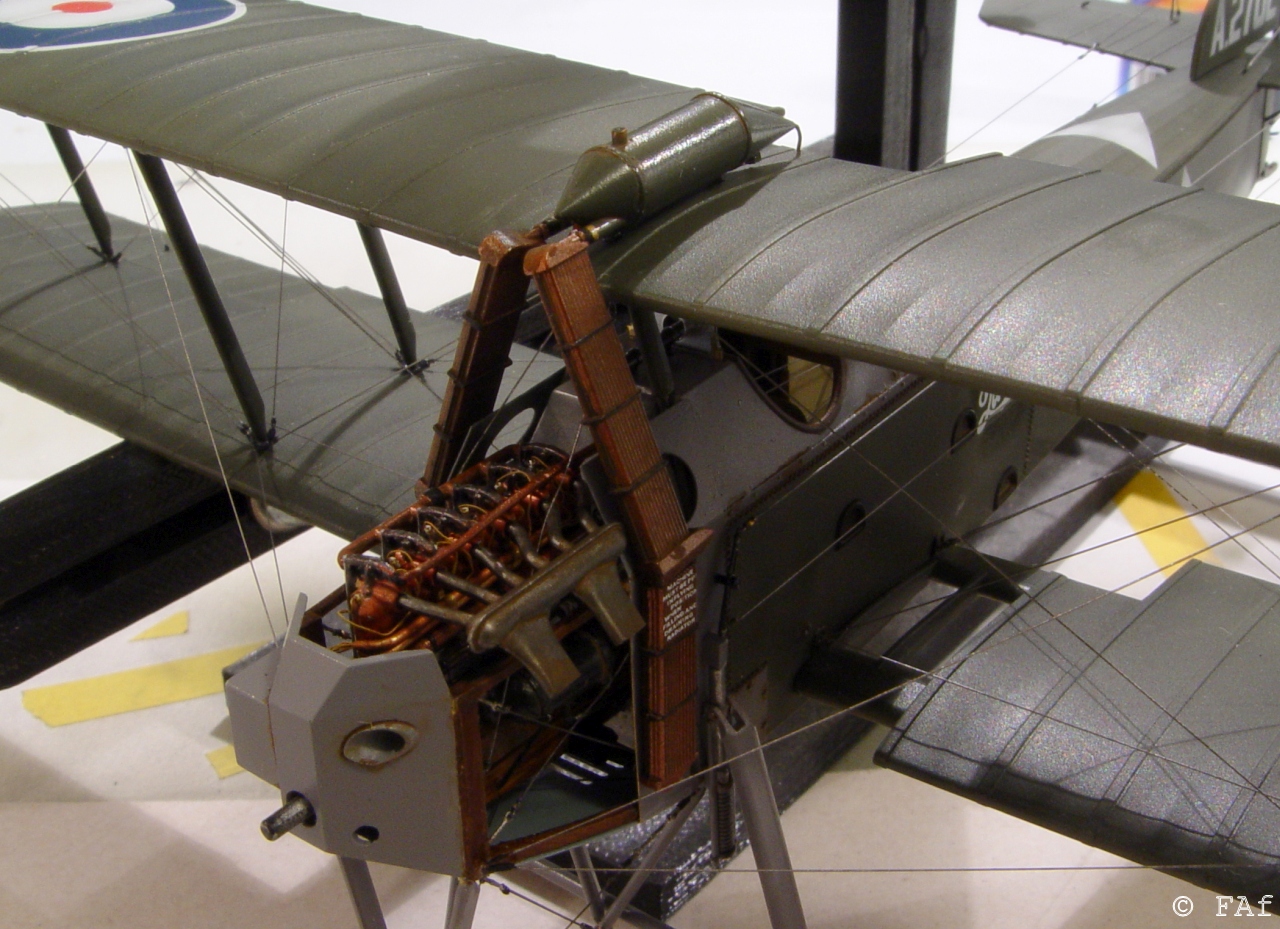
In the end I was able to solve the top wing problem by replacing one of the rigging wires , the one from the left top wing to the front of the engine and tightening this a lot (red line marked 1 in the picture below)! You can see, in the image below, the wires coming out from the left side of the engine (marked 2 in the picture). I simply did away with the anchor point and drilled a new hole that allowed me to pull the monofilament through to the other side and pull .
.jpg)
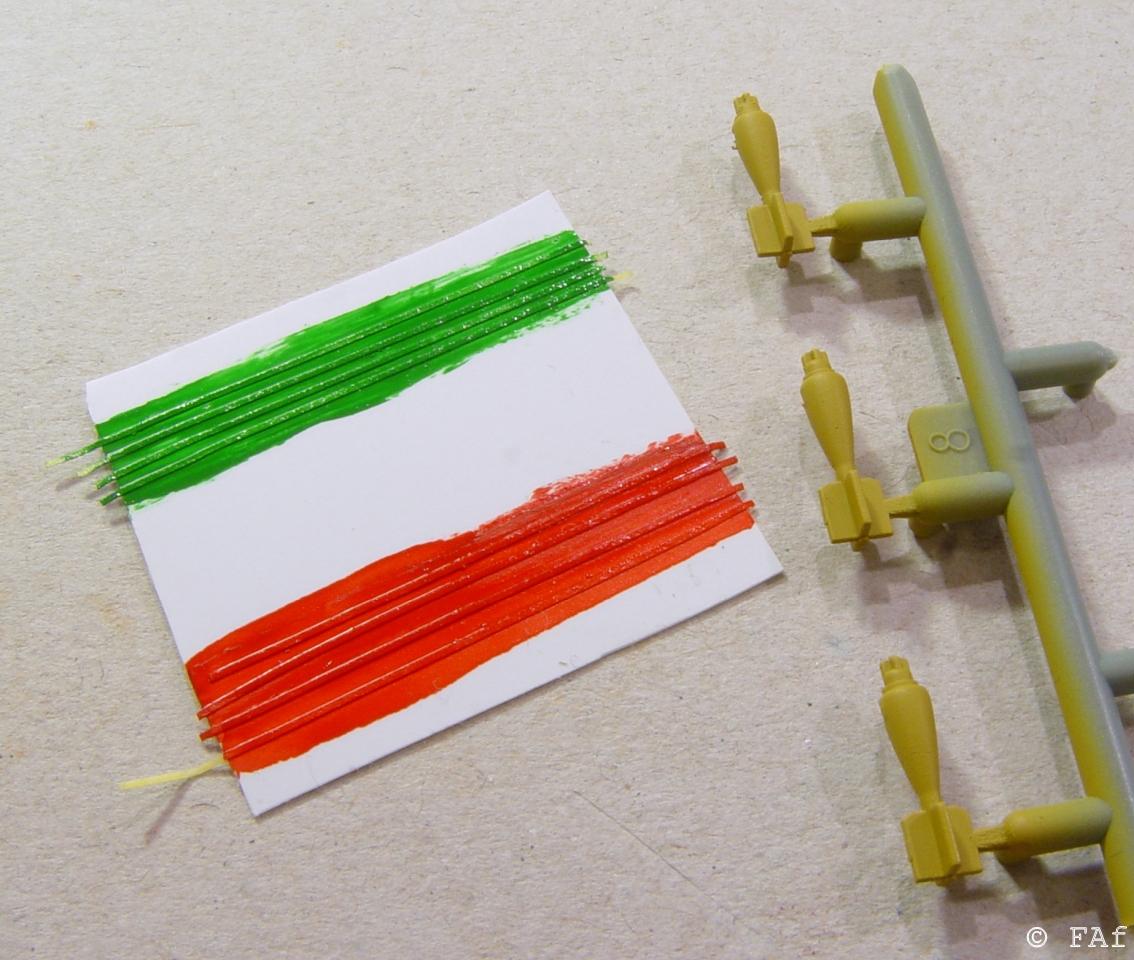
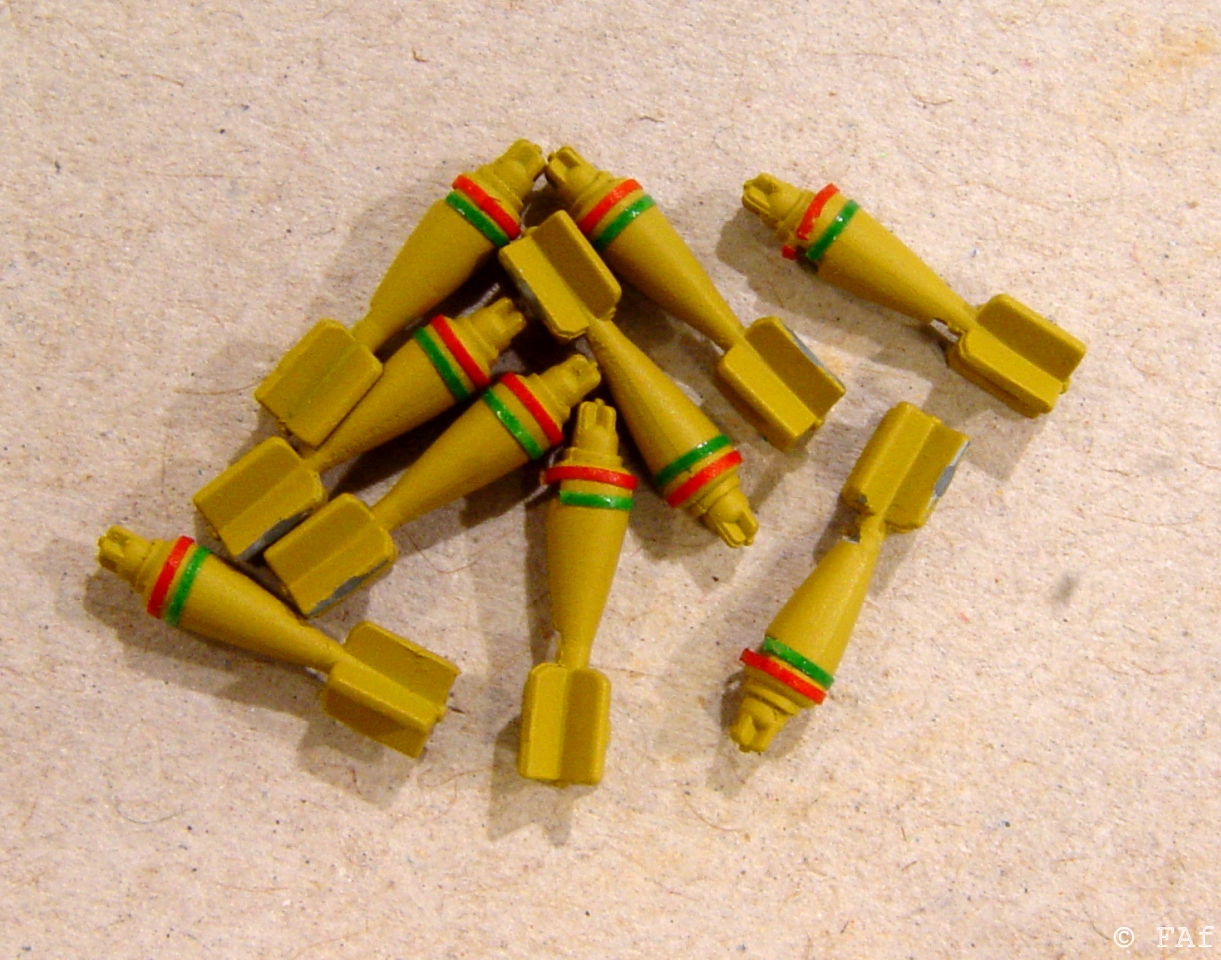
The Cooper bombs have been painted and instead of painting the red and green stripes I painted thin masking tape and then applied that onto the bombs. They are now awaiting a clear coat and then some metallic colours on their noses.
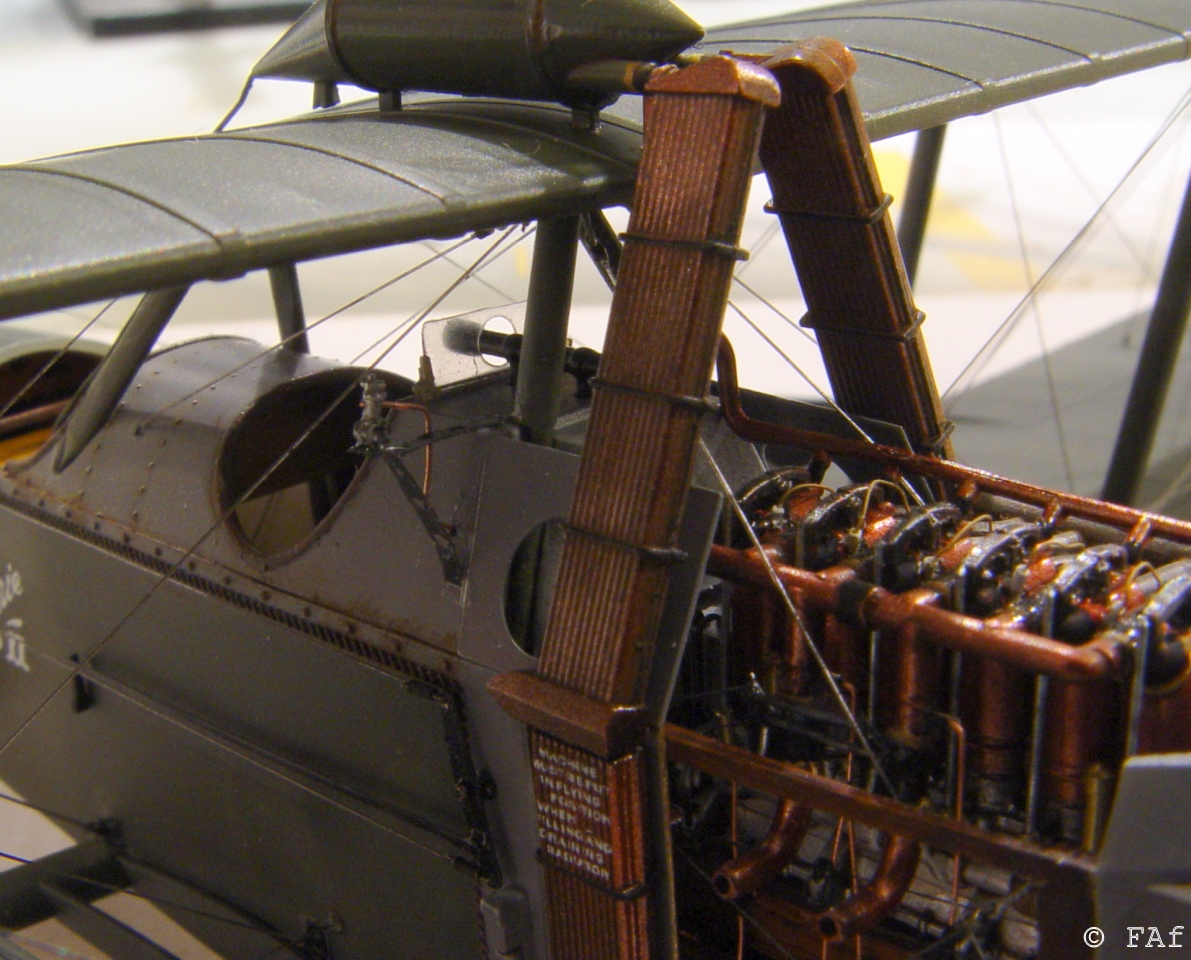
Radiators are on, top wing tank (gravity tank?), and some other bits and pieces.
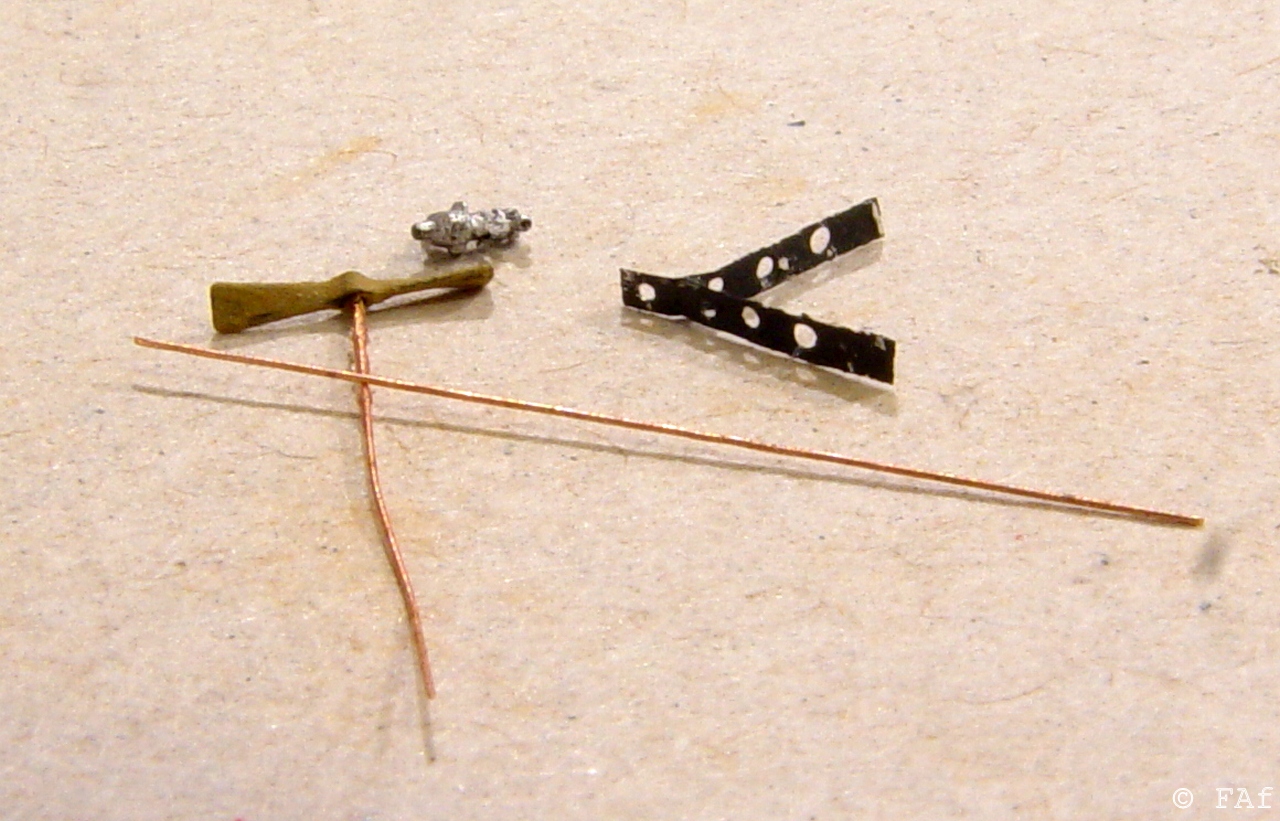
At least in one period picture there is a Rotherham pump. So I thought I'd add one according to that picture. I recently bought small resin versions from Eduard, they're designed for the Camel but with a few additions it worked here as well.
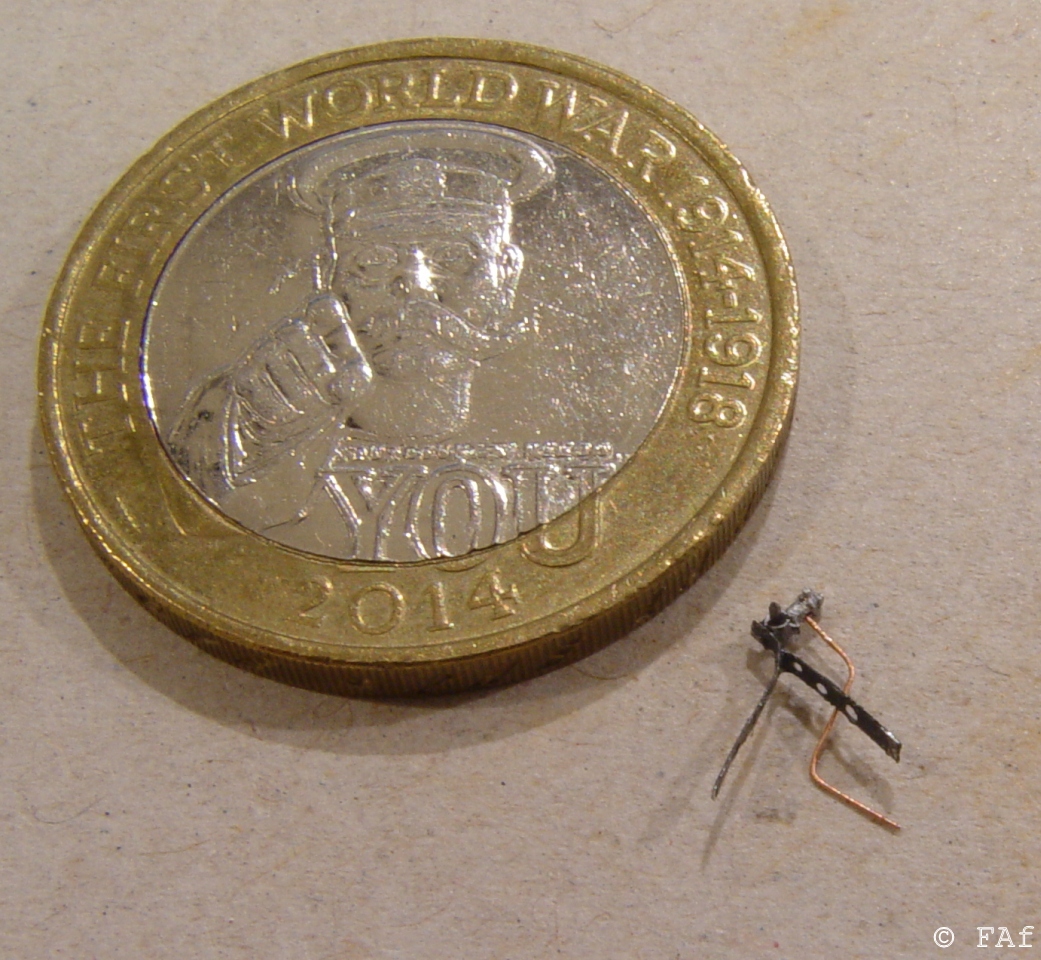
And here it is attached to the fuselage. Without the propeller so far since that has been painted and is now drying in a box.
Cheers
/Fredrik

