Evening All,
My sincere thanks to all who have dropped by and looked in and especially to those who have left such encouraging comments: Bud, Frank, p9o1rische, Ron, Rick, Terri, Roberto and Giuseppe, they are very much appreciated.
Roberto - many thanks for pointing out that the pusher propellor should be reversed from the tractors: I have not corrected it yet but will do so later!
Following on from the last build post I have manged to put the nacelle and booms on to the lower wing and add some other details. In a week this has started to look like an aeroplane.
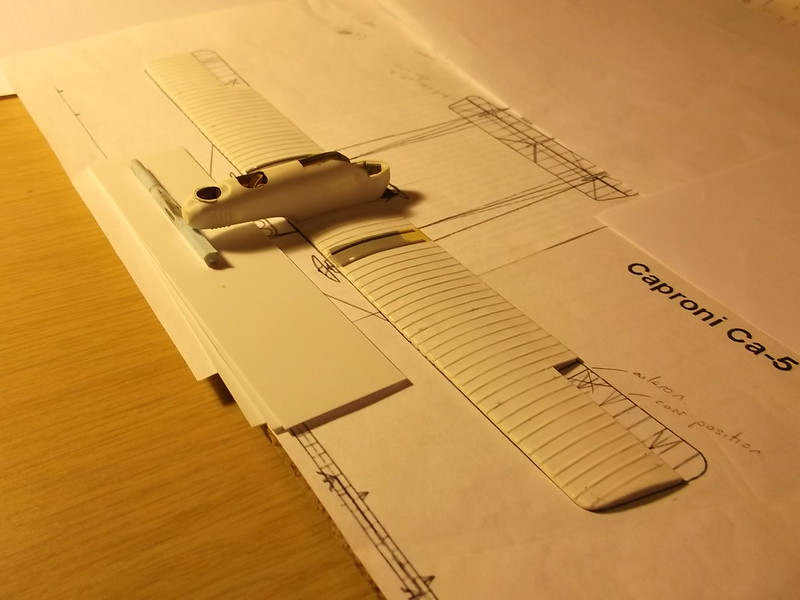
First up was to cement the fuselage nacelle to the lower wing. The alignment laterally and horizontally needs to be accurate, so to get the former right I laid the wing on a plan and then adjusted the nacelle sideways until it was true. To get the horizontal line correct I resorted to one of my master jigs: in this case a piece of sprue with which I stir my enamel paints placed on some lengths of plastic card: simple, cheap and completely effective - and the bonus is that the parts are ready to hand and easily stored!


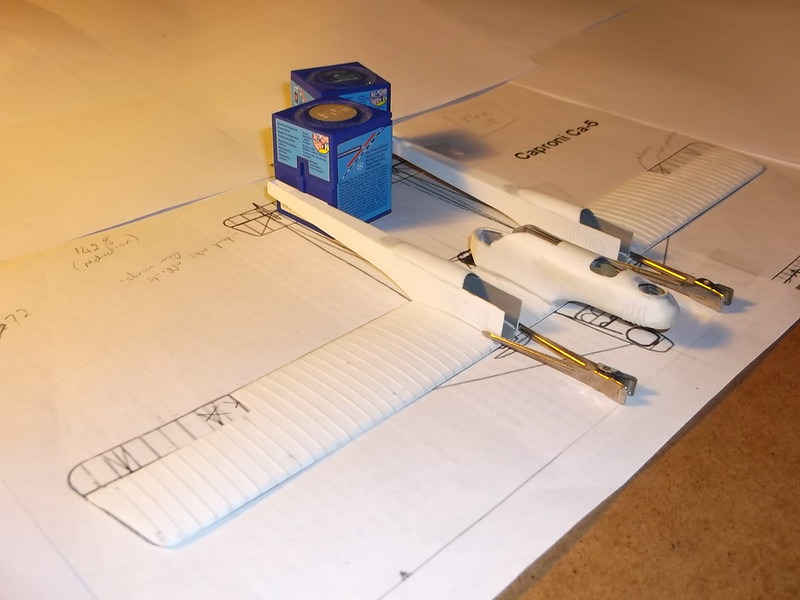
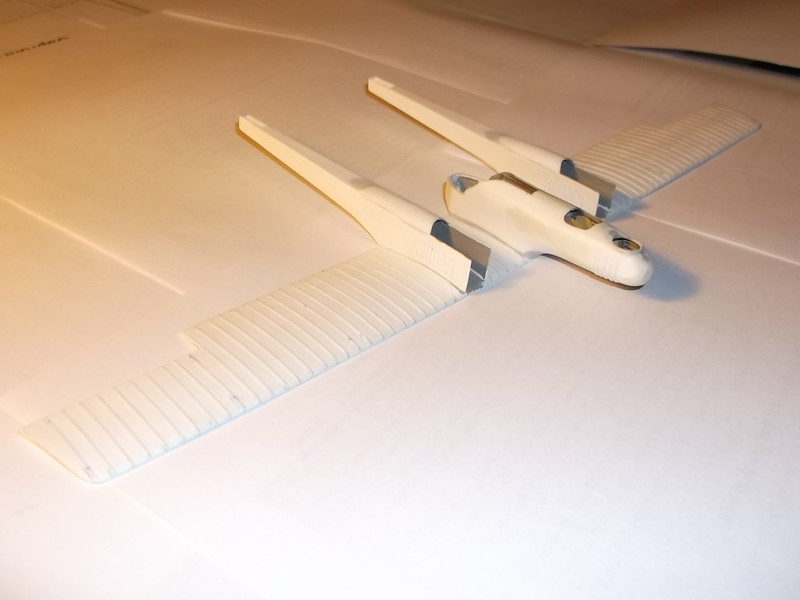
A small amount of filler was used along the joint but I was very pleased with how little was needed in the end. With the nacelle in place the booms could follow: I used the same method as per the nacelle by laying the wing over the plans and aligning the booms on the plan. I cemented both booms at the same time and to ensure that they were properly parallel I employed another jig at the rear - also from simple flexible materials! To stop the open ends at the front splaying outwards I used a pair of hair clips to keep them correctly aligned:


Once again a little filler was required to clean up the joints but as these images show, not very much was required:


Now I could put the front panels which I had already moulded on to the booms, followed by the radiators (cut from 60 thou card and scribed), and finally the engines. The latter are mounted on pieces of 60thou card to hold them at the correct level in the nacelle:

When I had installed the engine in the rear of the nacelle, I put the rear horizontal tail surface into place as this helps to keep the entire structure rigid. It will also make painting easier. The white strip in front of the assembly is the top wing::


Next painting and decorating.
Thanks for looking.
Stephen.