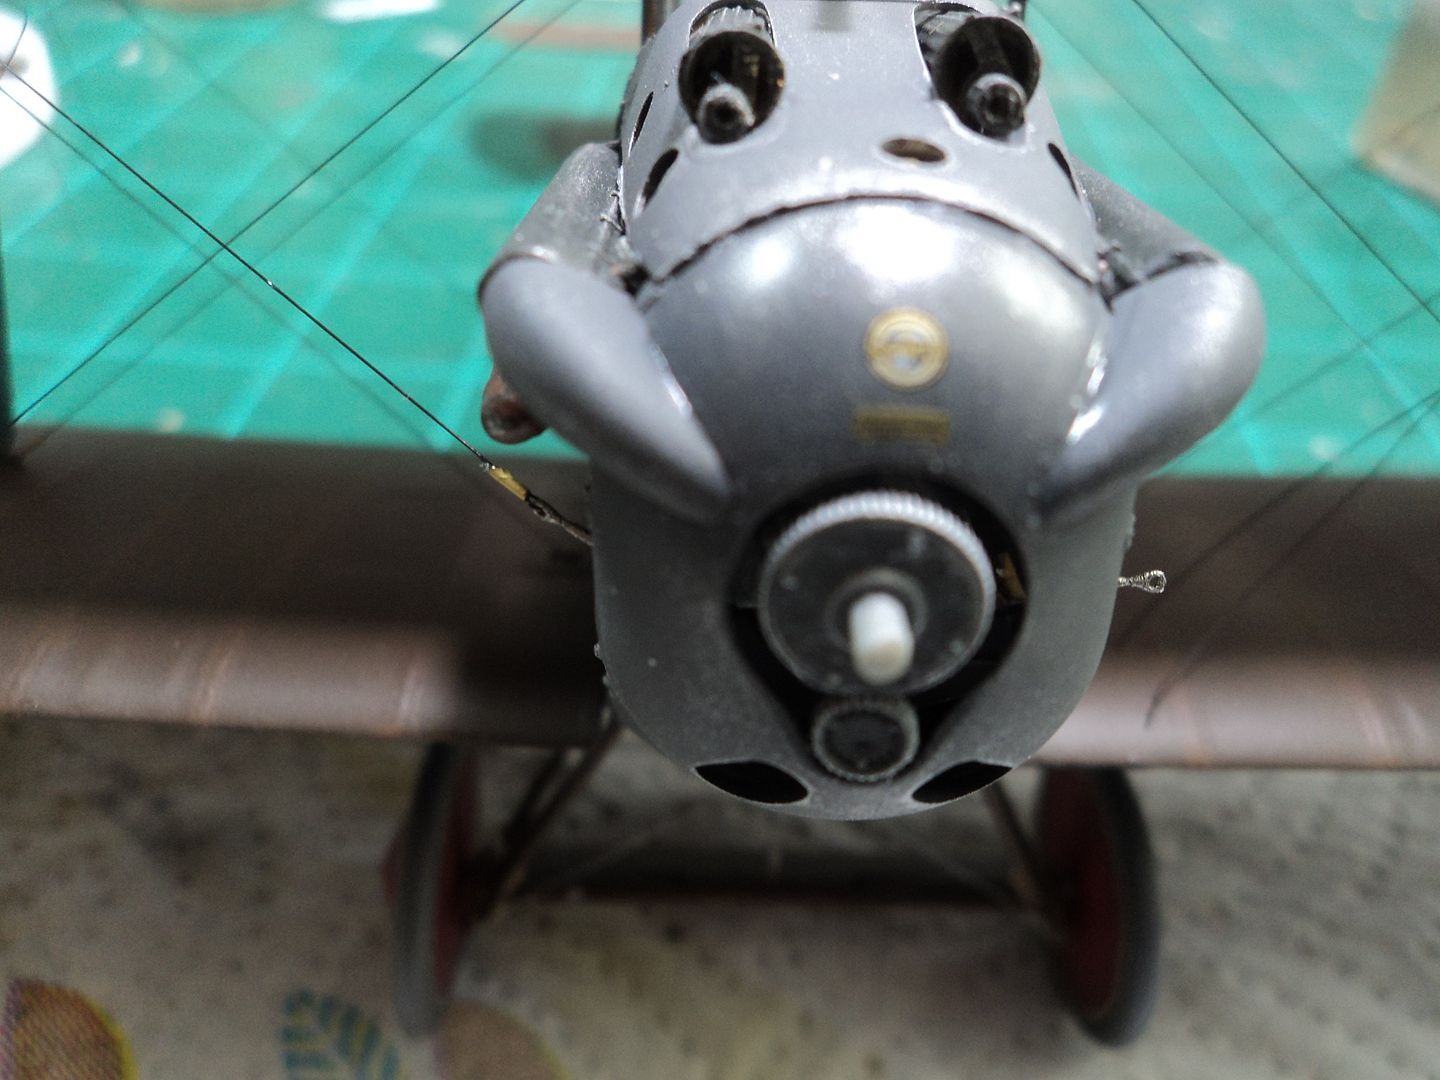
Thanks guys for your comments, compliments and following along on this build. After getting over the fact that my engine isn't in correctly, I moved on and got the model completed. Another area to watch for are the photographic insets along the way. A lot of the little detail decals are called out in these and not reflected on the artwork for the decal application. Page 6 shows the Sopwith Crest and data plate on the front cowling.
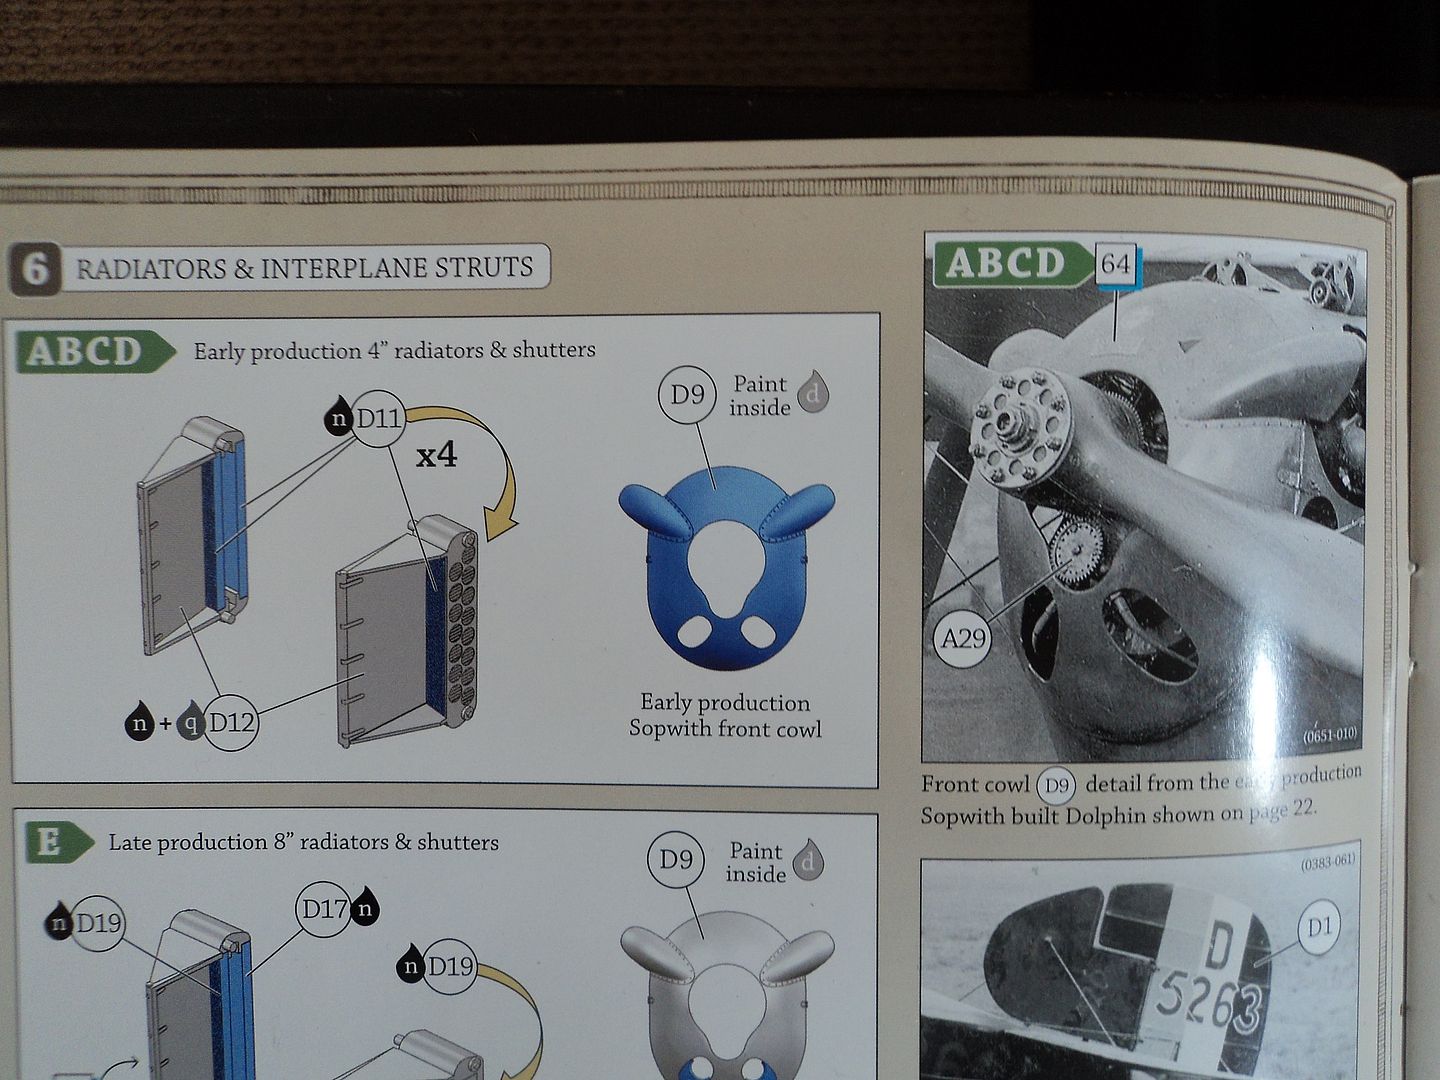
I missed this, haply when I was going over the instructions to see what I had missed, I discovered it and applied the decal accordingly. The image is a bit blurred, but you get the idea.
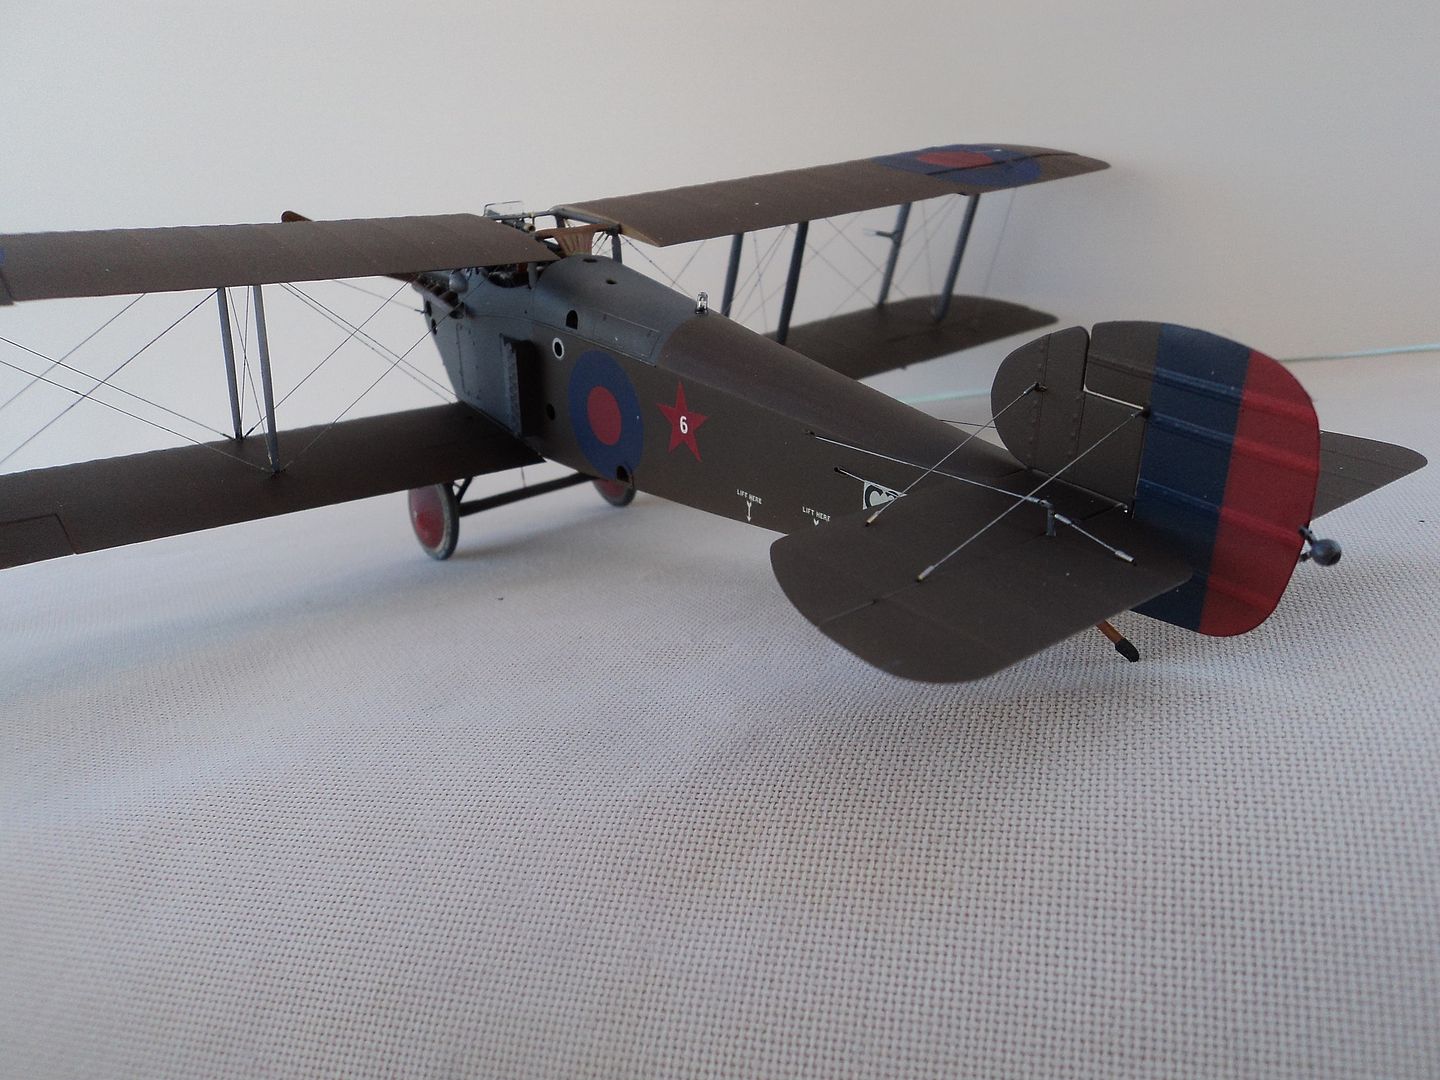
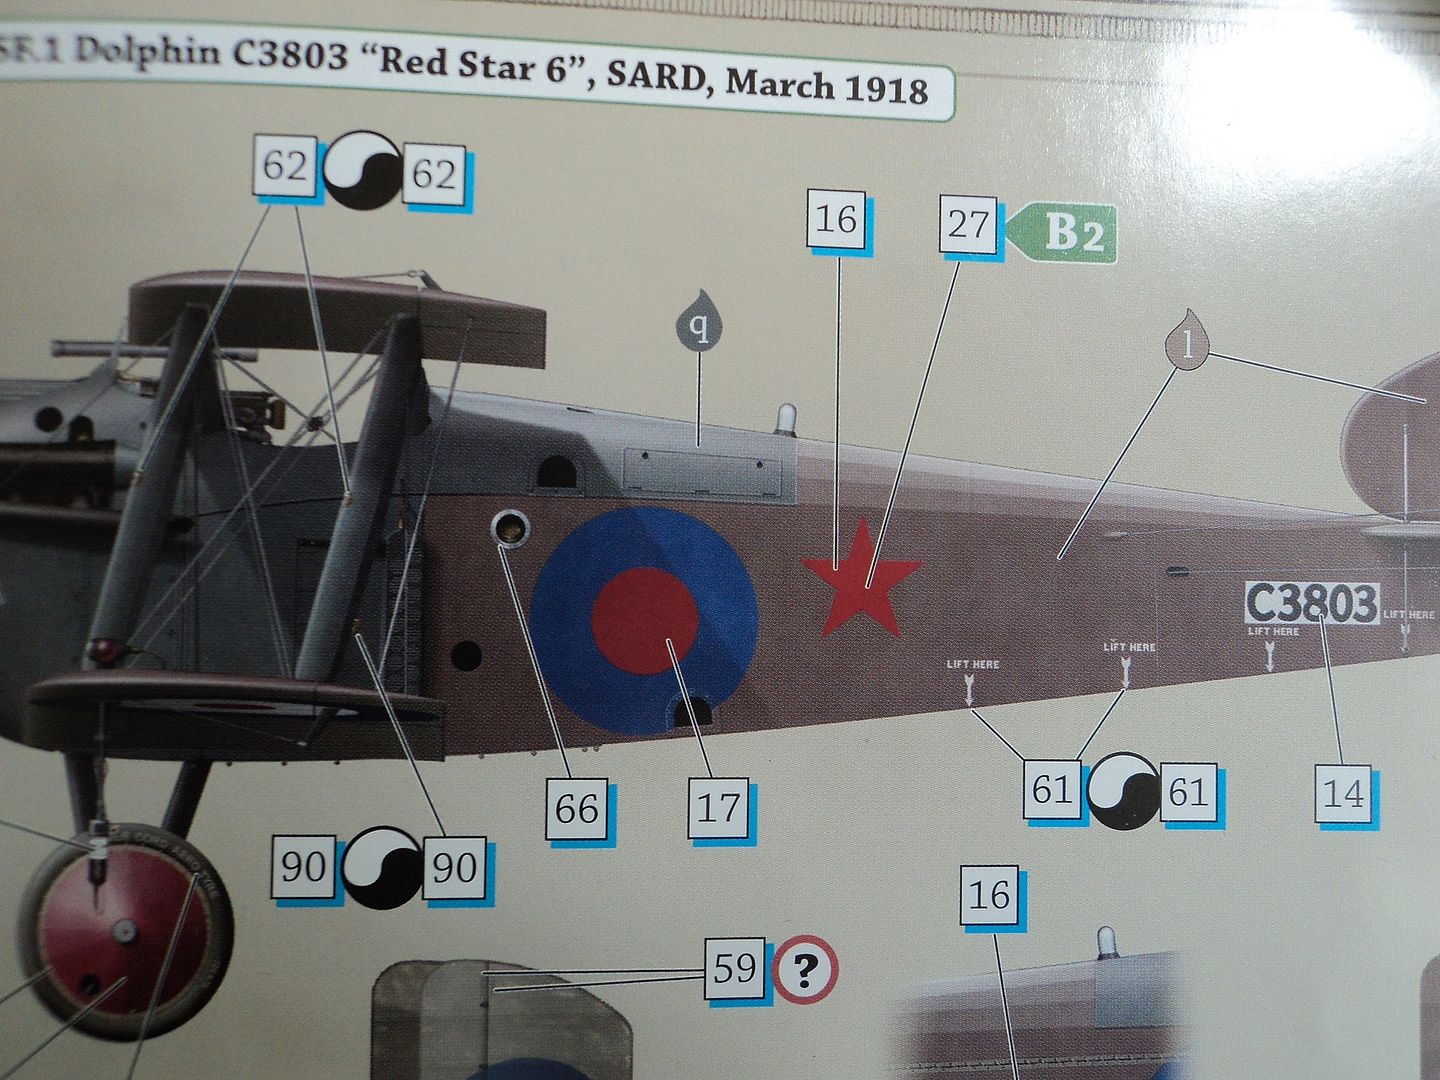
Another area that I couldn't quite figure out was on page 14, the drawing for the SARD "Red Star 6", the "6" was readily apparent. The drawing doesn't show the "6" on the star, however, in the inset, you can barely make out a "6" in the star in the photo, so I put it in as I had these "6's" but couldn't seem to figure out where they went.
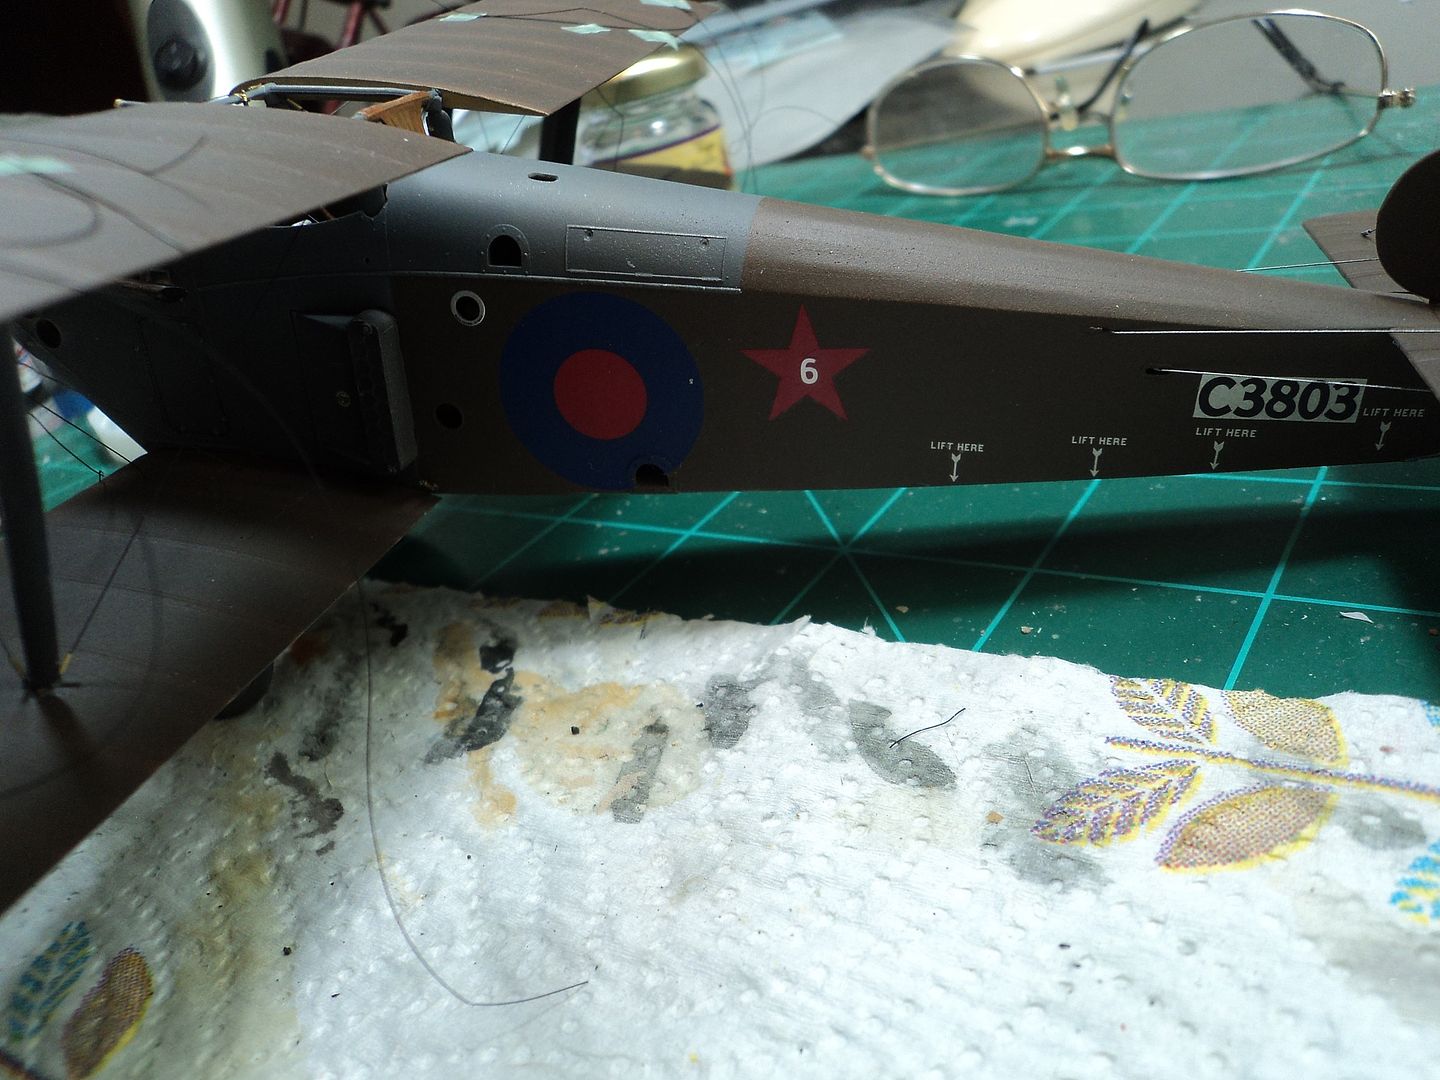
The model with the "6" in the star.
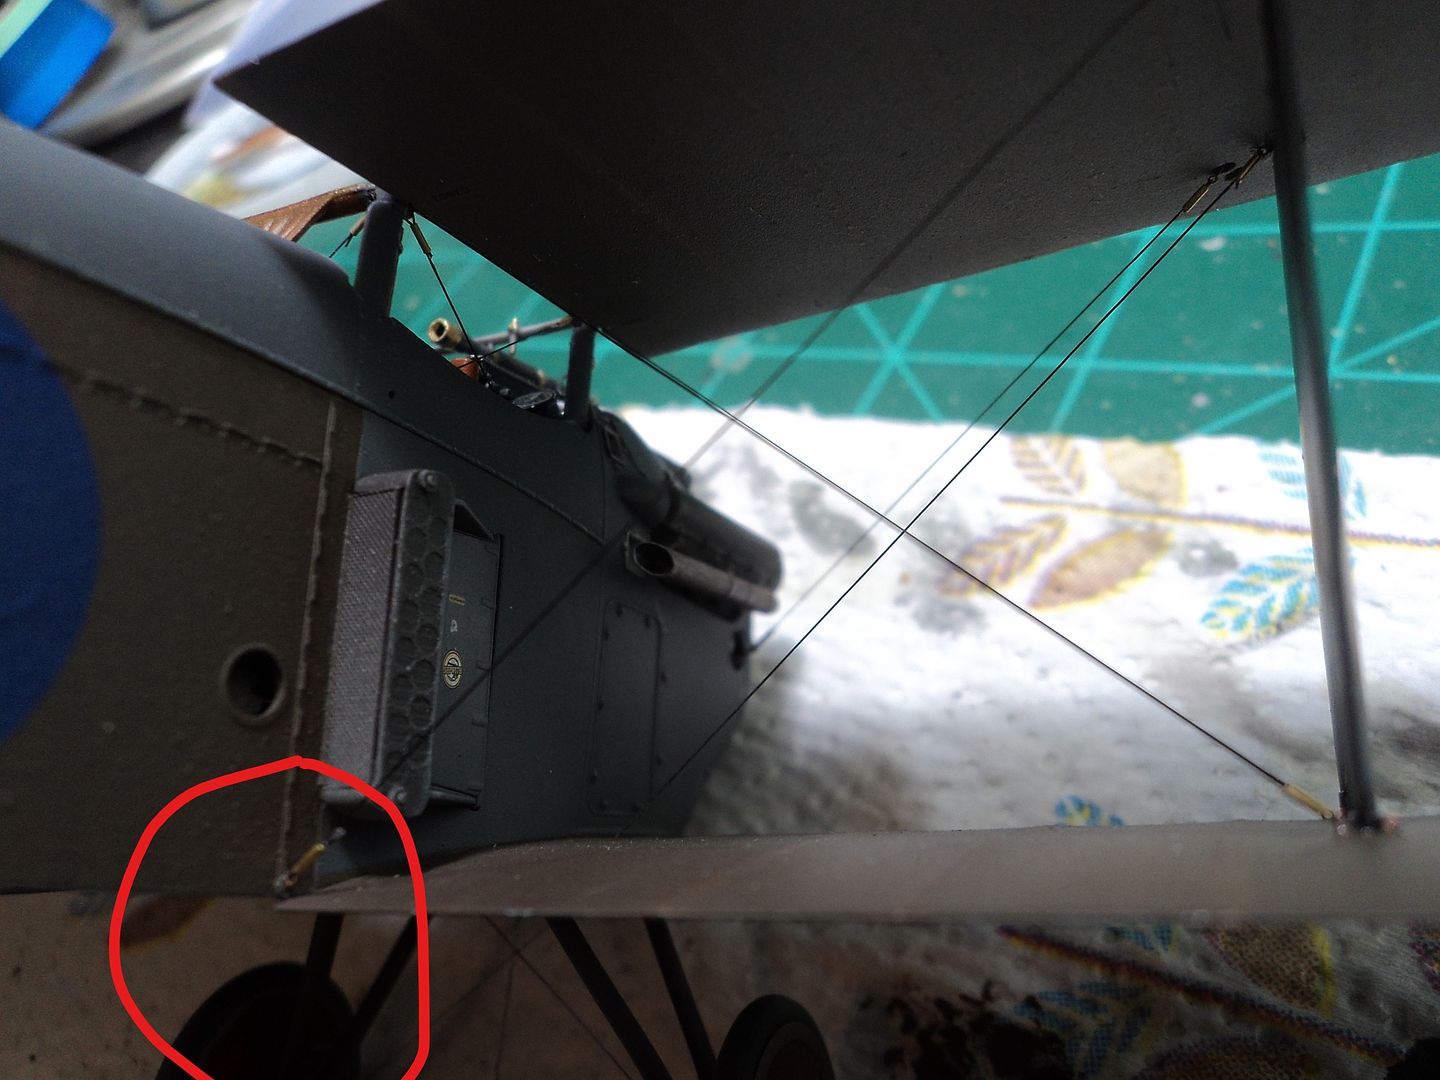
When mapping out where the eyelets should go for rigging, don't forget to drill out the hole and insert the eyelet by the radiator. If it isn't done prior to mating the fuselage to the lower wing it could be a bit dicey. The image below indicates where this should be.
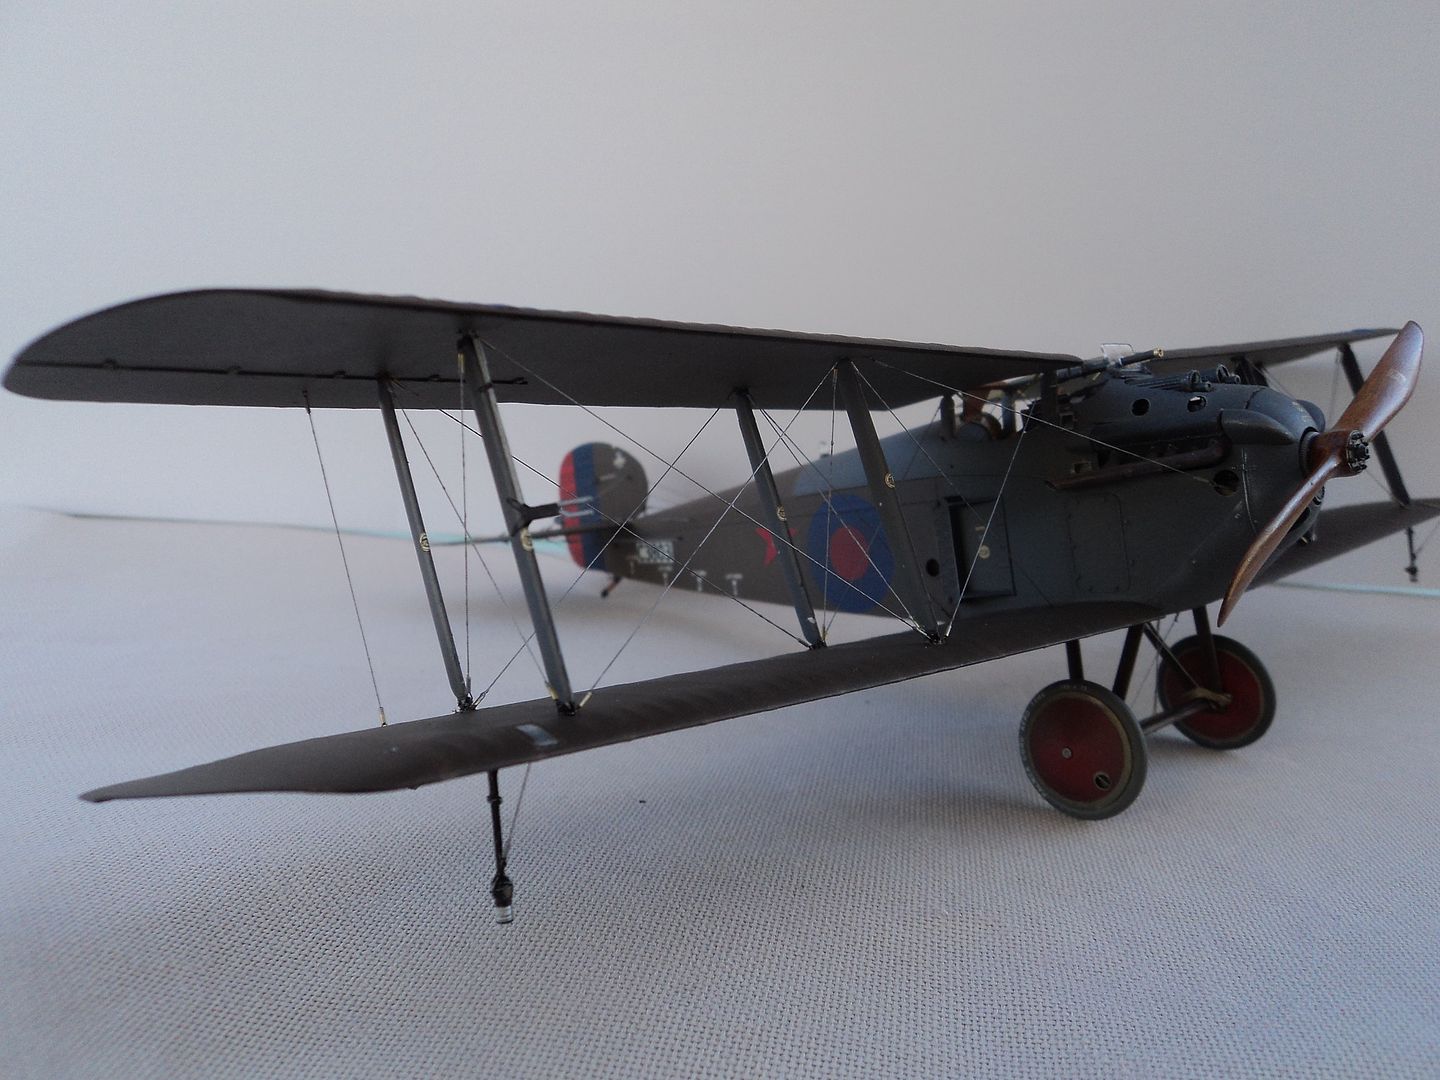
Due to the rearward stagger of the upper wing, I began my rigging by starting in the back, working closest to the fuselage and working my way rearward and outboard.
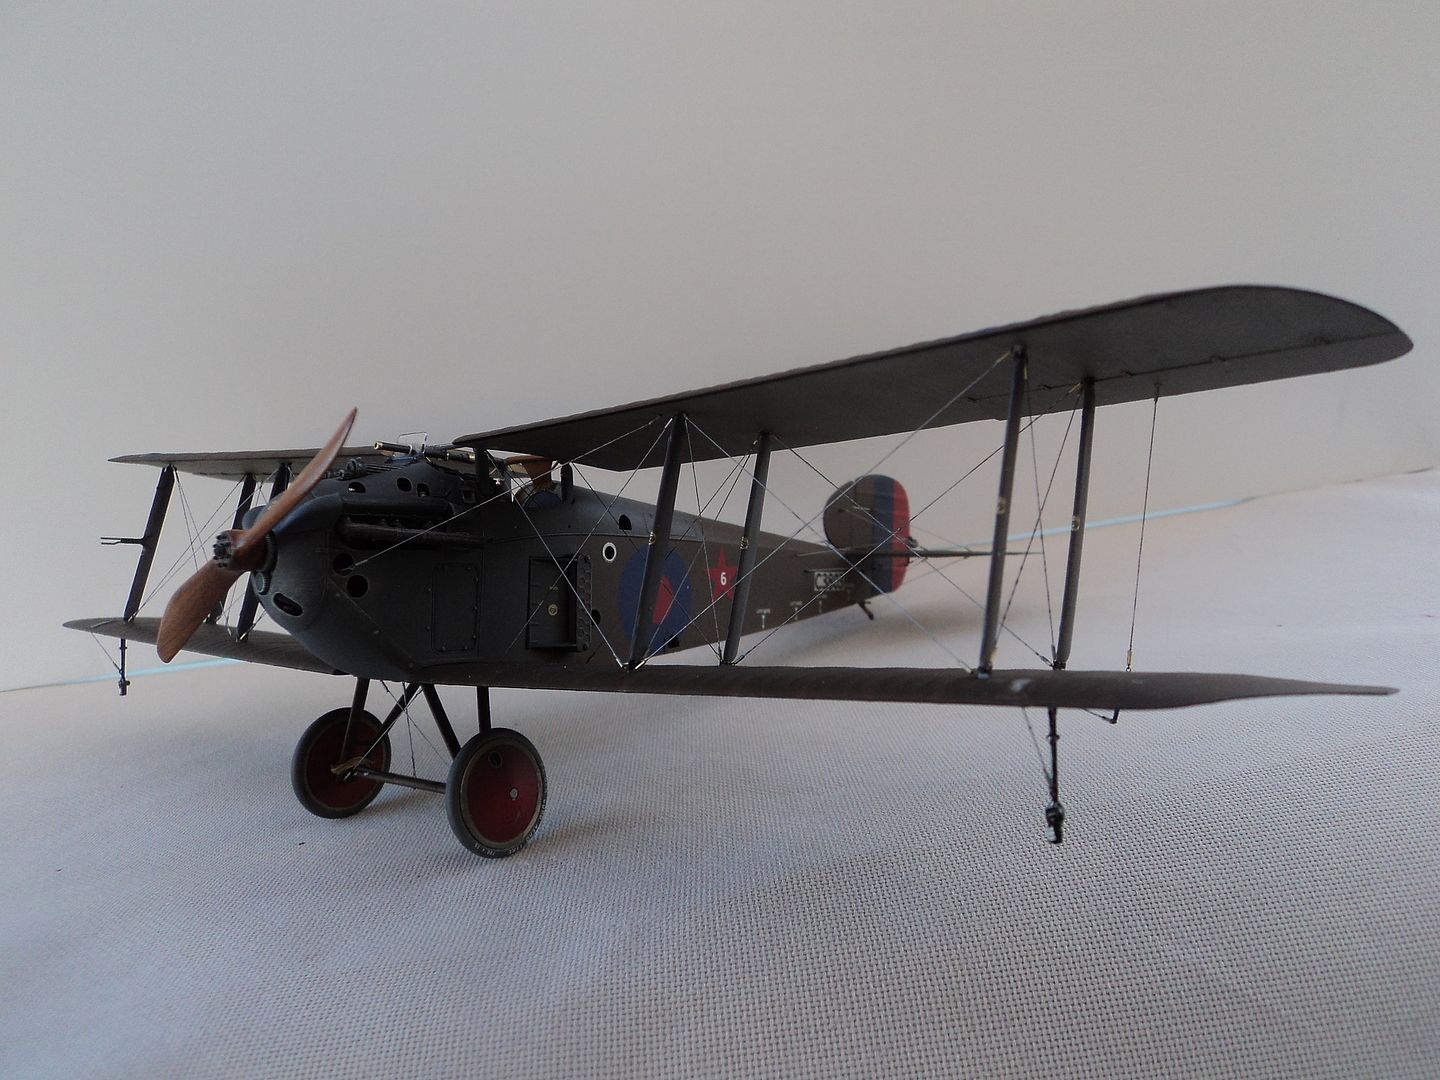
I am calling it done, I started on 11 December, I tried not to rush it, but it's my nature and here it is, save for the running lights on the lower wings, I am calling it finished. I hope the comments and observations will help.