Author Topic: Wingnut Wings Sopwith Dolphin  (Read 15741 times)

Offline jknaus

  • Hero Member
  • *****
  • Posts: 1121
Re: Wingnut Wings Sopwith Dolphin
« Reply #15 on: December 21, 2017, 03:21:56 AM »
Great build. My Dolphins arrived today and I cant wait to start. Going to use your method of painting the frames. :)
Watching and learning.
James

Offline mgunns

  • Hero Member
  • *****
  • Posts: 2255
Re: Wingnut Wings Sopwith Dolphin
« Reply #16 on: December 21, 2017, 03:40:12 AM »
Thanks Dave and James.  As I continue to progress in the build I will post my "observations."  It's going together quite well.  Lots of "gear" packed into a small space and so far no fit issues at all.
I look forward to seeing how your builds come along when you start.
Mark

We few, we happy few.....

Offline bobs_buckles

  • Hero Member
  • *****
  • Posts: 3734
  • Freedom isn't free.
    • Bobs Buckles
Re: Wingnut Wings Sopwith Dolphin
« Reply #17 on: December 21, 2017, 04:56:09 AM »
 I have a Flying Porpoise winging it's way to me over the Yuletide  :)

This log is going to be very handy - Cheers!  ;)

Von B


https://www.bobsbuckles.co.uk/

Last Minute Man Of Faith

Offline mgunns

  • Hero Member
  • *****
  • Posts: 2255
Re: Wingnut Wings Sopwith Dolphin
« Reply #18 on: December 21, 2017, 07:56:06 AM »
Okay, more stuff:

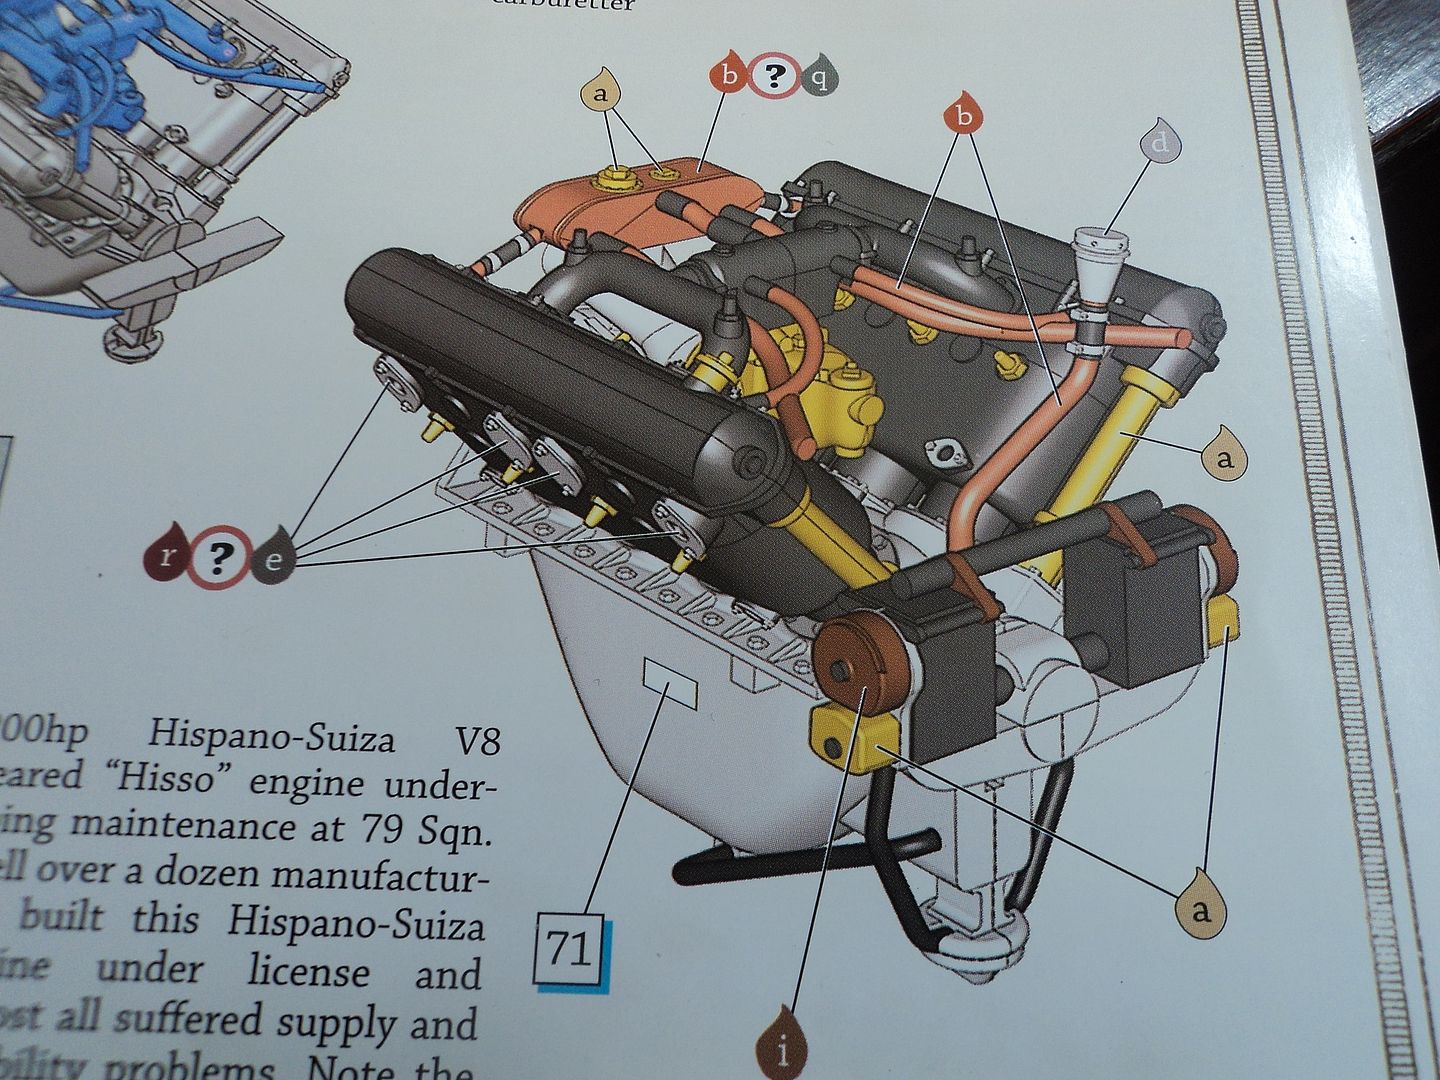
But first, thanks Bob VB for looking in and commenting.  Once I had realized the water tank was in backwards, and whereas I made the correction, I realized the oil breather was off kilter as well.
Part A55 needs to be resting against the line as seen in the images below.


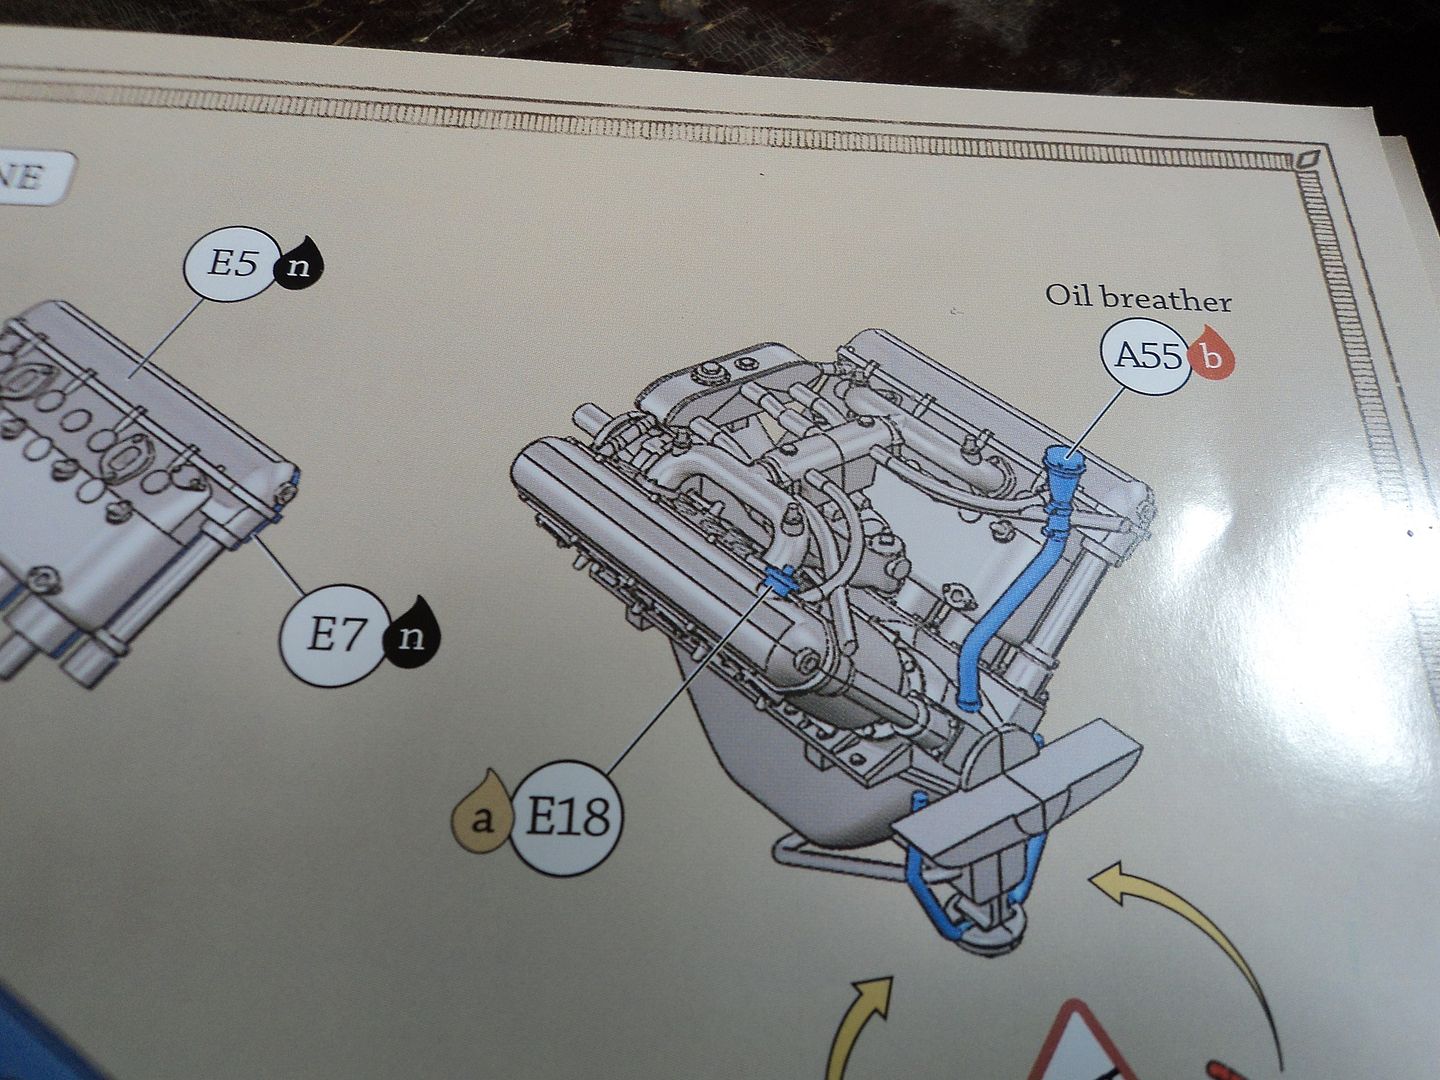
Haply, I was able to move it and re-install it.  Once the upper decking is in place it really can't be seen; but, "I know it's there."


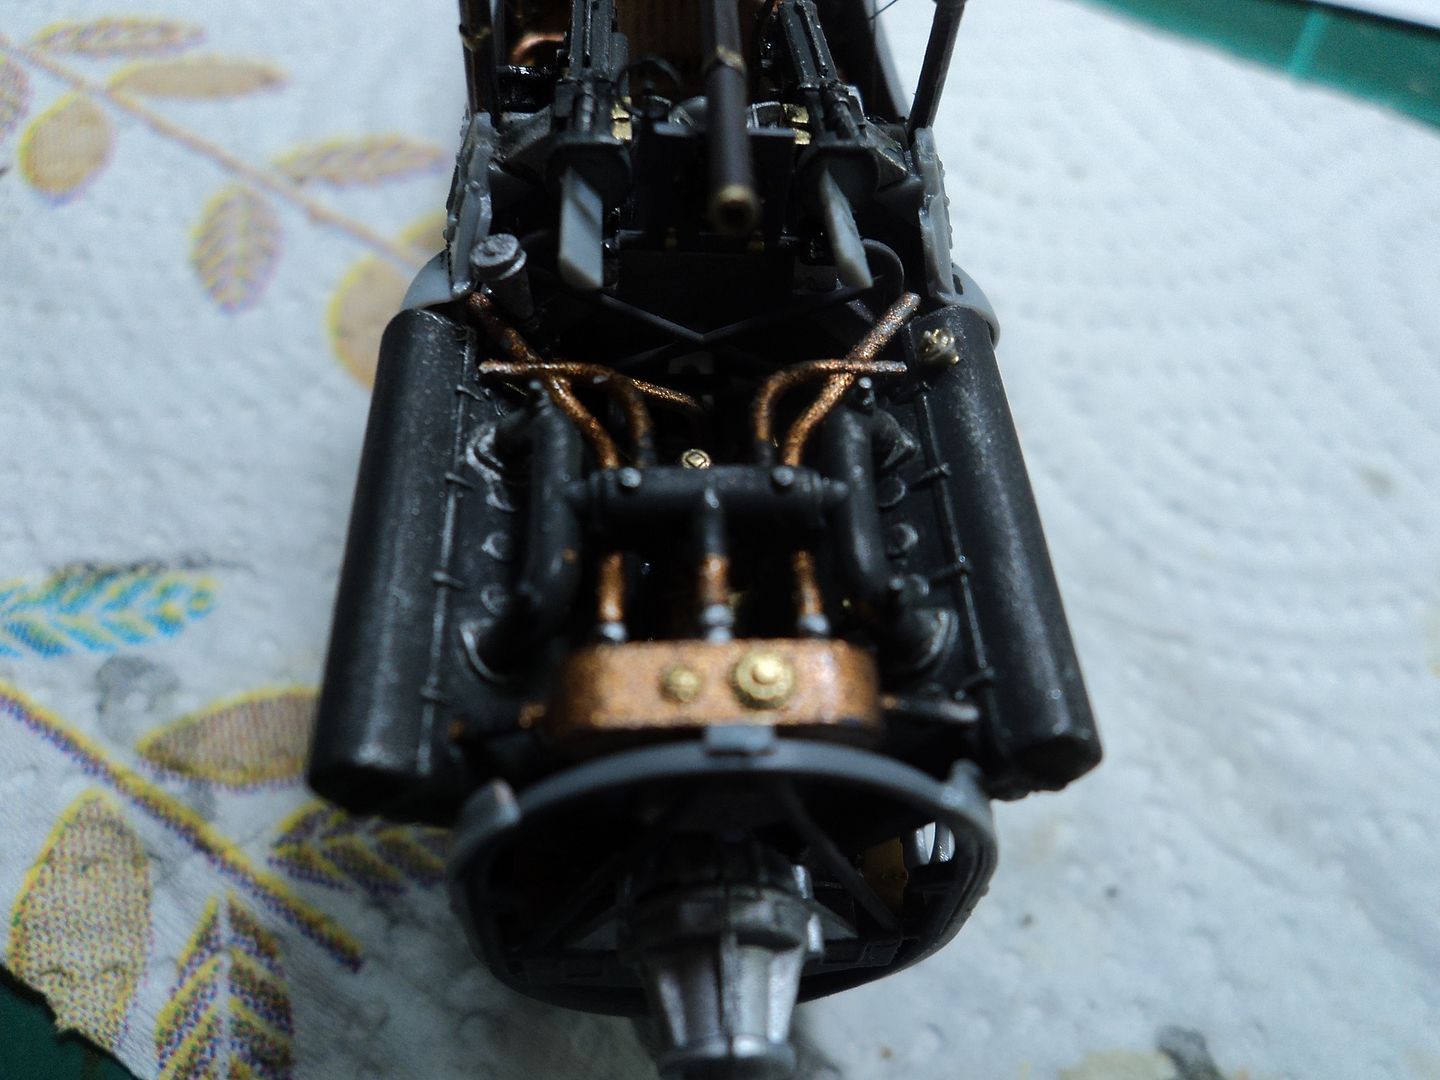
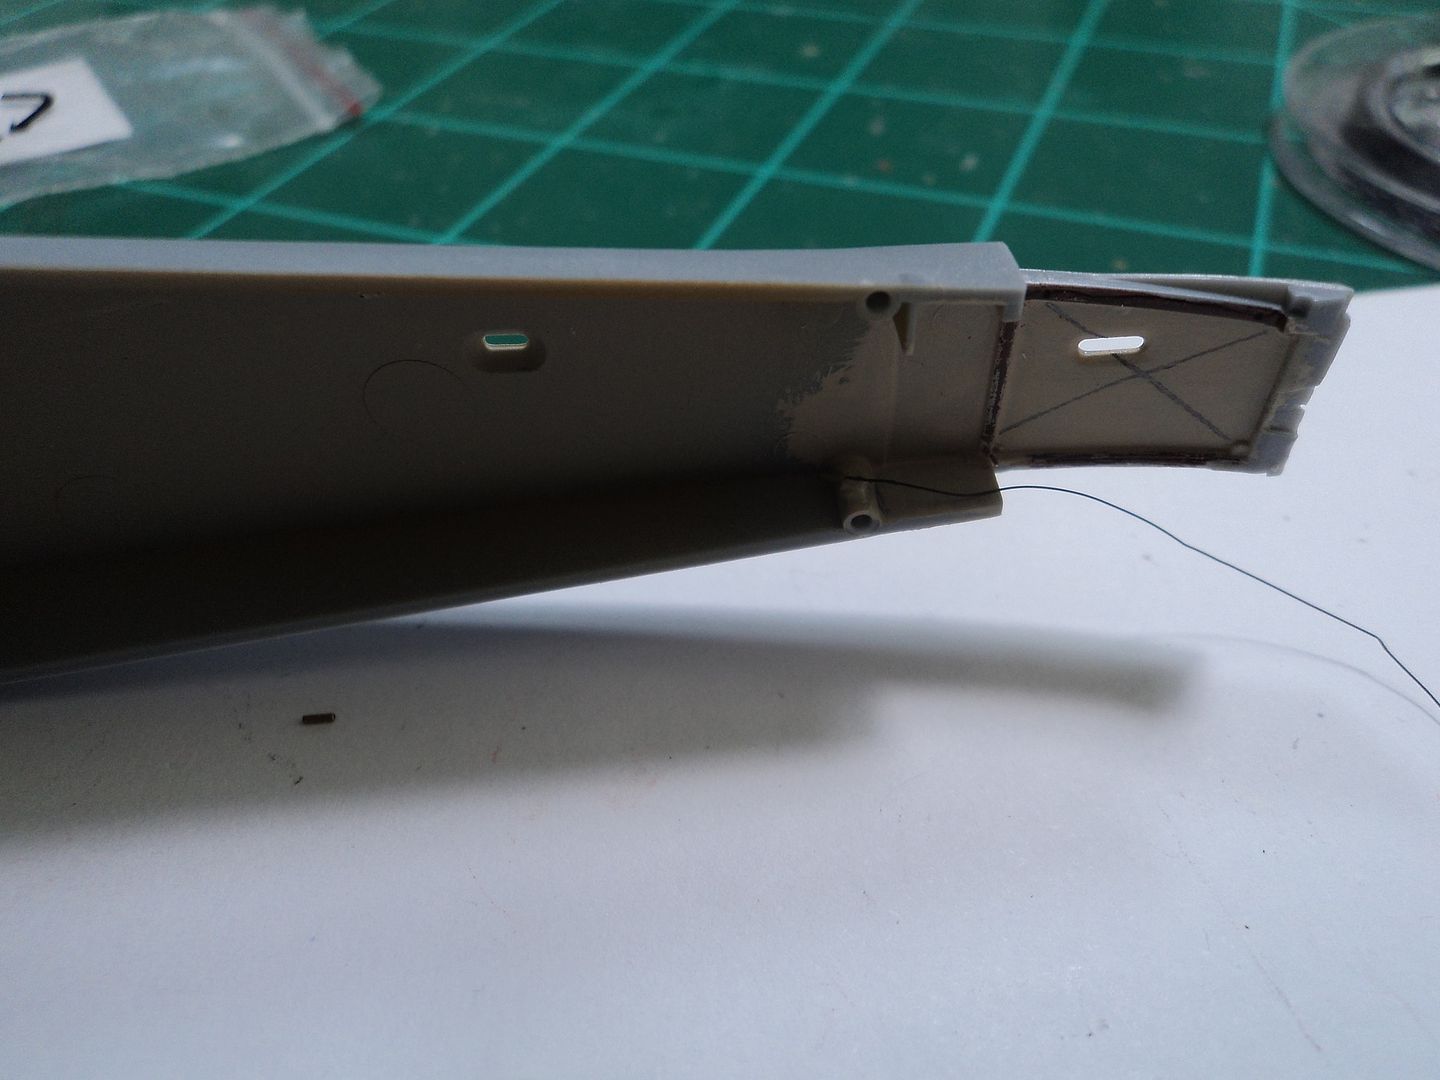
Another thing I noticed was the lack of tail skid fair leads on the fuselage aft.  As on the Camel, WNW has the modeler drill out the holes and provides PE fairleads, the Dolphin doesn't have this feature.


The rigging instructions show the cables coming out of the opening in the rear tail skid housing but no fairleads.

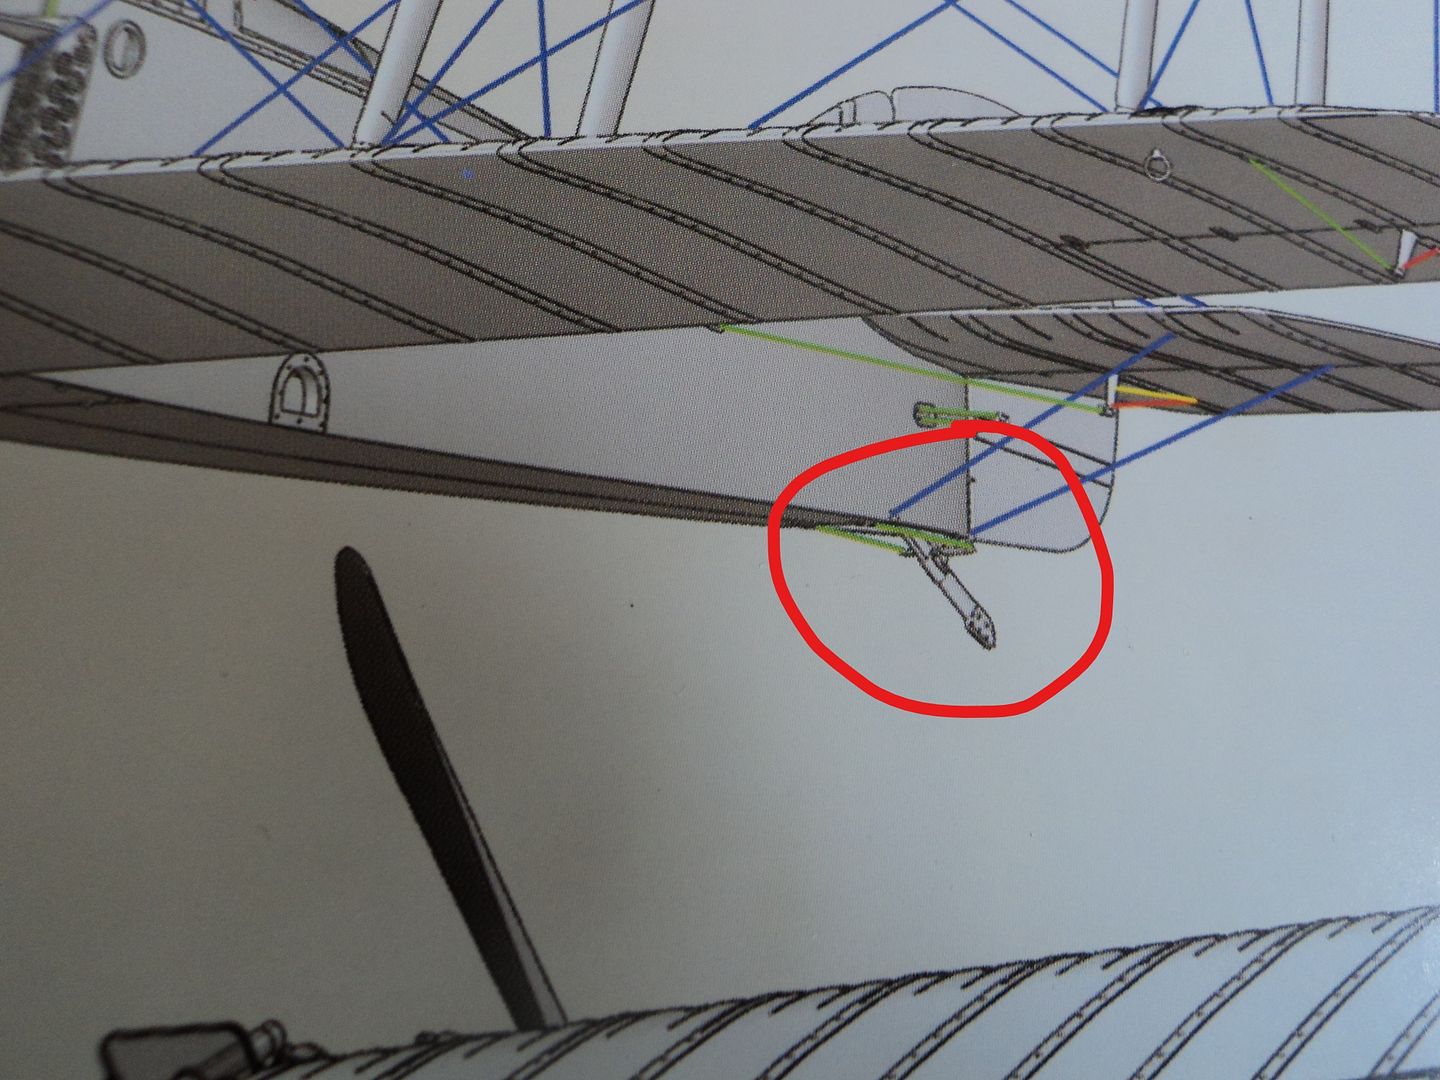
I scoped out the color plates to see how the artist rendered the tail skid control lines and could only conclude that they originated inside the fuselage and exited through the opening to the tail skid.
It is vaguely visible in the image below.

As I had not buttoned up the fuselage, I CA glued the lines to the inside of the fuselage on both the port and starboard sides.


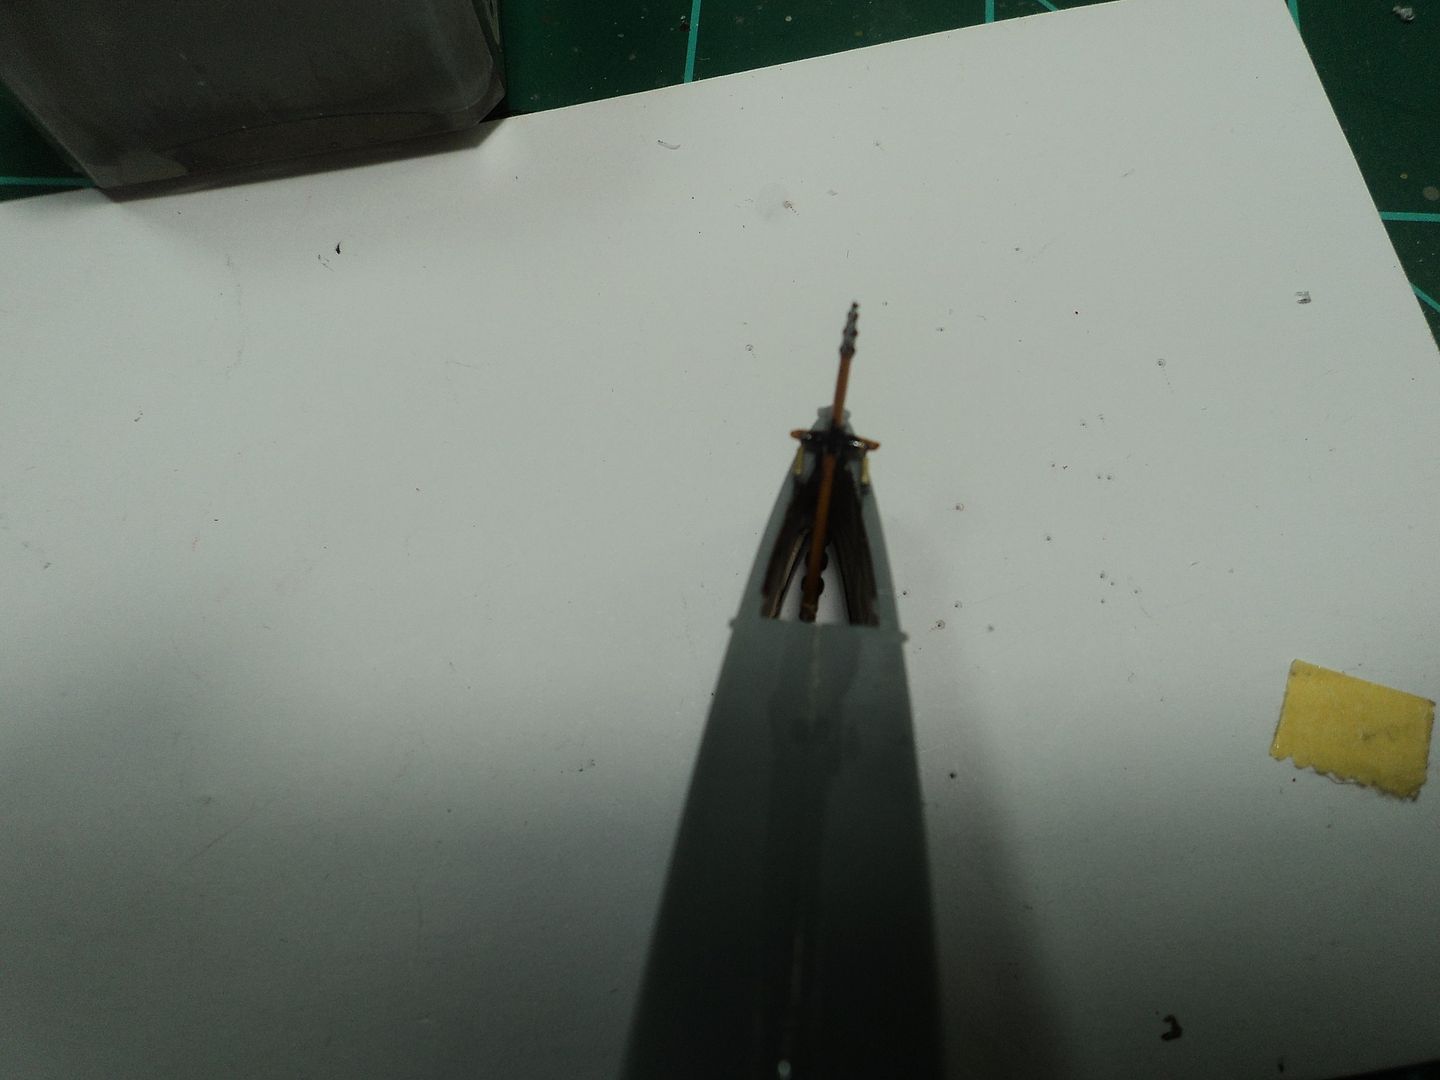
Once buttoned up, I attached the lines to the tail skid.


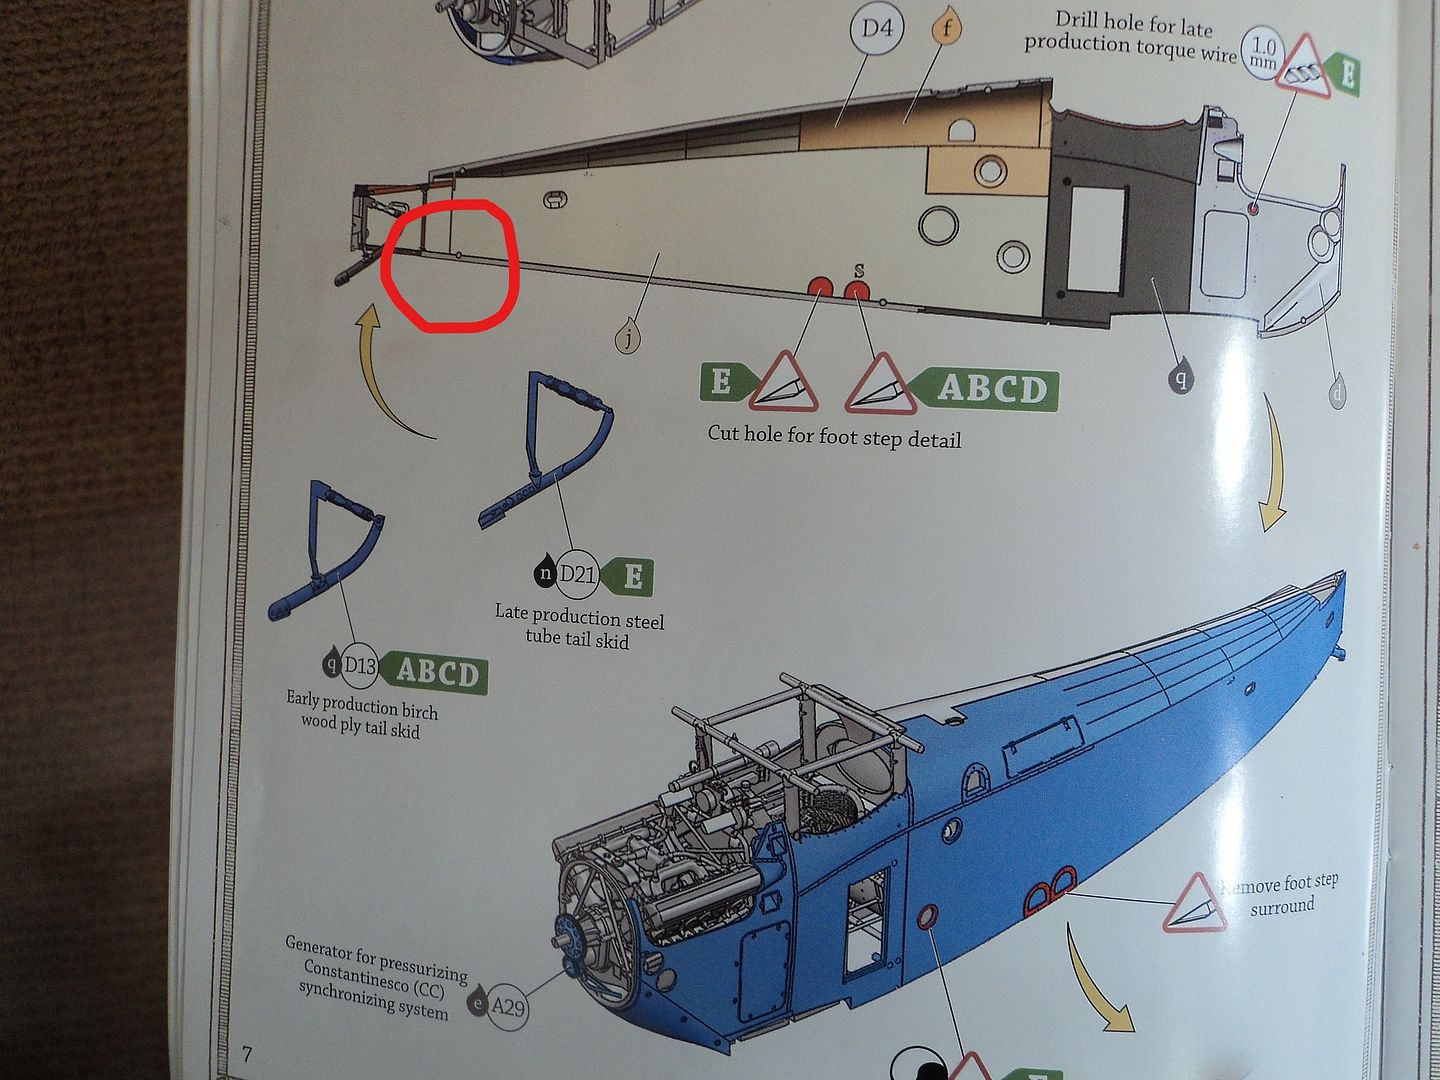
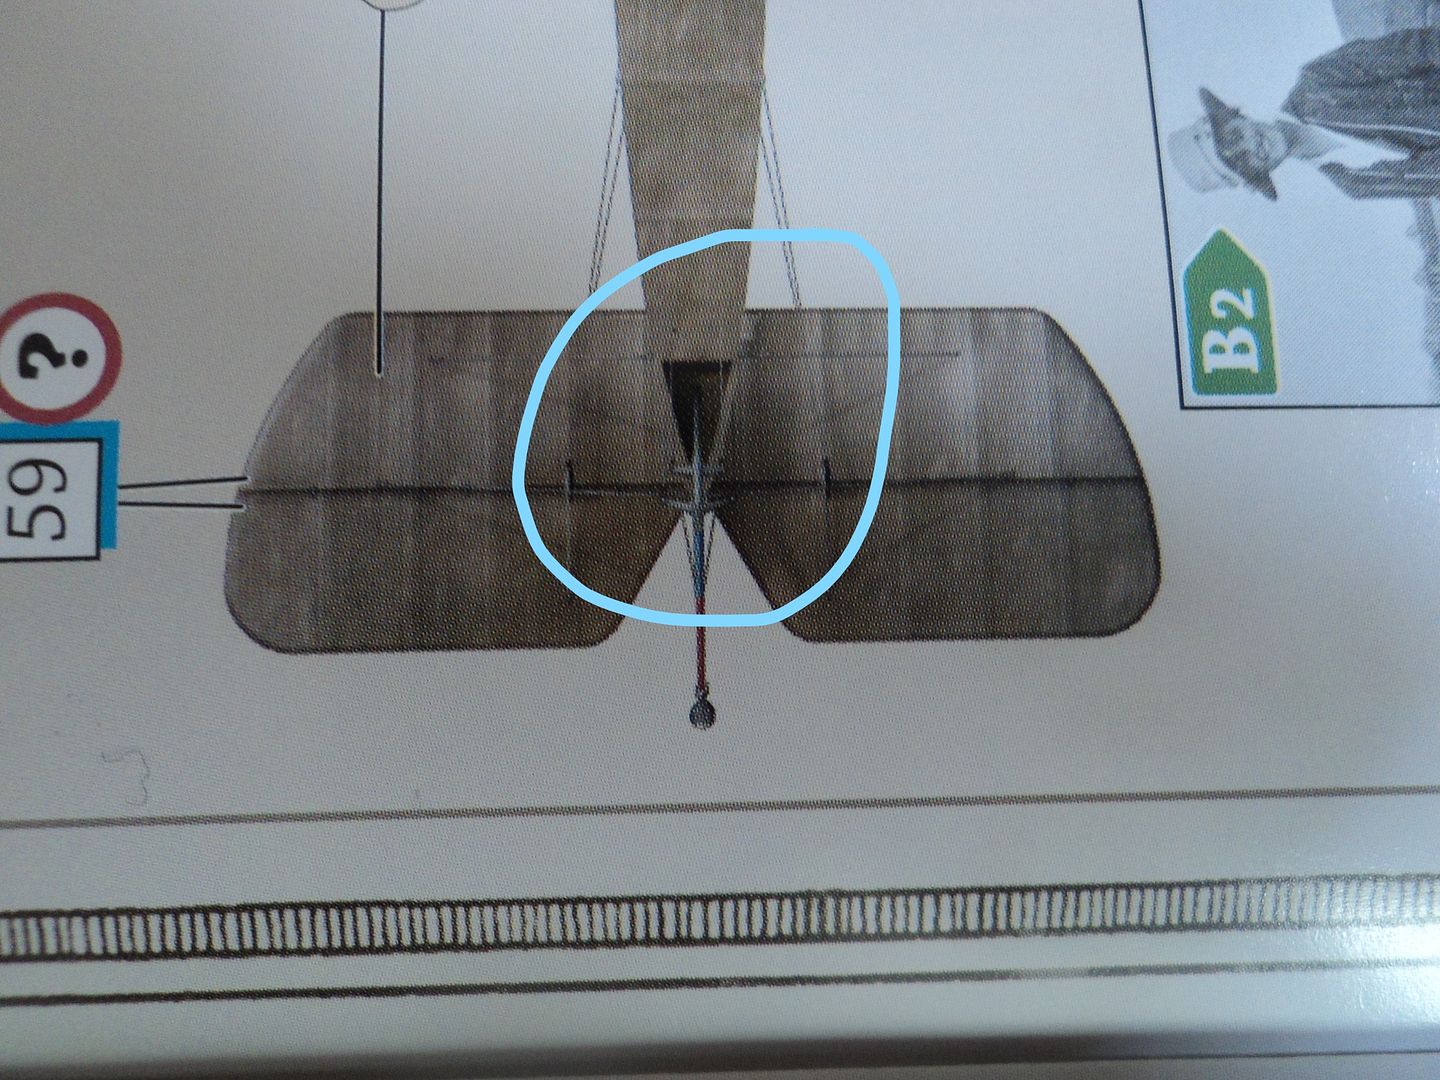
Another odd thing about the kit is the way that WNW decided to present this opening on the fuselage spine:


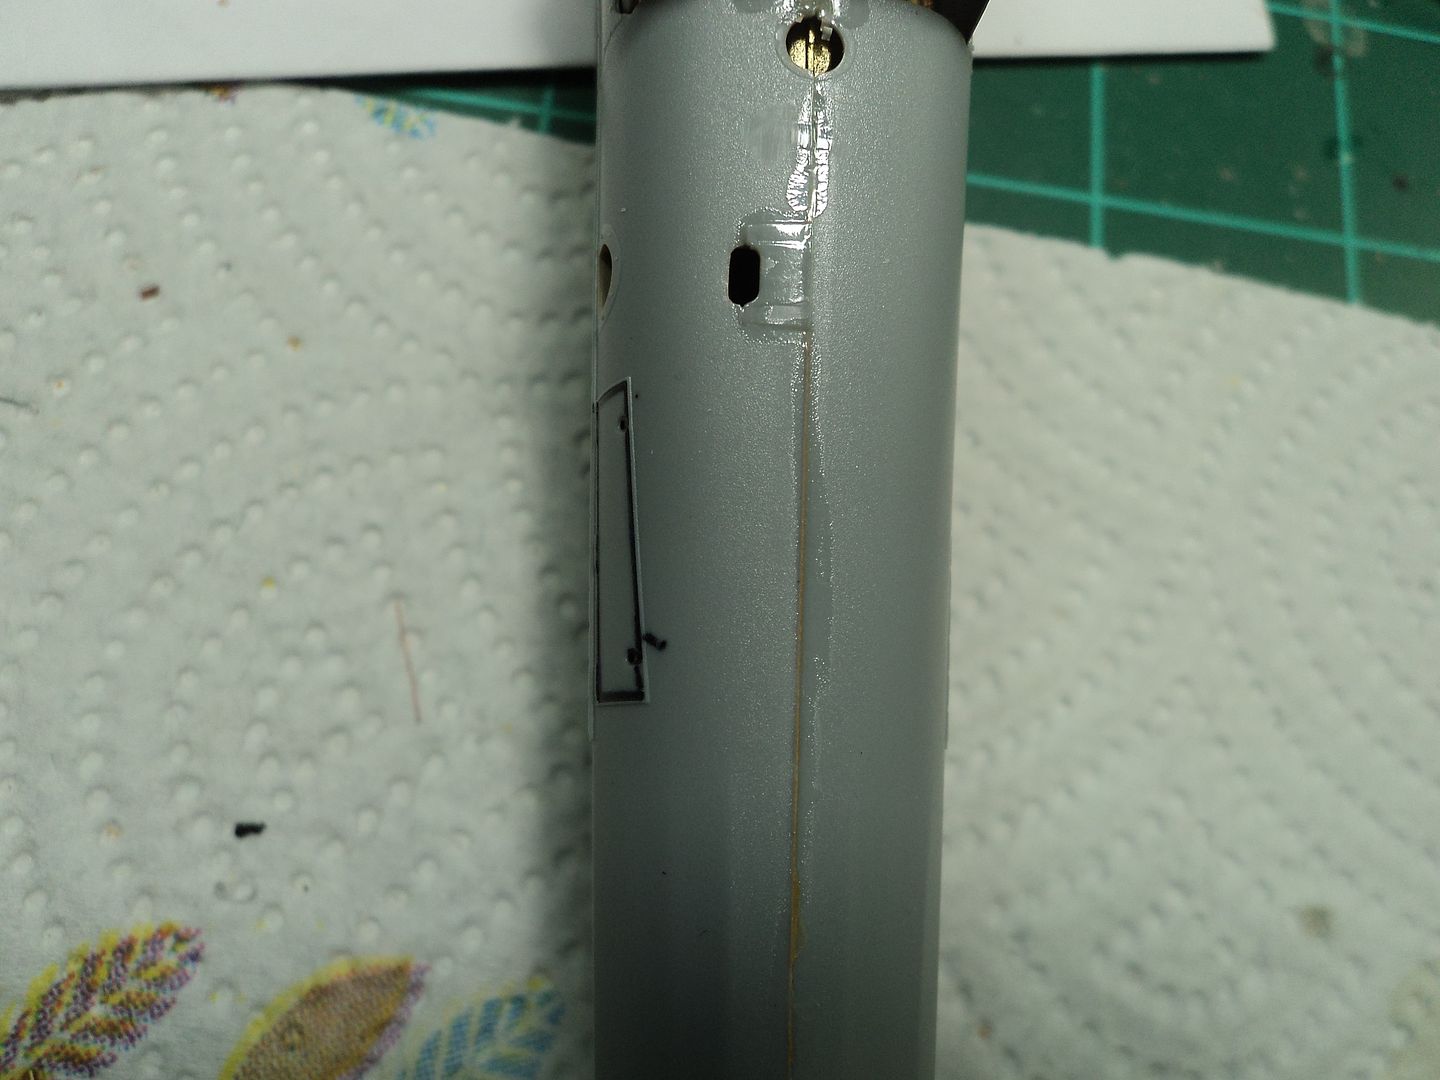
The color plates show the fuselage spine smooth as do the images of the completed model.  It's an odd way of doing this I think, but; it's something the modeler will have to fill and sand and blend into the fuselage spine.  It's a mystery folks.

More excitement coming your way.
Mark

We few, we happy few.....

Offline RLWP

  • Hero Member
  • *****
  • Posts: 1494
  • Bodger
Re: Wingnut Wings Sopwith Dolphin
« Reply #19 on: December 21, 2017, 08:38:44 AM »


It may just be on my computer - it looks like the lines extend below the fabric and should disappear through non existent holes. The right hand line in the image certainly seems to continue on above the end of the fabric

Richard
Hendon for flying - the fastest way to the ground!

Offline mgunns

  • Hero Member
  • *****
  • Posts: 2255
Re: Wingnut Wings Sopwith Dolphin
« Reply #20 on: December 22, 2017, 12:05:59 AM »
I noticed that too, but; without the fair leads or any clear photo's as to how they exit the airframe, I opted for having them exit out the opening.
Mark

We few, we happy few.....

Offline PrzemoL

  • Hero Member
  • *****
  • Posts: 4888
  • There was Eru... and he made first the Ainur...
    • Przemysław Litewka
Re: Wingnut Wings Sopwith Dolphin
« Reply #21 on: December 22, 2017, 01:16:12 AM »
There are a couple of photos in the C&C monograph showing the fuselage internal structure where the skid control cables run to the triangular opening in the fuselage rear bottom with no indication of fairleads, unlike in Camels. So it seems you made the right choice, Mark. :)
Ash nazg durbatuluk, ash nazg gimbatul,
Ash nazg thrakatuluk, agh burzum-ishi krimpatul.

Offline mgunns

  • Hero Member
  • *****
  • Posts: 2255
Re: Wingnut Wings Sopwith Dolphin
« Reply #22 on: December 22, 2017, 05:43:37 AM »
There are a couple of photos in the C&C monograph showing the fuselage internal structure where the skid control cables run to the triangular opening in the fuselage rear bottom with no indication of fairleads, unlike in Camels. So it seems you made the right choice, Mark. :)

Whew!  Thanks for that Prez:  I appreciate your scoping out the C&C monograph and relaying the information.  I coudn't see doing it any other way, other than creating the fairleads like on the Camel.
Thanks again for scoping out the build and following up with your refereceing the C&C Monograph; duly appreciated.
Mark

We few, we happy few.....

Offline dr 1 ace

  • Hero Member
  • *****
  • Posts: 2340
Re: Wingnut Wings Sopwith Dolphin
« Reply #23 on: December 22, 2017, 09:50:25 AM »
Great start and like all the above appreciate the build notes !!

Ed
Life is short, enjoy it, nobody gets out alive.

Offline mgunns

  • Hero Member
  • *****
  • Posts: 2255
Re: Wingnut Wings Sopwith Dolphin
« Reply #24 on: December 22, 2017, 01:26:28 PM »
Okay; some major progress and another observation.
Got the fuselage mated to the wing.  It is critical that the modeler trim the rudder pedals so that there is no excess beyond the stirrup.  It's a tight fight in there.  Also, ensure the framework is flush against the fuselage.
In the image below I have indicated which notches (actually they are the only notches) need to be trimmed.  It's a real tight fit, but trimming and enlarging the space it will ease the attachment of the fuselage to the wing.  Trimming these up a bit prior to any assembly will aleviate having to do it while trying to align the fuselage assembly with the lower wing/floorboard assembly.  It's a tight fit folks.

The rudder assembly is just postitioned for fitment.  Again, in the back there is an alighnment hole for the rudder rod to sit in.  Ensure it is aligned properly and drilled out to accept the rudder hinge rod.  Again this is a tight fit, patience and perseverance will pay off.


Everything else fits like it's supposed to.  So far this has been an enjoyable build.
Mark

We few, we happy few.....

Offline bobs_buckles

  • Hero Member
  • *****
  • Posts: 3734
  • Freedom isn't free.
    • Bobs Buckles
Re: Wingnut Wings Sopwith Dolphin
« Reply #25 on: December 22, 2017, 08:07:52 PM »
So far it's been an enjoyable watch  ;)
Keep up the great work!

vB


https://www.bobsbuckles.co.uk/

Last Minute Man Of Faith

Online RAGIII

  • Hero Member
  • *****
  • Posts: 18845
Re: Wingnut Wings Sopwith Dolphin
« Reply #26 on: December 22, 2017, 10:53:44 PM »
So far it's been an enjoyable watch  ;)
Keep up the great work!

vB

I agree with vB and would add that the notes continue to be very helpful and informative!
RAGIII
"A man has to know his limitations": Harry Callahan

"Don't slop it on" Lynda Geisler

Offline jeroen_R90S

  • Hero Member
  • *****
  • Posts: 1060
Re: Wingnut Wings Sopwith Dolphin
« Reply #27 on: December 23, 2017, 05:17:44 AM »
Not my cup of tea, this aircraft, but as with many others I really appreciate build threads like this one! :)

Offline mgunns

  • Hero Member
  • *****
  • Posts: 2255
Re: Wingnut Wings Sopwith Dolphin
« Reply #28 on: December 26, 2017, 02:09:44 PM »
Okay, as Chris Johnson is fond of saying whilst modeling:  "I am one step away from disaster."  Well, I hit that disaster.  In documenting this build and pointing out areas of interest, I missed a critical step. 
On page 6, while I was focusing on the trimming of the notches for the mating of the fuselage to the lower wing, I totally spaced out the oil tank assembly, D31.  It is critical as it provides support to the front of the framework and helps with the overall alignment of the front portion of the framework. 


When I went to put on the 'top shield' part D3, I couldn't get it to line up.  Previously I had no problem during the dryfitting, but once I cemented the fuselage to the wing it wouldn't line up.  I tried to trim some of the interior of it and cut out a chunk and almost tossed the whole thing.  It isn't real pretty and not my best effort, but, from normal viewing it isn't real noticeable, and with a little more filling, sanding and paint, it will look "OKAY", but; I am not happy with it, I will know better on the next one which will be a Canadian bird using the PHEON sheet when it arrives.


I know there are few modelers who are working on the Dolphin, hopefully this little error on my part will help prevent that level of frustration on the other builds. 
Thanks Jeroen_R90S for looking in and your comments.
Hope that everyone had a great Christmas and that you all have a happy and prosperous New Year.
Mark

We few, we happy few.....

Offline Gisbod

  • Hero Member
  • *****
  • Posts: 2438
Re: Wingnut Wings Sopwith Dolphin
« Reply #29 on: December 26, 2017, 07:49:28 PM »
Hi Mark,

Mine has just hit the doormat so nice to see this thread... Thanks  ;)

Guy
“Oh! I have slipped the surly bonds of Earth -
Put out my hand, and touched the face of God.”

P.O. John Gillespie Magee 1941