Thanks Des! It was probably one of the trickiest assemblies I've yet dealt with, even though it's only 4 struts, but there is nothing else to measure up to!
I've been busy over the last few days working on the floats and control rigging, so here's a look at what's been happening......
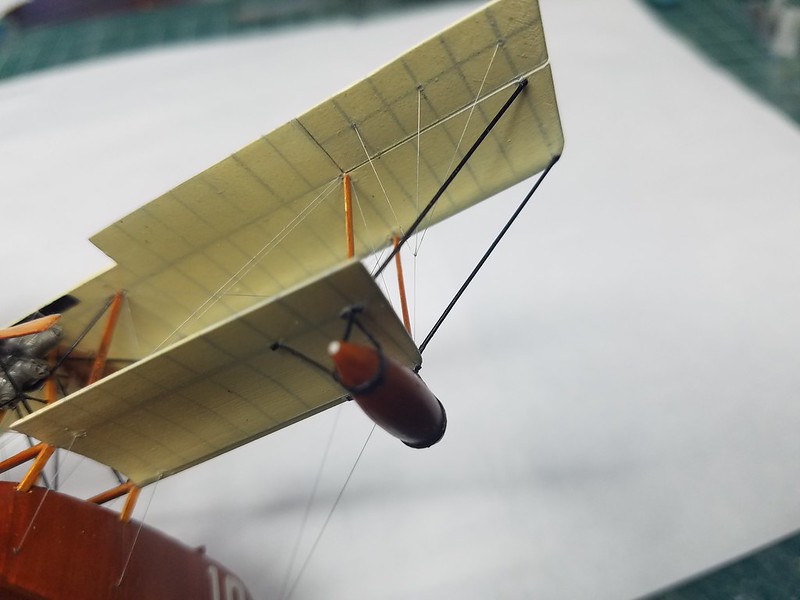
First the floats. I'd previously made up the brackets from thin strips of aluminium cut from a beer can. This is nice and thin, but not very strong, and bends almost too easily! Needless to say, it took a while to get the brackets fitted, straight, and cut to the correct lengths. That was done in stages, first gluing them onto the floats, letting them dry, then tweaking the alignment and securing properly with a drop of thin CA. They were then attached to the wings and the supporting braces added. A lot of hassle but I'm happy with the way they look.
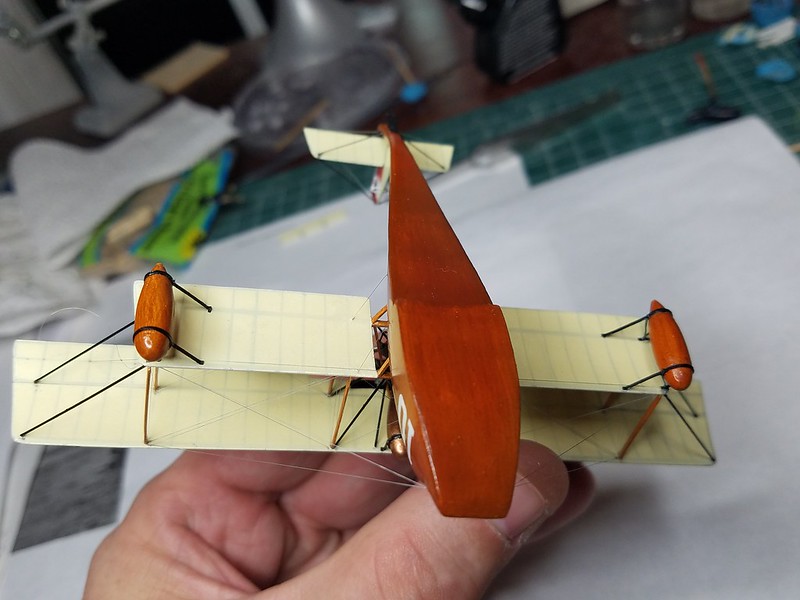

One of them seems to have got slightly damaged at some point and the rear brace is a little twisted, but it is not really noticeable unless you look for it so it will stay as is.
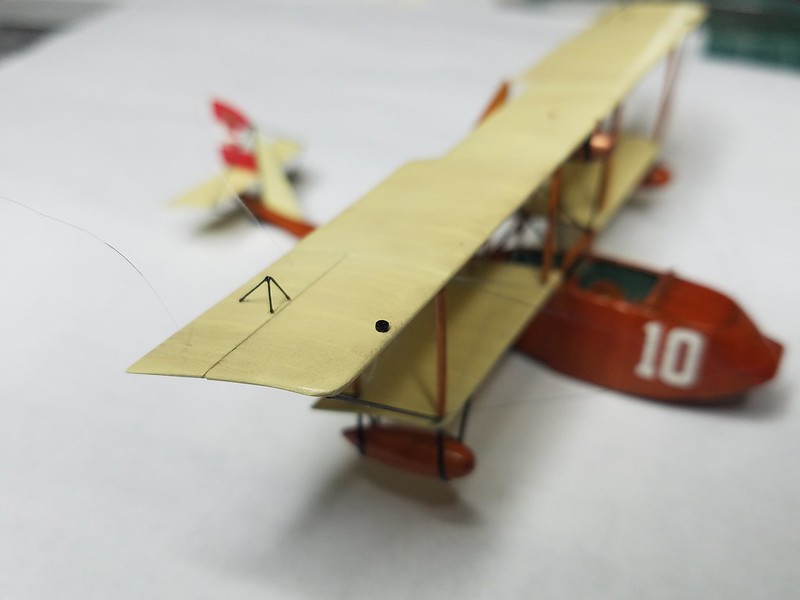
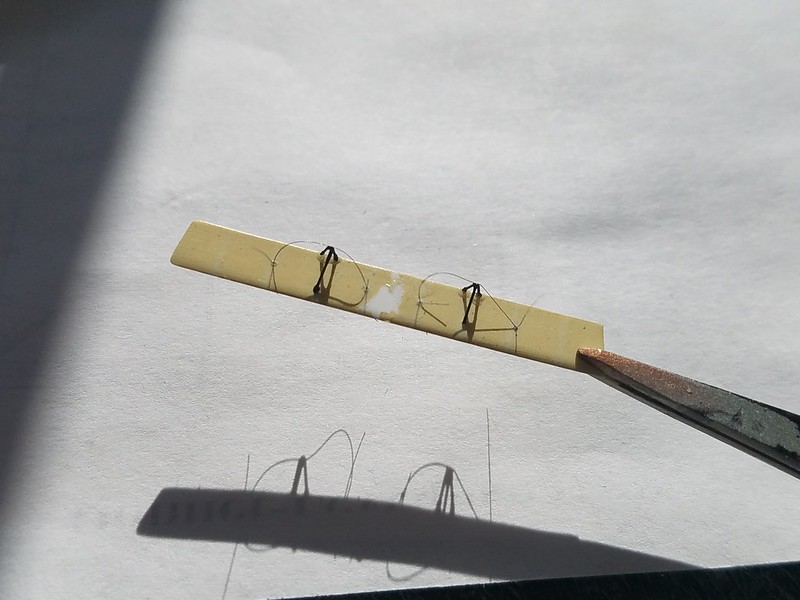
Next on the list was the control rigging, starting with the ailerons. I had to add the lower cable before I did the "hardware" in the shape of the brackets fitted to the control surfaces, and the return cable pulleys on the upper wing, The brackets are .008" brass wire, and the pulleys are simply .020" card punched out with a 1.2mm punch. The reason for that was that the centre brace of the brackets on top of the ailerons covers the hole where the centre cable is threaded.
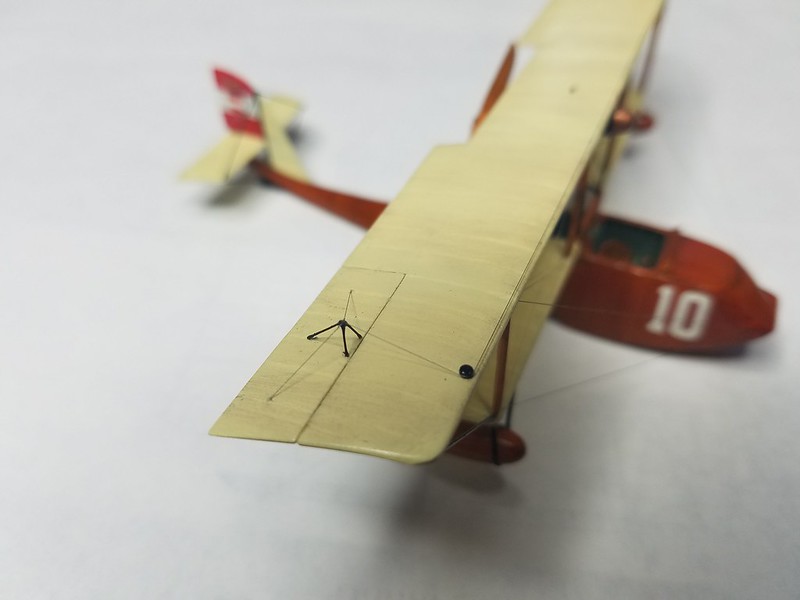
The lower aileron cable was one piece, attached in the middle to the actuator behind the cockpit, run through holes in the lower wing and up through another hole in the aileron. The other two cables are one piece of line tied around the first. I should have tied the first line around the second to give me a better angle at the join and stop the knot sliding when tensioning! I had to add a drop of CA to the knot to hold it in place but that gave me a little bit of a blob on the line...again not too noticeable, but avoidable if I'd just thought about it first!
The central line was secured and trimmed, then the brackets were added.
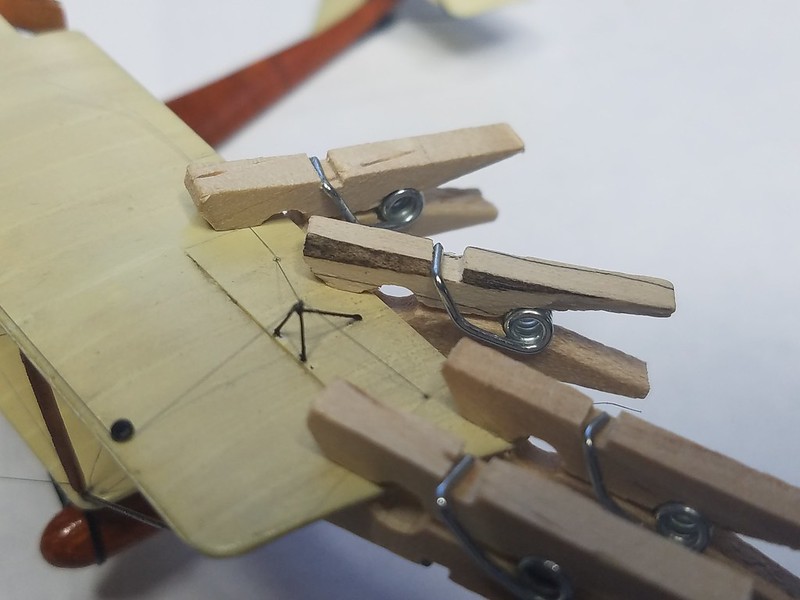
The upper line was fitted in a similar way, secured to the "pulleys", then tied around (I learnt!) a second piece for the outer cables.
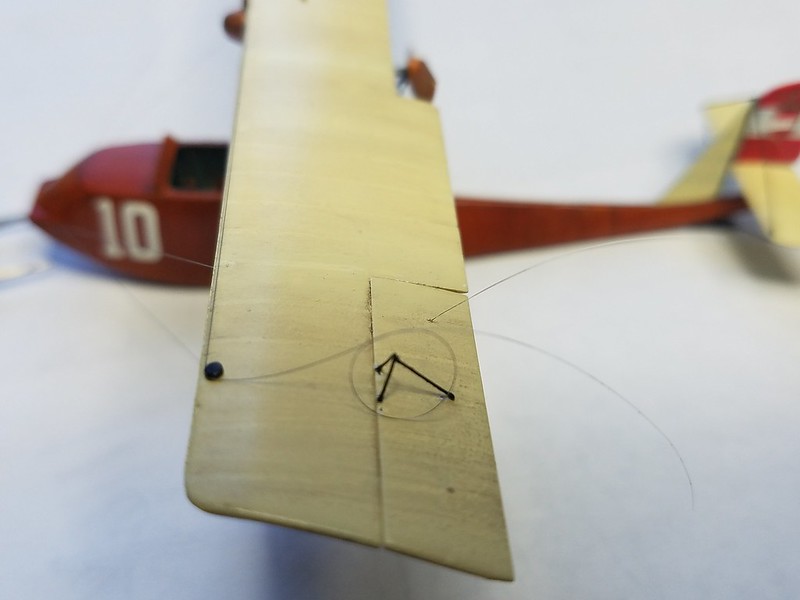
This gave me what I needed to attach to the brace....
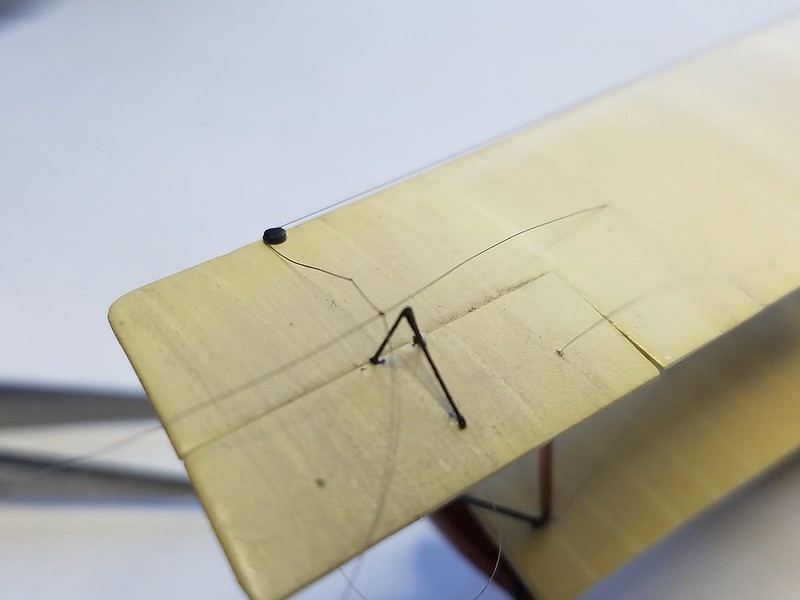
I had thought that it would be easier to trim the centre line, then attach the knot to the bracket at the same time that I tensioned the outer lines, which was almost impossible as I had to tension the lines from underneath at the same time! Not a good plan! I ended up having to attach the knot to the bracket by holding both the outer pieces and pulling them evenly. I would have been better off leaving the centre line in place until it was attached to the bracket, then trimming it off.
With that attached, I could then tension all the outer lines from above and below, making sure that the centre line from below remained straight. They were pegged in place and secured with drops of thin CA.
Job done!
The brackets for the elevator and rudder had been added at the same time as those for the ailerons, so I could carry on and start rigging those too. I decided on a slightly different plan of attack for these, since the elevator cables exit the fuselage as two lines, one for up and one for down, and then each splits into two lines, one for each side of the elevator. With one join already, I didn't want to add another at the back end brackets, so I threaded the line through the elevator and around each bracket, with the aim of then simply having the one central cable to attach to each bracket. That went well, until I got careless with the CA and touched it to the tweezers that were holding the elevator, resulting in a panic to get the elevator out of the tweezers before it got well and truly stuck!
The join at the right is done, I was doing the next one in when that happened. Needless to say, that was when I decided to put it down and go for a pint.....
That was all yesterday afternoon/evening, so today's tasks are to repair the elevator and (hopefully) complete the control rigging to the tail.....
Thanks for looking in!
Ian
PS The lower aileron cable was added before the floats, to make it easier to get it through the hole in the lower wing, which is above them!

