Hi all,
A quick update on progress over the weekend.
The rigging has been completed and trimmed back, the only wires remaining are those which are either attached to the fuselage, or share a hole with one that is.
The next task was to make a start on the engine. This is what I had to start with.
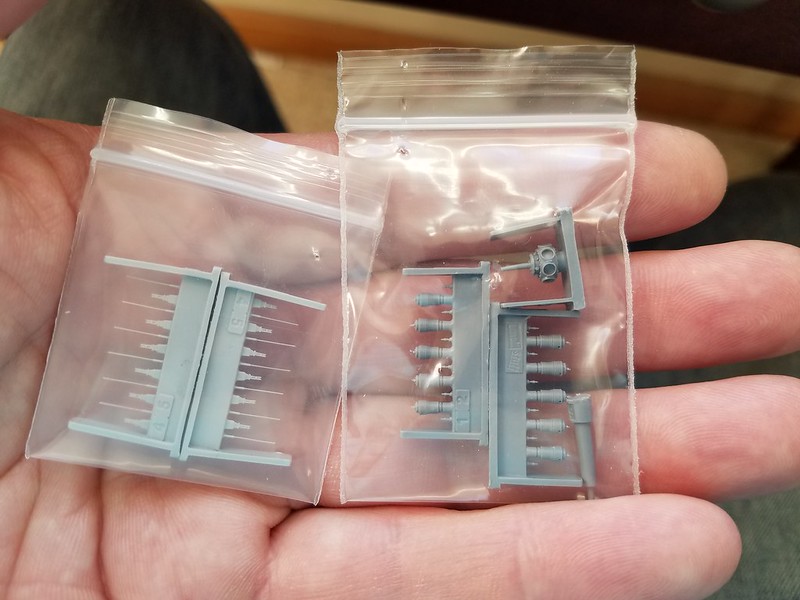
The SmallStuff engine is truly a model in itself, and it's tiny - or at least some of the parts (spark plugs) are! I painted all the parts and then added the plugs to the cylinders before removing the latter from the casting block. I did it that way for 2 reasons: 1) It would help me to get the cylinders positioned correctly (all the plugs in the same place), and 2) I couldn't cut the cylinders off with the sparkplugs still on the block!
So with those done this is what it looked like after a quick Flory wash to highlight the cooling vanes.
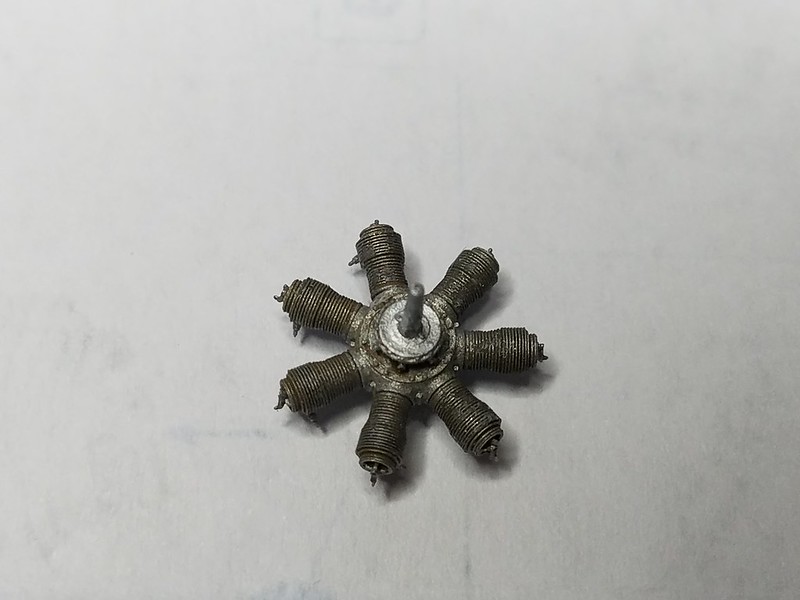
It looks a lot dirtier in the pic than it does to the naked eye. I'm not going to add the rocker arms and pushrods until I'm ready to fit the engine, to reduce the chances of them being broken/knocked off.
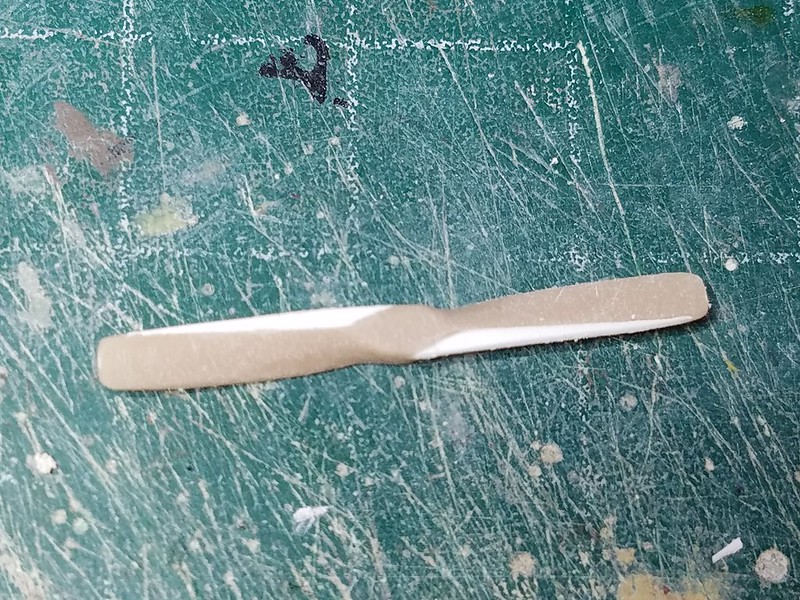
I then too a look at the prop. Unfortunately the one provided with the kit was a tractor prop, not a pusher one, so I had to resort to a bit of kit raiding. I found a 2 bladed pusher prop of the correct type which I won't be needing (it also has a 4 bladed one) in the Eduard DH2 kit, so I nabbed that. It did need a little modification though as the blades were too long, and also a little odd in that instead of being a straight edge from one trailing edge to the opposite leading edge, the blades were at a slight angle to the hub. Easily fixed with a couple of fillets of plastic card and some filler.

After a bit more fettling I had this.
I had to plug the hole in the centre and redrill it, but after that was done it fitted quite nicely.
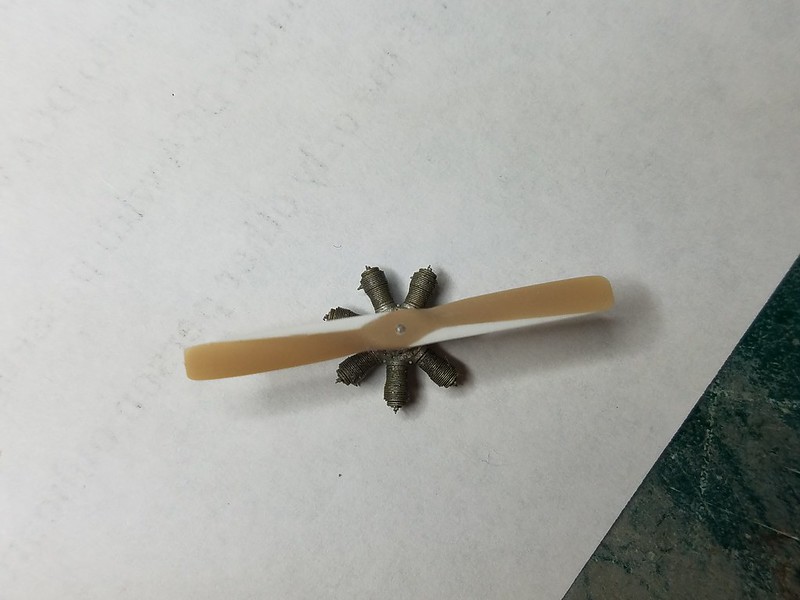
I'll add a PE hub plate after it's all been painted.
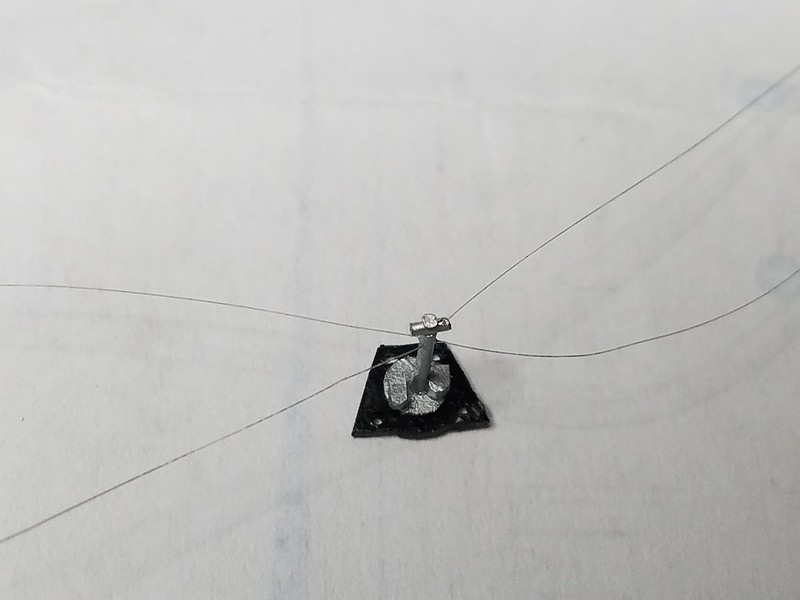
Now I just had to make the mounting plate for it all to fit to, along with the crankshaft, "carb", oil pump and magneto, on the front. Oh, and drill the crankshaft for the tensioning wires.....
The pate was just plastic card, a 5mm piece of .025" (0.64mm plastic rod was used for the crankshaft, with a similar size piece of Albion Alloys tube glued on the front for the carb inlets. The "shaft" was drilled with a .15mm drill nit and threaded (eventually!) with the required lines. which were secured with CA so they didn't slide out - there is no way they could be refitted once the piece is in place between the wings!
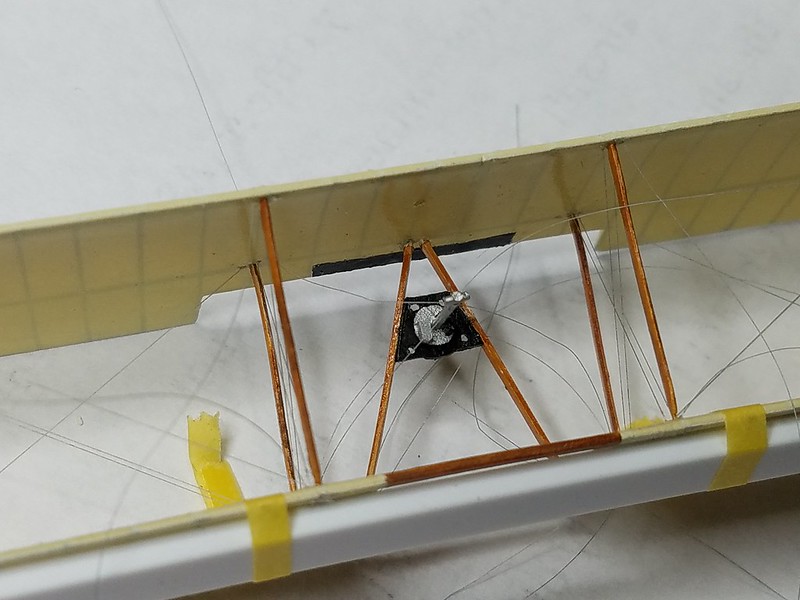
That was then painted and fitted between the engine mounts already in place between the wings.
The last item I've been working on is the fuel tank. I had to move the oil line as I had it too far forward and it fouled the rigging lines, so that was done and it has been repainted. Once that is dry the tank can be fitted, then I can start to add the metal braces to the front of the engine mounts.
Thanks for looking in!
Ian

