Thanks Stephen, I know there will e scratching involved, but I want to see how much of the kit is usable!
Lance, I totally agree, these were very aesthetically pleasing machines!
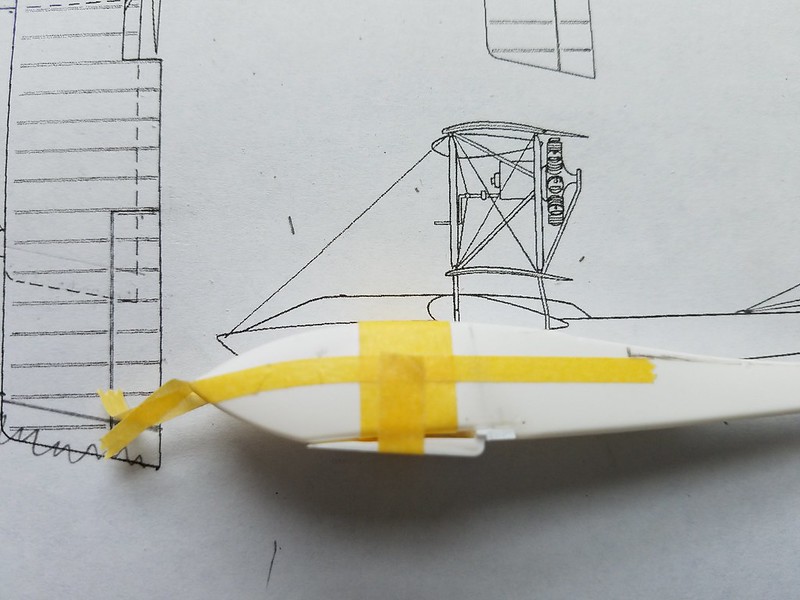
After getting the wings to a state more akin to what they should be, I started to examine the fuselage a little closer today. I decided it would be a good idea to get my reference points sorted out first so to that end I looked at the underside. The shape is pretty good, but the step is too far aft - it should be right under the leading edge of the wings.
Easy enough to sort out!
The step part itself is separate, so it was shortened at the front and thinned to give a flush mating surface. It was also a little too shallow, so I added a couple of pieces of .020" strip to the rear edge to push it down a little, then to ensure it was in the correct position, strips of .040" were added to the fuselage underside to bring the step position forward.
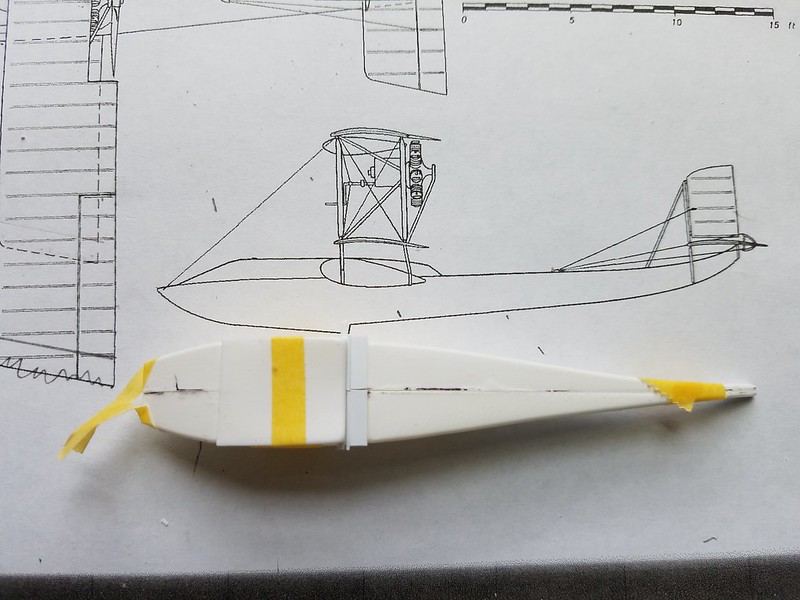
That will do for now, it'll get properly tidied up when the halves are mated.
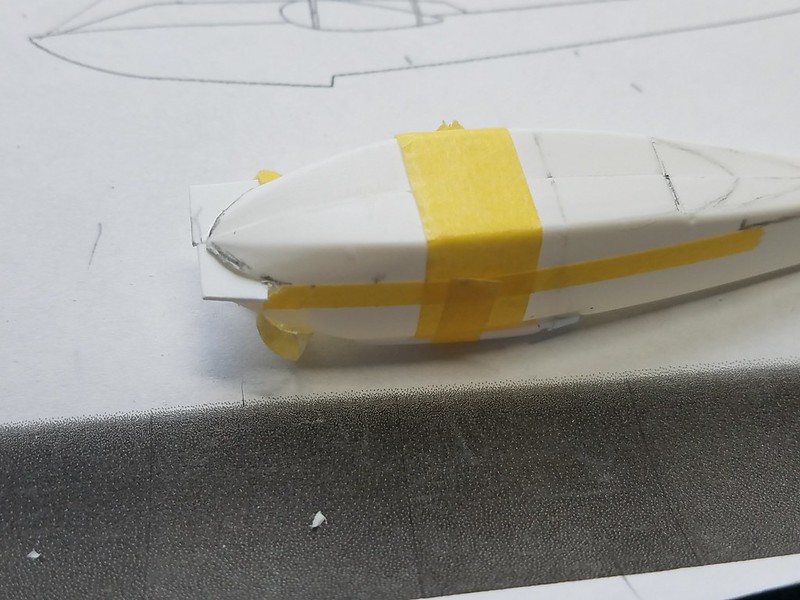
Now I had a good underside shape to get all the rest of the detail in the correct place, so I measured it out and marked it in pencil so i could see what I needed to do.
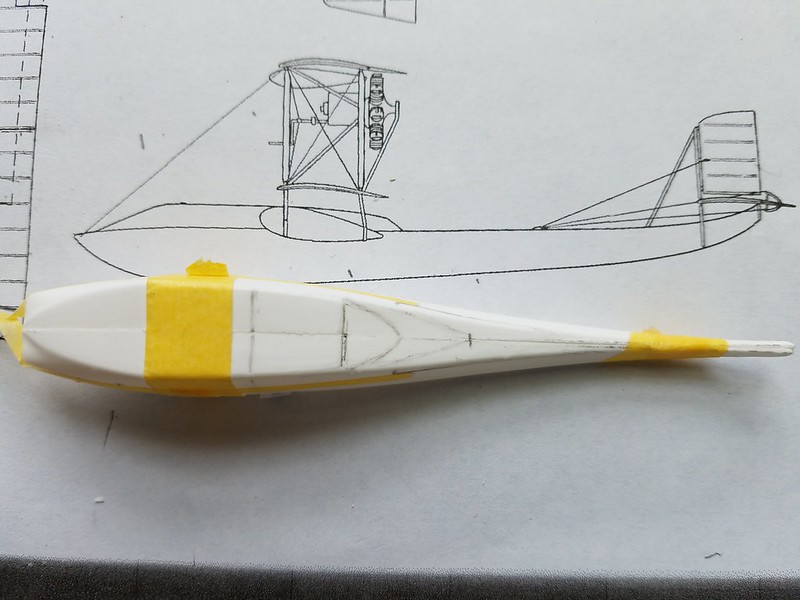
The dot on the upper rear fuselage is the point where it becomes triangular, so the flat surface aft of there needs to be removed and the sides brought together - they are also a little too tall, but I suspect not tall enough to be able to do it without reskinning the sides.
The smaller slightly curved triangle in front of that is the rear of the cockpit decking where it slopes down to the tail. The top surface between the rear of that part and the triangular section tail is flat.
The cockpits themselves are not as bad as I'd thought, being almost correct in depth, but just a little too curved from the side - the top should run flat. This is not too much of a problem since most of that area is open, so I can simply sand the edges down. The front part is a little more awkward but a piece of card glued inside the front upper hull section should give me enough plastic to sand that part flat and in line with the rear.
The last part is the bow.
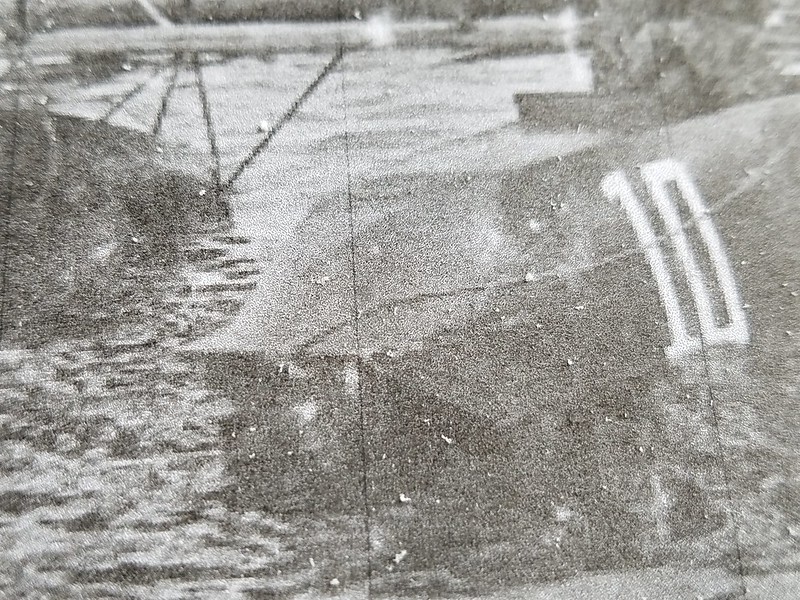
You can see that it is very sharply defined at the front edges, indicating to me that part of it was flat. The kit is not....

Another fairly easy fix. I made a saw cut in from the front, then marked out the bits I needed to remove.
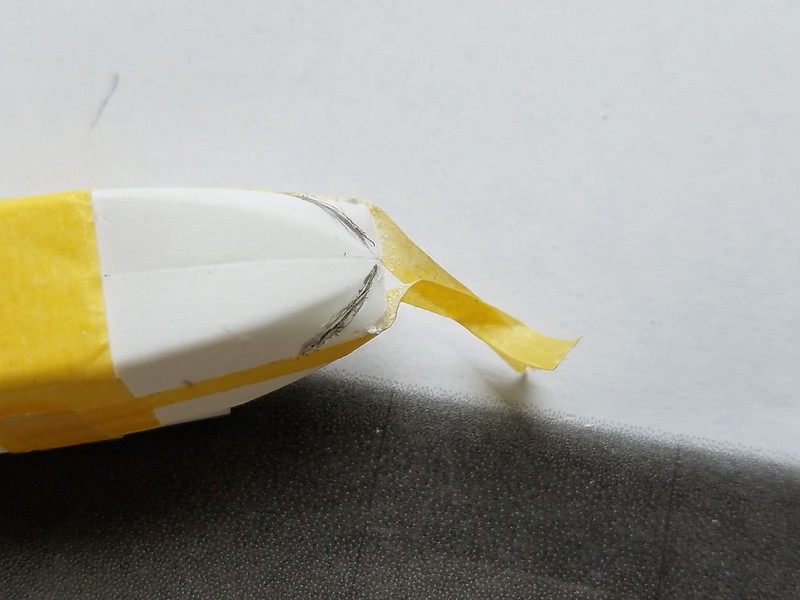
Those corners were cut out with a scalpel, and a piece of .010" card inserted into the slot.
Again, that will be properly tidied up and fine tuned once the fuselage is together.
That's all drying now....So that just leaves the difficult bits.......
Oh, and I gave in again, and bought a Smallstuff engine for it!
Thanks for looking in!
Ian

