Thank you Des, Richard, Dan, and Rick. Yes, it was a little scary, to be honest, but the only other option I could think of was to reskin the sides and I wasn't sure how I would keep the integrity of the fuselage and create the curves, so "sculpting" it was!
I spent some time yesterday making up a little jig to drill the holes for the wing mounting struts. The forward pair meet at the bottom of the bulkhead between the cockpits, and need to be the correct distance apart, at the correct height above the fuselage. I drew up a little card template. The edge is the centre of the cockpit, where the struts meet, I marked the height of the wing spar and the distance from the cockpit centre at which the struts met the spar, then simply drew a line between the two.

When the template was slotted over the fuselage and aligned, I could simply mark where the extended line passed through the fuselage and drill the holes.

As it turned out, I think the fuselage is a little too shallow. The struts pass through the fuselage in the correct place as measured against the drawings, but to get the correct width at the top, they don't meet at the bottom.
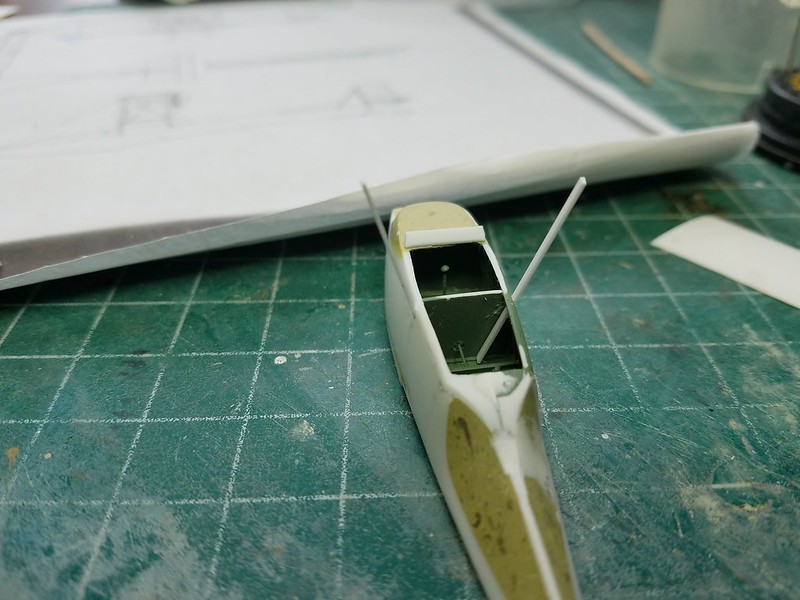
Not too desperate as only someone who knows the aircraft intimately (and looks inside!) will know, and it will look wrong if I match the bottom and have the tops too wide.
I've also prepared another little jig to help with positioning and trimming the tops of the struts when they are fitted permanently...
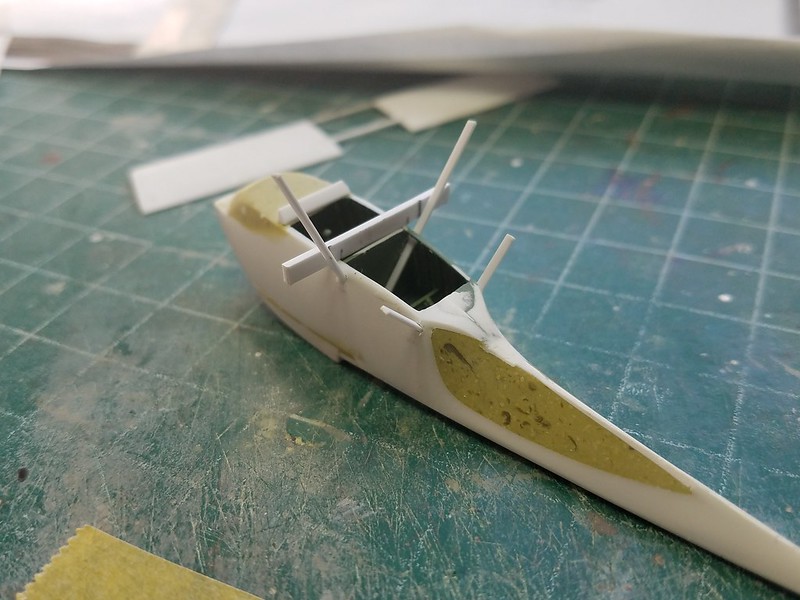
They have been put to one side now as I want to get the fuselage painted before fitting them. To that end, I have also given it a quick blast of Tamiya White as a primer.
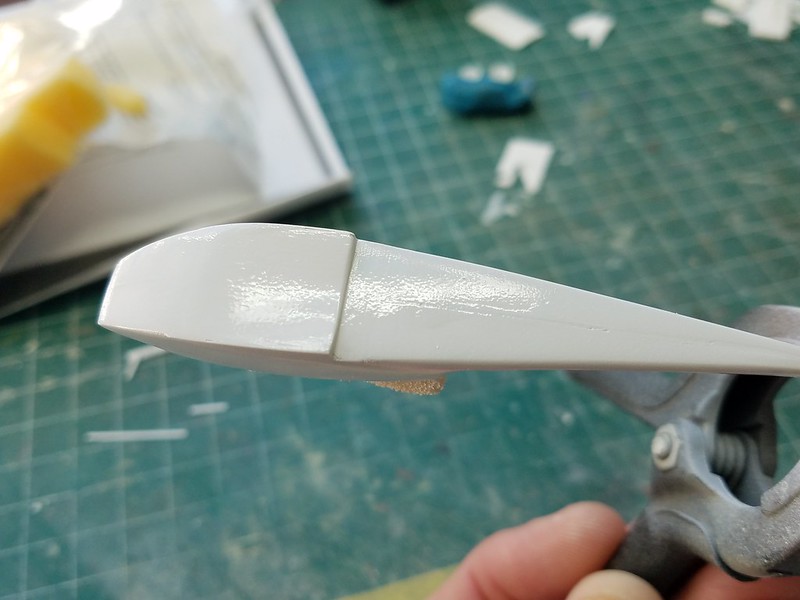

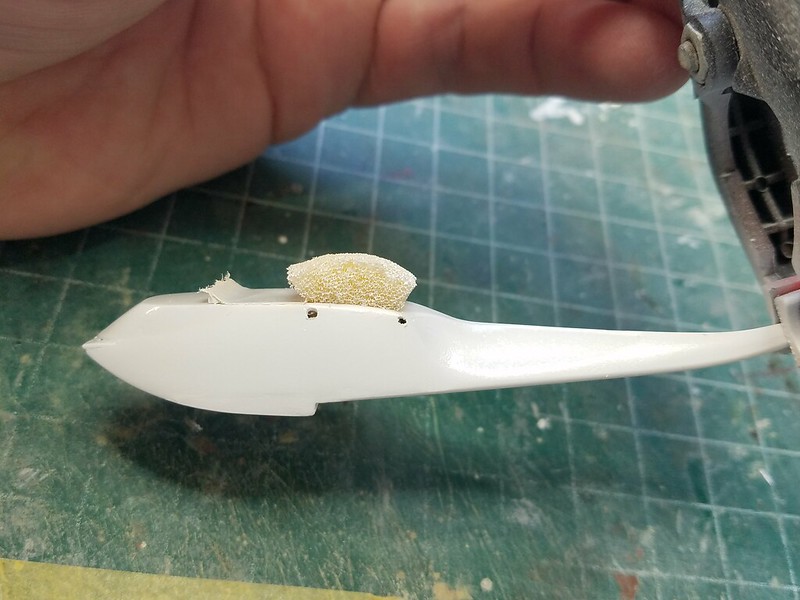
As expected, there are a few areas needing a little more attention, but considering the nature and extent of the "surgery" I'm surprised at how well it's turned out!
On another note, the engine arrived yesterday too....
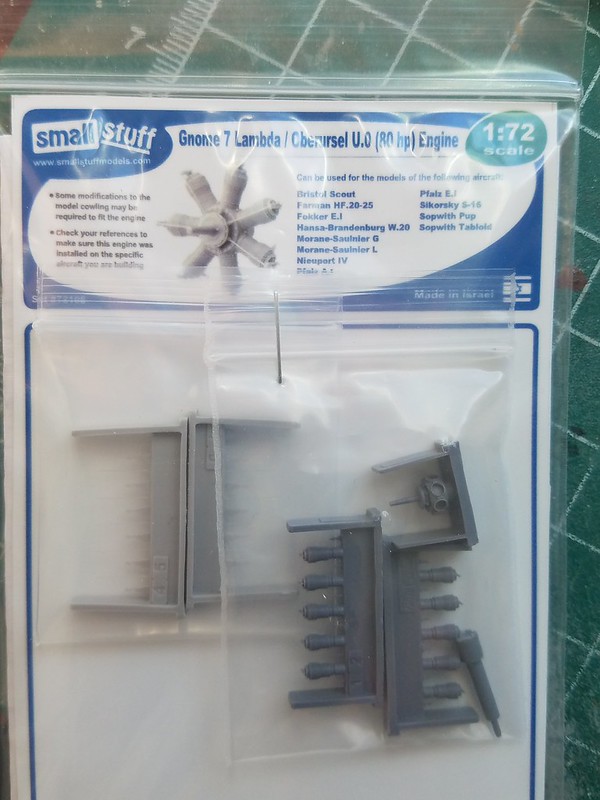
What a beauty, I just hope I can put it together without breaking anything!
Ian

