Evening All,
Many thanks to Rick, Pustota, Juan, Des and Jeff for your very kind and encouraging words which I really appreciate. Juan I can assure you that I do not have the patience of a saint: you obviously do not live near to me or you would hear the language which I use at the times when my frustration levels reach breaking point.....
.....I have to write that I am currently very fed up with repeated sanding, filling and priming of ribs.... only to find still more holes!!! I gave up for a while this week and took a break to make something else, but still took a little time on them which I am pleased to report are now nearly ready....sigh.
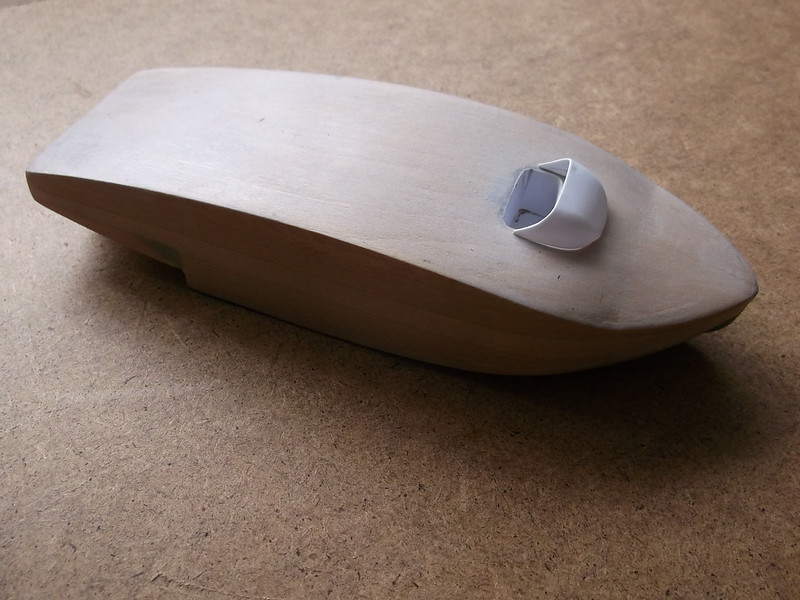
I forgot to explain how I made the stub wings which are on the lower rear of the hull. They are made from 30 thou card and bent in a pipe of near-boiling water as described by Stevehed. The method is very good for making curved card for wings and other flying surfaces. (I just wish that I could have used the technique for the wings of this model but they were too thick). They were then filed and sanded to aerofoil section in the usual way:

The stub wings have been given the rib treatment too and are now primed and ready to have the ends drilled to take metal pins: these will be used to attach the stub wings to the hull later.
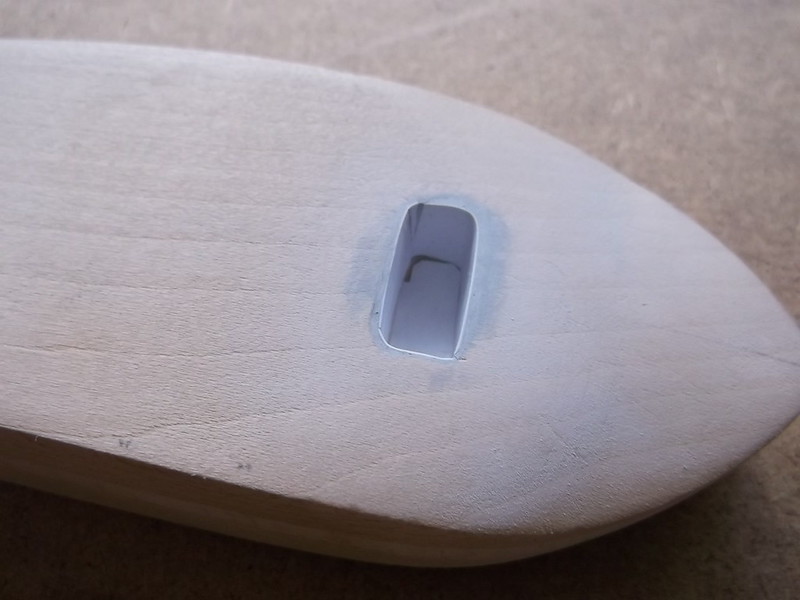
For a change I went back to the hull to drill out the cockpit area. I am not proposing to add internal detail for two good reasons. The first is that I have absolutely no idea of what the internal structure looked like other than the fact that it was built from girders like the wings, and secondly the hull is solid wood and trying to hollow out a section and fill it with detail which would never be seen anyway seems to be going too far, so I have settled for a minimal approach, rather like Airfix and Revell kits of the early 1960's where all you had was a pilot and seat if you were lucky. In my case there will be two seats as the pilots sat side by side. I will put control wheels in too and a generic instrument panel which I think was behind the windshield. Well that is where mine is going!
I drilled out the cavity for the cockpit and then lined it with 10 thou card so that it could be painted. I also tidied up around the hole with filler to smooth out the surface:
The next item was the windshield which sits in front of the pilots. I carved a male mould from balsa and push moulded one from 30 thou card.....and did not think that it looked right. I had been following the drawing but the result looked different from the photos, so I tried again...and again and finally got a shape which I think is close to what the original may have looked like:
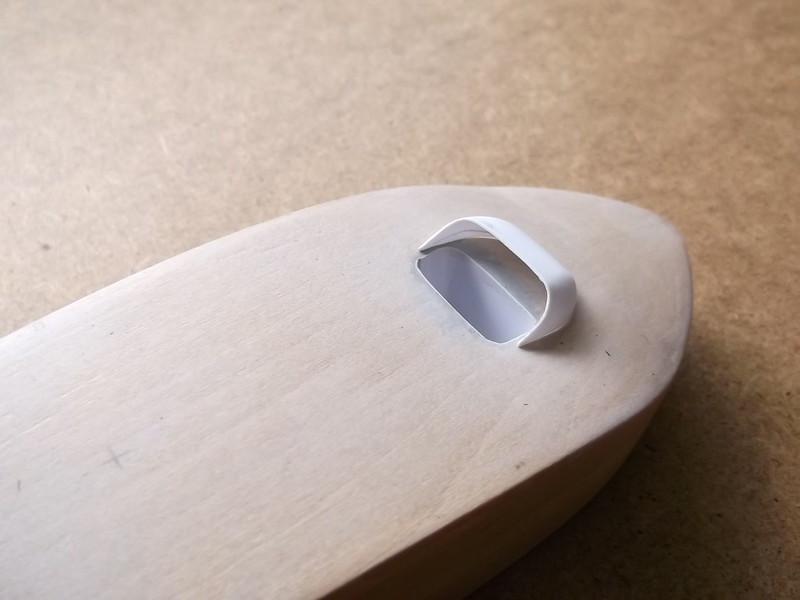
It is not glued into place yet because I still have to make the instrument panel and fit that first. While I was moulding the windshield I decided that I would also make a mould for the propellor spinners. This was a piece of 1/4 inch (6mm) dowel with the end shaped to the correct curve. I made 6 spinners to make sure that if I make a mess of one or two (highly likely) I will have enough to complete the job without having to go through the moulding process again. Just to test things I also carved a propellor from some strip wood which I use for the purpose, (please do not ask what the wood is because I have no idea - it was given to me by my late father and he did not know what it is either). The result:
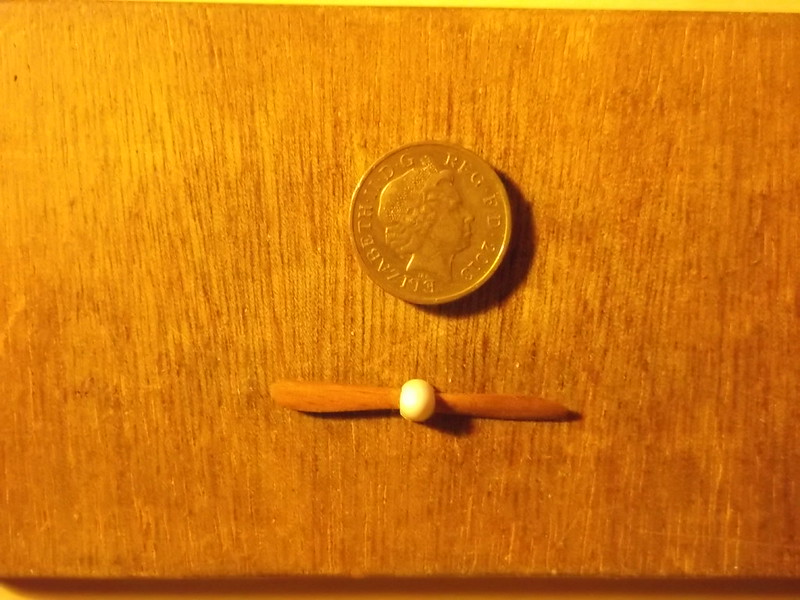
Only three more to make.
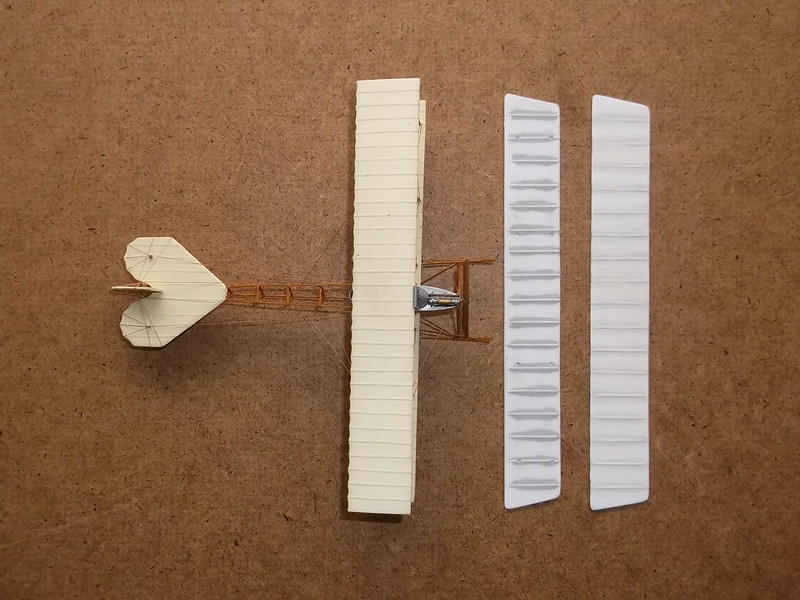
One thing that struck me when I was sanding the elevator surfaces was the size of them. On the aircraft they form a biplane structure which was at the extreme rear of the aircraft, and they hinged as a single unit. Just to give an idea of their size I got out my model of the Avro biplane of 1912 which is to the same scale: the span of the elevators is the same as the span of the wings of the biplane! (5 1/2 inches: 14 cm).
Thanks for looking.
Stephen.

