Evening All,
Many thanks to those of you who have dropped by and left such positive remarks. No pressure then! Yes this will be a big model when it is completed, but I am hoping that if I can mount it properly on the base which I have planned in my imagination it will be a satisfying project.
Before I started I decided that I needed some new tools. Well if I am to shape the hull I was not going to get far with the needle files that I normally use for modelling so I went out and treated myself to these:
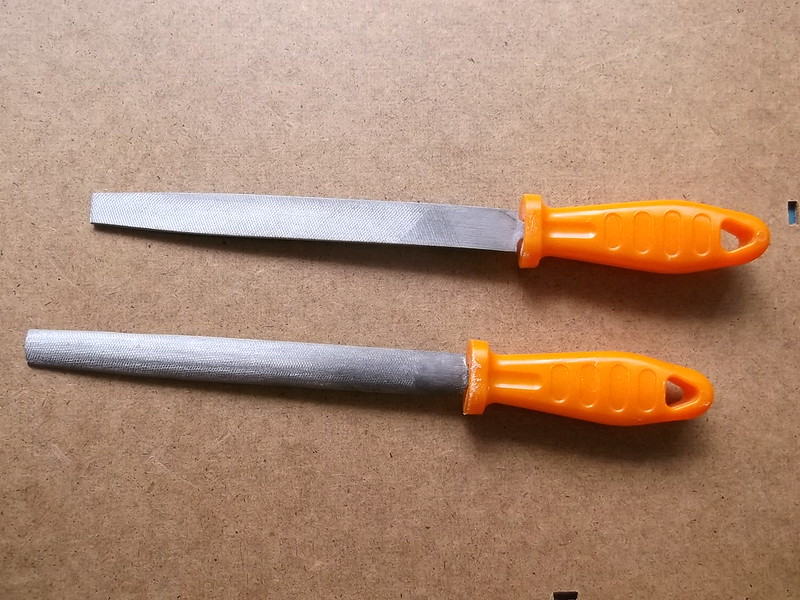
Not the latest in high tech or the most expensive tools around but they were within my limited budget and ideal for the task I had in mind. There was a third round file in the set but I have not had to use that yet, maybe I will later. Bought them from a hardware store round the corner and I was even able to walk to the premises rather than having to drive miles to some horrible industrial park in Kent.
The hull is made from a block of laminated basswood: I have not carved basswood before but would readily do so again if the need arises. It is lovely material to work with: hard but not stiff to file or sand, makes a really good smooth surface which once sealed should be easy to paint, and is robust enough to hold in a vice and not be damaged in the process. I enjoyed making this so far - I hope it continues when I do the extra work later.
Scraping and shaping 1
If you know how to carve shapes from a block of wood I apologise if what follows is tedious and I suggest that you skip this section and just look at the photos as this is intended for those who are not familiar with carving. It is not difficult, it just takes a little time, (or in my case a lot - about 5 hours for what you see at the end of this post). I started by filing the top of the hull to get the correct curved section and then I marked plan on the top surface of the block and sawed away the front corners to make things a little quicker. I also sawed away the section under the nose as I followed the line of the hull side that I had originally drawn and started to file away at the sides to get the correct plan shape. Having almost completed the filing of the sides I realised that I had made a major mistake. I had got carried away with the saw and had cut off the lower half of the bow!! I now intend to use this dud hull as a practice piece for later operations. Back to laminating three pieces of basswood and leaving the lot to dry out overnight under a pile of books: my low tech press.
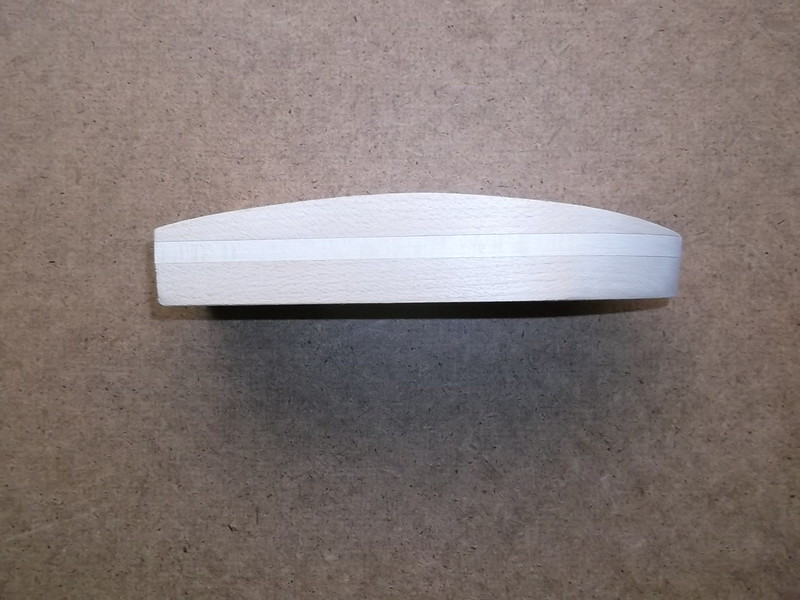
Try number 2: this time I repeated the procedure above to the part where I cut off the corners for the bow section, but this time I made sure that I left the underside well alone. The top of the hull was once again filed to the correct profile:

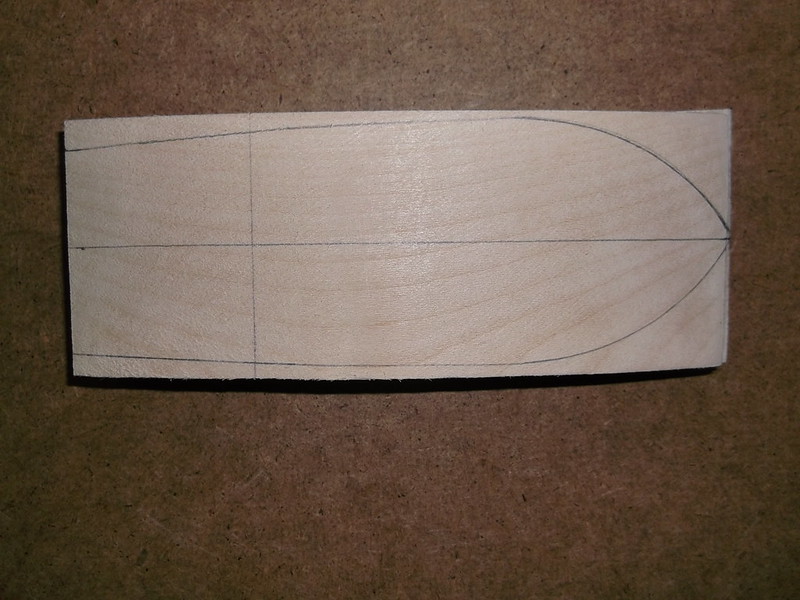
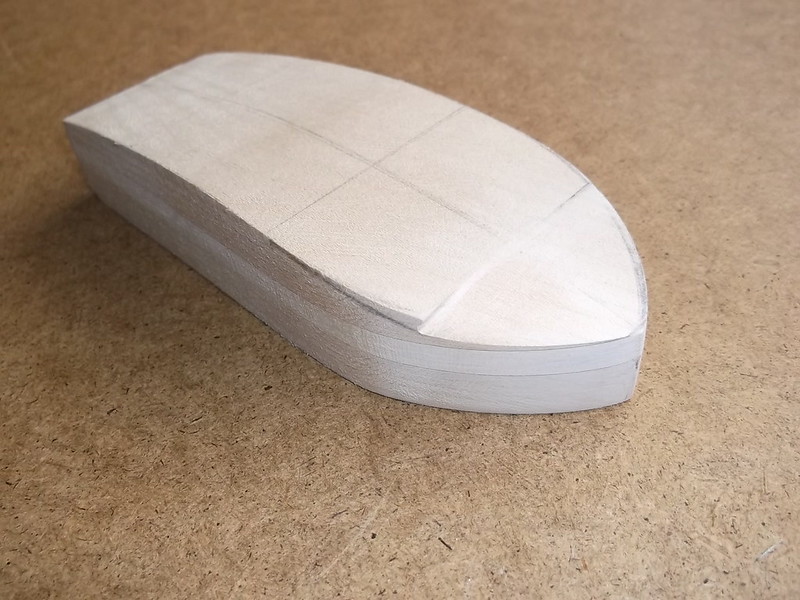
The plan was marked on the top of the hull and a series of lines drawn at 90 degrees at fixed points to help make sure that I did not get carried away when shaping the sides:
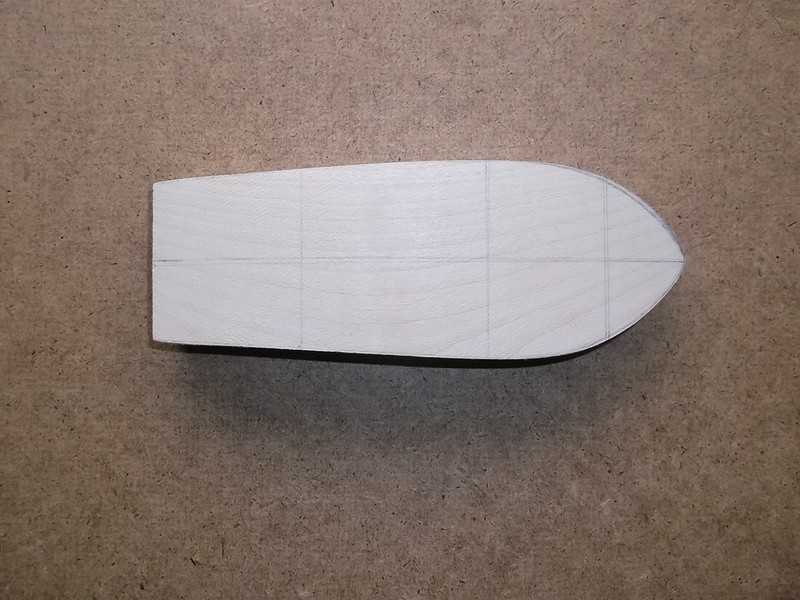
More filing....until this shape was reached:

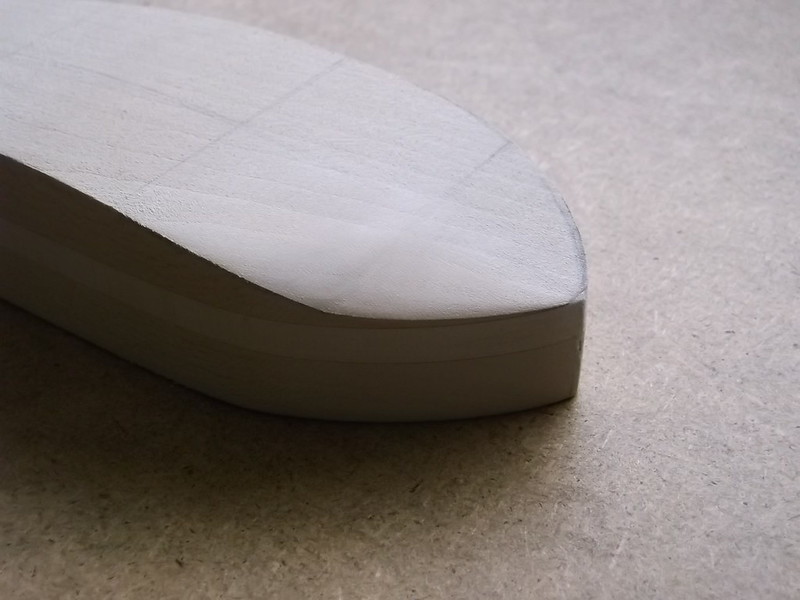
The line running across the front end of the hull becomes important at this stage because there has a subtle curve here which I presume was to allow spray water to drain away quickly. Careful use of the file enabled me to shape the upper surface forward of the line. I worked on each side in turn using photographs to get what I think is the correct profile.
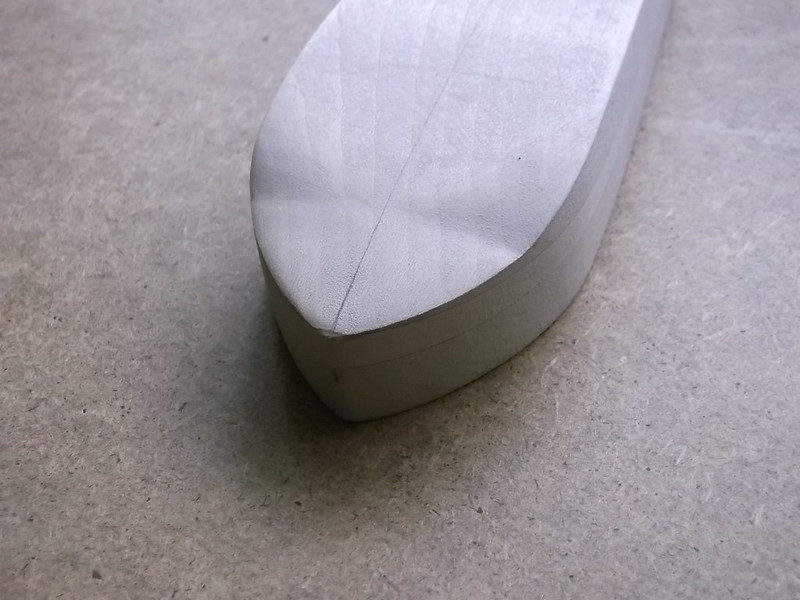
Now for the tricky bit: to get the area of the upper hull to the rear of the line to curve downwards to meet the new side profile forward of the line. The centre line was very important because this is the highest point on the nose of the hull and was used as a guide when drawing the file across the side: more strokes and greater pressure towards the side, almost no pressure and few strokes towards the centre line. I had to work slowly and methodically and towards the end I used coarse grade glass paper to finish the job, again working on each side in turn.
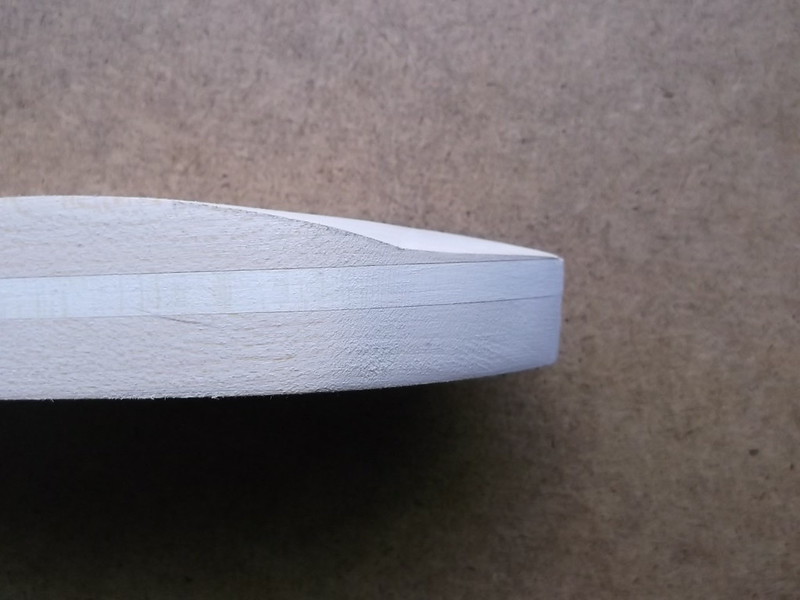
Polishing was done with flour grade glass paper, and the top profile of the hull is finished.
I will make the steps at the rear of the hull next, but before I let myself loose on the new hull I will try out an idea on the old one first. Then I will not have wasted 5 hours of work and another block of wood if something goes wrong.
Thanks for looking.
Stephen.

