Evening All,
Welcome Manni and Frank - I hope that I can offer you some new ideas along the way.
Lance: many thanks for your complimentary remarks: what a shame you could not provide any photographs of the ship that you made as I am sure that it was a first class model if your current builds are anything to go by. I am very slow at carving, which is a good thing because as anyone who has attempted it soon learns, it is easy to remove material but nearly impossible to put it back, as I have already demonstrated with this model! I did not have to use card templates with this hull but I do use them when I am making some moulds.
I have completed the steps at the rear of the hull, without making a mess of things and having to start all over again. So...
Shaping and scraping 2
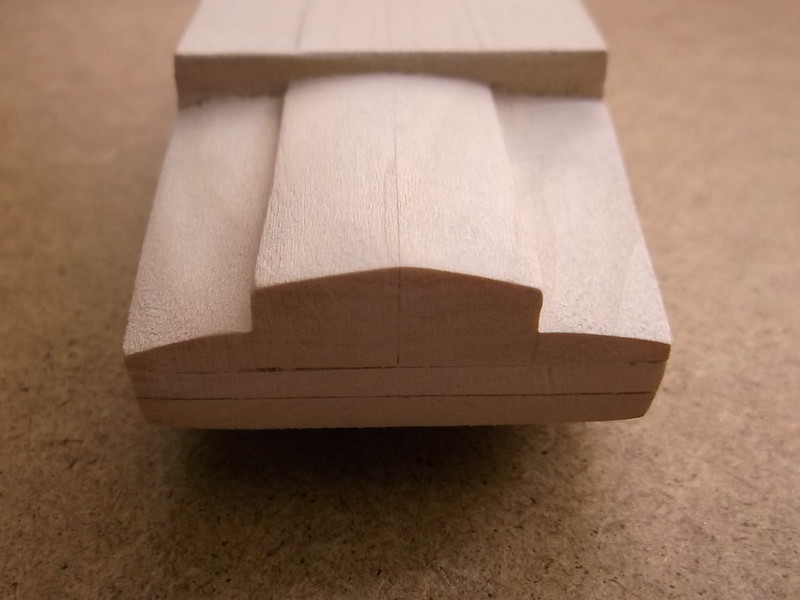
I cut out the whole of the lower rear of the hull - two cuts, one horizontal and one vertical. I then sanded the upper corners smooth as these will be visible when the steps are complete. Two lines were drawn on the horizontal surface to mark where the steps will be.
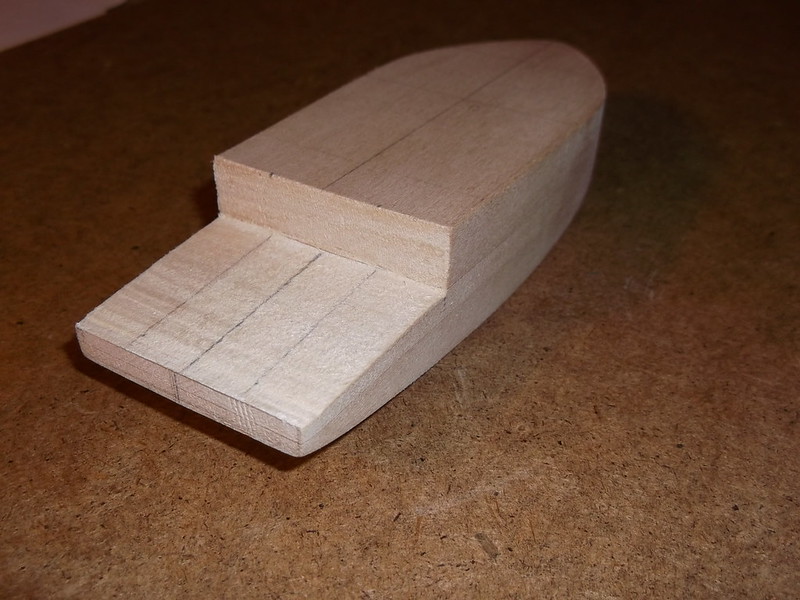
The third line is the centre line and is used to make measurements to keep things symmetrical. The block which I had removed from the hull was cut into three sections, using the dimensions measured from the hull horizontal surface above. The centre section was carefully put to one side and the two side pieces had lines drawn on them to mark the top of the step. This surface is not completely flat: it slopes more at the front end than the rear. One side was then glued to the gap in the hull rear and allowed to dry out overnight. This was then filed down to the lines on each side and polished with fine glass paper to leave a flat surface as shown on this trial block which was my first (failed) attempt to carve the hull:
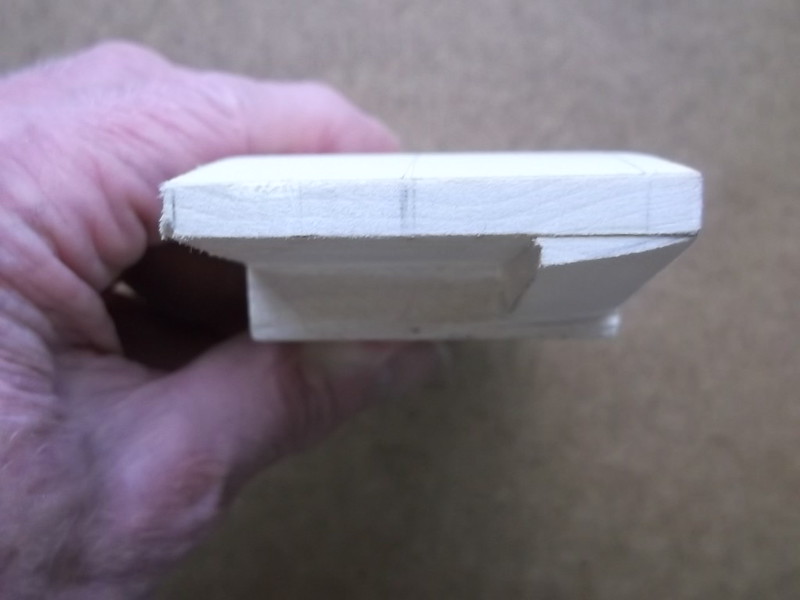

The third picture shows that the fit on the trial piece was not quite as good as I would have wanted (and achieved) on the real piece: it was after all done to prove a concept and it worked. When the one side step was finished the above operation was repeated for the other side:
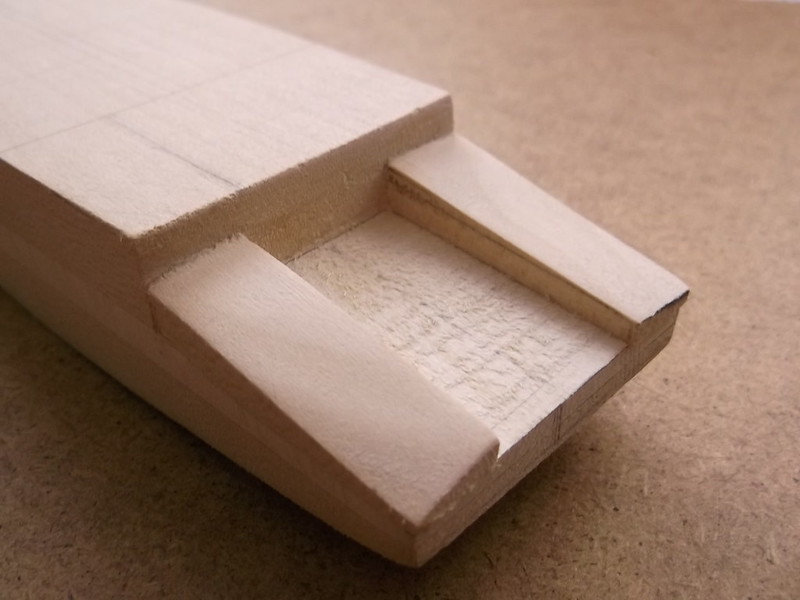
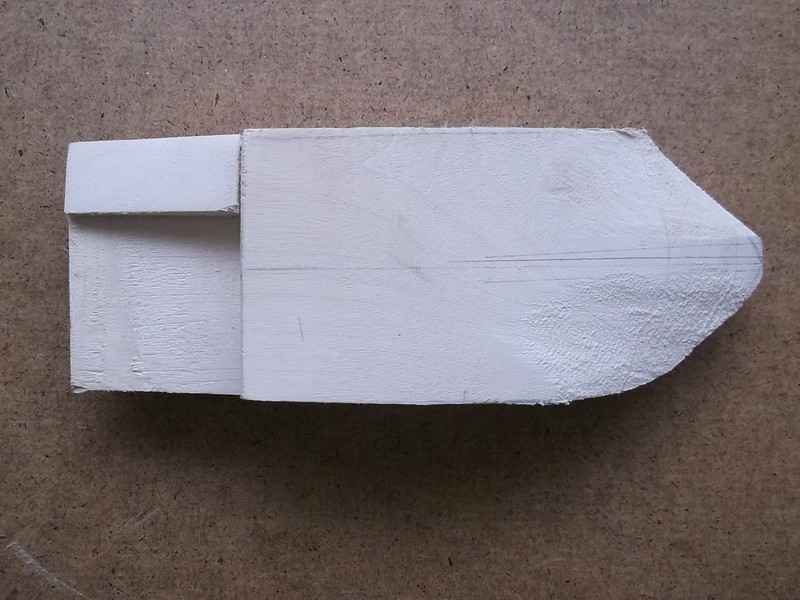
The centre section had to have the sides adjusted with some glass paper to make a really tight fit, but once it could be pushed into the gap I again drew lines on the sides to mark the edges of the hull bottom. I glued the inside surfaces of the hull, tapped the centre piece into place and let the glue set. The top could then be shaped as before with a file, polished with glass paper and the very small gaps filled with putty.

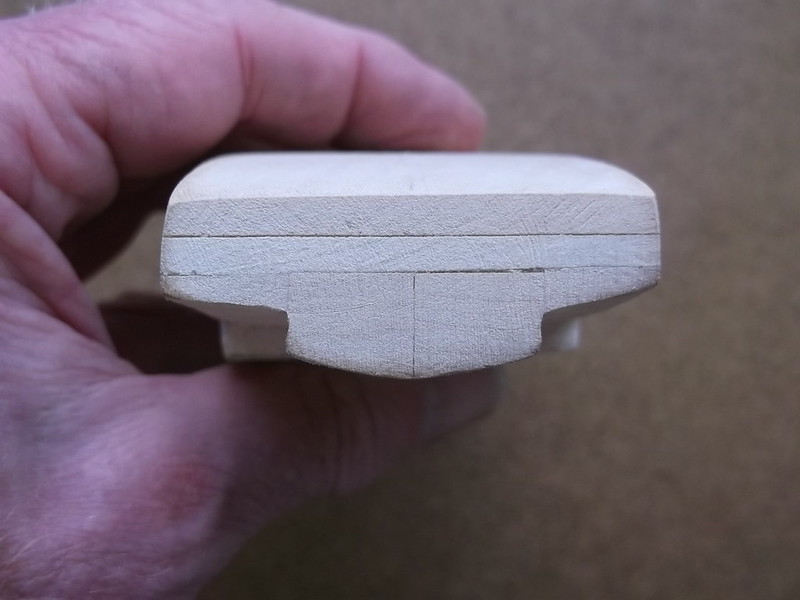
They have now been sanded smooth and I am ready to tackle the hull under the bow. You can see that I have been trying both the round and half round files on the test hull and have concluded that the half round file is the more suitable tool. I just hope that I do not make a mess of the next step as there is a lot of time invested in the hull now!
Thanks for looking.
Stephen.

