Evening All,
I have still to shape the engine nacelles and put in something resembling engines.....
I have fixed the windshield to the hull - that was a part that I moulded and showed earlier. It was metal on the original aircraft and I think had the instrument panel mounted behind it - at least that is how I have interpreted it. The IP was a simple piece of card painted in oils to represent wood, (although on the original it may have been duraluminium?), and then some black dots to represent instruments. As this part will barely visible on the completed model that is good enough. The joint between the windshield and hull was filled and sanded and then the whole given a coat of primer, together with the wing and tail surfaces. The brass boom was given a coat of metal primer: I am not sure how acrylics would go on to uncoated brass and I was not prepared to take the risk.
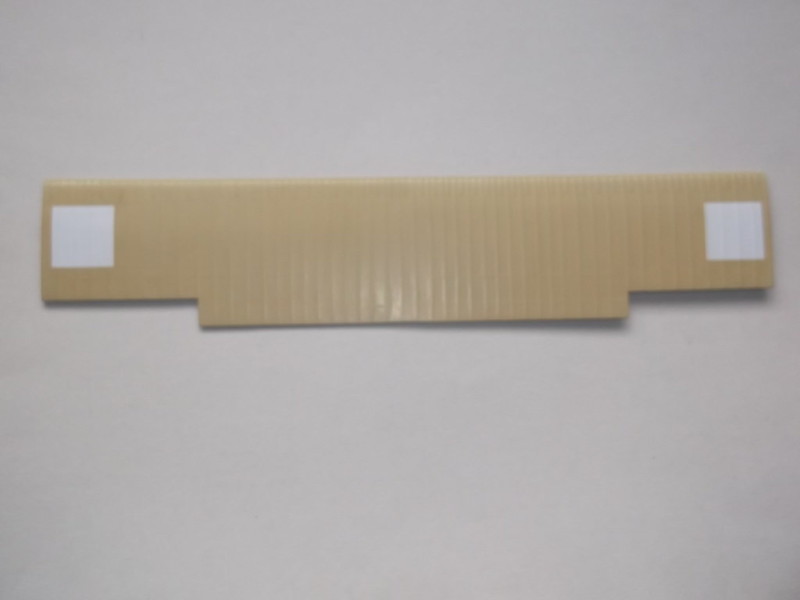
Painting and decorating followed. The first was the CDL for which I have used Revell Beige 314. Artwork is not my strong suit and I find it very difficult to mix paint and get consistent shades so I used this straight from the pot. I watered it down and applied numerous coats - I think about 12 in all - I lost count actually. The first two coats looked positively awful but after that things improved a little. For the wings and large surfaces I drew the brush across the surface for one coat and then along for the next, alternating the direction for each coat. The final coat was always from the front to the rear of the part being painted.

Then on to the metallic areas which I have represented with Revell Hellgrau 76 again straight form the pot but again watered down and multi-coated as described above. The finish does look a bit uniform but the photographs do not show any variation and any panel lines would be too small to see in this scale anyway.
Next came the decoration: I had printed the crosses on my computer so I first cut out the white background squares from white transfer sheet and applied these:
This is the top of the wing and shows what I mean - nothing special. After that was dry the crosses were applied, in this case under the wing:
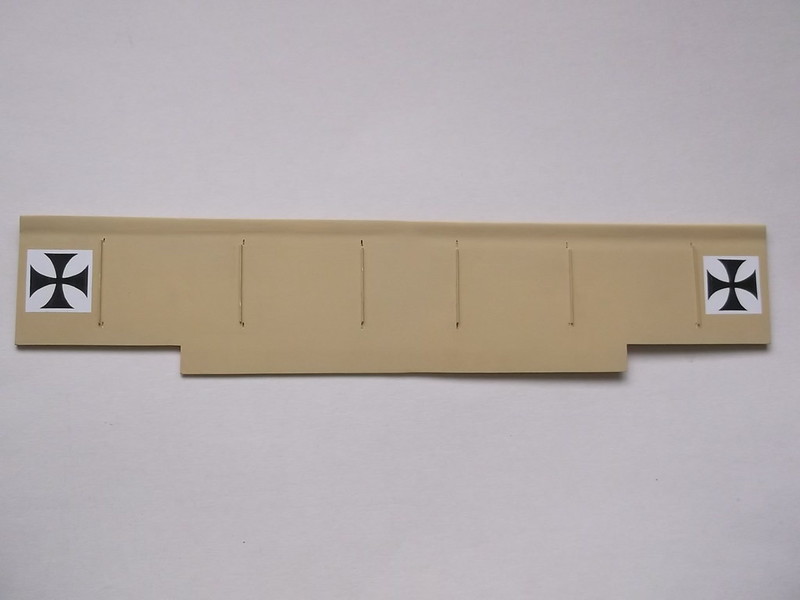
The ribs on the underside were cut from 10 x 20 thou Evergreen strip and represent reinforcing strips between the strut location points. I have since painted these grey too as these were metallic and not covered by fabric. The holes where the struts will be eventually fitted can also be seen here. The fin crosses were also applied so that the complete hull assembly now looks like this:
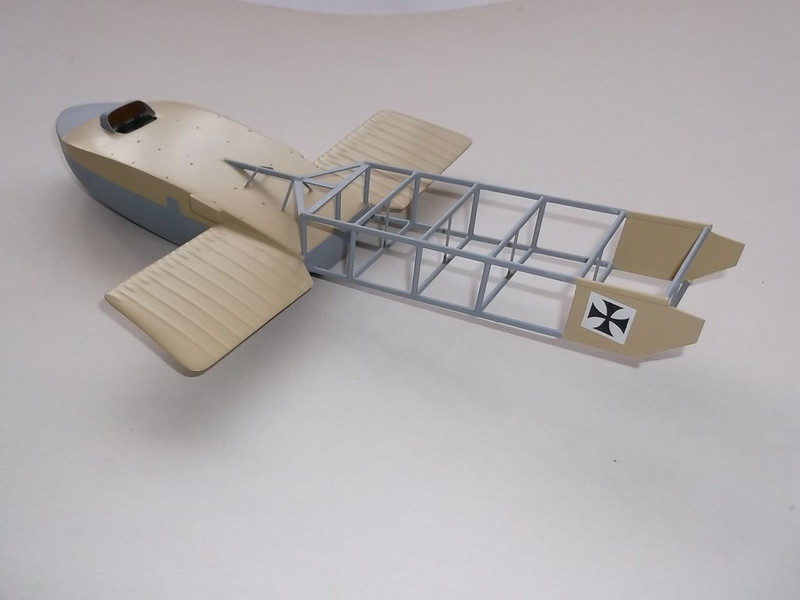

After all the excitement of waiting for paint to dry I can now get on with rigging the underside and inside of the boom because I am concerned about access accidentally knocking off parts because I have to invert the model in order to rig these areas. I also need to get on with those engine nacelles.....
Thanks for looking.
Stephen.

