cheers guys

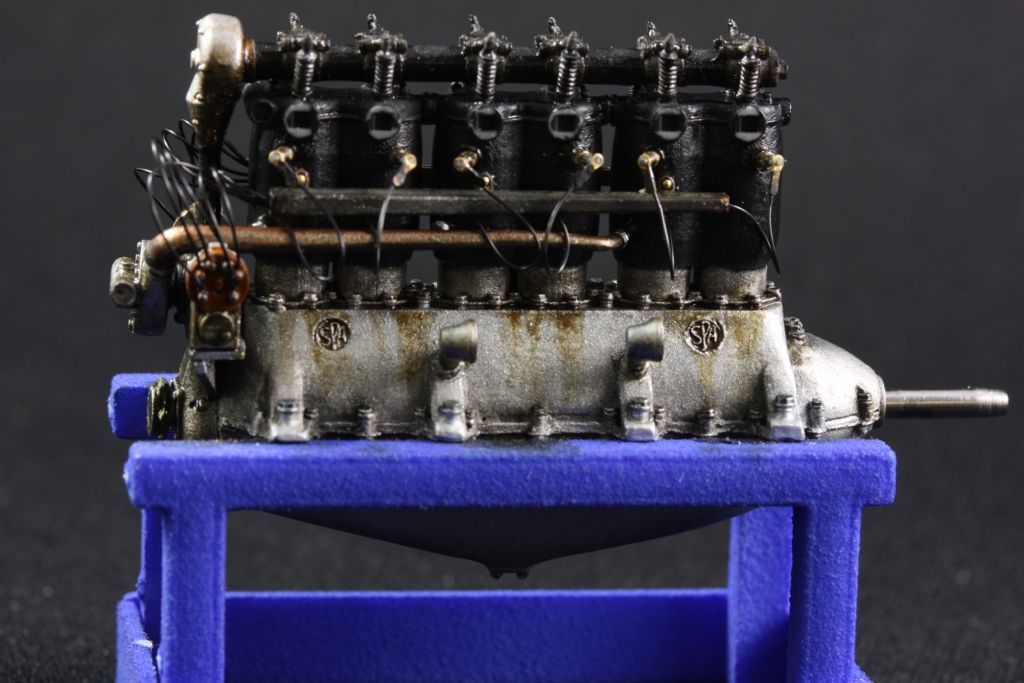
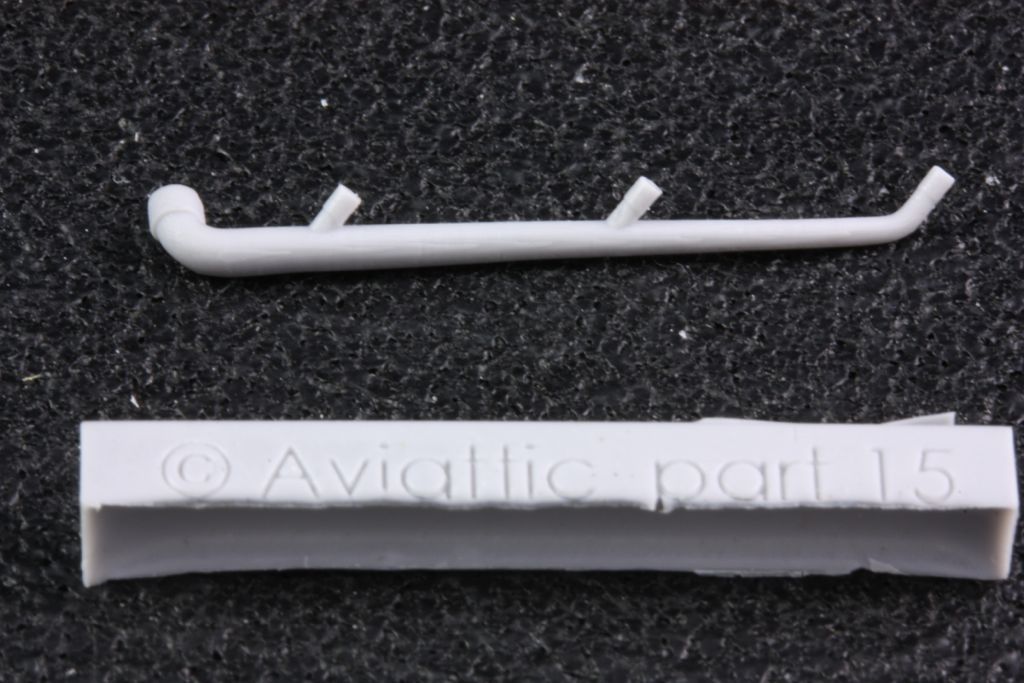
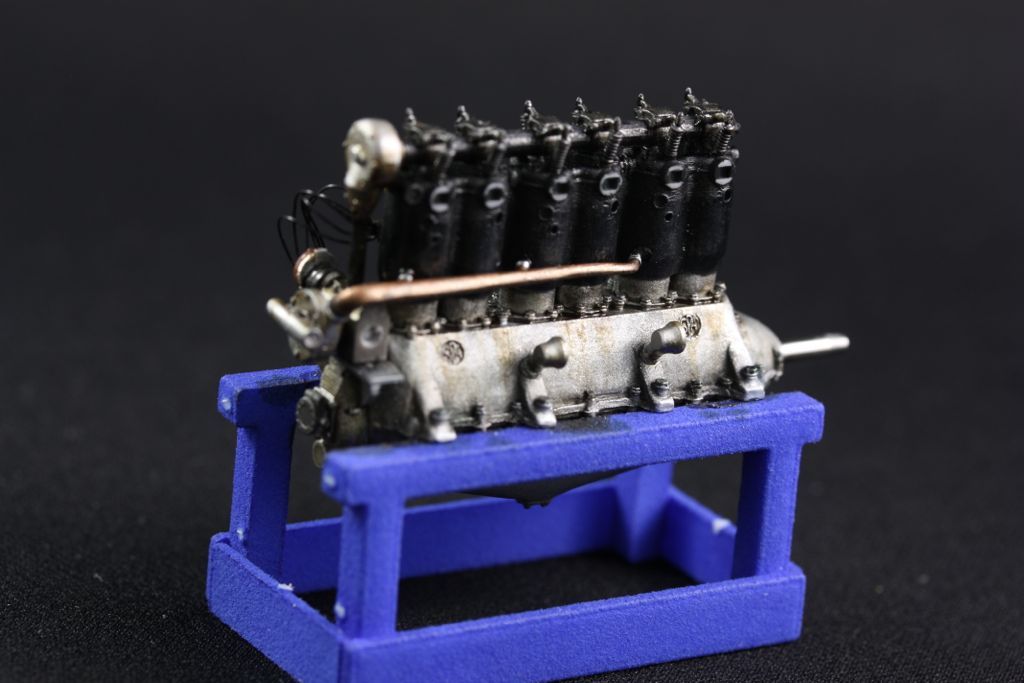
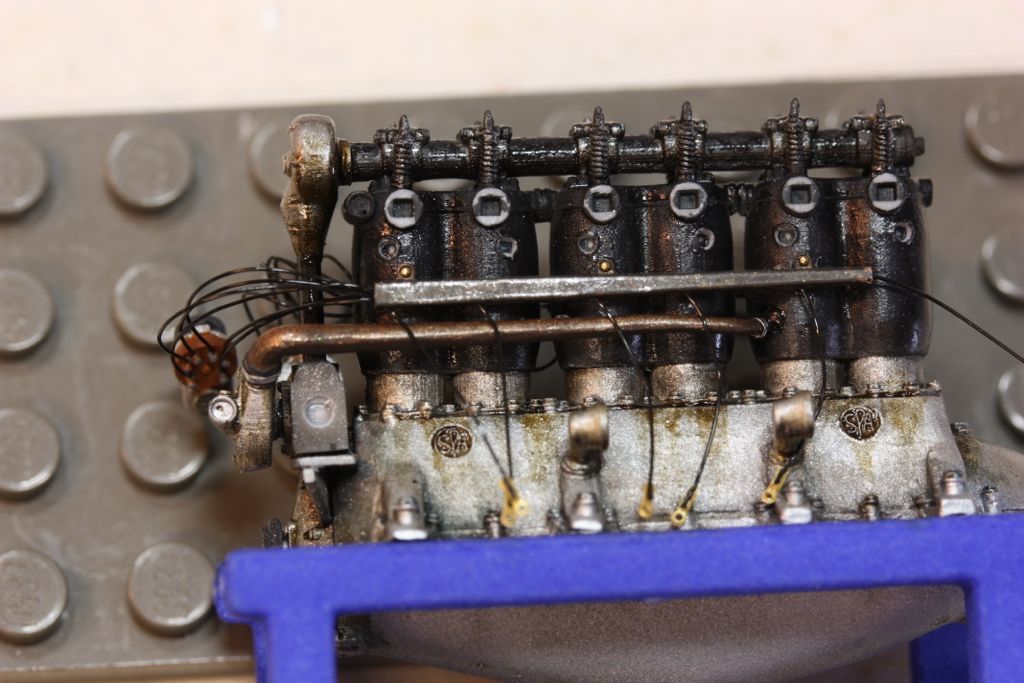
Moving over to the ignition wiring on the exhaust side, which I will present in a little more detail. First, however, part 15, the pipe that connects the water pump to the cylinder jackets, must be cut out, cleaned up, and installed:
like so:
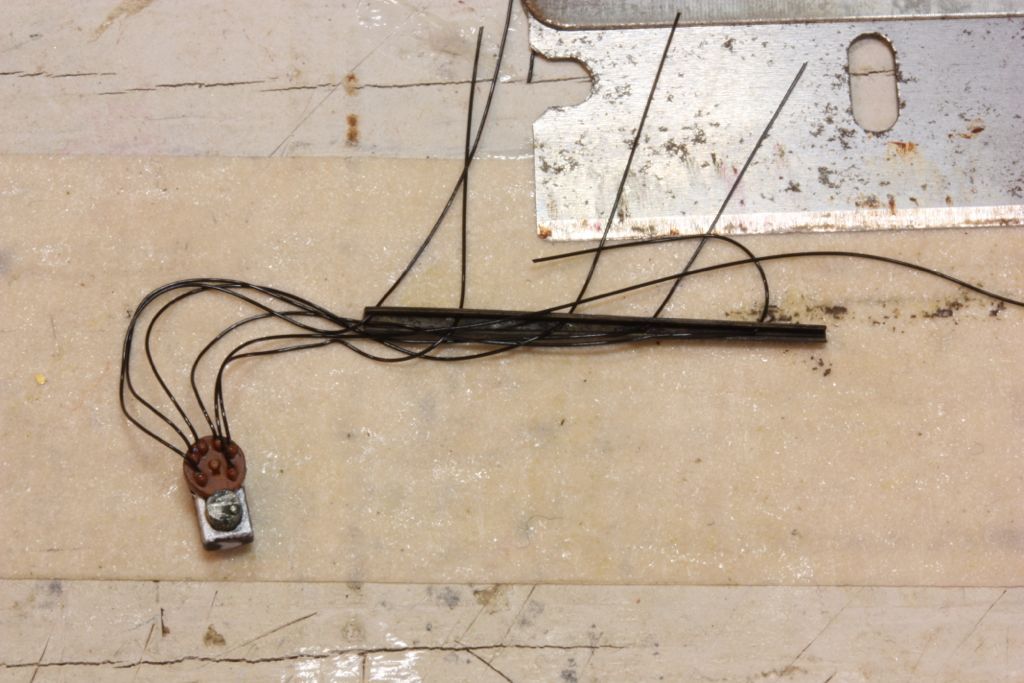
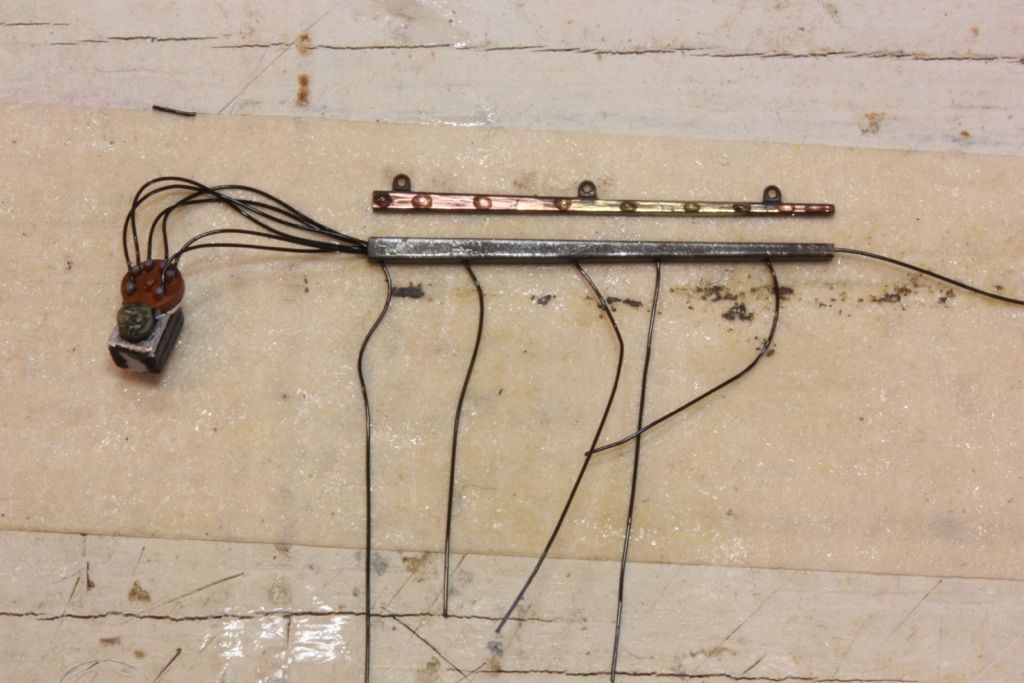
Here is my method for assembling the wiring harness. Start by laying out the magneto and the harness tube
(PE part 23) roughly as they sit on the engine, but note the tube is upside-down at this point. Run the first two wires thru the forward most small holes in PE part 23 and attach to the topmost magneto points. Leave a good 20mm of slack exiting the tube for each lead:
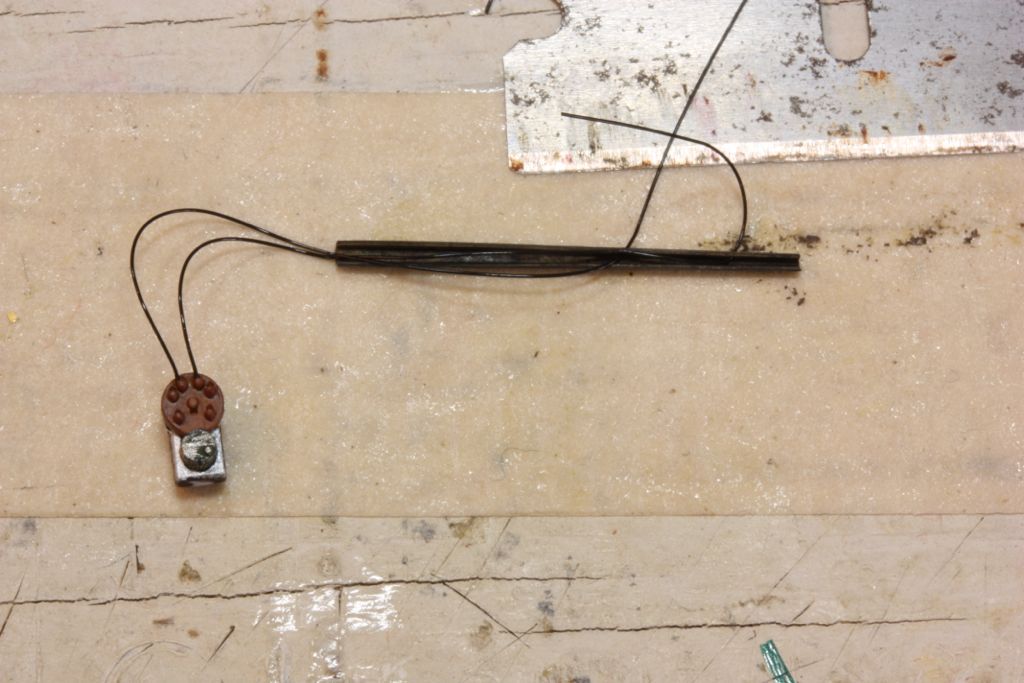
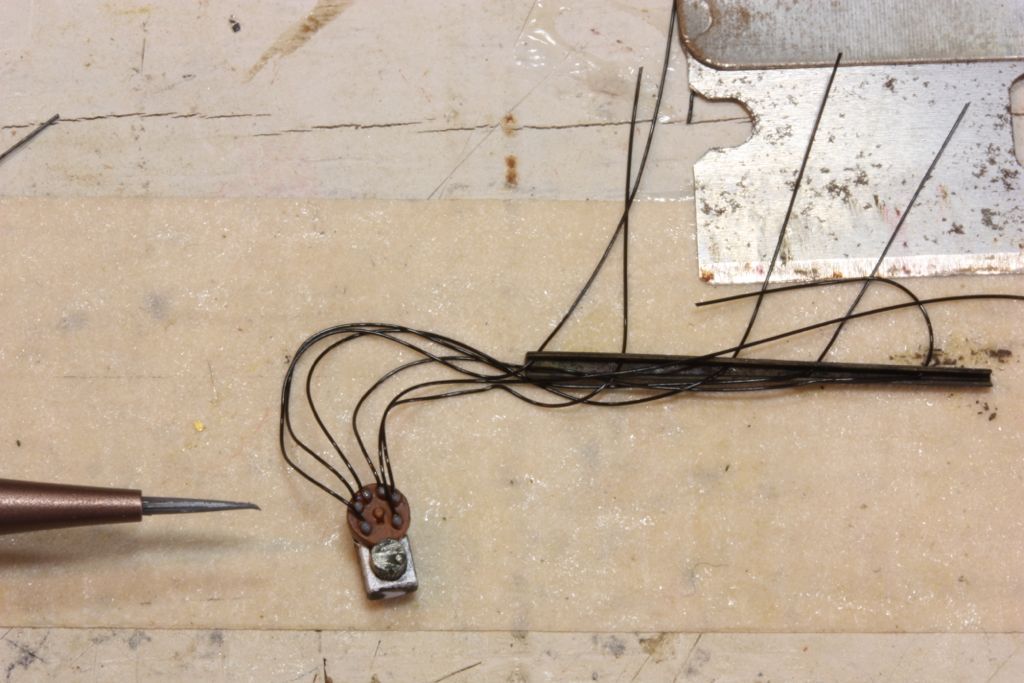
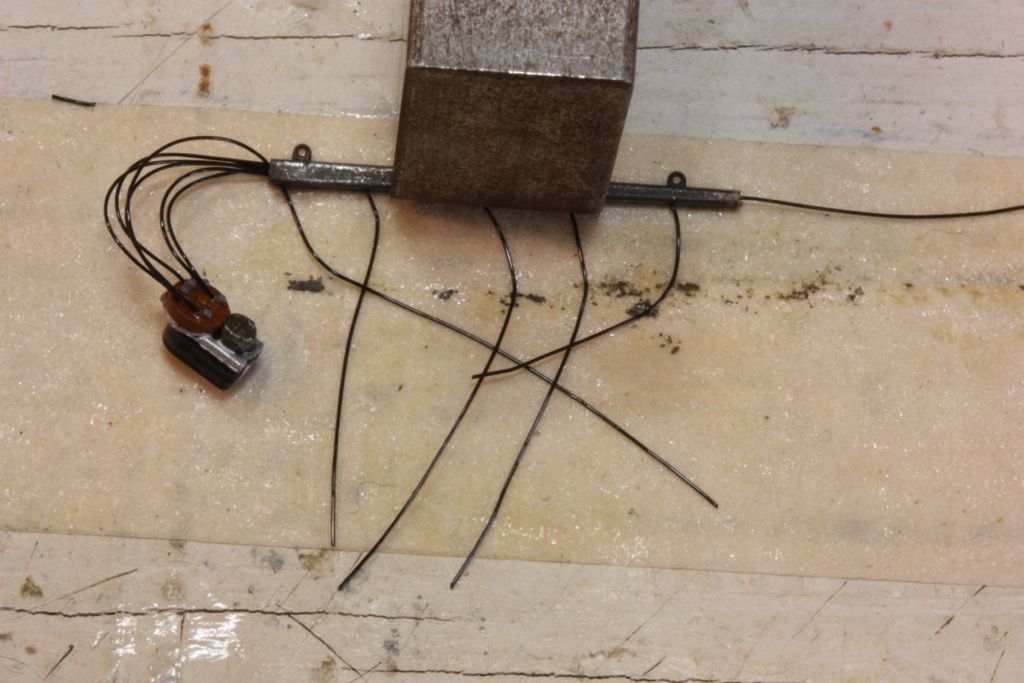
next, wire up the next highest pair of points on the magneto, same as before:
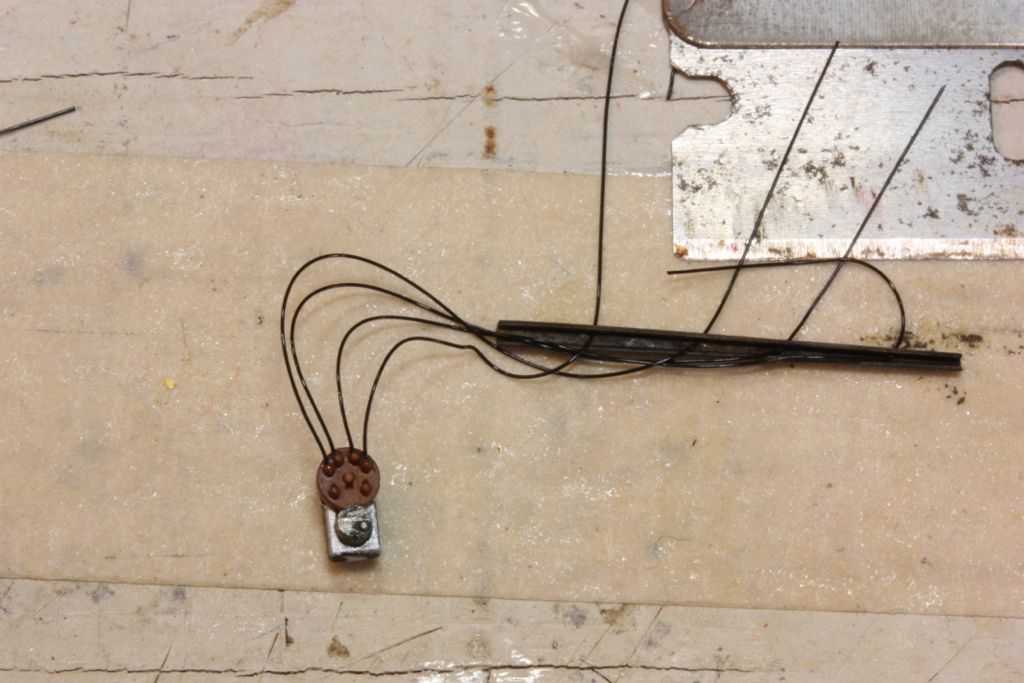
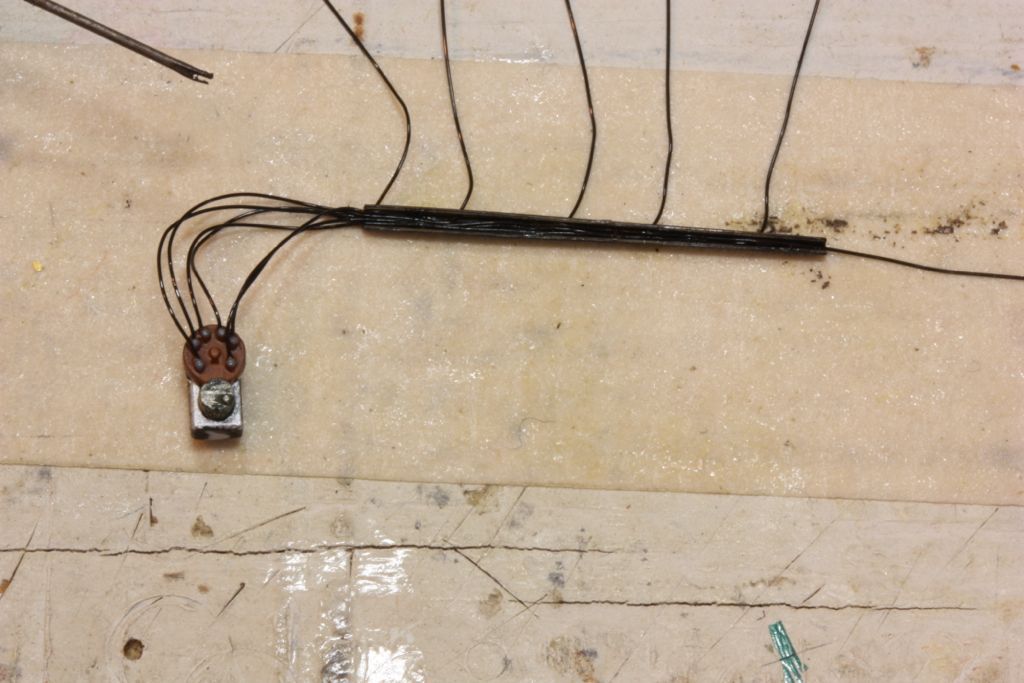
and finally the bottom two points. Note that one wire, the longest, simply exits out the front of the tube:
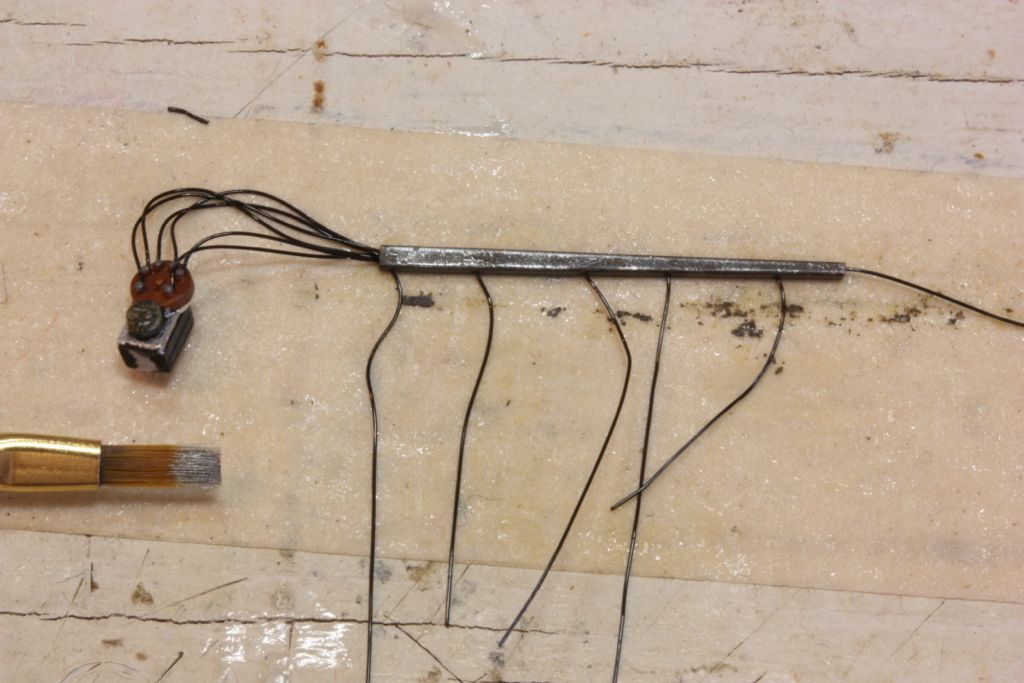
now is a good time to paint the magneto connectors:
Press the wires down into the tube channel and glue in place with a few drops of CA:
Now you can flip the tube, and paint it:
The back of the tube (part 22) can now be glued on. I used several dollops of epoxy...
...weighted down. In 15 minutes or so it'll will be ready to continue:
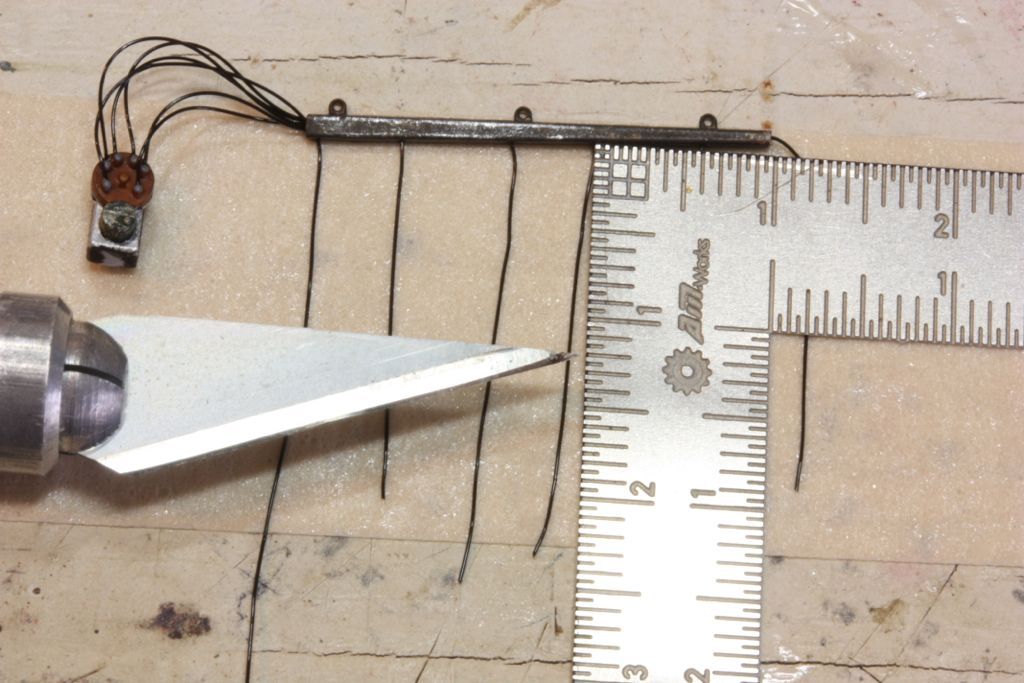
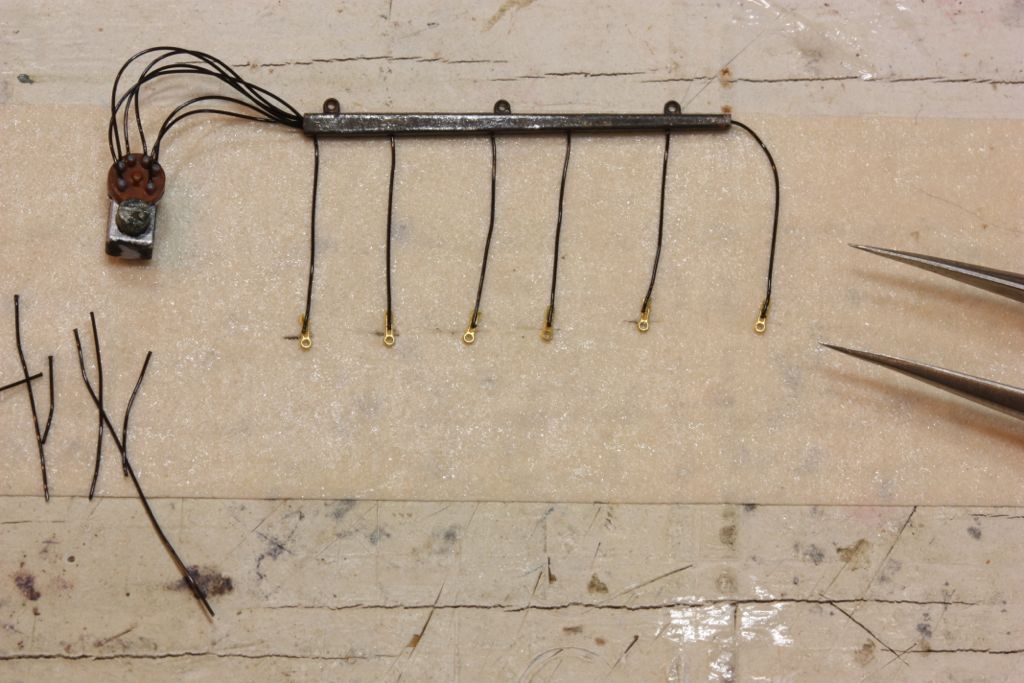
Now the leads are trimmed to ~12mm as measured from where they exit the tube:
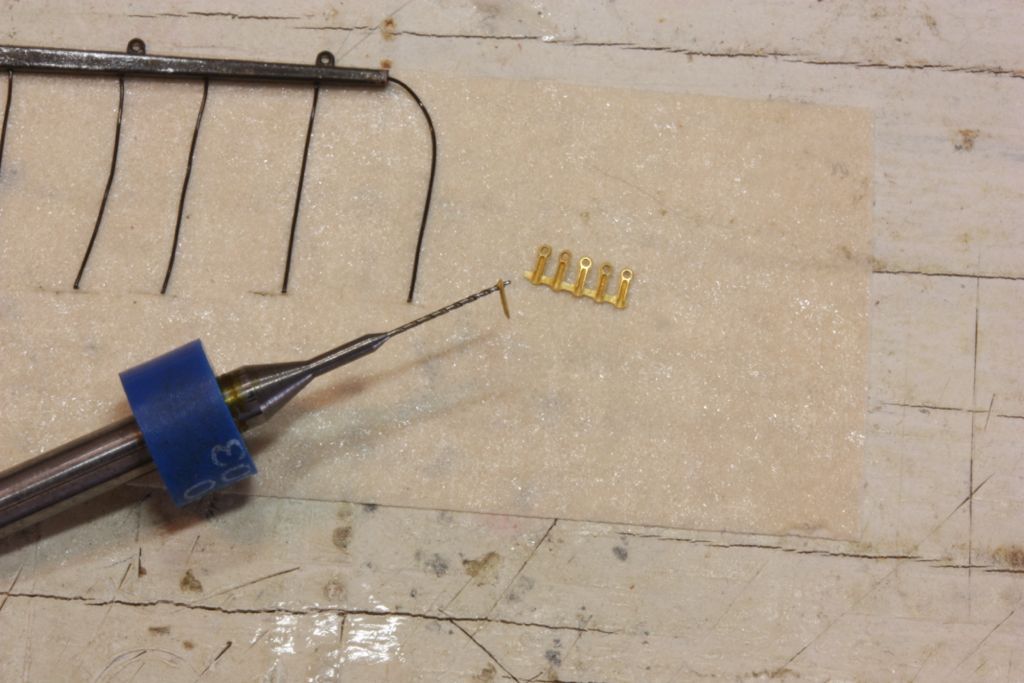
The spark plug connector ends should be carefully reamed out to .35mm:
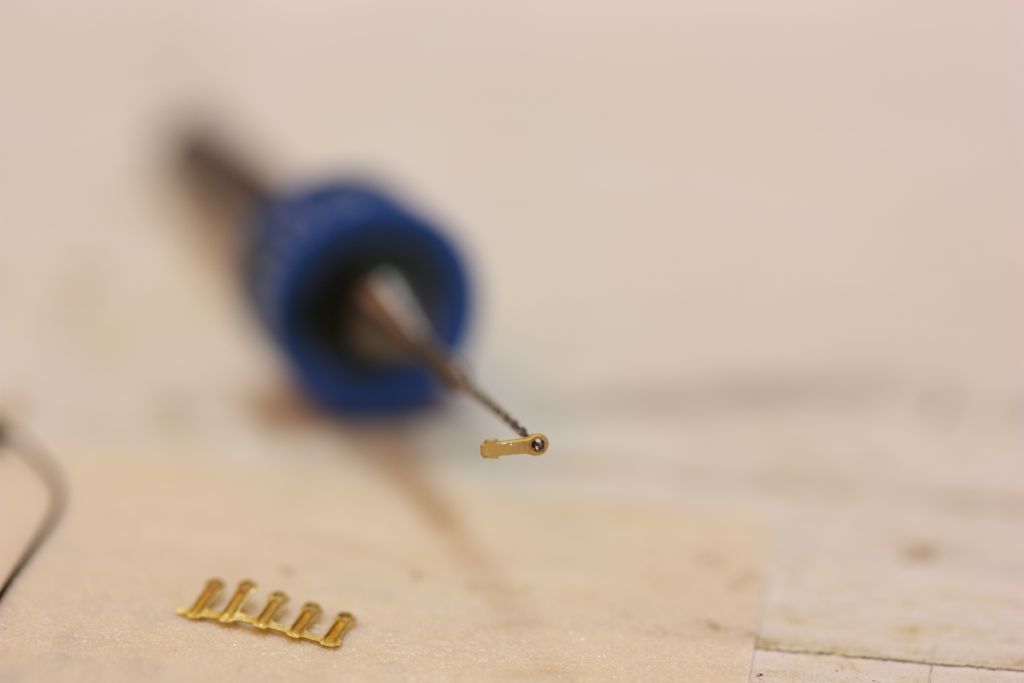
Now the connectors can be CA glued to the leads. Just a drop'll do ya; be careful not to plug up the hole with CA:
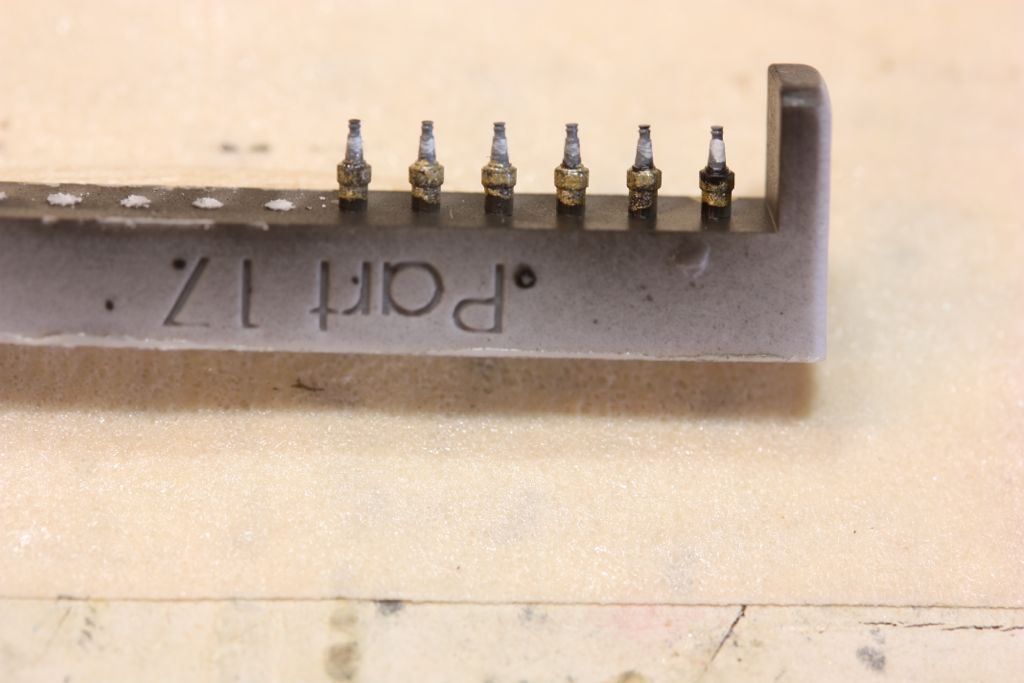
Spark plugs are painted while still on the casting block and set aside...
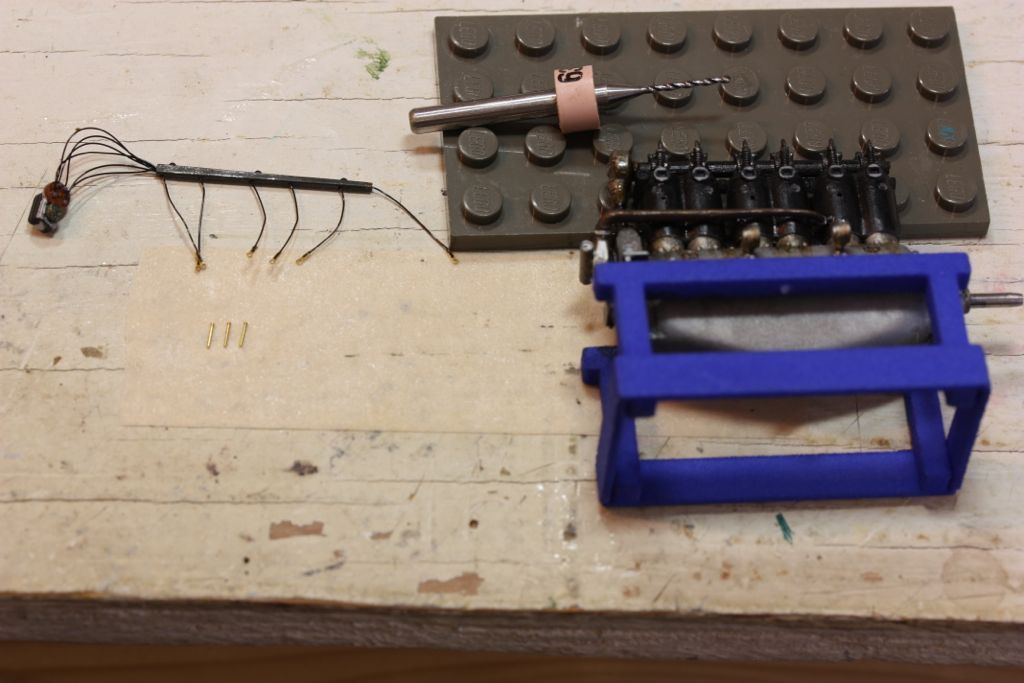
Now we're ready to install the harness. First, though, ream the spark plug holes in the block with a .9mm drill bit to clear out any paint and ensure an easy fit. Get your rivets ready (or whatever you are using to pin the harness in place):
I like to use epoxy for this, and let it set 3-5 minutes after applying drops in the holes before continuing. At that point it is starting to 'kick' and is very sticky, vs. simply greasy as it is when freshly mixed:
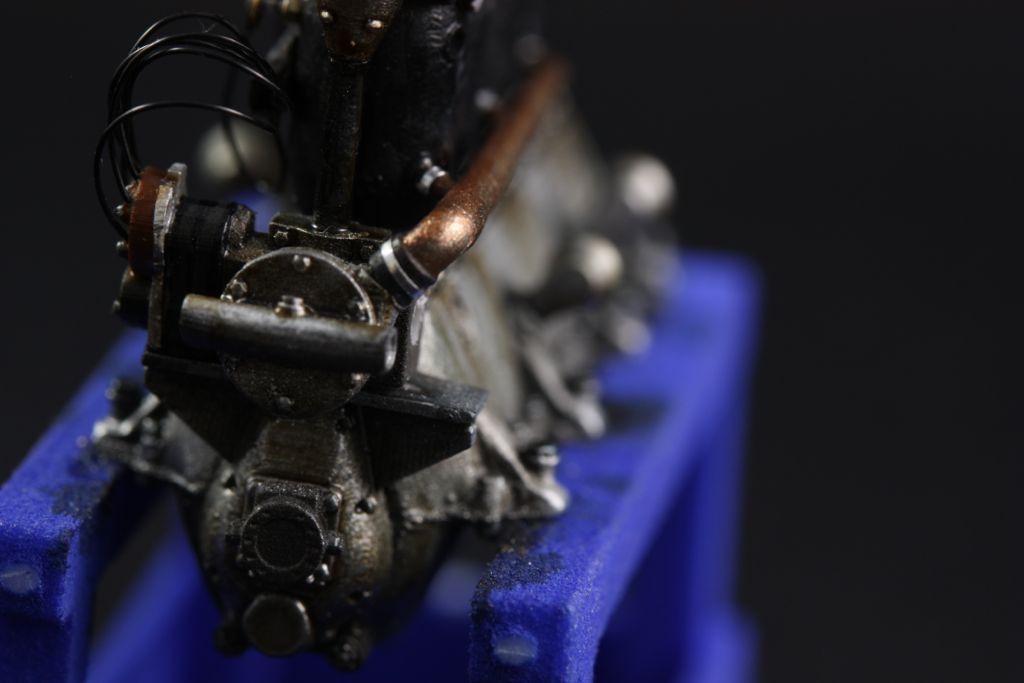
Once the harness is cured in place, the magneto goes in. Again, same deal -- let the epoxy start to cure a bit and you will have to spend much less time holding parts together, avoid accidentally slobbering the good side in glue, etc (sorry wrong photo):
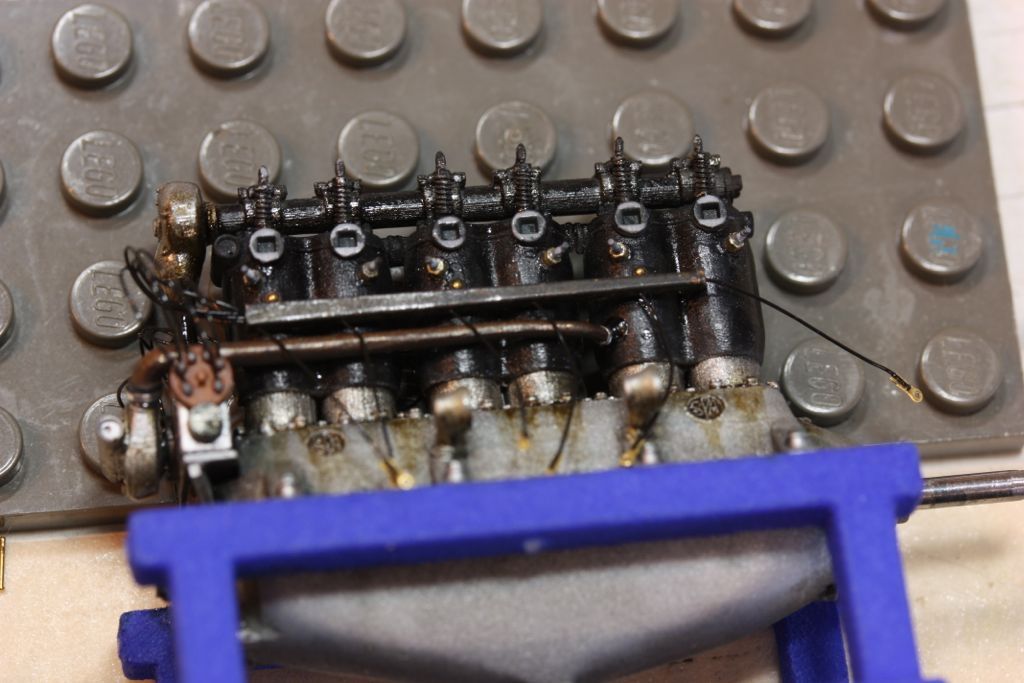
Next the plugs go in. I use CA, a small drop on the butt of the plug, shove it into the socket, and then lock it into place with a tiny bit more applied underneath:
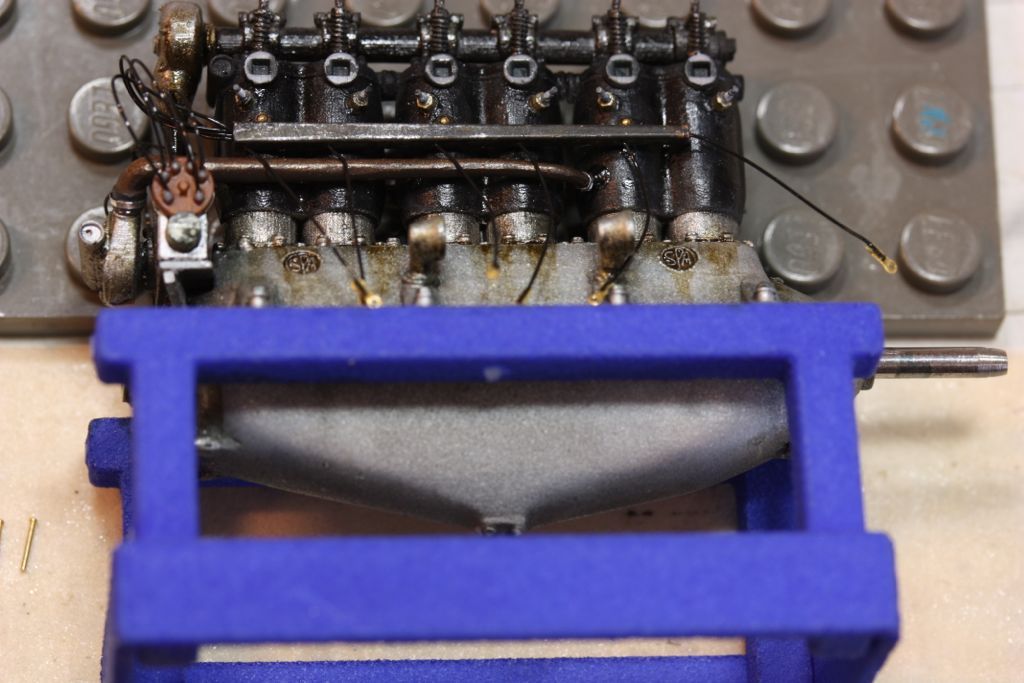
Finally, leads attached to plugs and a little touch up here and there: