Time for another update to get this Thread caught up to the Build; only a few more required.
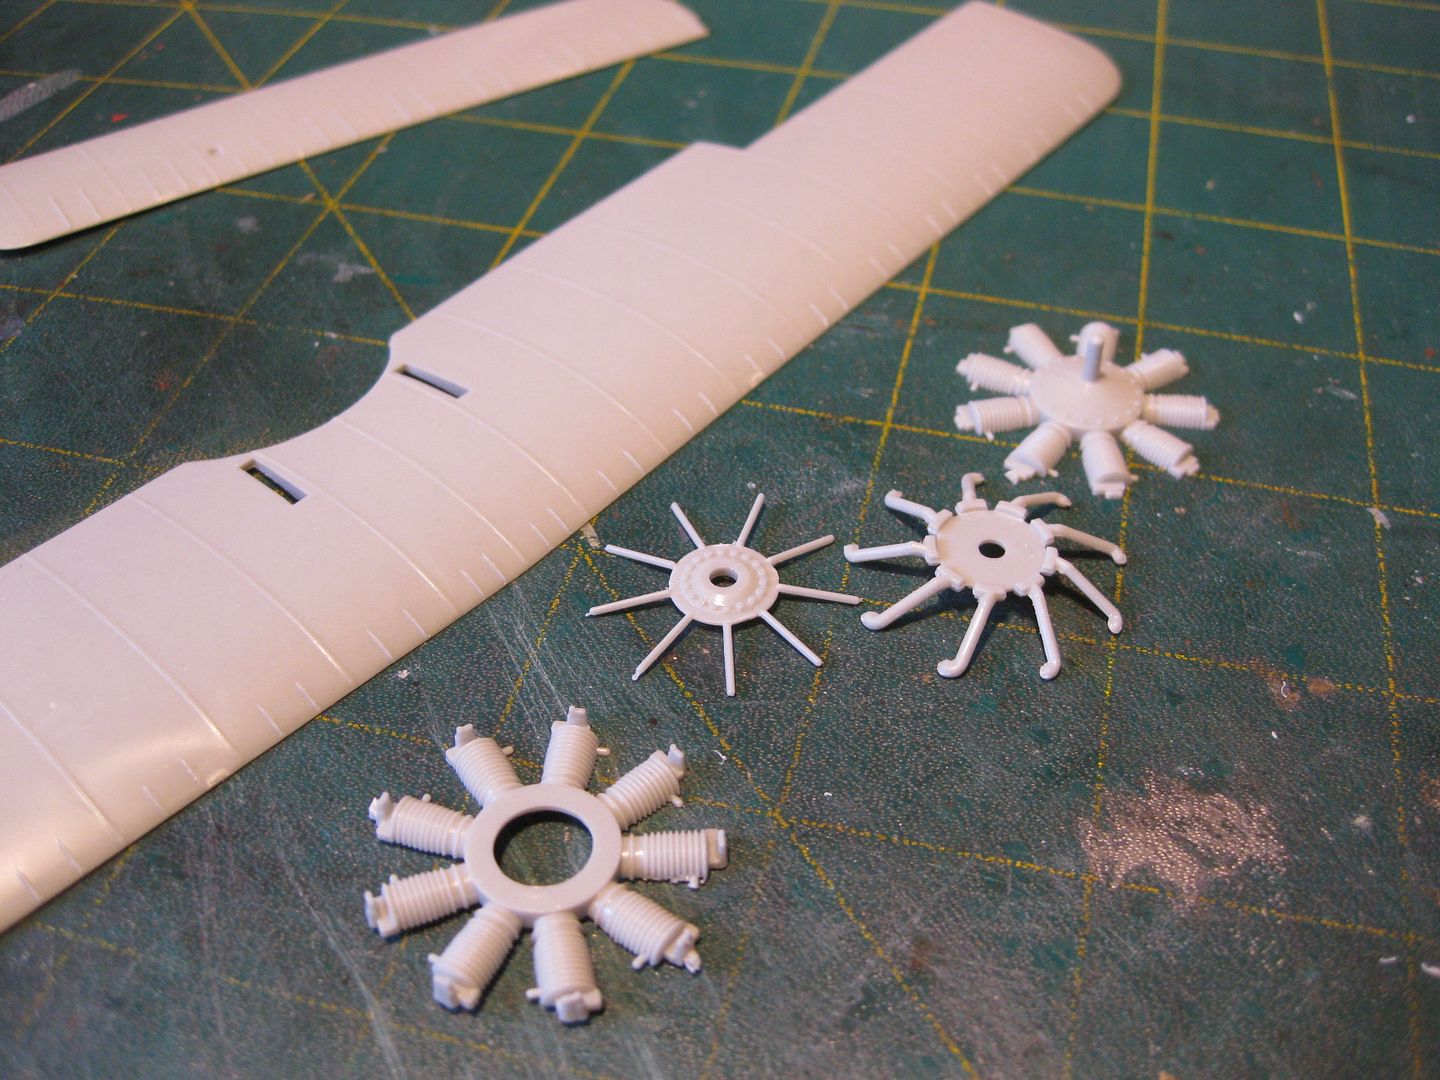
This is a very simple little kit, the total parts numbering around two dozen. The basic molding is good, measurements and accuracy quite reasonable, and it provides a good platform to produce a decent model of the subject. Detail is lacking however, and thus the large number of A/M bits to be accompanied by some scratched additions. Last, I find the plastic difficult to work with. Unlike the soft easily worked plastic in Roden and Wingnut's offerings it is extremely hard and very brittle; care must be taken to avoid breakage, especially with the more delicate parts.
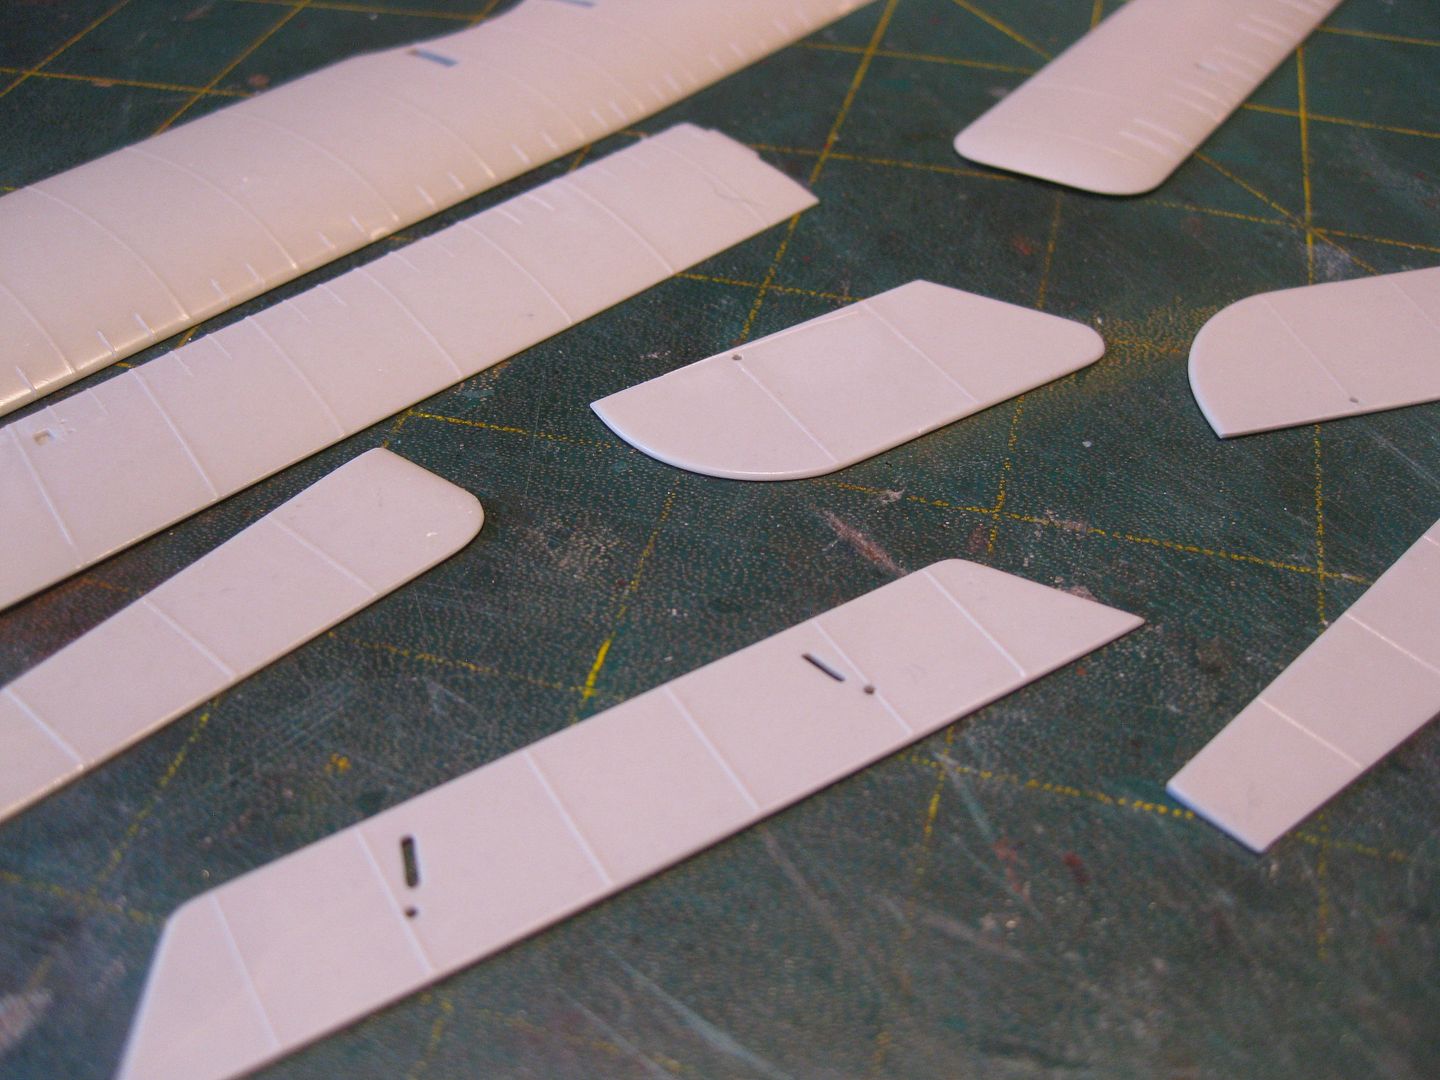
I started with removing the basic parts from their sprues, a lot of flash, ejector pin marks, and molding marks had to be cleaned up. Control surfaces were separated from the component parts and the secondary wing "riblets" along the top leading edges were sanded down to reduce their exaggerated profiles. The main rib tapes were left as was, they appear well done as represented.
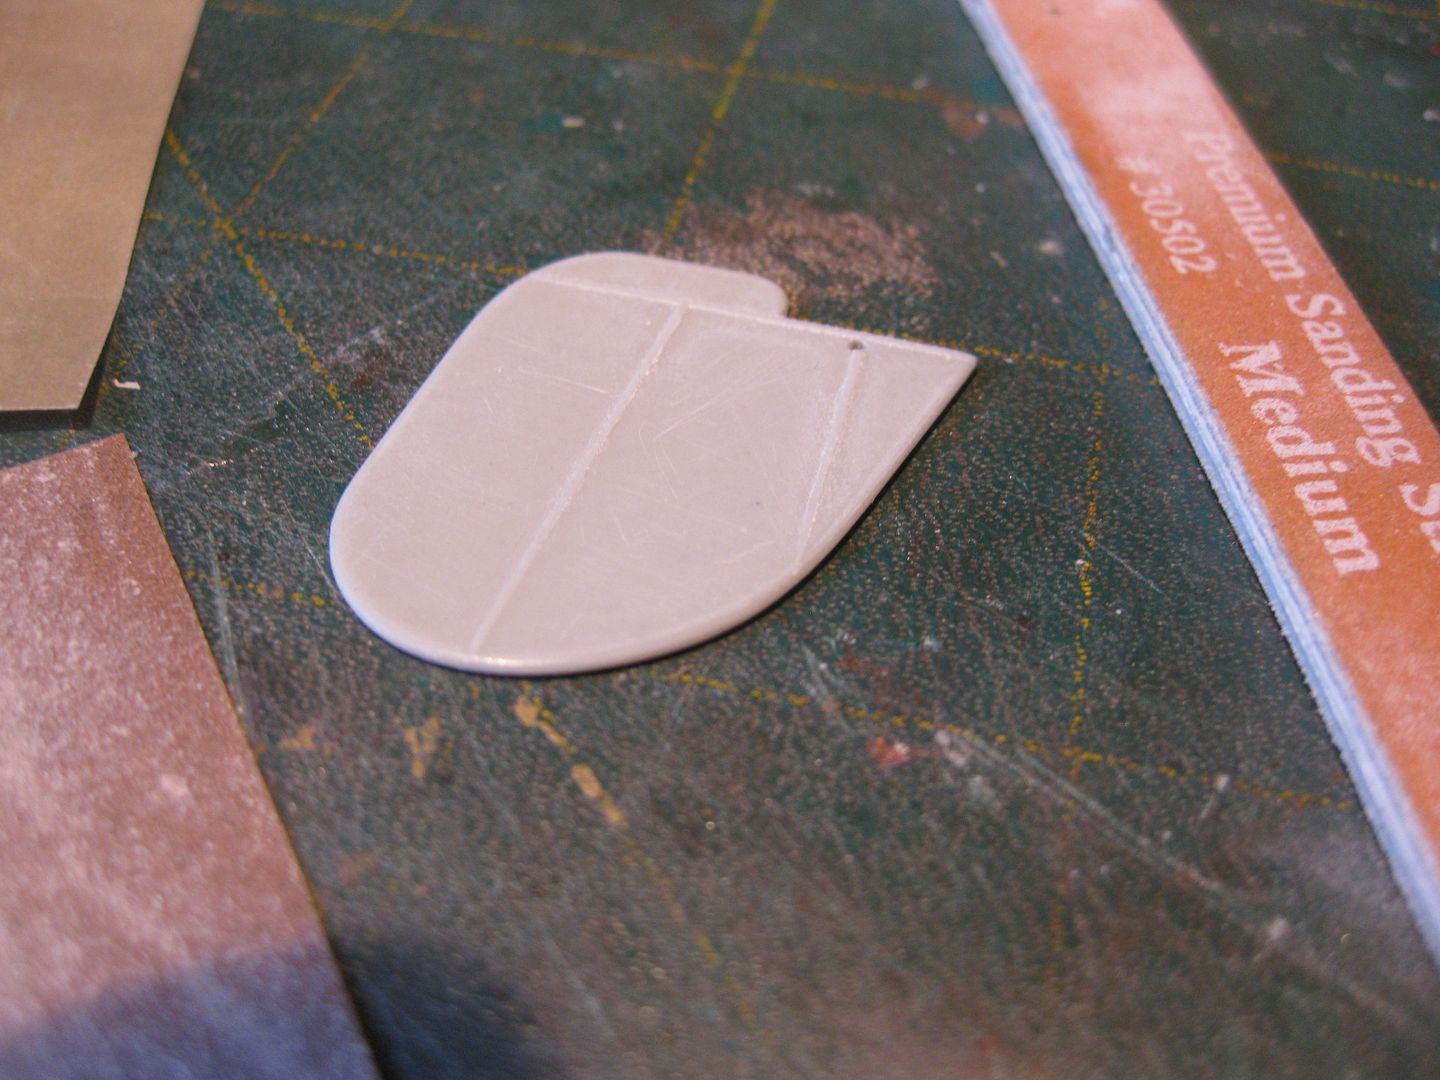
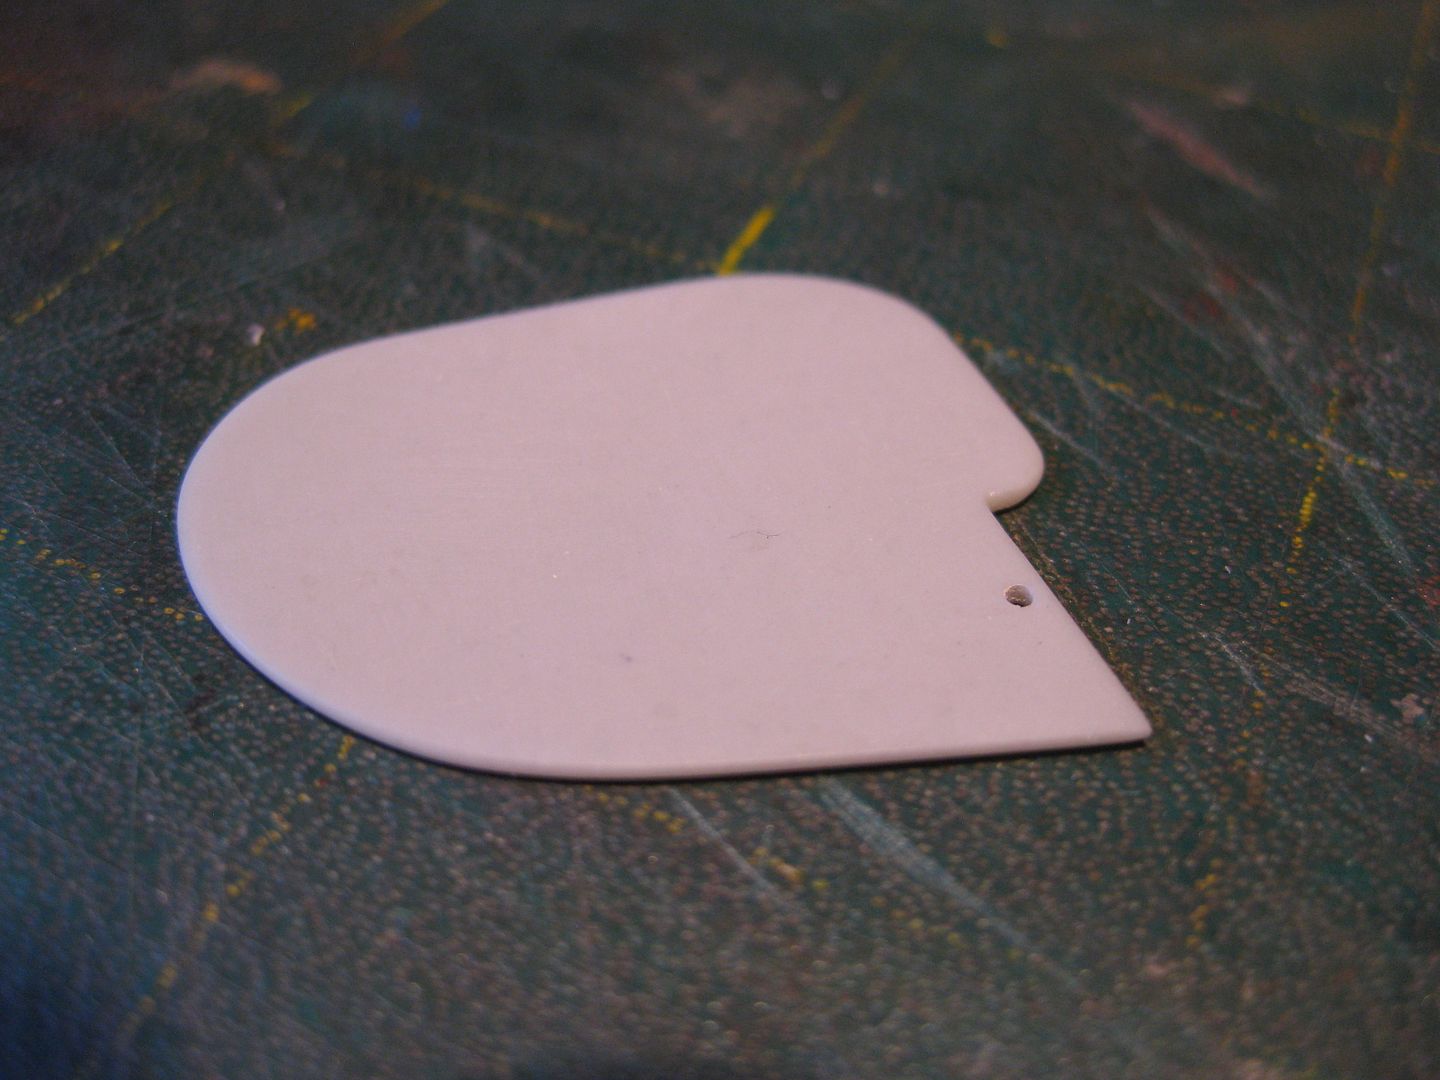
The frame work represented on the rudder was removed as it is far too exaggerated, this detail can be represented with a little post shading at the painting stage.
The fuselage foot step was carved out and cleaned up, the "Tom's" Photo Etch set has a metal outline for it to be added later.
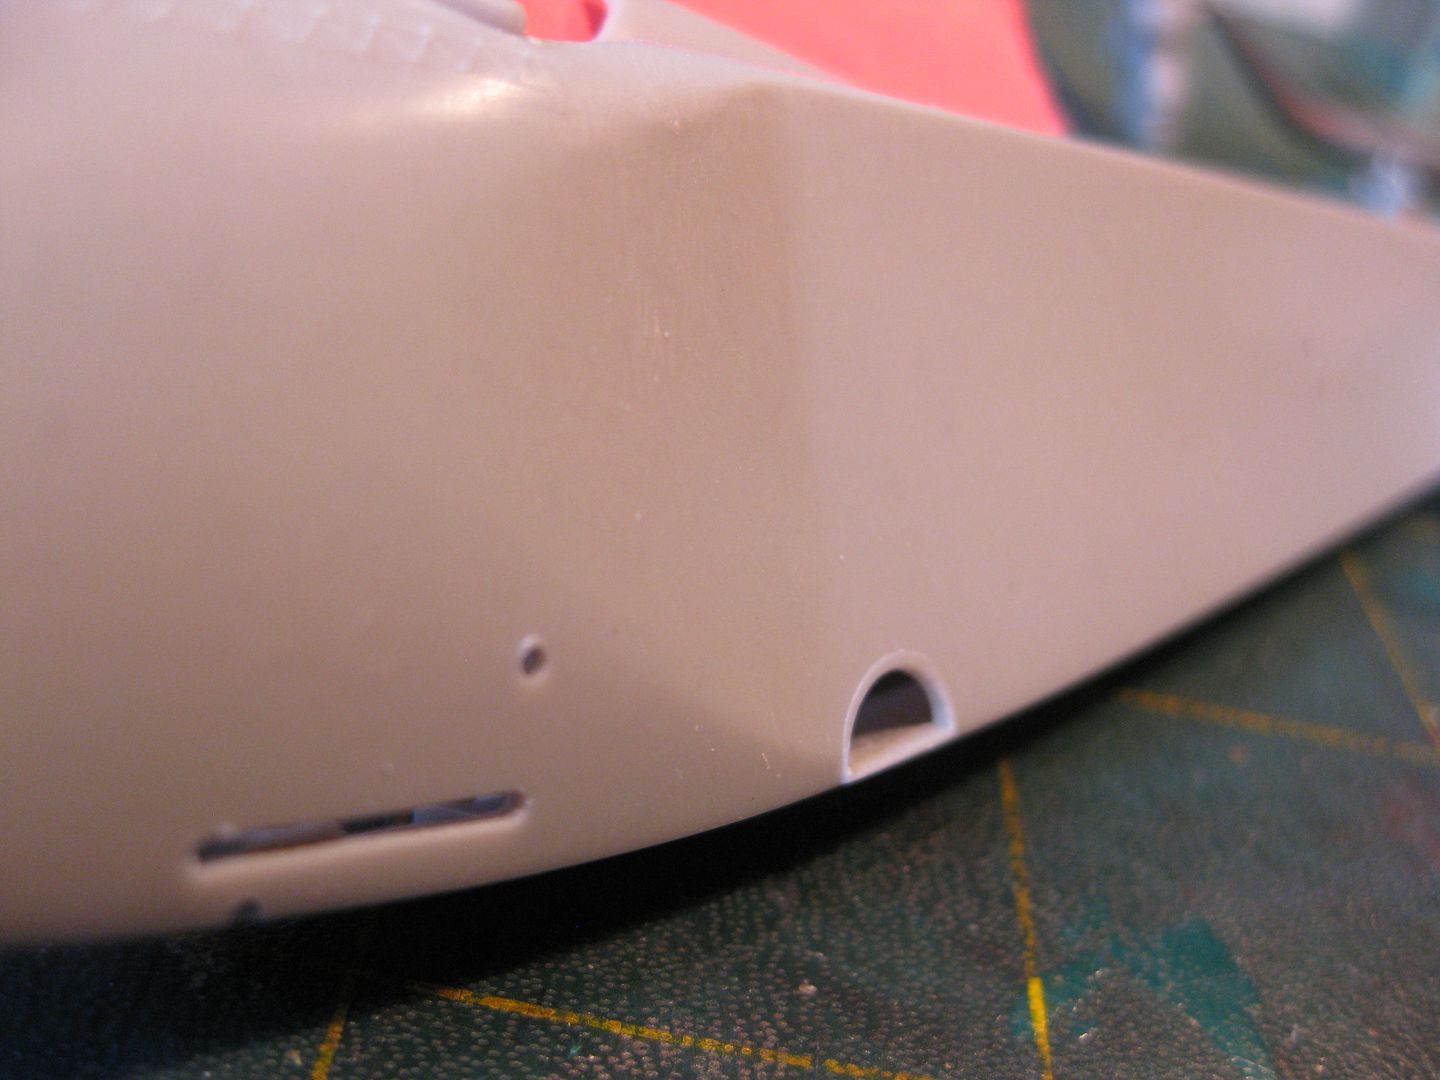
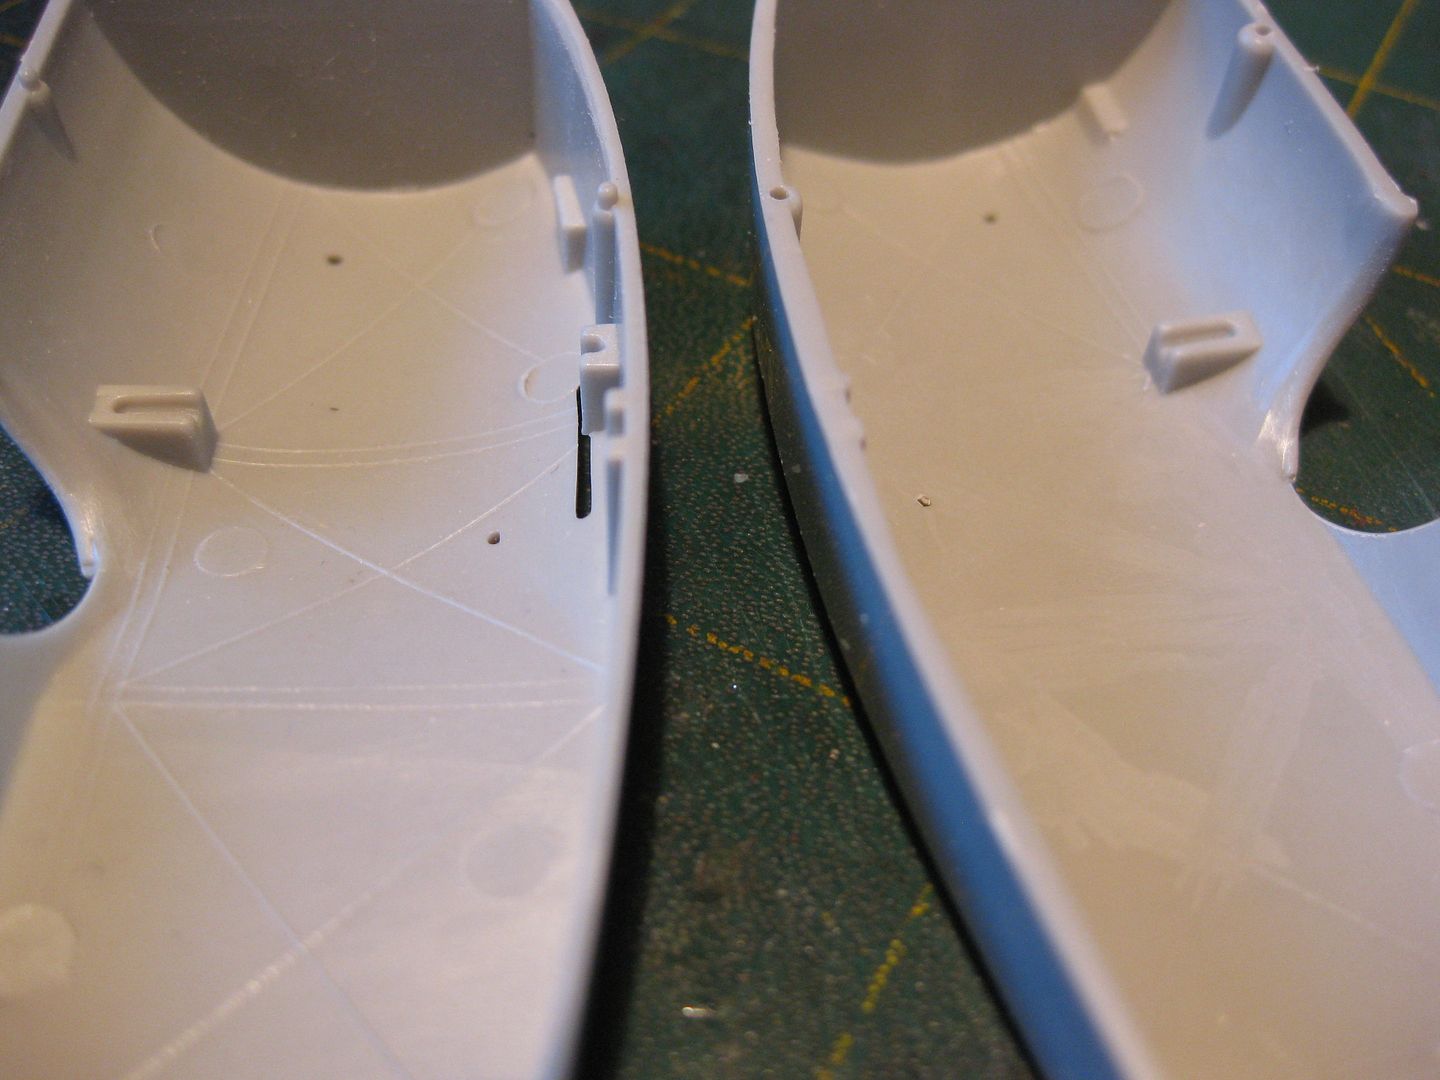
I also removed the molded internal bracing wires etc from the insides of the fuselage and cleaned up the pin marks etc., before and after left to right here.
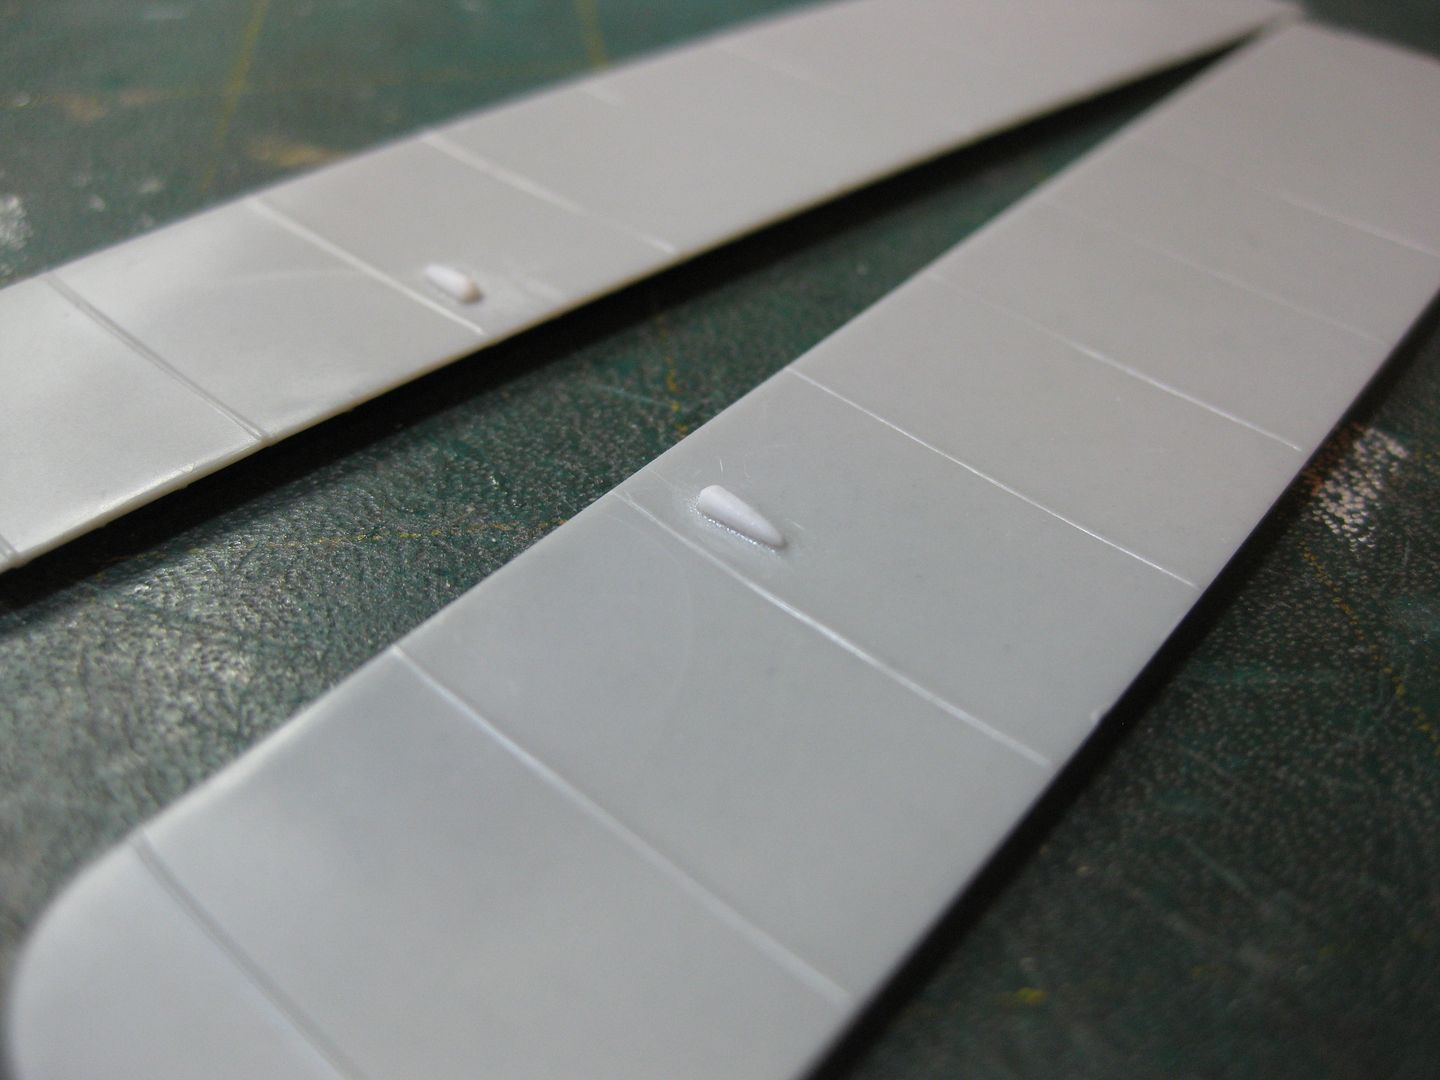
The strut fairings on the under surfaces of the lower wings were far too small; they were shaved off and replaced with scratch versions made with scrap from my Evergreen "bundle".
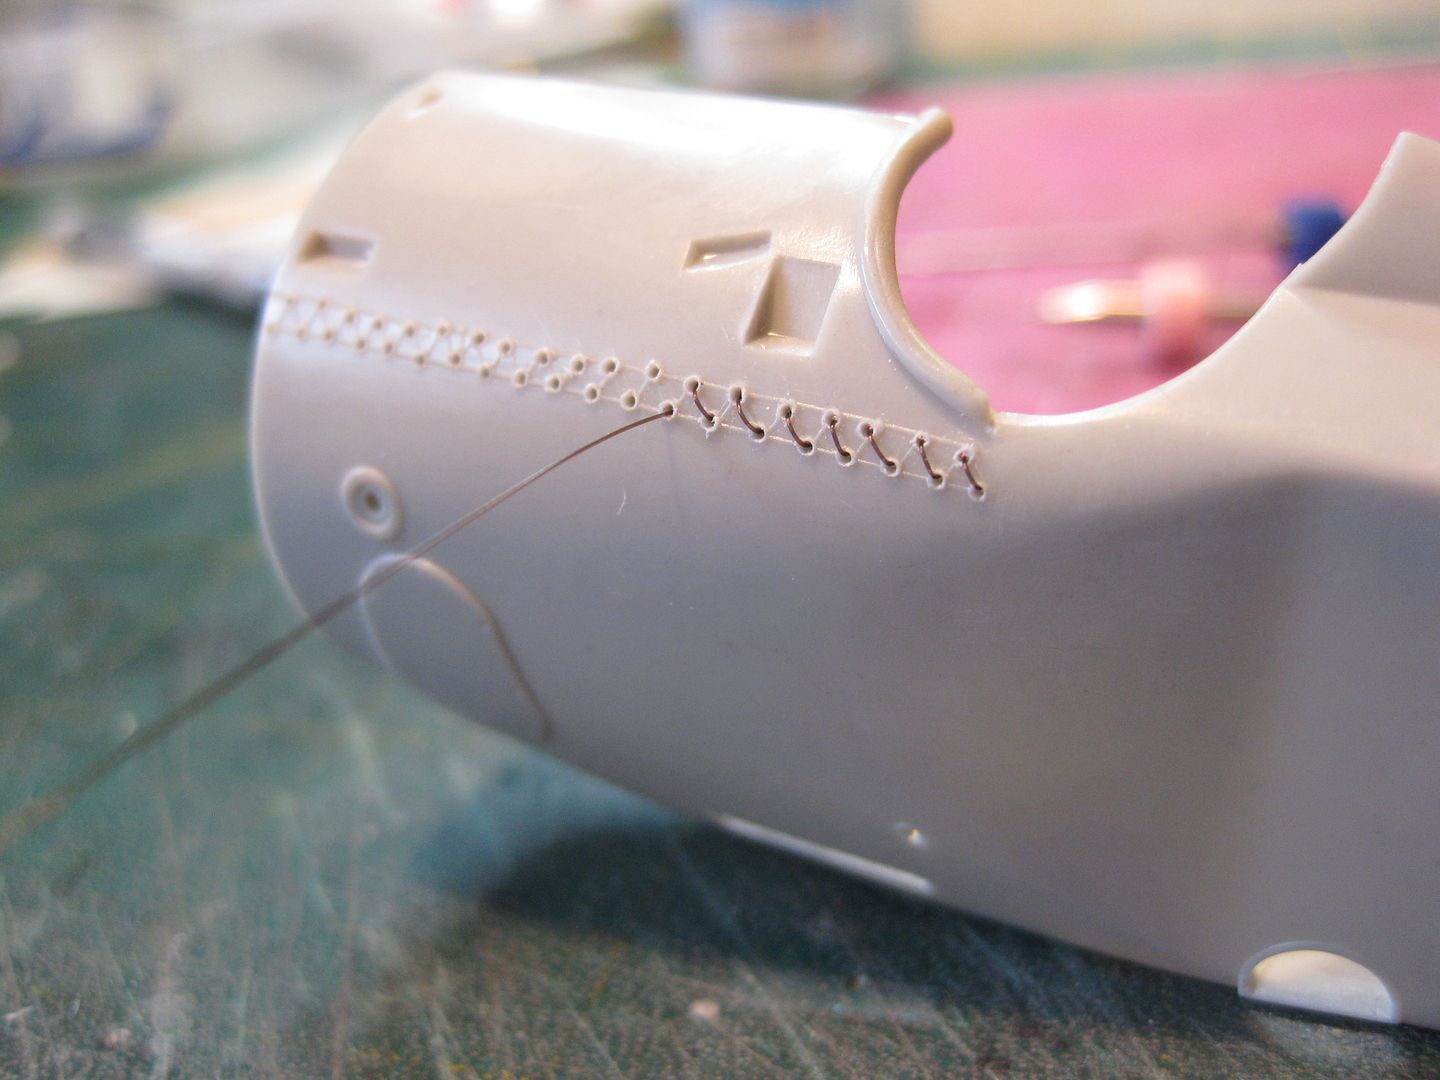
Last at this stage was the stitching on the forward fuselage, a detail I puzzled over for days. Options included leaving them as is (unrealistic appearance IMHO), Photo etch, which I judged out of scale and lacking in relief, and finally the real thing, hand stitched through 78 drilled out rivets. Inspired by Greg's success in his Build I chose the latter and am quite happy with the results. I'll add the "flap" that covers to top portion of this detail at the finishing stage.
Here's the stitching as on the Kit......
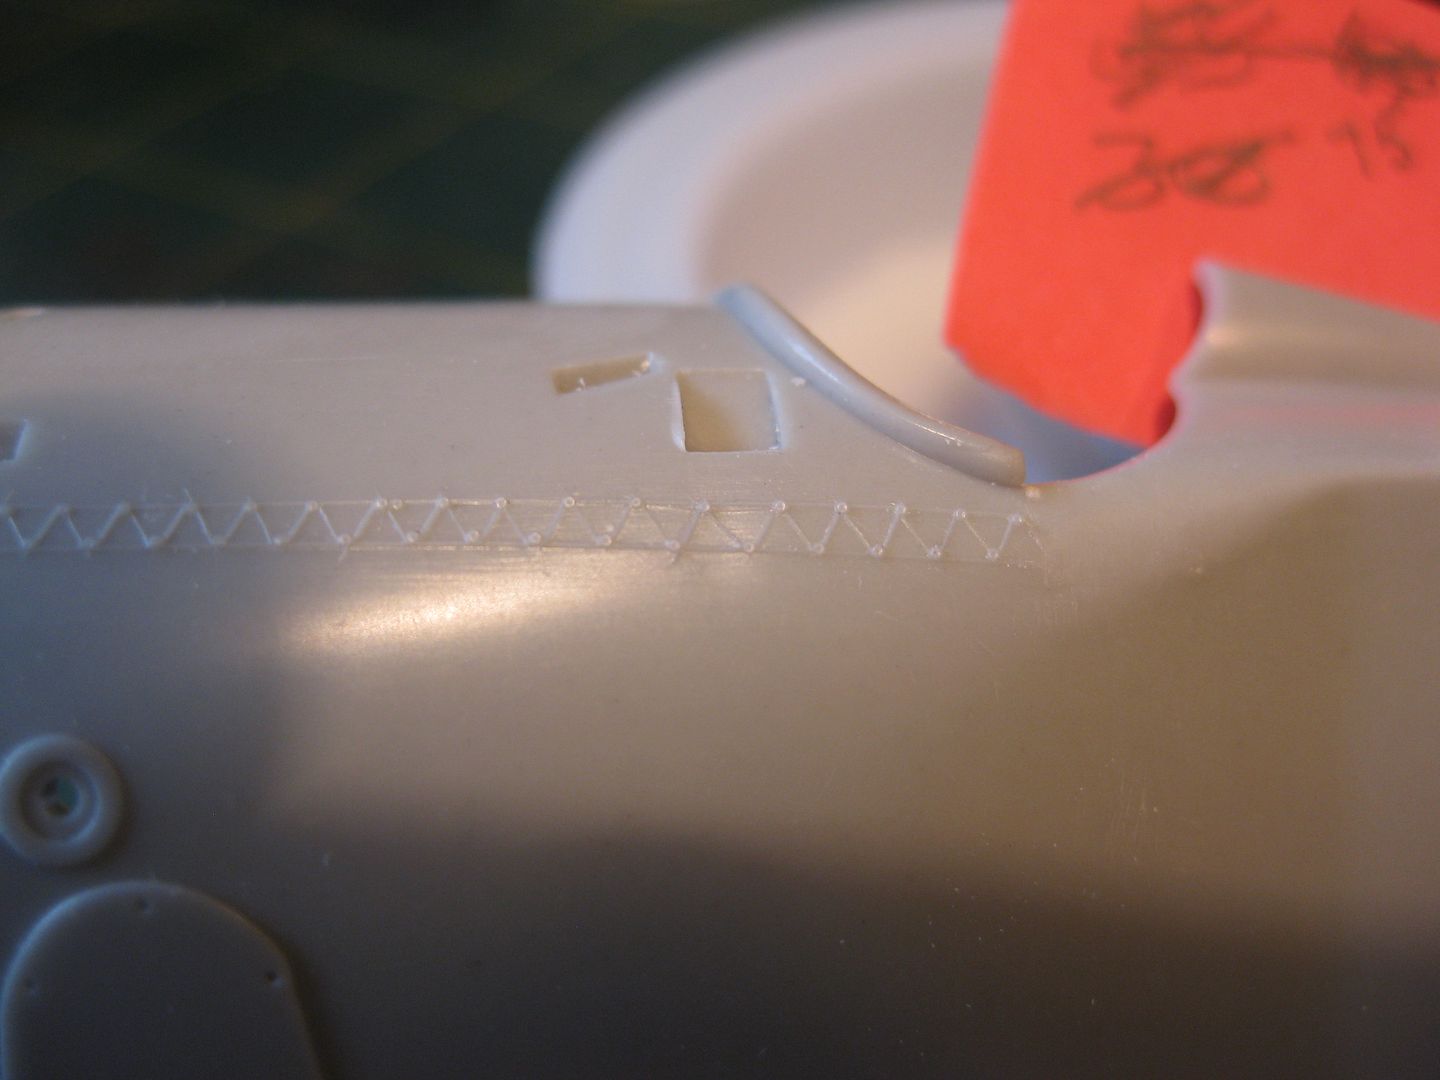
Stitching in progress with holes drilled and rivets "raised" with a little work with a sharp pin. Line is 0.12mm Maxima Chameleon.
And the finished version........

Next update, the engine and I should be back to a real time footing.
Cheers,
Lance

