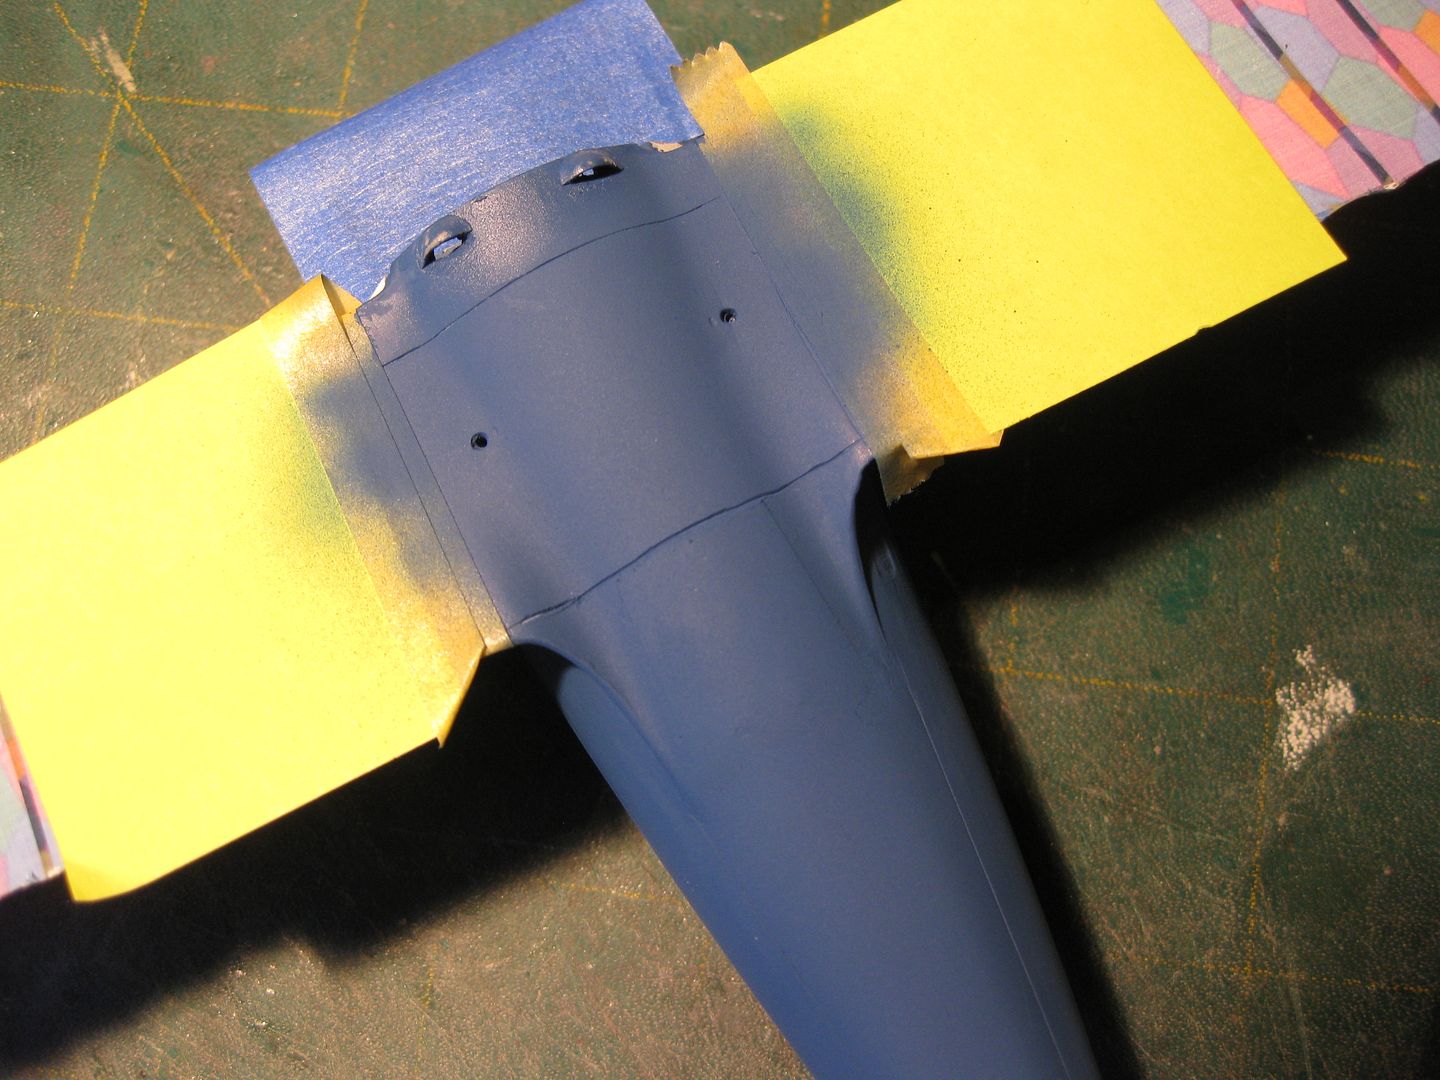
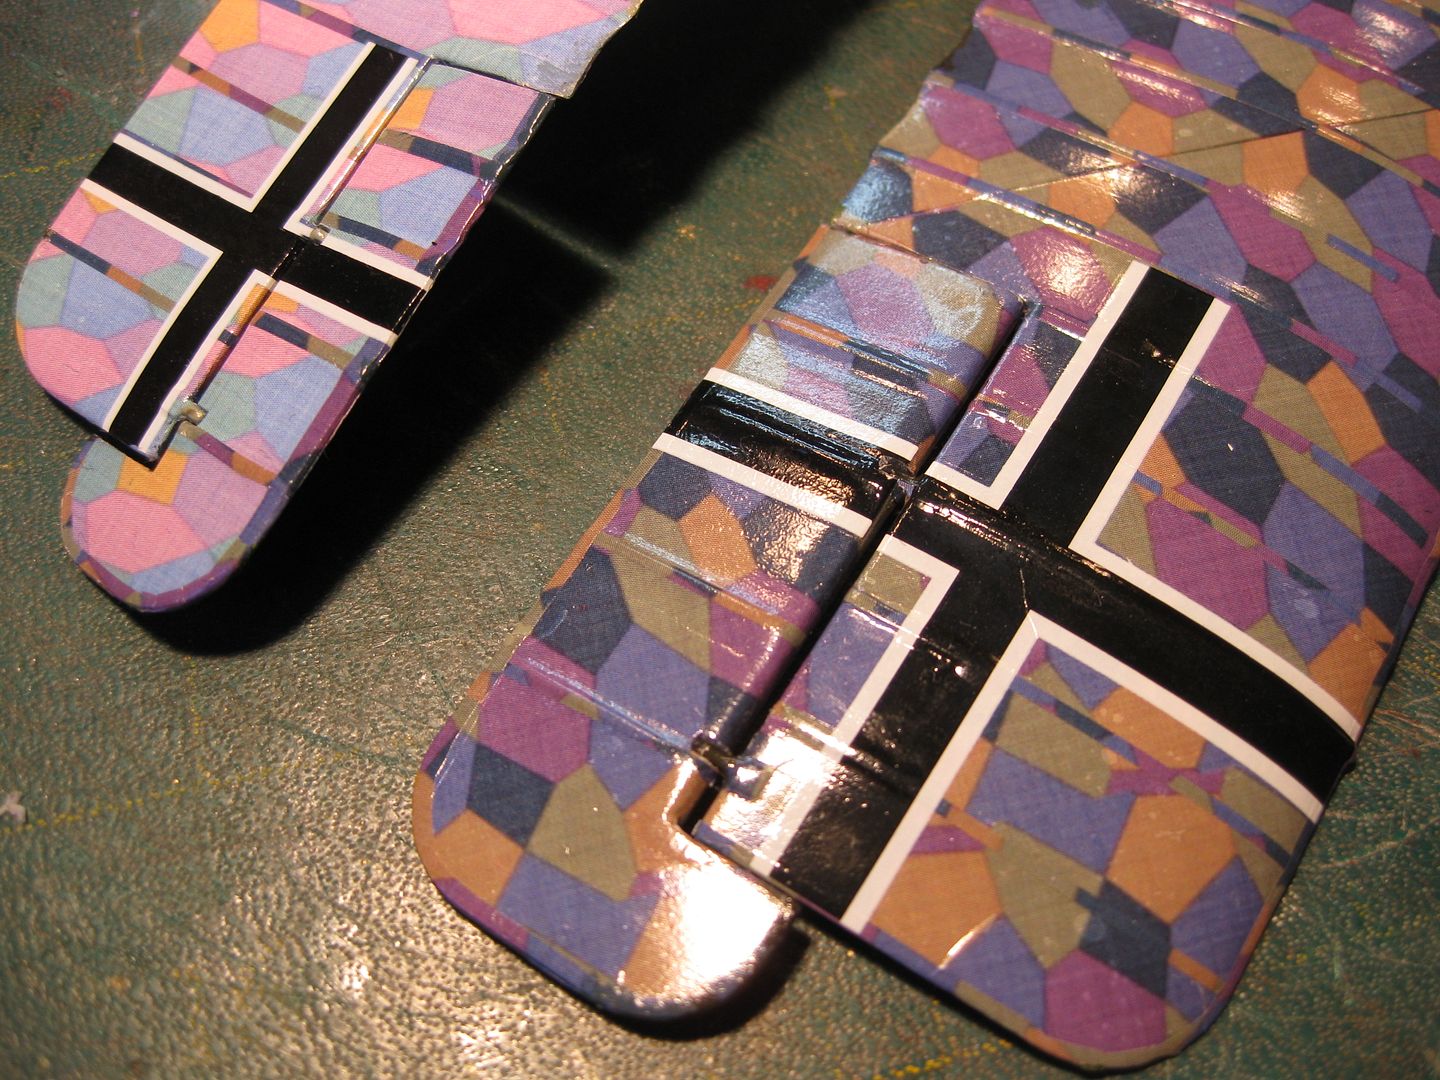
Another update, smaller then the last but still making progress. I 've mated the fuselage and the bottom wing components, not a pretty sight before some considerable trimming of the join areas. I neglected to take a "before" photo showing the, at least 1 mm step from the bottom wing fuselage panel to the bottom of the fuselage proper. The solution, as suggested by Rowan in the Pheon Booklet for the decals, was a slight trimming of the fuselage sides of the wing fairings and a considerable removal (probably over 1 mm at the forward part) of material from the base of the center section as shown in the photo below.
There was still a considerable "step" once the upper surfaces were fitted so a few layers of filler and, lots of sanding, and several coats of Tamiya Surface Primer were added, the whole thing sanded, and a final repair coat of the blue applied.
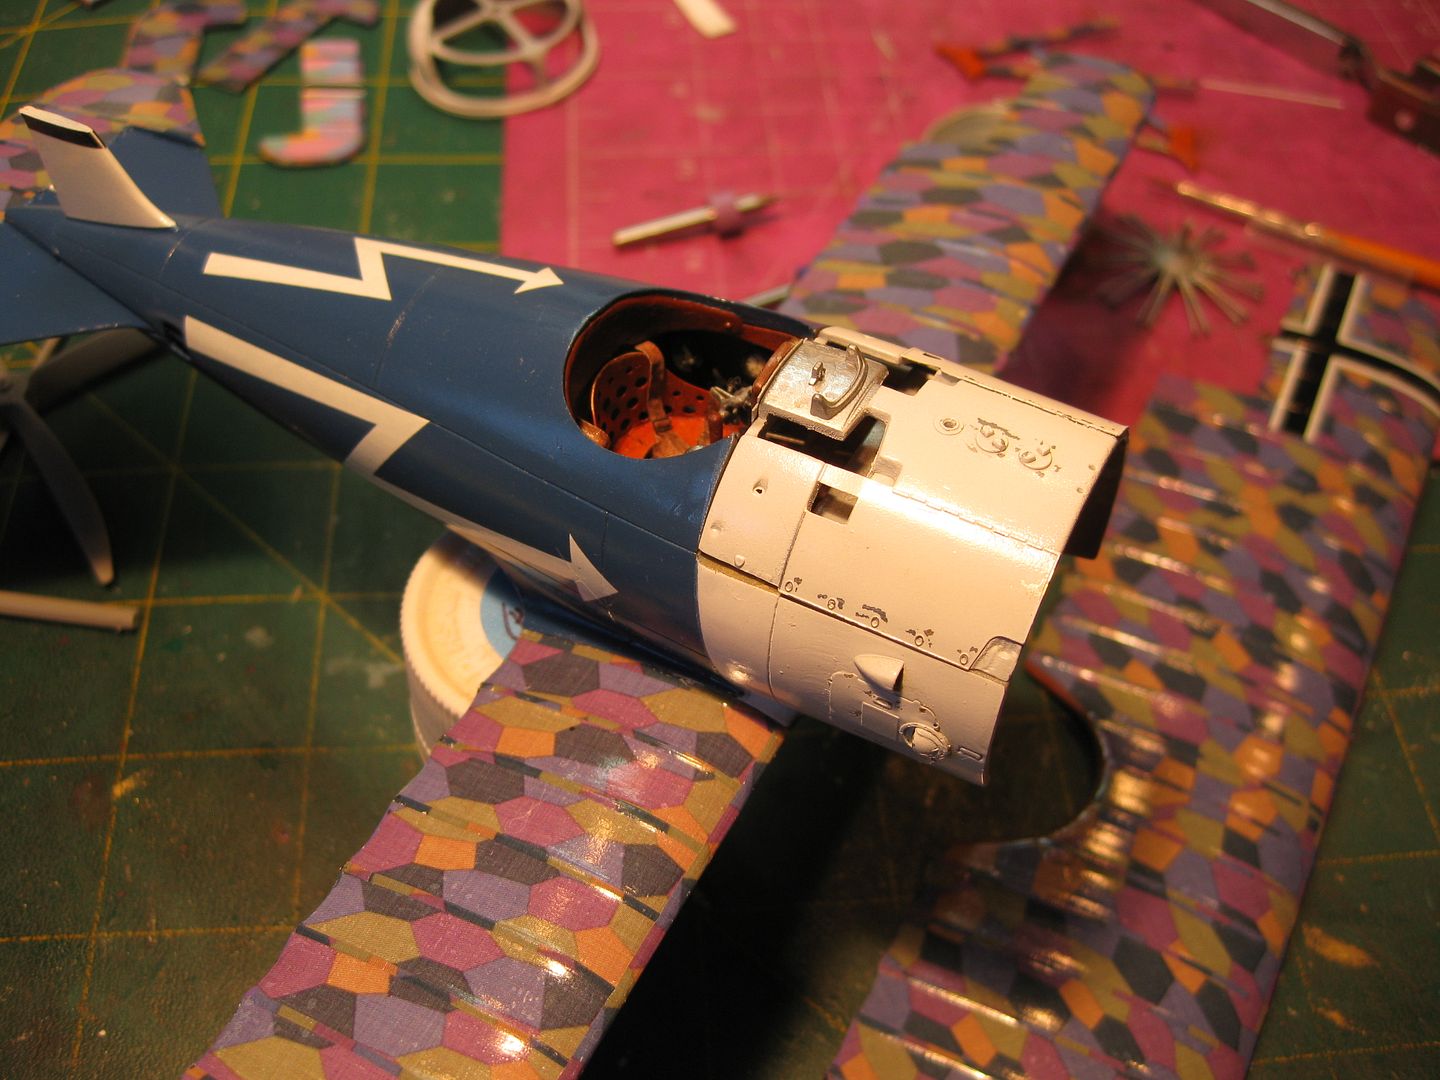
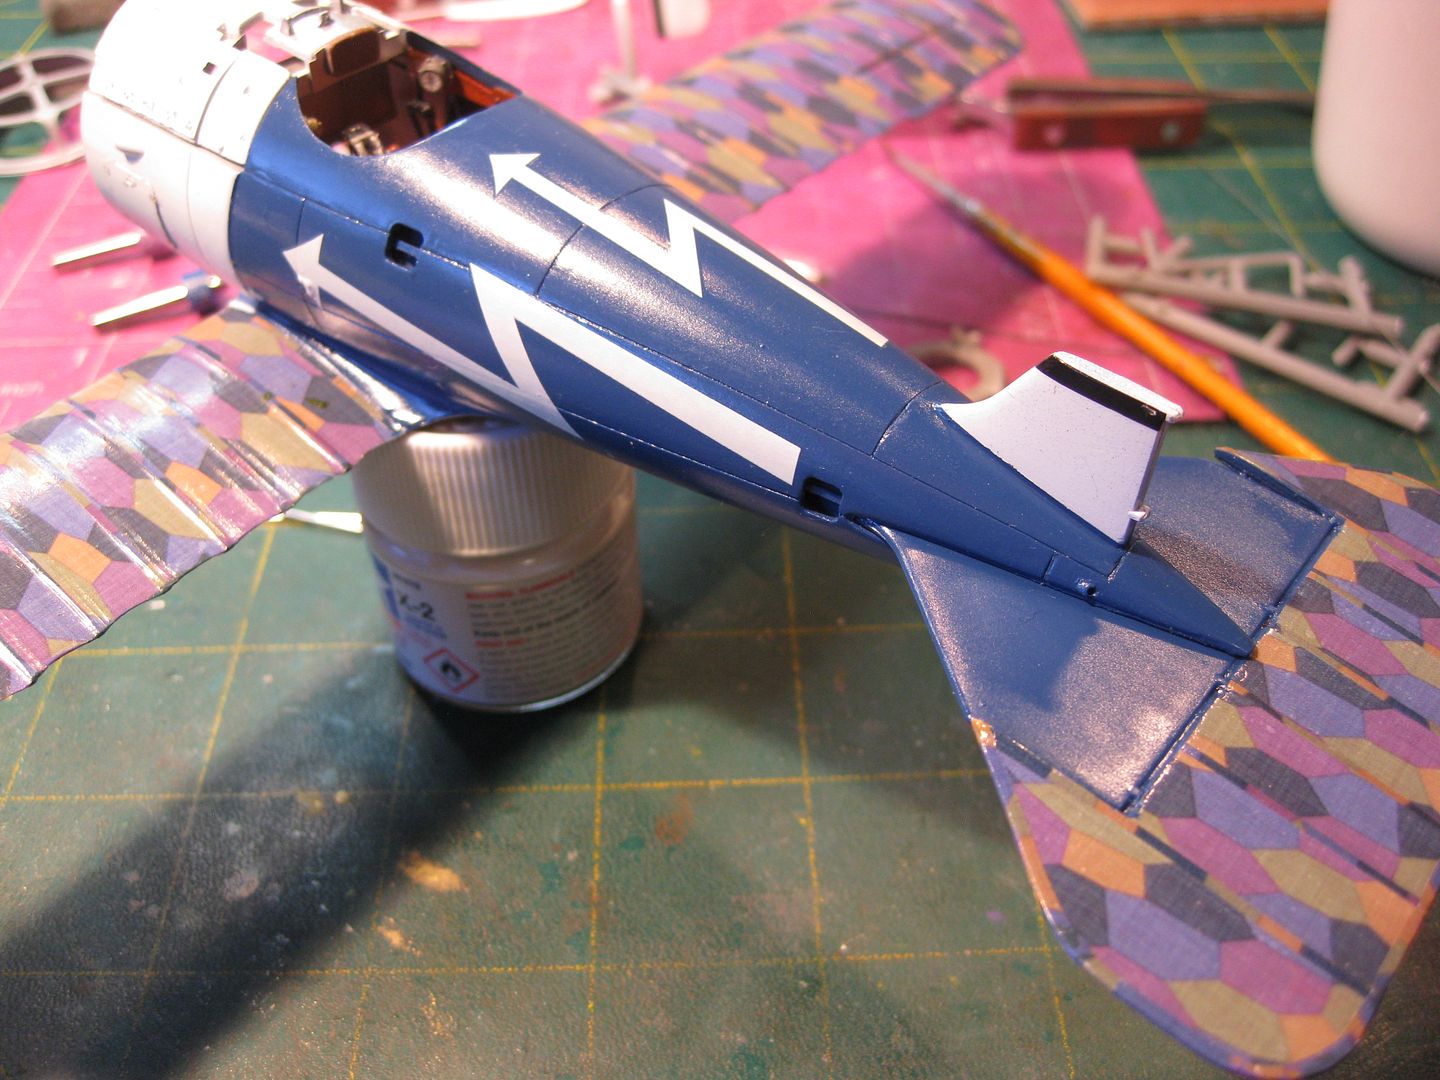
After the addition of the horizontal stab and elevator the entire assembly received two coats of Future, dried overnight, and the decals were applied. They will all be given several light coats of Vallejo Polyurethane Flat Varnish in preparation for post Shading with chalk pastels next.
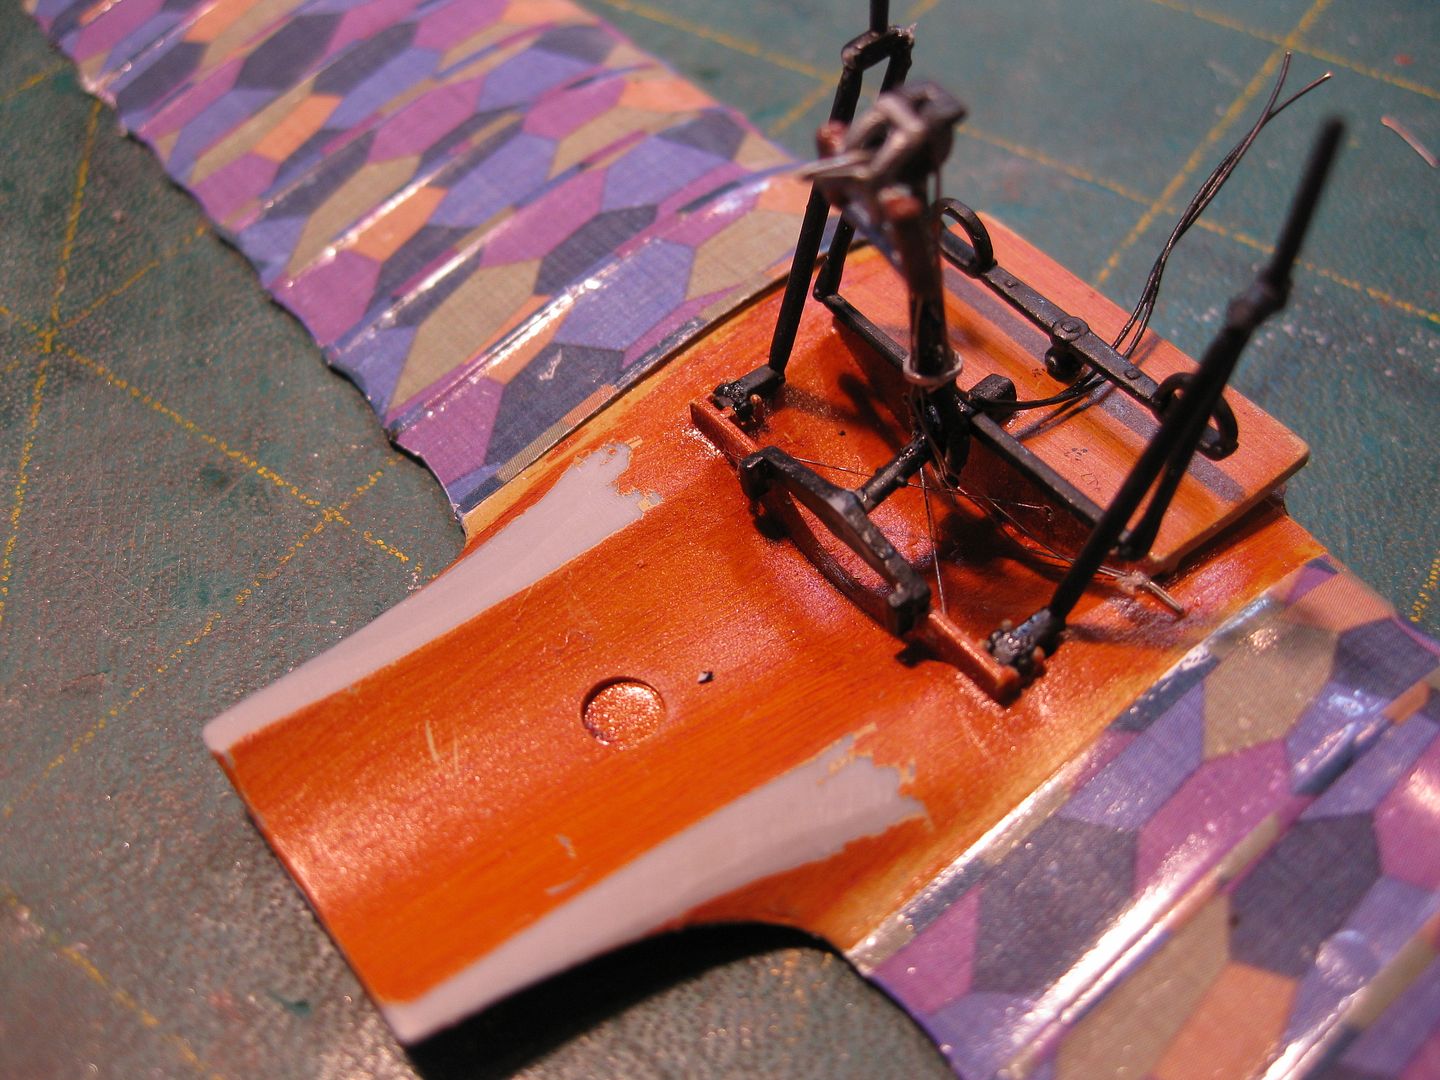
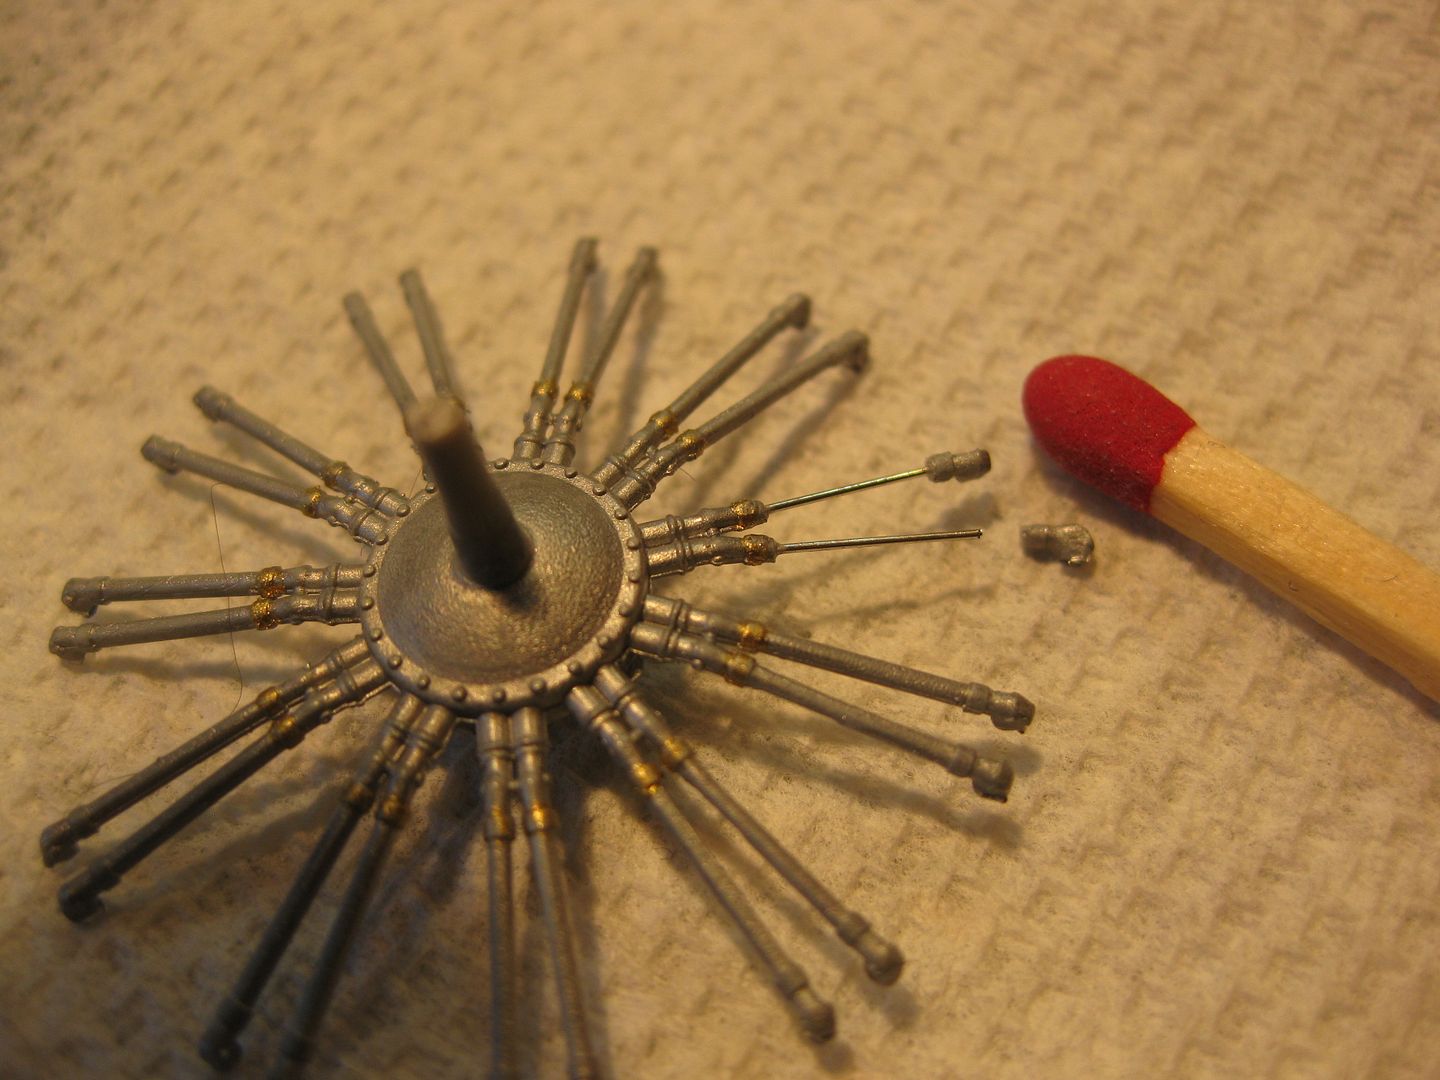
Finally, I decided to replace those oversized push rods on the Roden Engine. It's some very "close" work, seems to take about 30 minutes per pair so that's going to be up to 6 hours bench time unless I get much better at it! I'm cutting out the rods, then drilling out the connecter fittings at both ends and replacing them on the stainless steel rods at both ends. Modelling by Braille I call it.......... Credit and thanks to Bo for the loan of his Giant Match for illustration purposes, it will be returned unless I need it to burn the engine should this not be successful!


Cheers,
Lance

