Thanks all.
And thanks for your advices, Ian. As for the upper wing, one more problem is the fact that the radiator will be very close to the seam with the right wing...
You will need to thin the underside of the centresection wing stub as it is too thick. Also the inspection panels that Roden moulded onto it shouldn't be there (Take a look at the DVa walkaround pics on the TVAL site).
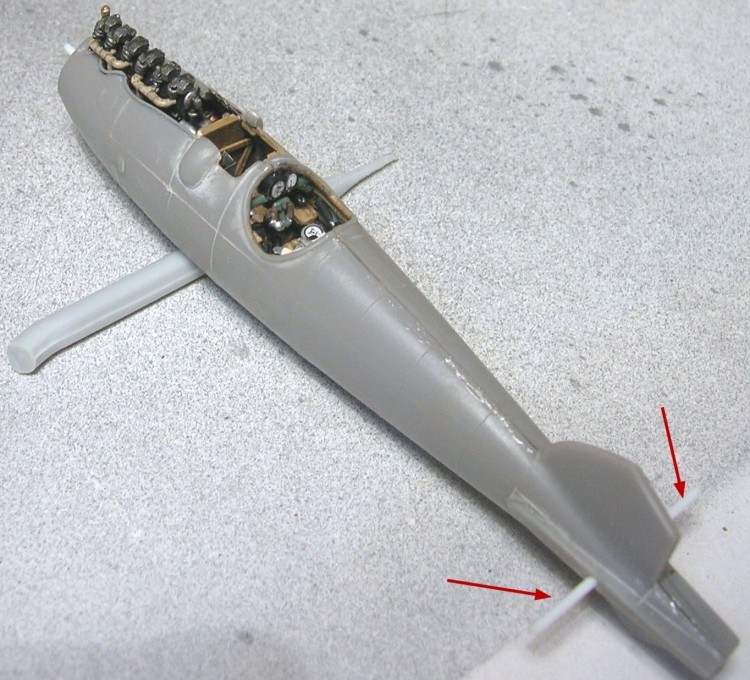
OK, I was wondering about this rounded panel as the Windsock plan doesn't show this area. It is hidden by the wheel axle fairing. Yes I've noticed I'll have to thin up the center wing portion. And I will have to manage to add metal rods on each side to secure the lower wing assembly.
The final major issue I found was that the cabane (fuselage mounted) struts need to be adjusted in length to fit in the correct locations. You may want to check that before attempting to mount the upper wing!
OK I hadn't noticed that. Are they too long or too short??
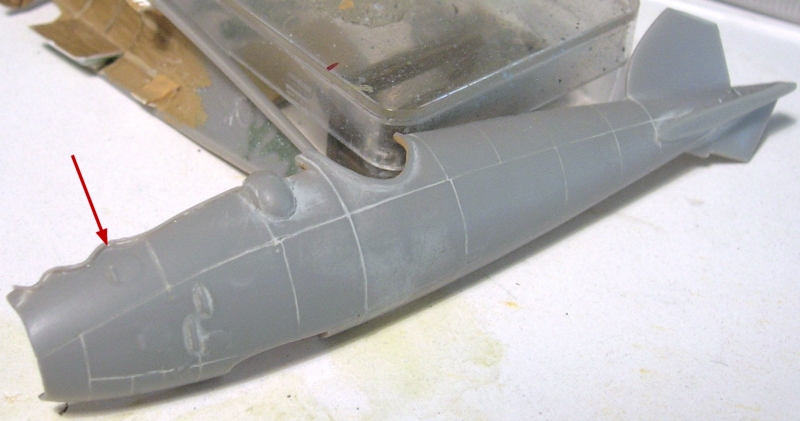
I've added the small "lips" to the engine cowling aperture using stretched sprue fixed with CA:
I first added the wooden parts to the pit, that is the engine/pit wall, the partial floor and half dashboard on the right side. As well as the small copper oil tank. The empty shell recovery box was roughly made from folded aluminum, it won't be much visible. I made one more attempt at painting the prop with masking tape, this time it doesn't look too bad, I may use it like this.

I've collected material and pics of preserved printed fabric to draw this sample in a paint program, adding a faded and fabric effect. Then I've printed that on a clear decal sheet.

I used my own home made lozenges for the rear cockpit wall, and may also use them for the upper wings. I've also built the main tank in front of the wooden wall, then added the seat with it's tubular stand, stick, rudder pedals and remaining instruments on their holding tube. I used FCM decals for the instruments.

After that, I could stick the fuselage halves onto each-other but it hasn't been easy to house everything. Some inner parts are oversized for the scale, but I had to cope with the size of the decal gauges and Roden parts like seat and stick.
After that, I drilled a hole through the elevator roots to put a strengthening rod. Now it's time for usual sanding of the joints and rescribing, then I'll have to drill the holes for rigs and control wires.