Time for Part 4, the shaping of the remaining two dimensions of your prop. Keep your kit prop (If that's your reference as opposed to drawings) real close, and as you step along through the next several steps compare the kit prop to your wooden one often. Believe it or not I once "trashed" one by applying the pitch on one face, reversing it, and sanding off the pitch on the wrong edge; makes for a far too narrow airscrew and really gets your nerves quivering.
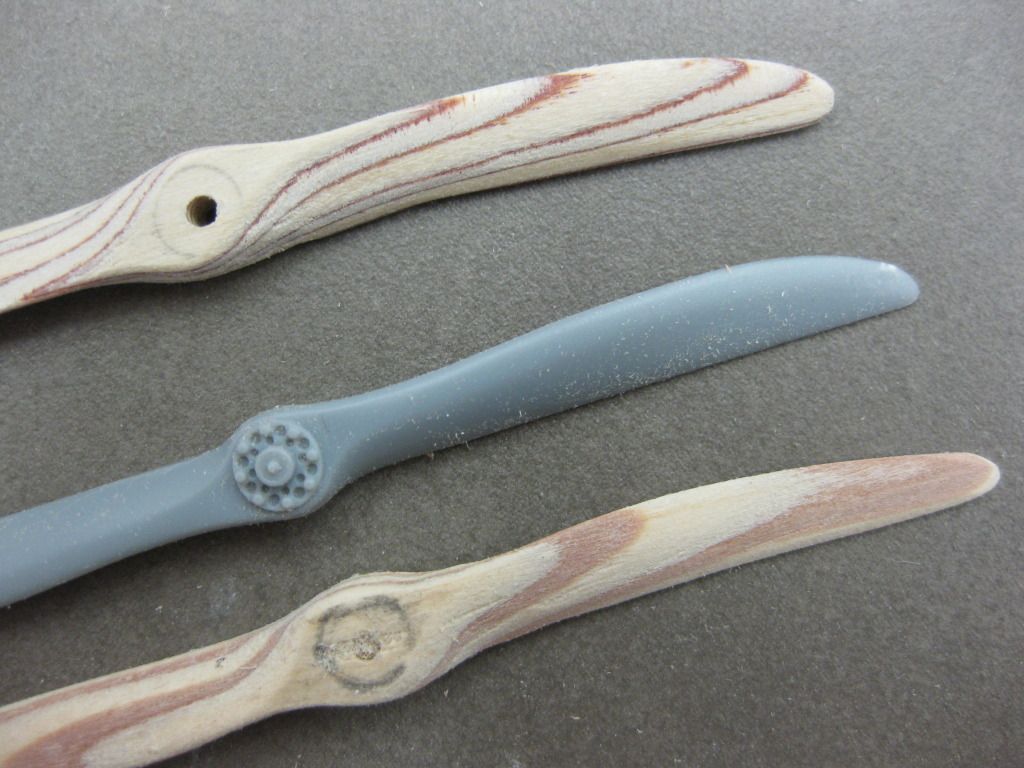
So you've got your Blanks prepared with the single (front) dimension applied and shaped. To aid in illustrating my technique I'm going to make a Neindorf Prop for my WNW Albatross DV presently in progress; here are the three Blanks I prepared and shaped the single dimension on. Rough shaping as mentioned before done with the Oscillating drum sander. It could be done with a Dremel with sanding drum as well.
Note that the outline leaves margin for error all round. It can be reduced to the final dimension(s) in the final stages with hand sanding.
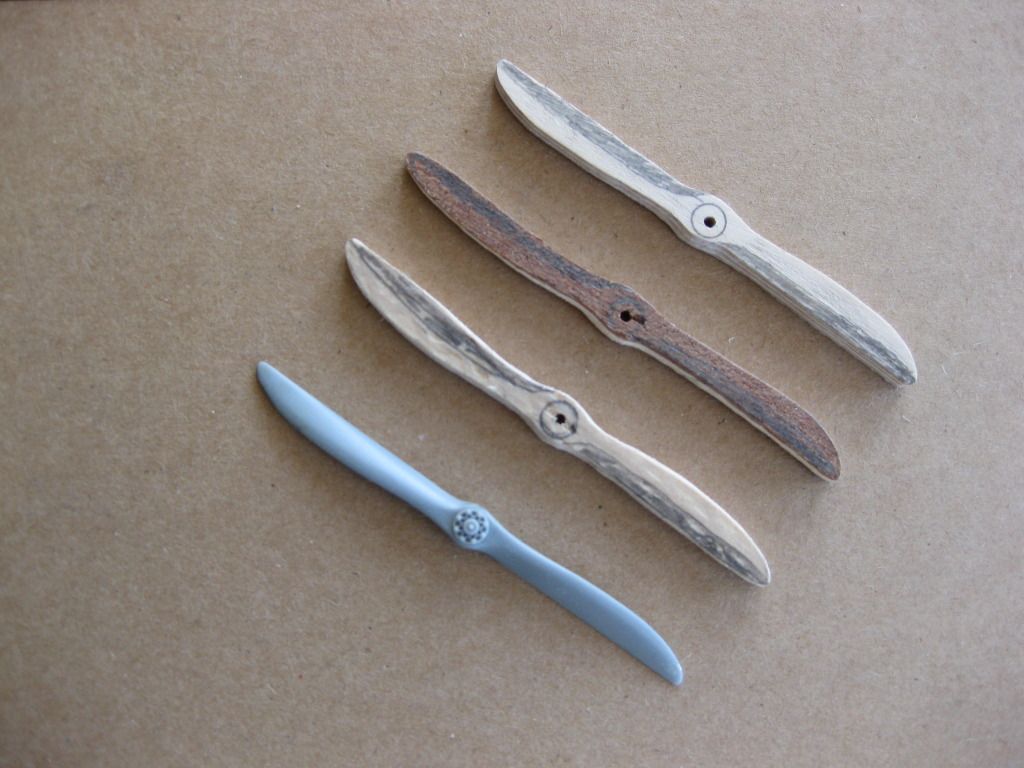
I've prepared three different laminations, a five with three light layers sandwiched between two very dark layers, an eight laminations plywood one, and a five layer plywood example.
Last, note the pencilled shading on the faces; these are the areas to be sanded off to produce the face side pitch dimension.
On this prop I'll attempt to do that part with the Dremel and "hand held" as opposed to using the big Oscillating Sander.
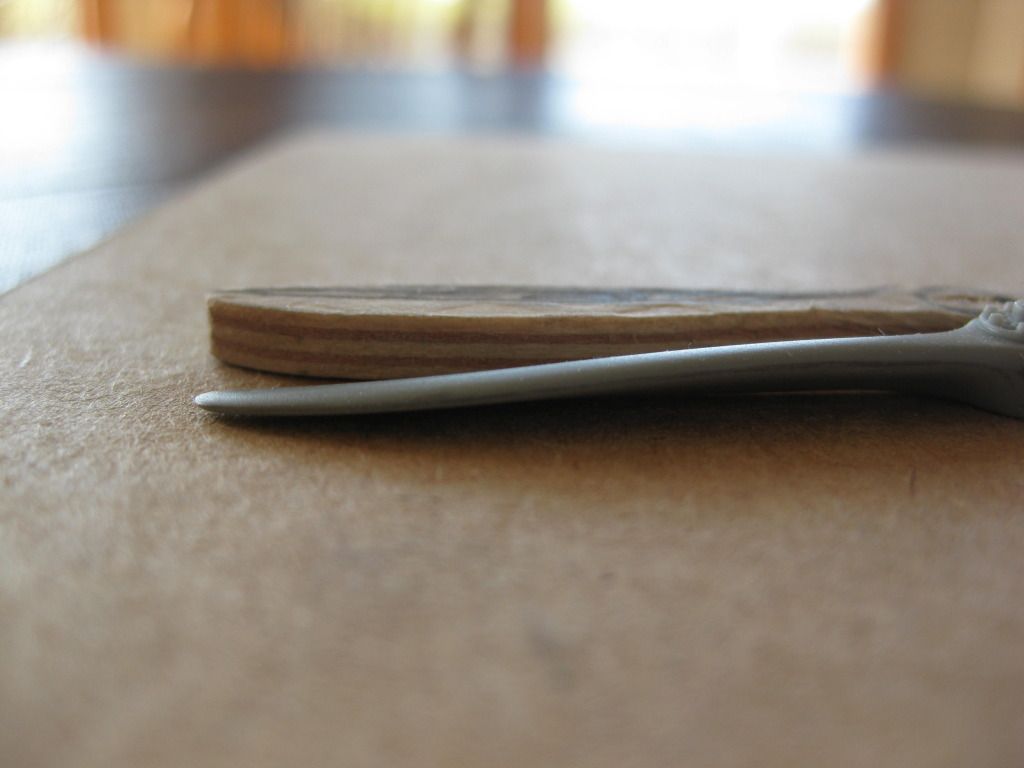
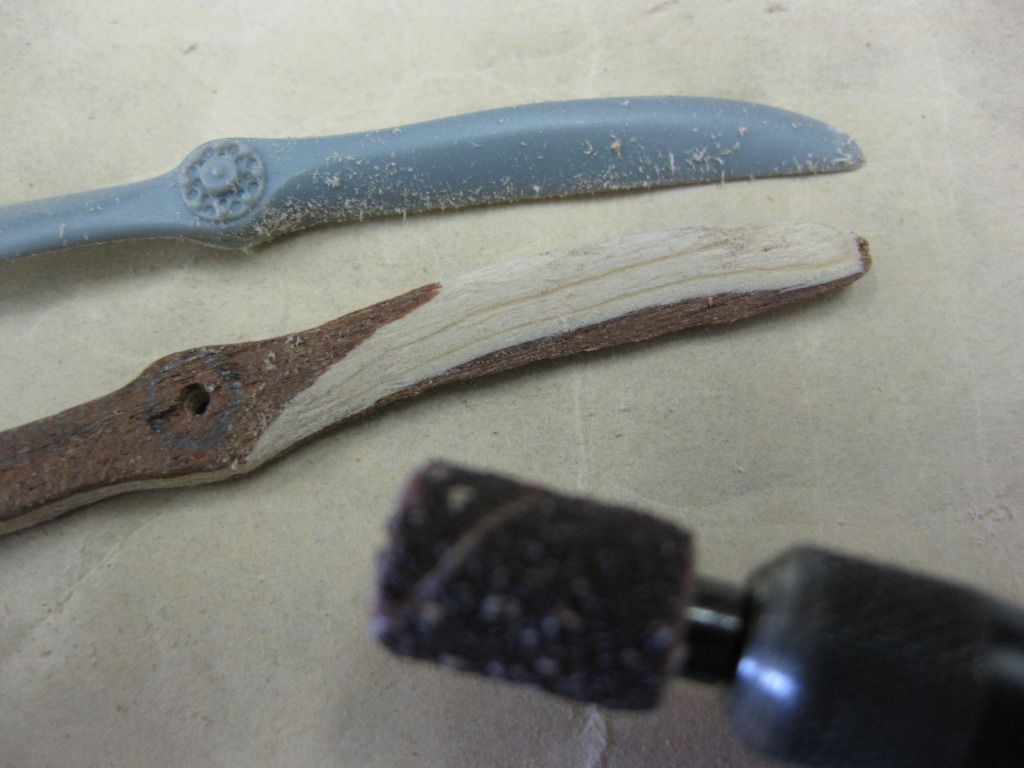
Before we start "ripping and tearing" it's important to note (and include) the side profile dimension. The following photo says it all, and that shaping should be done first. Again, I prefer the Dremel with a small Medium Grit sanding drum followed by touch up with hand sanding . Be careful to stop short of your final desired shape as hand sanding will ensure (more or less!) that you don't over do it and have to start over again. The secret is slow passes with light pressure followed by "sweeping" passes down the work face to smooth out your "cuts".
Once you've matched the side profile start removing the stock on the first pitch face. Go slow, use light pressure, and I use the Dremel's lowest speed setting. Pay particular attention to the portion at the hub: that's where the shape is most abrubt and also where a mistake or assymetric shape will stand out the most. In this case we have a spinner covering the area which makes the task easier however ENSURE the fit of the spinner (in the final stages) to your prop before calling it "done". Keep going back to the kit prop or your drawings and include the spinner mounting plate in your calculations on spinner fitment.
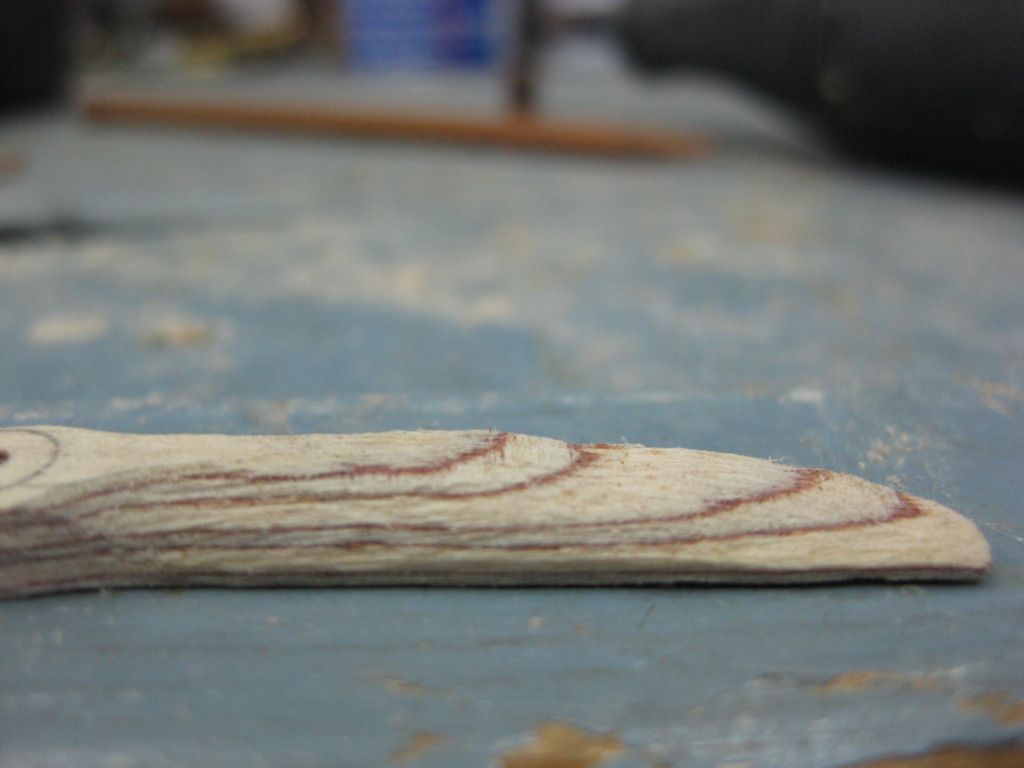
Here's a few shots taken as the "carving with a sander" progresses. I missed taking a shot of the first step, sanding down the side profile. You'll note that the lamination "lines" are crooked and wavy due to the rough finish at this stage. Once the surface is smoothed out they'll be straight.
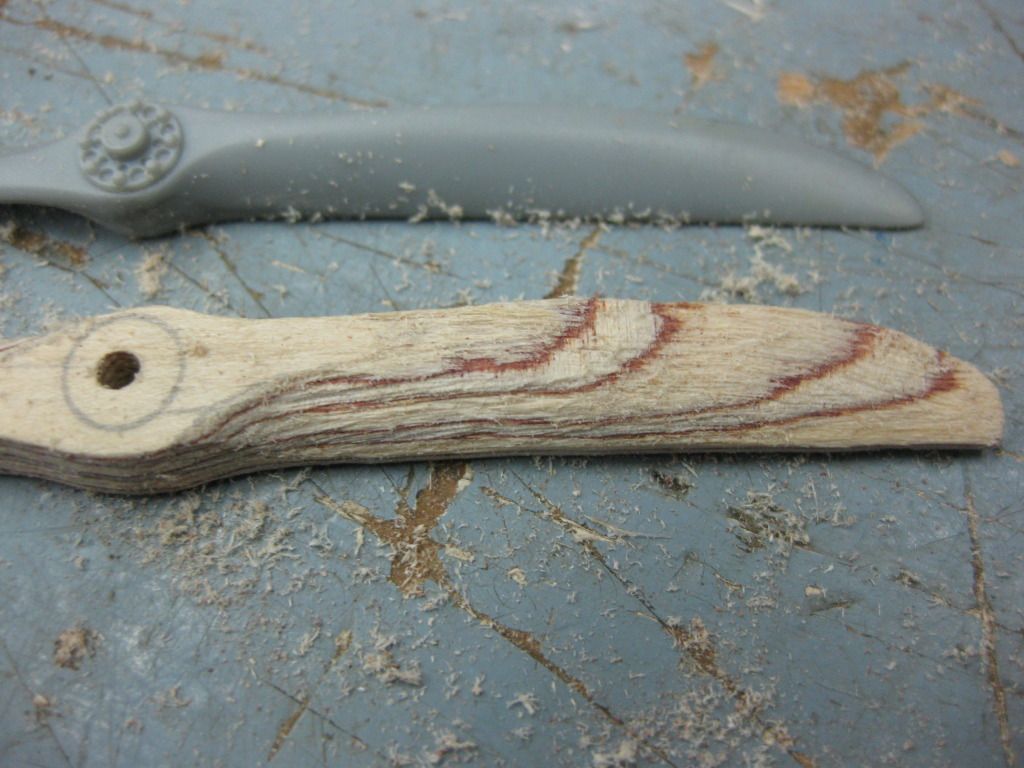
Note in the preceeding photos the "bite" I've taken out adjacent to the hub. That's where your circle outline really comes in handy. On configs without spinners this needs all of your attention as it really stands out if not proper and symetrical.
And now the reason we do several Blanks. My brilliant idea to use several layers of really light veneer with two outsides of very dark proved a disaster with the first couple of passes of the Dremel. I did the pitch cut first on this one as I was pretty sure it would "bomb", and it did! This one's for the kindling box for next winter. Light - dark - light etc. works much better.
At this point I move from the Garage/Shop back to the Model Desk for hand sanding. This step is best done by hand sanding, at this point I use 150 Grit and get the props almost reduced to final shape and dimensions paying particular attension to smoothing out the "hills and valleys " on the flat surfaces. So here they are at the end of the second to last construction phase. Note the laminated effect and appropriate shapes and lines of the "Lams".
So now we have two props in the rough finished stage; next installment the final finishing touches before staining, sealing, and varnishing. Were almost there!
Cheers,
Lance


