Evening All,
I have been working on the engine and have now almost finished it except for the final touches which will have to wait until it is installed in the nacelle.

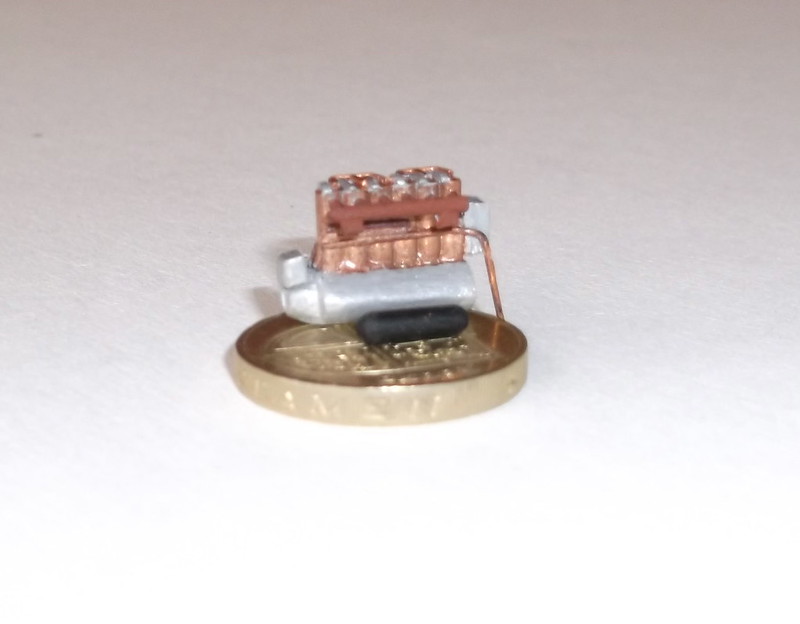
This is a view of the port side of my amateurish effort.
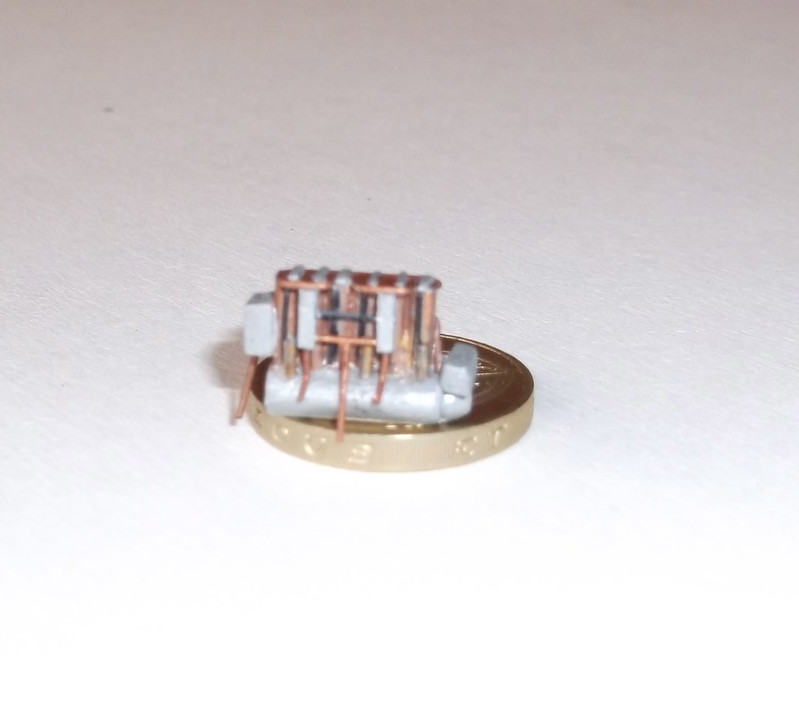
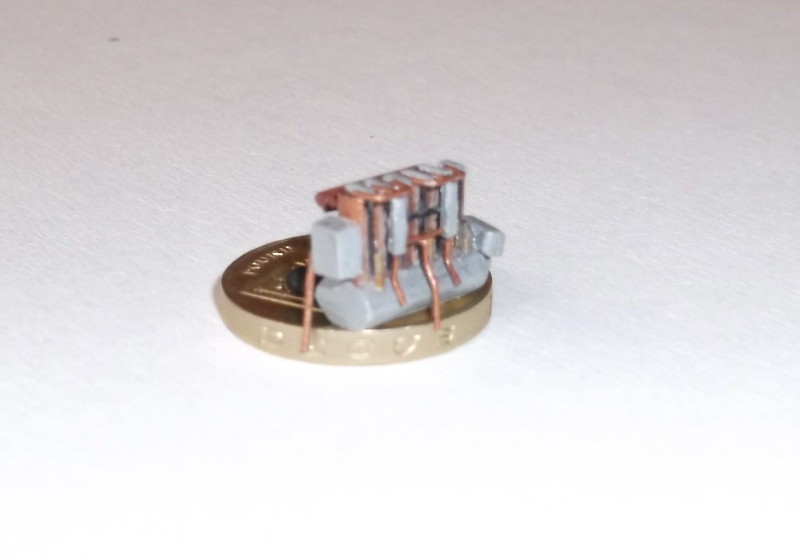
Before starting I looked closely at photos of models of the Beardmore engine from the Wingnut Wings kit which have been posted on other sites which provided lots of good detailed views. I also used photos of a real engine on a replica FE 2b in New Zealand shown in the Windsock DataFile no 147. In this scale it is often only possible to represent the larger details, smaller ones have to be suggested. The cylinders were made from small oblongs of two pieces of 60thou laminated card, which had the corners rounded off. The sump was made from two strips of 60 thou and one of 30 thou card, and was similarly shaped with a file and glass paper. I glued the cylinders to the sump and added the pipes on the sides of the cylinders before painting this sub-assembly. I then put on the push rod covers, vents for the sump and finally the fuel pipes and carburettors, all from rod and card. On the other side is the exhaust pipe which I made from a cocktail stick and small pieces of 10 thou card for the pipe and vents, and thin rod for the entry pipes. The rocker arms on the top were pieces of 15 thou card shaped and glued into place, and the magneto cover at the rear was a piece of shaped laminated card. I drilled a hole at the end of the sump for the propellor and finally make a tank for the port side from sprue: this will not be attached to the engine but sit alongside it on the starboard side of the engine bay. This little assembly was no push-over but I am relieved to know that not too many people will be able to take a close look at it because it will be partly hidden by the wings and nacelle. This was an interesting challenge as I have not attempted a scratch build of an entire engine before.

Another view of the port side showing the pipes, carburettors and other details.

This is the starboard side with the tank in front. On the model the tank will be mounted below the exhaust pipe but above the side of the nacelle and held in place by two straps which will be made from thin rod.
The engine has been trial fitted in the nacelle and fits well but I will not glue it into place until I have fitted the lower wings to the nacelle and painted it all as this will require handling, and I do not want to damage it. When I do fit the engine I will use card pieces to ensure that it sits properly in the correct position - these have been cut and are now ready to fit.
The next stage is to tackle the wings and make the tail surfaces.
Thanks for looking.