I put the fin on today and there is just a small gap left. The rudder fits fine and sits nicely in the bottom hinge. The control lines are attached too, so apart from the rigging of the stabilisor and the tail skid the tail is ready.
Now after seeing good progress from Willi I added almost the last detail on the engine:
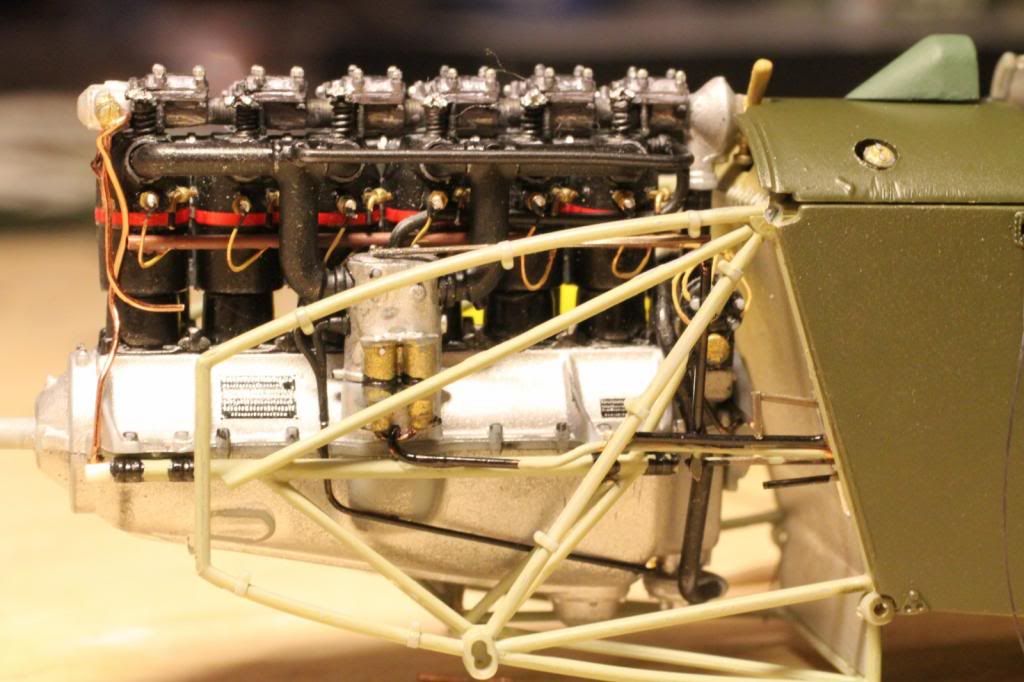
The throttle is now completely attached although no further details are installed on top of the carburator. Also the spark advance lever is attached to the left magneto. The right magneto is attached in the same fashion as the rod that moves the lever to the magneto runs behind the engine to the other side thus shifitng the magnetos equally. You don't see much of it, but I know it's there. Perhaps more can be seen on this photo:
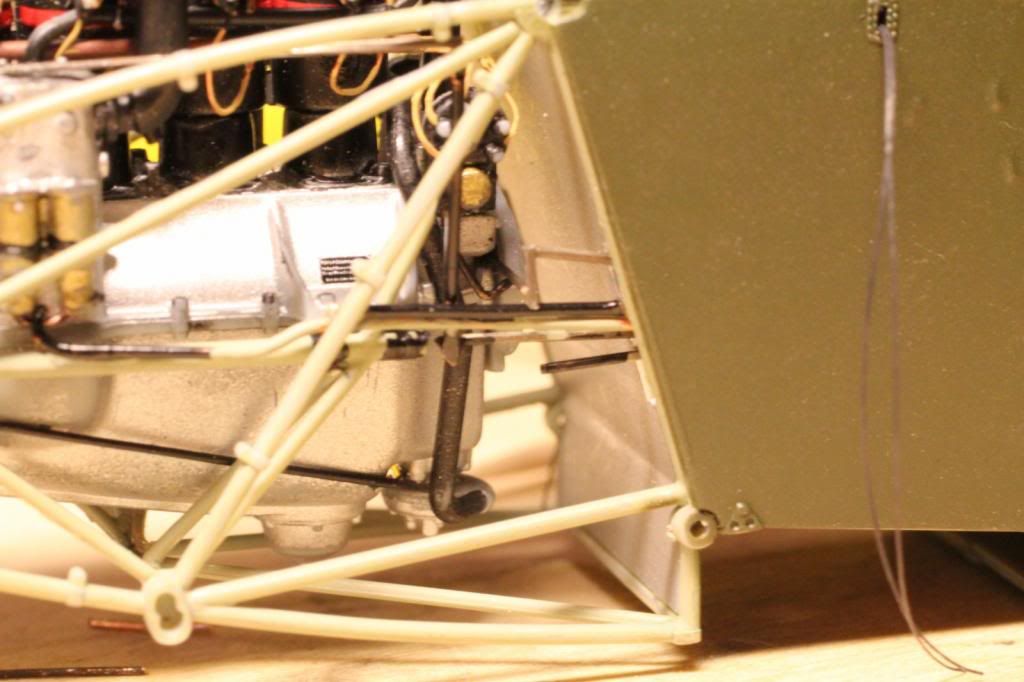
I think I am going to leave the mixture control unattached. I didn't find any information on this.
Then I tried the front covers looking for the fit problems that some have encounterd in this part of the model. It may not be thesame for everyone as WNW supplies several possibilities in covering up the front with different top covers (I used the ones that are marked in the manual not te be used for the versions in the kit, but those are correct for the LVA version). I also used the radiator for version D, which is thicker and had in the middle a wider flat area in front than the other.
First I tried the chin cowling, the radiator, the bottom with the hatch for oil replacement and the top covers. This went on without any fit problems:
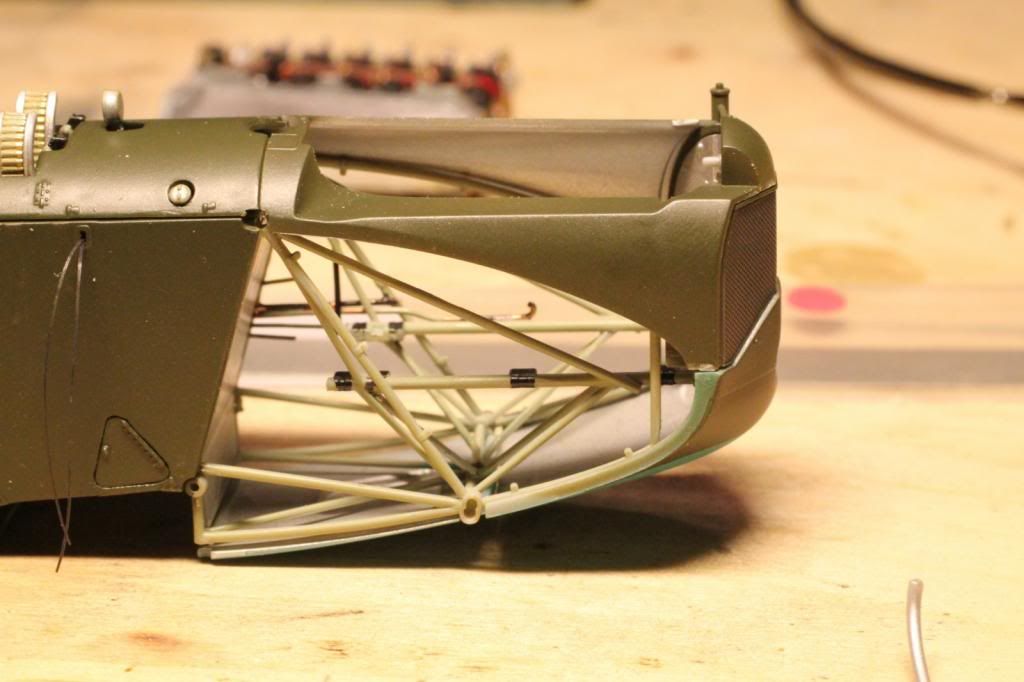
Moreover I found especially that the radiator and the top covers fitted perfectly (of course without the engine, which is going to cause problems in front)
Then a picture of the fit between the chin cowl and the cover with hatch:
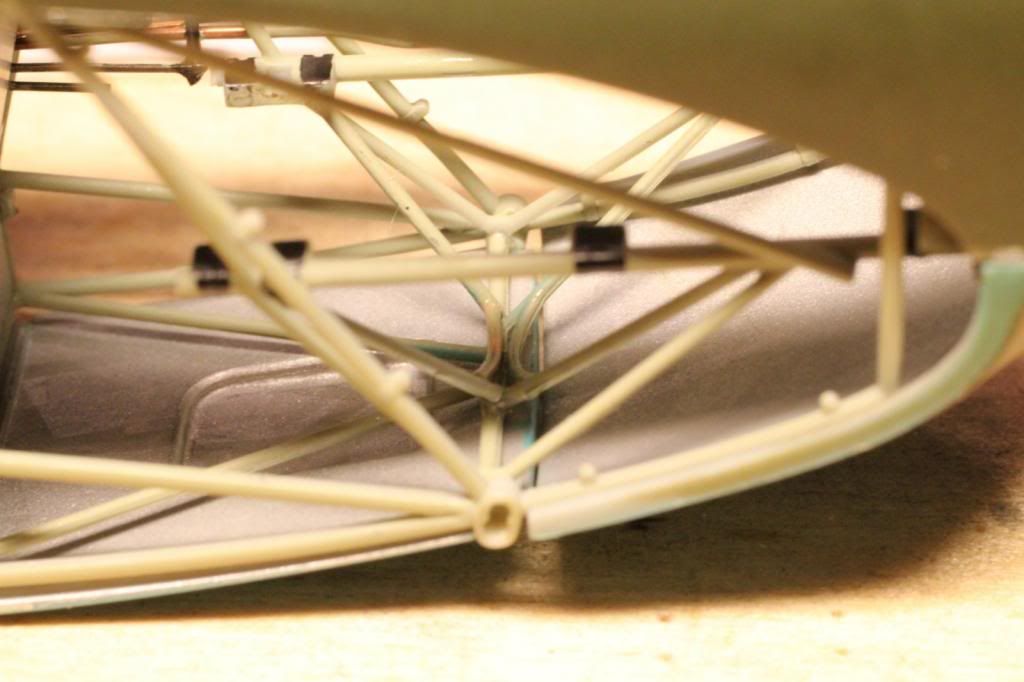
This shows a small gap and the panels are not in line (the chin cowl is lower than the other at the joint), but you can push the chin cowl a little further on the front frames and then the fit is good.
Next step is to fit the triangular panel:
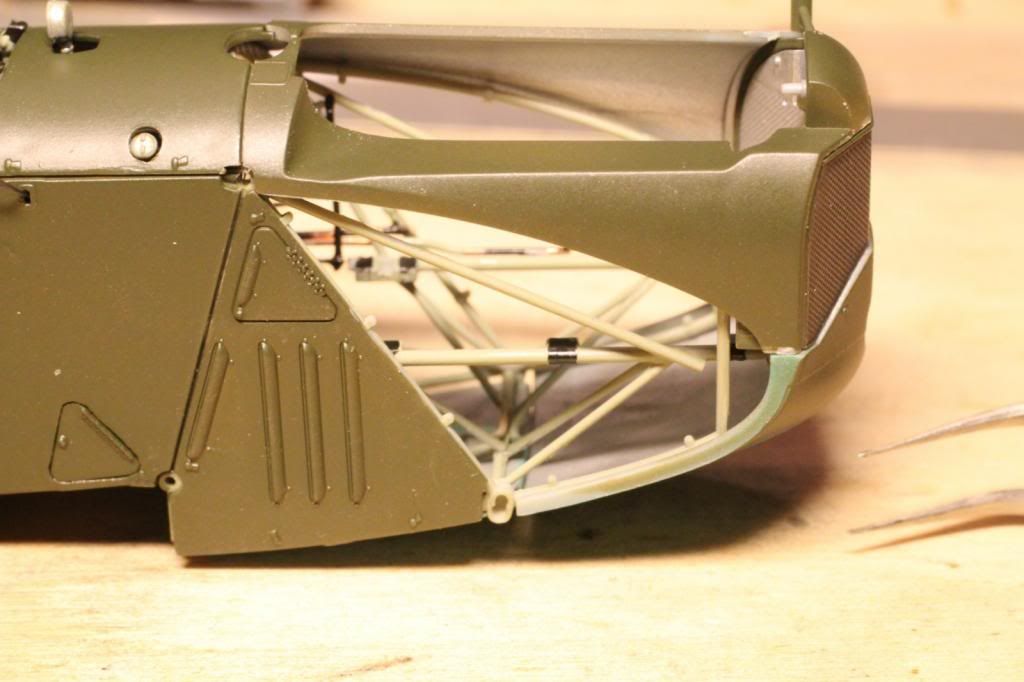
This panel absolutely seems to belong here, because it fits perfectly in the frame.
Last panel is the forward panel with the curved front which falls over the top cover and over the sides of the chin cowl. Because it is all dry fitting I couldn't make a picture as I needed an extra pair of hands and my wife was out, but it fitted ok.
Then I did discover 2 problems. If you look from the top down to the chin cowl with the bottom frame tubes in between I noticed that the chin cowl is pushing the frame inward because of the imitation connections for the screws to fit the covers:
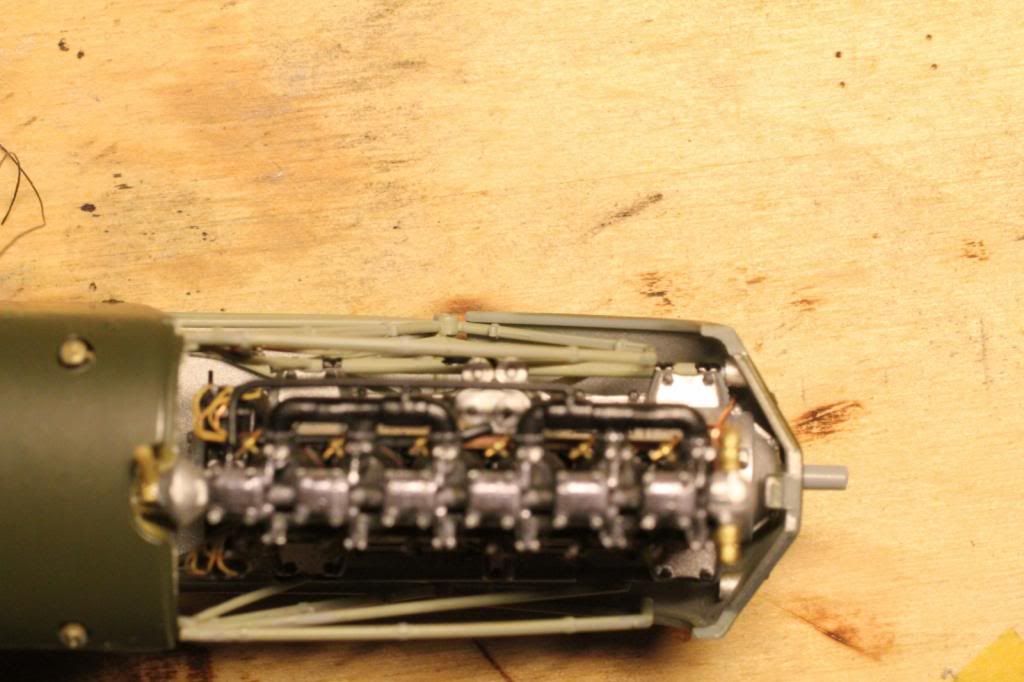
Here you can see the frame pushed inward
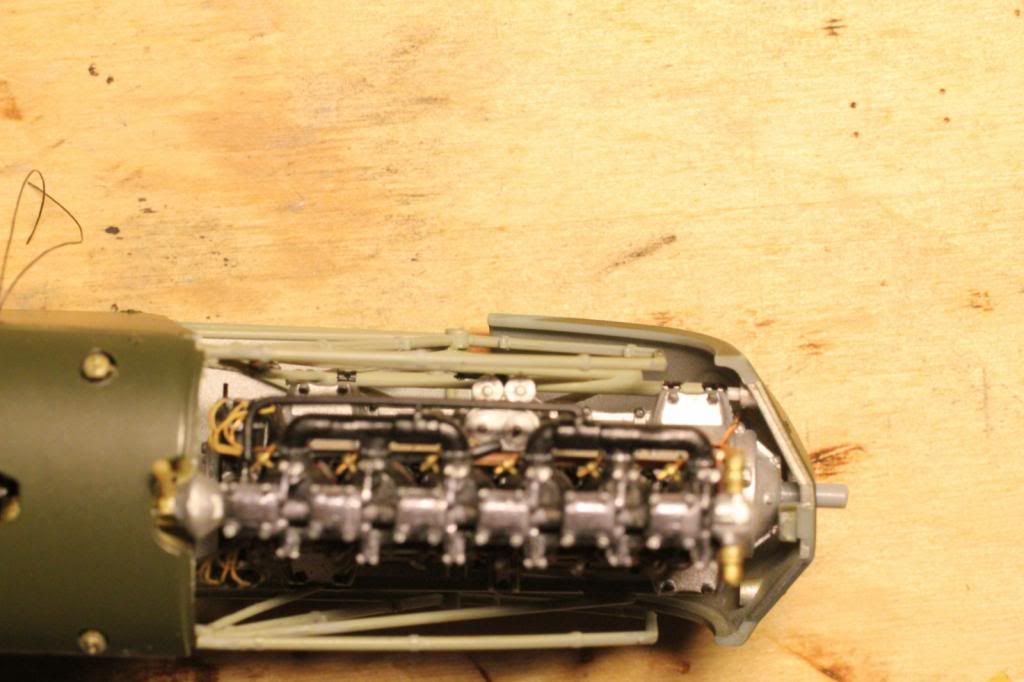
This is how the frames should look like.
A little bit of filing of the inside edge of the chin cowl will solve this problem.
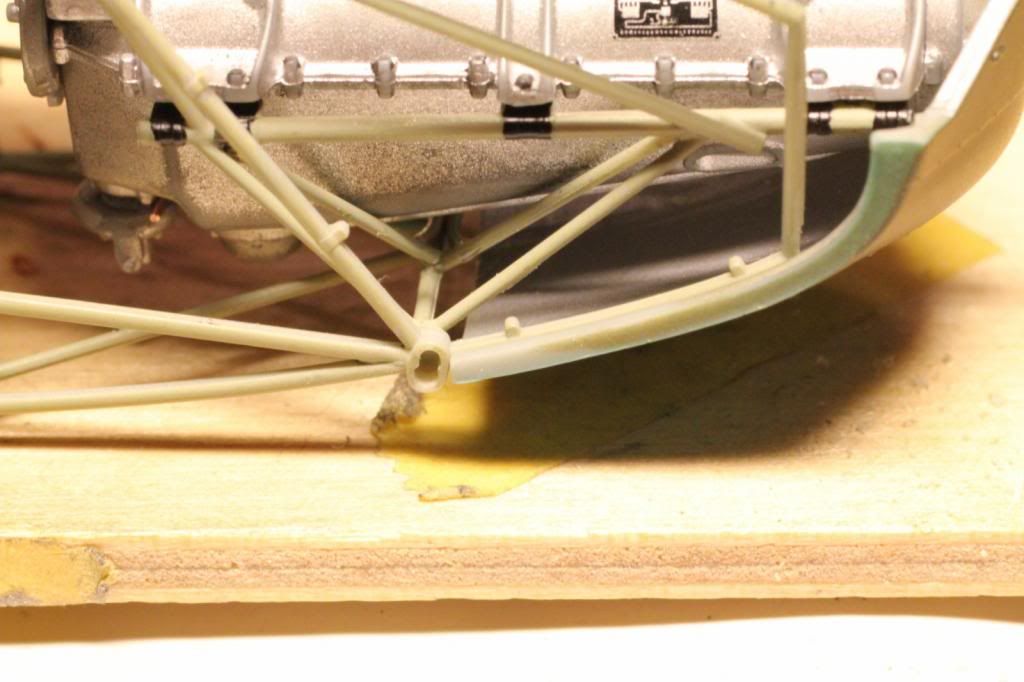
Here you can see that the chin cowl follows the curve of the bottom frame tube perfectly.
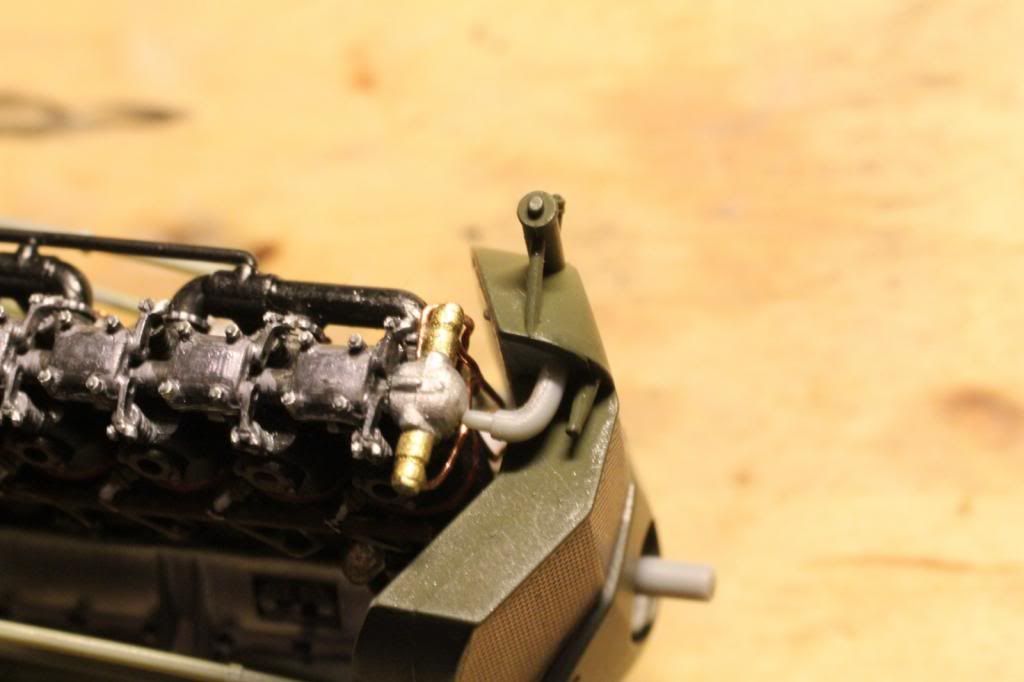
Here I do find a problem: the radiator that I am going to use doesn't have enough room for the airpump. You can that the unpainted water hose connected to the radiator that should fit into the housing of the front of the engine isn't going to get there. I will have to remove some plastic at the top left inside of the radiator to make this airpump fit. Perhaps I have used the wrong part for the inside of the radiator, I am going to check that first, but I remembered that only one part will fit in this radiator.
regards,
Ivo