I haven't found any flares or flare guns on pictures of an LVA D.VII. So I'm not going to use these parts this time.
I have made some progress with the engine, but almost all parts still should get painted.
I started with the priming valves. As explained earlier I planned to use brass handrail knobs used in model railway models from DJH, but next to the spark plugs from Taurus Models they were just too big. So I went for smaller knobs made by Phildie. A small supplier of parts for building H0 model railroad locomotives:

Here you see the brass castings of the handrail knobs next to the Taurus Models Spark Plugs.
So first I drilled larger holes for the priming valves, fitted the handrail knobs inside and cut a small piece of 0,4mm brass wire and bended it. Then I glued it in the handrail knob and it looks like a priming valve. If it would haven been a little bigger I might have drilled a small hole on top of the handrail knob, but as this was just to small I didn't do it.
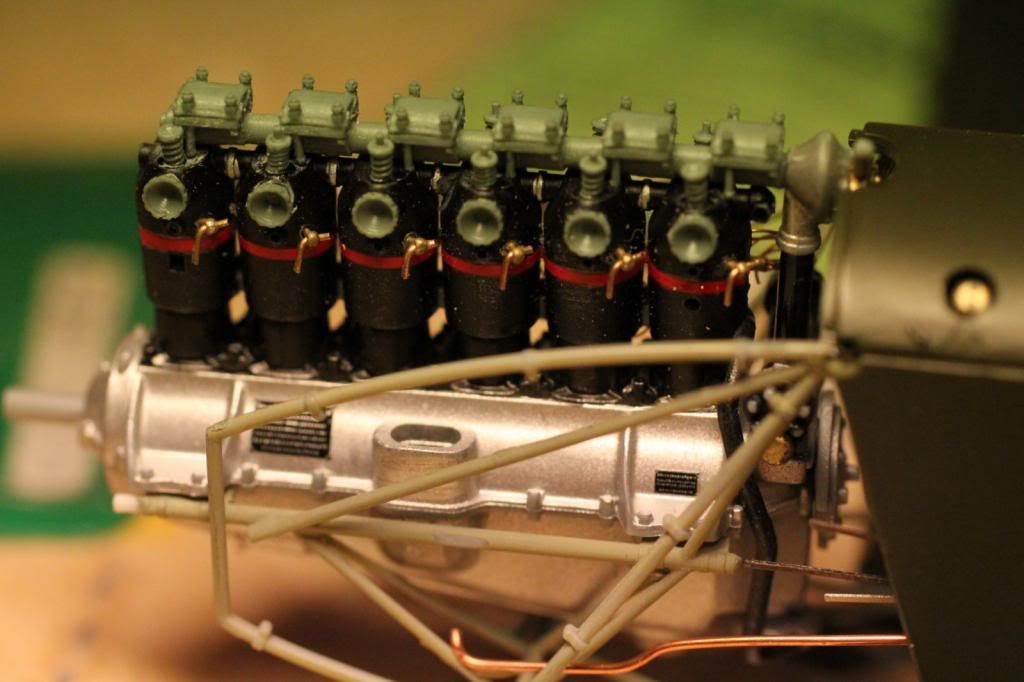
I may paint the handles gloss black (that's what they are on pictures of the engine in the WNW manual), but perhaps I'll leave them bare metal. They will weather by themselves anyhow.
Next step were the fitting of the spark plugs on the intake side of the engine:
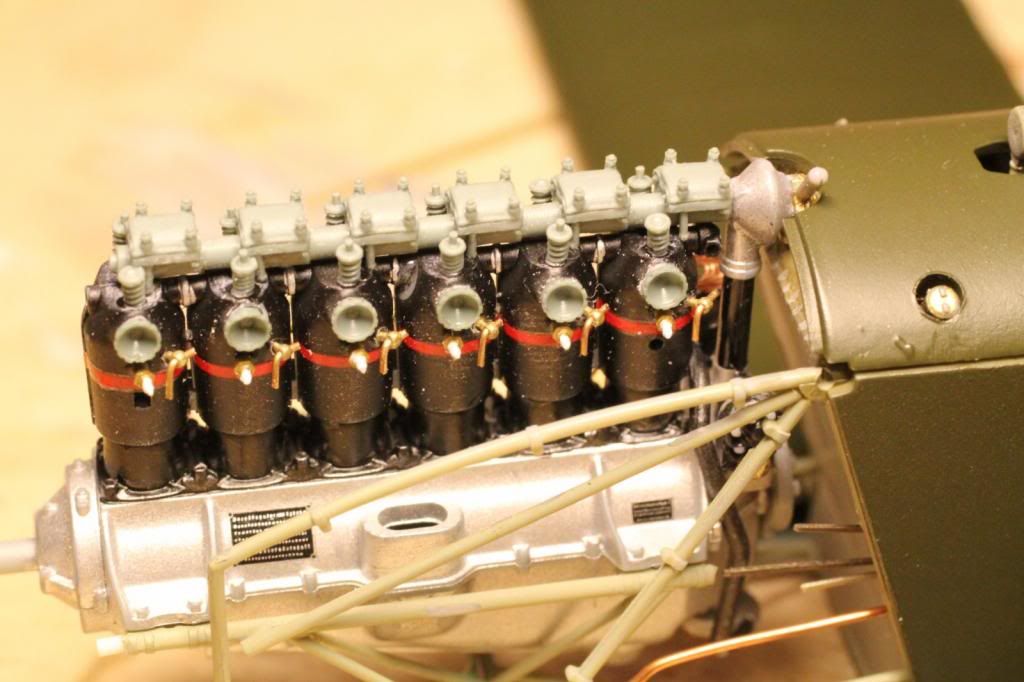
Picture doesn't really show them. I would have preferred that Taurus Models would put those spark plugs on a little piece of resin with a smaller diameter than the spark plug itself, because it would make fitting easier, by fitting them into a hole in the cylinders.
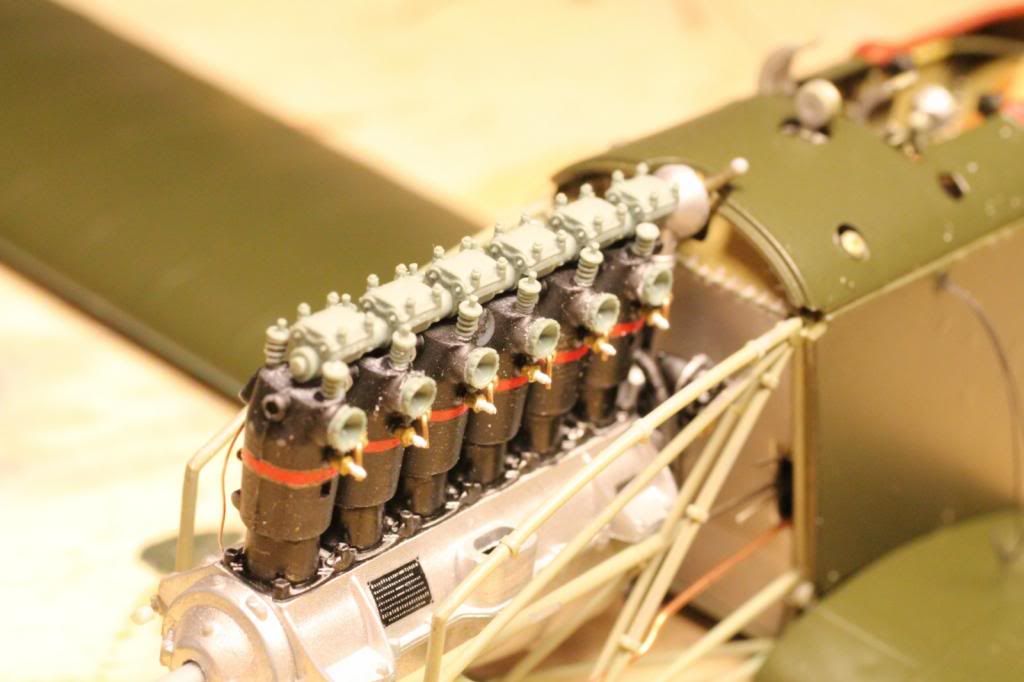
Same picture, another angle.
Next step is to make the spark plug leads:
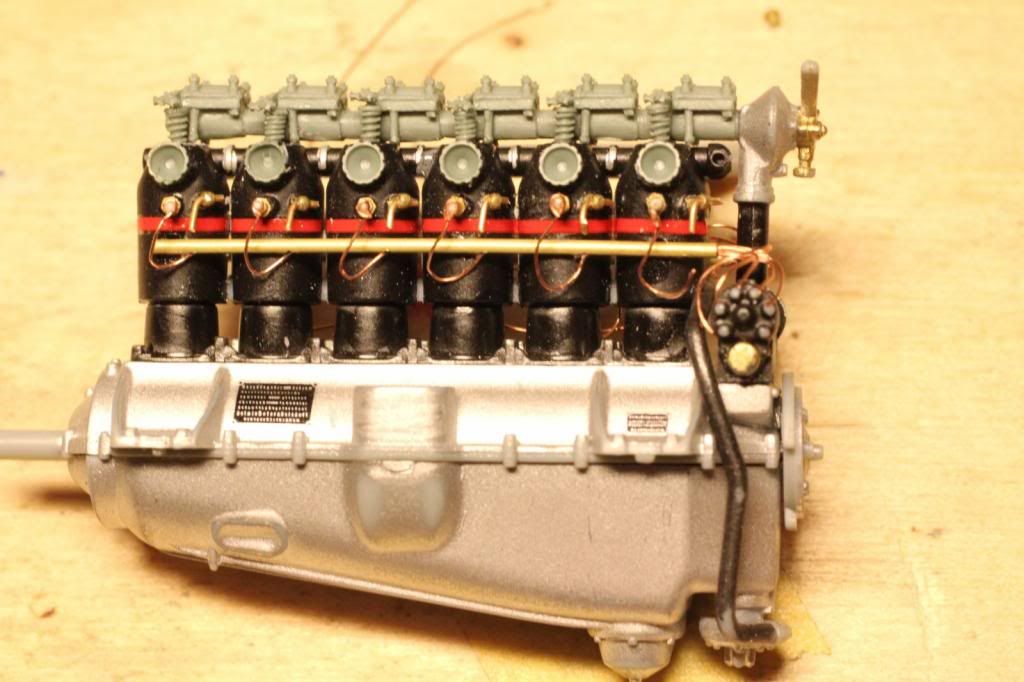
I explained these earlier. The finishing touch is just to bend the copper wires from below the tube with a nice curve upwards and turn them around the end of the spark plug. At the other end you just bend 6 wires towards the contacts of the magneto.
Next step I took was placing the rockers:
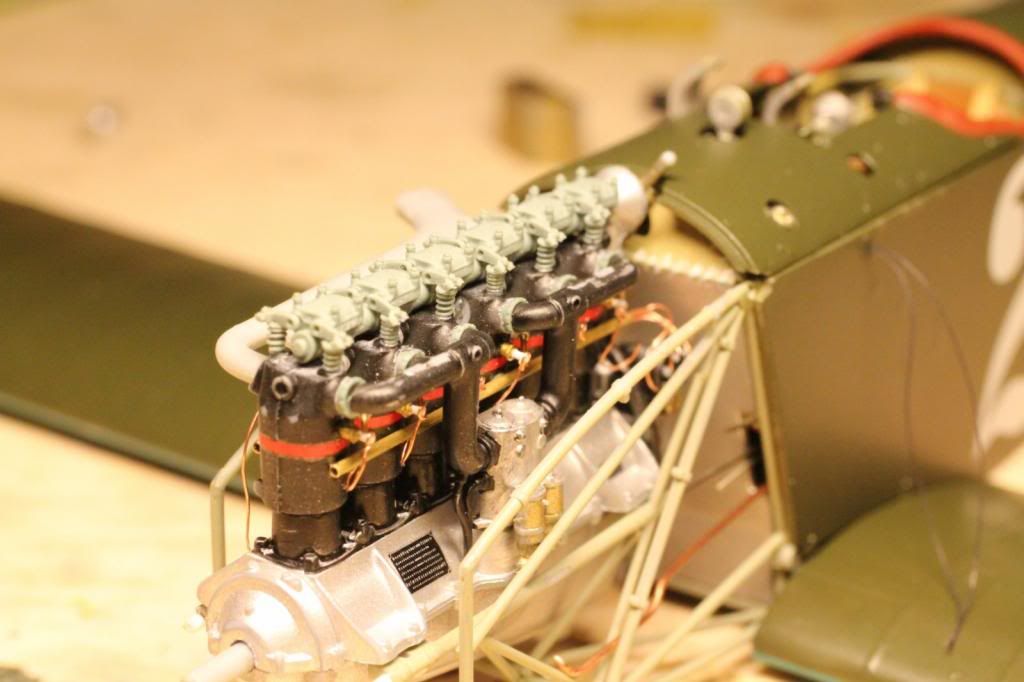
For best fit the valve springs should have been placed at a bigger angle to the cylinder. It doesn't feel right though, but it would mean a better fit. I decided that I wanted the rockers to sit in the correct location on the rocker boxes and accept that the rockers are a little bit too far to the left and right, but the total picture of the rocker boxes, camshaft and rockers would be correct. There are 4 opened valves and 8 closed, you can see it, but I have the impression that you need to know where they are. Perhaps after painting and especially some dry brusing of the valve springs will make this easier to see.
A view of the other side of the engine. Here the spark plugs are still missing, so I need to do some work here.
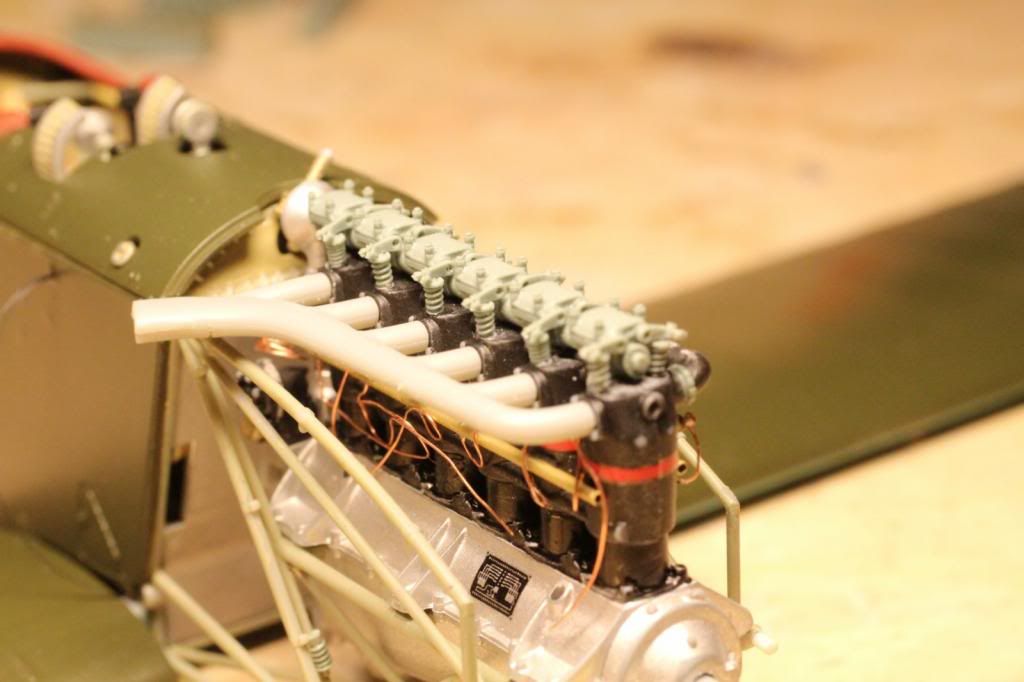
Top view of the rocker boxes and rockers:
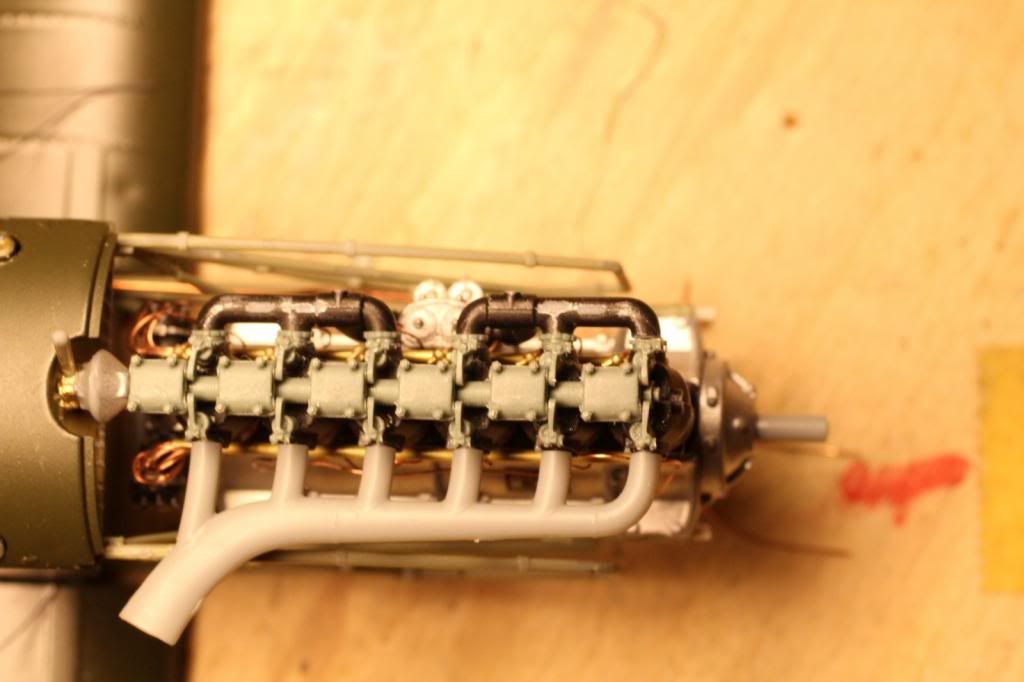
And just a nice picture.

Next step is the exhaust side and painting the entire thing. The lower part of the engine is too shiny and needs some weathering. I have seen excellent examples, so I am going to try to reproduce that as well.
regards,
Ivo