Alexis was spot on with her assessment that the shading on the undersurfaces was too stark...
This morning, I gave them a filter of thinned deck tan and was much happier with the result.
Before...
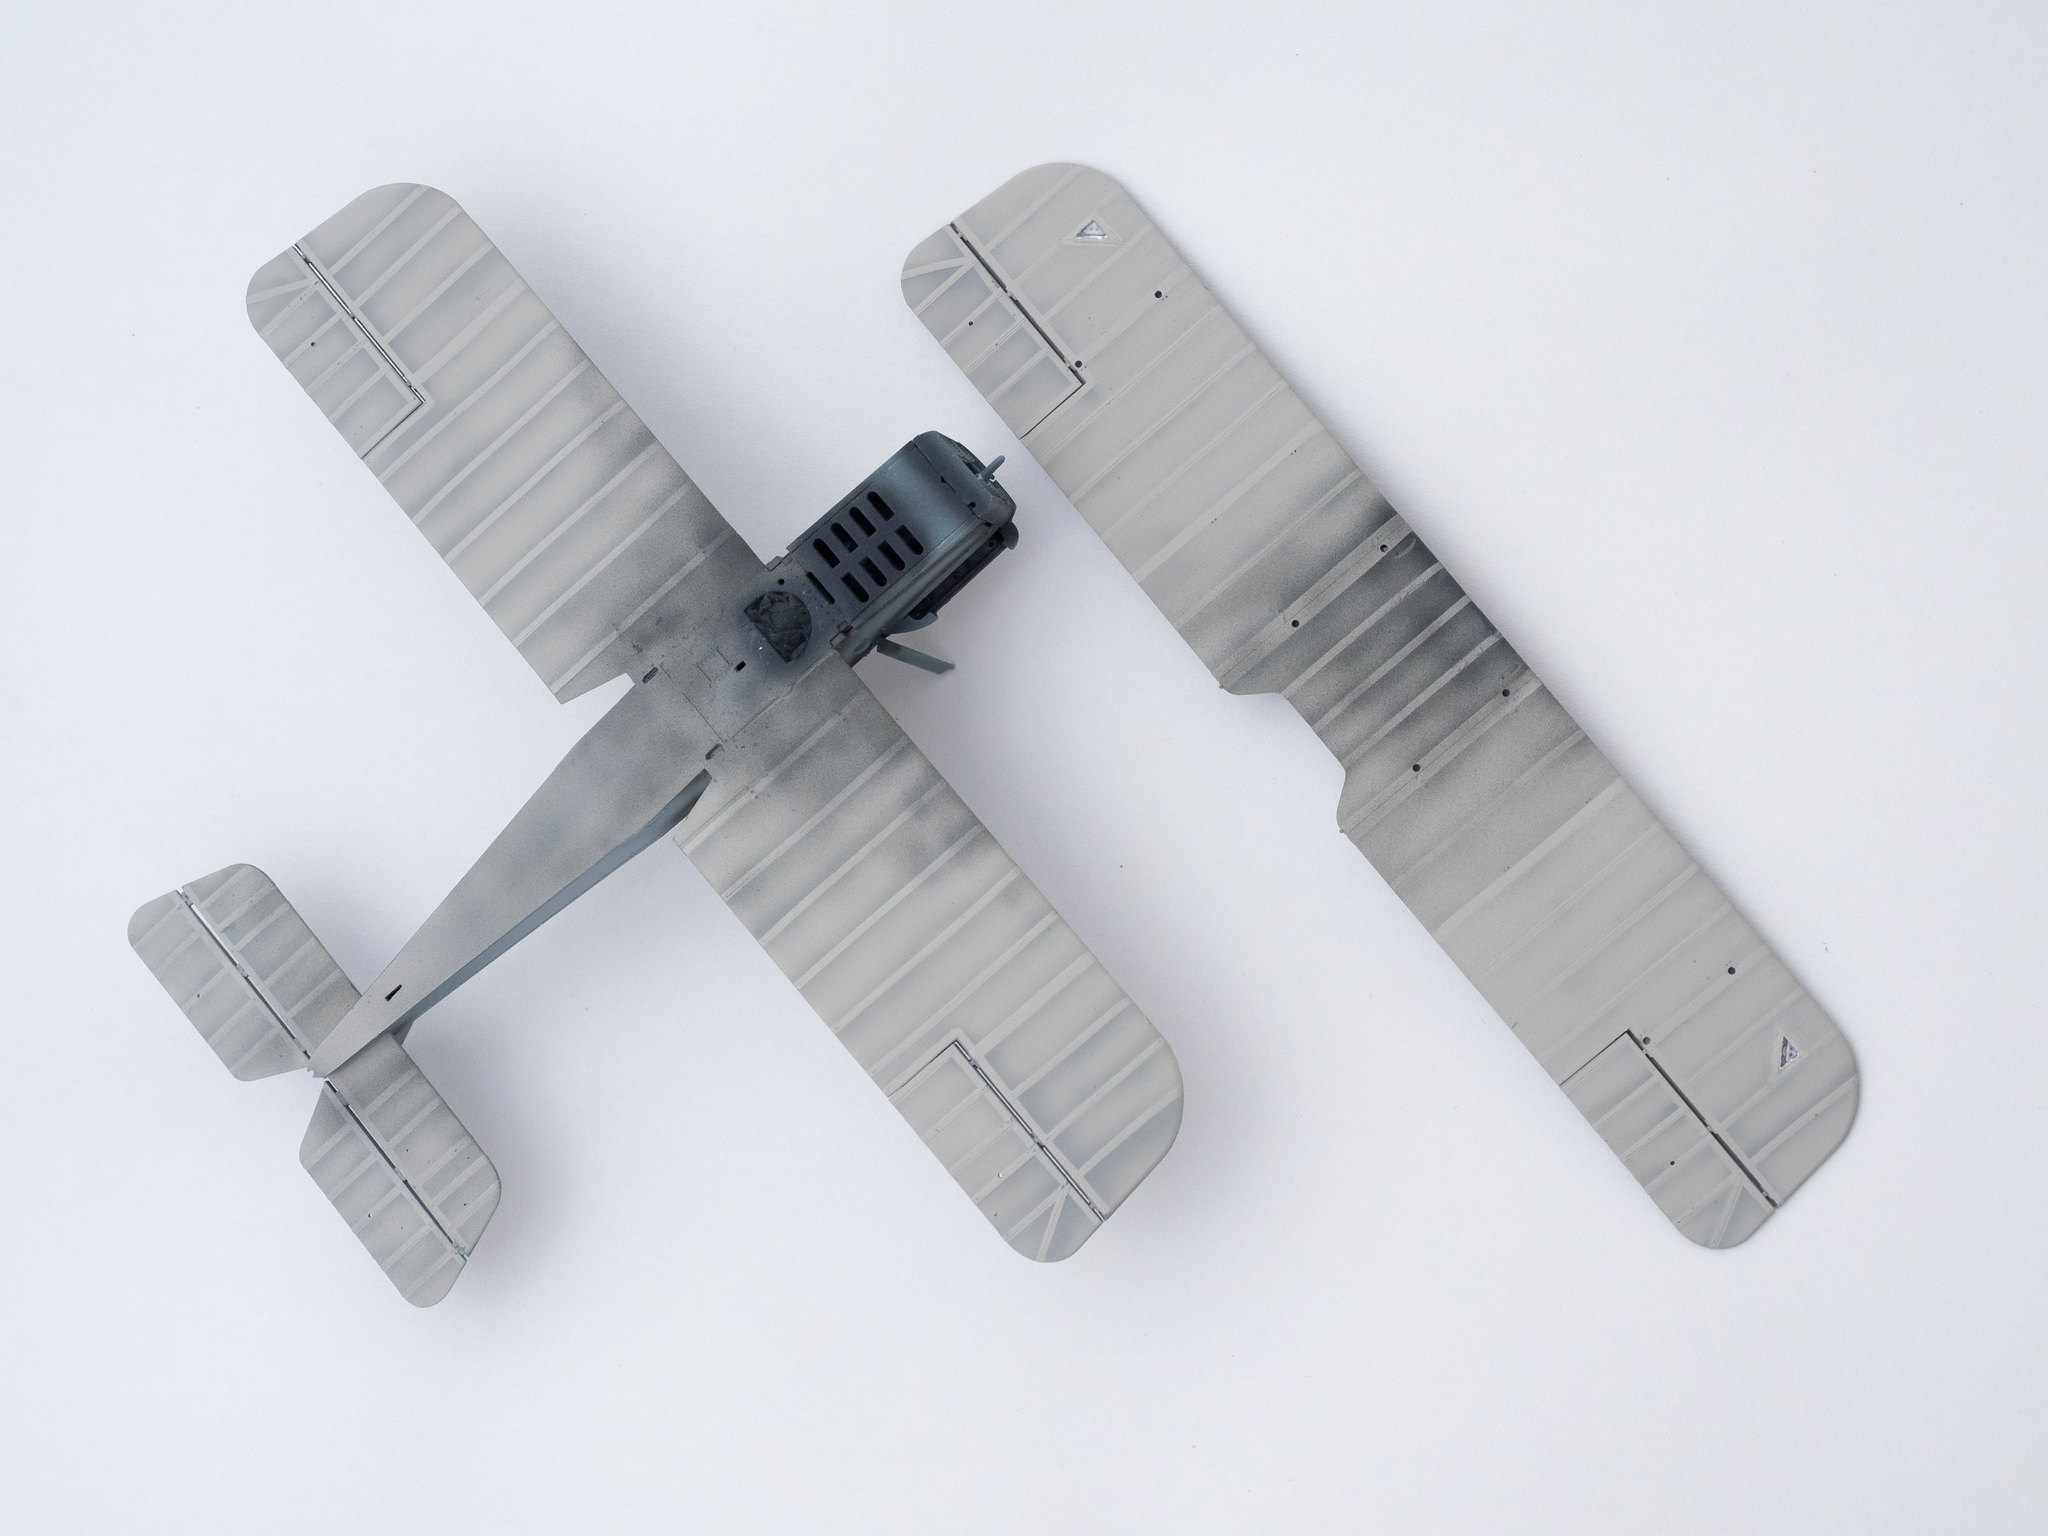
After...

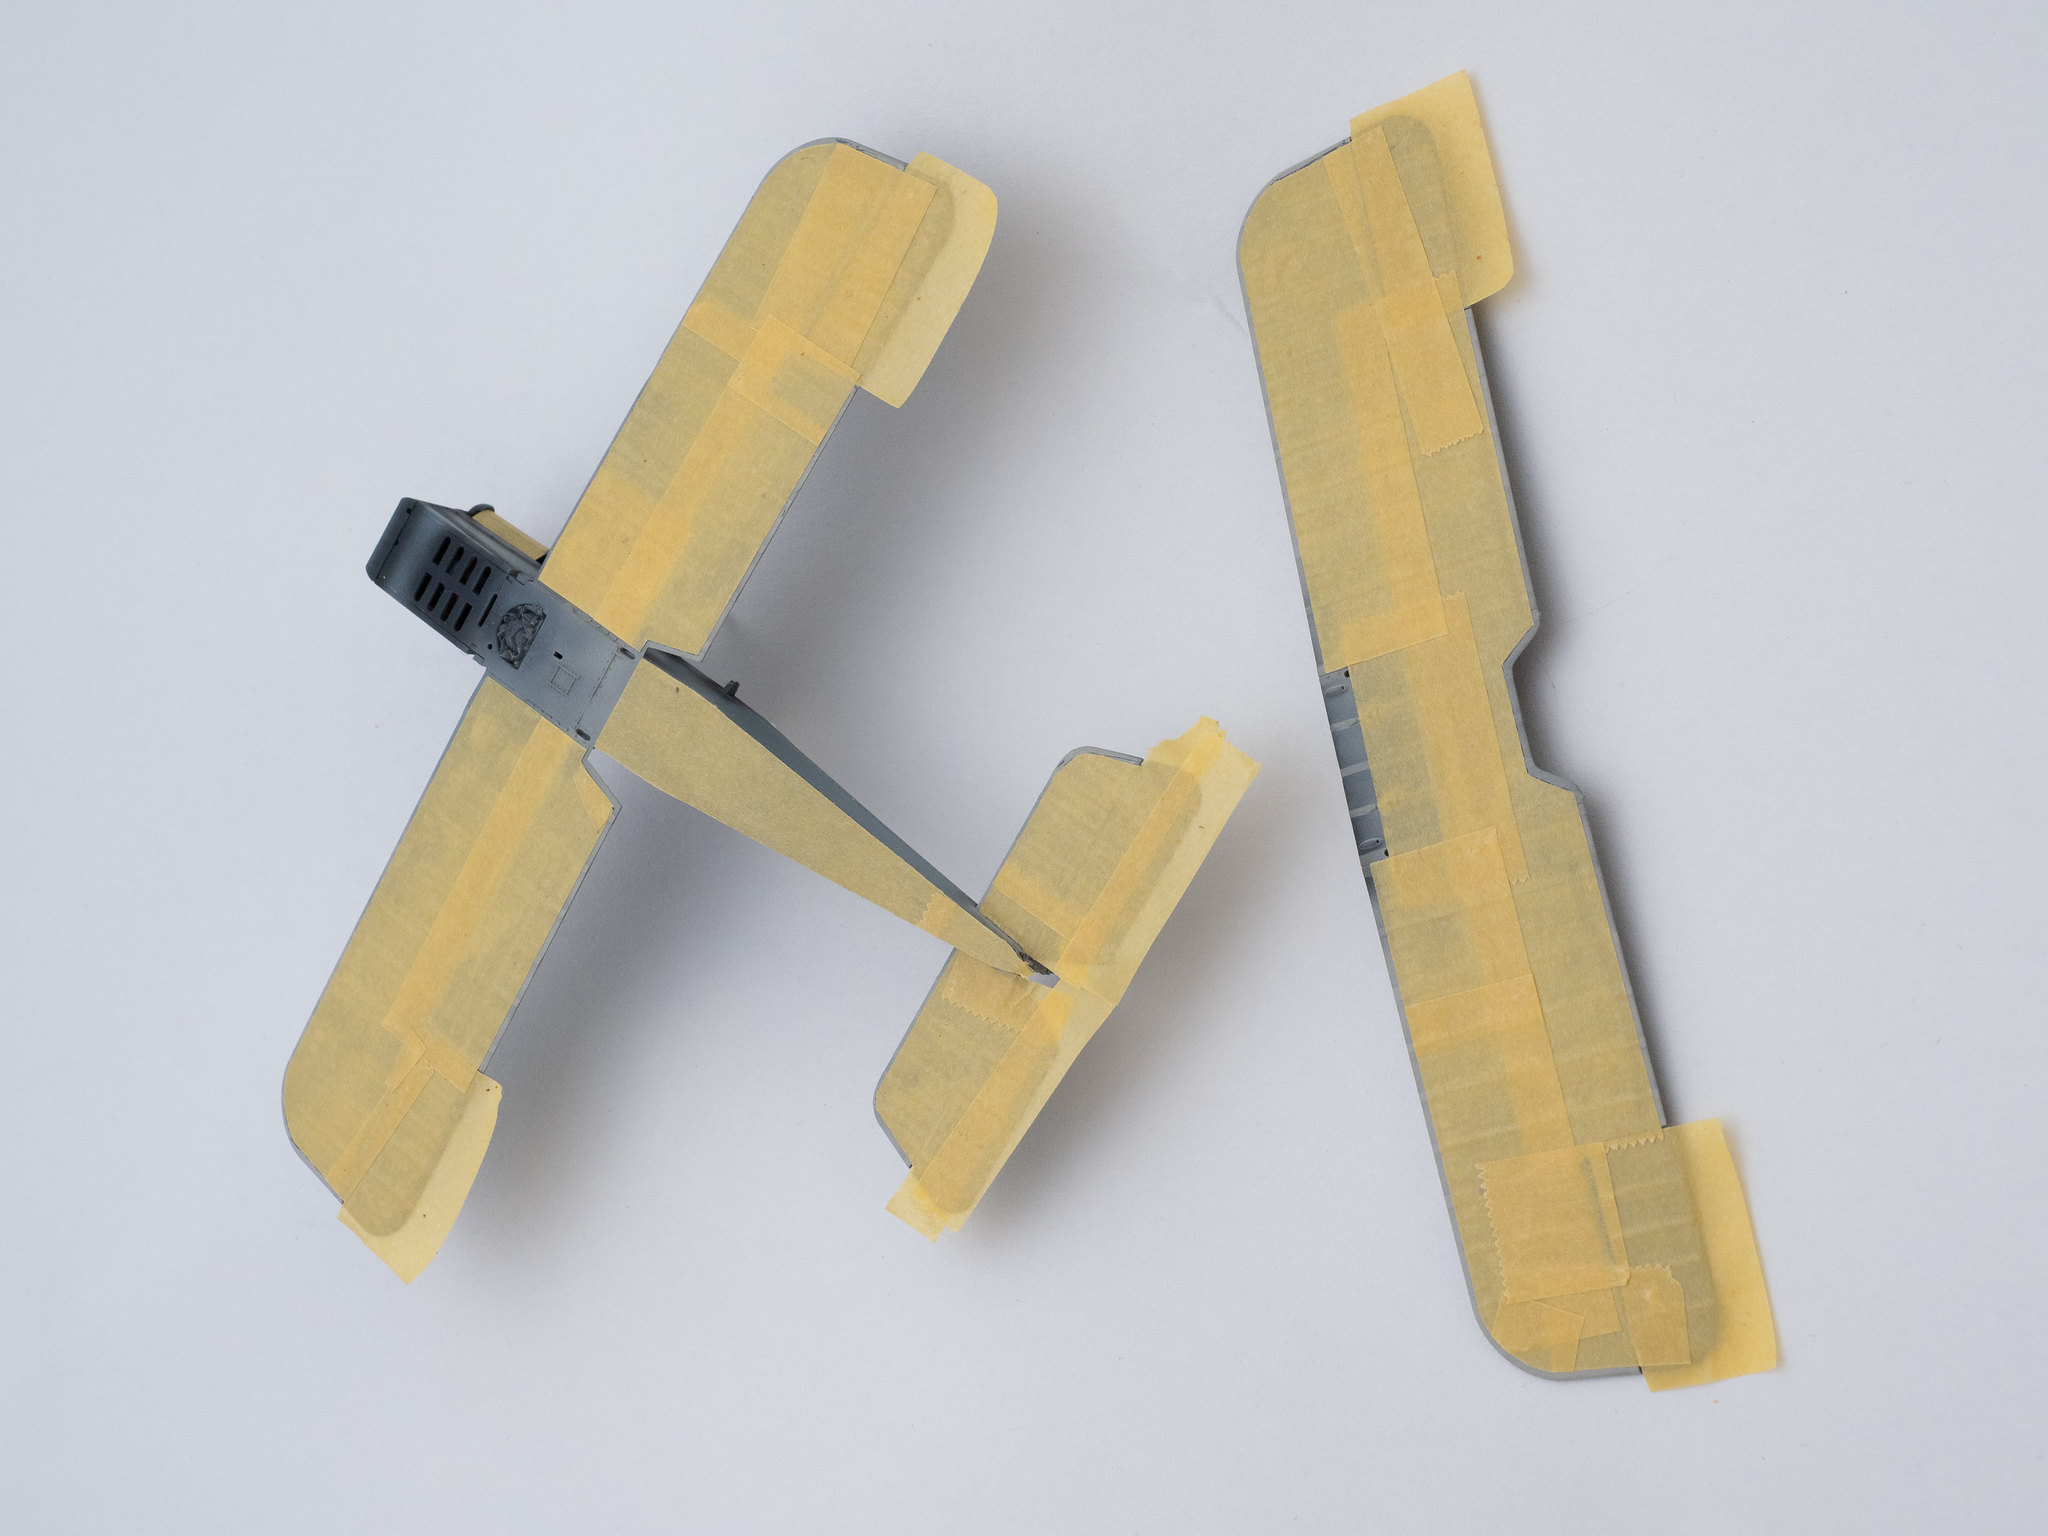
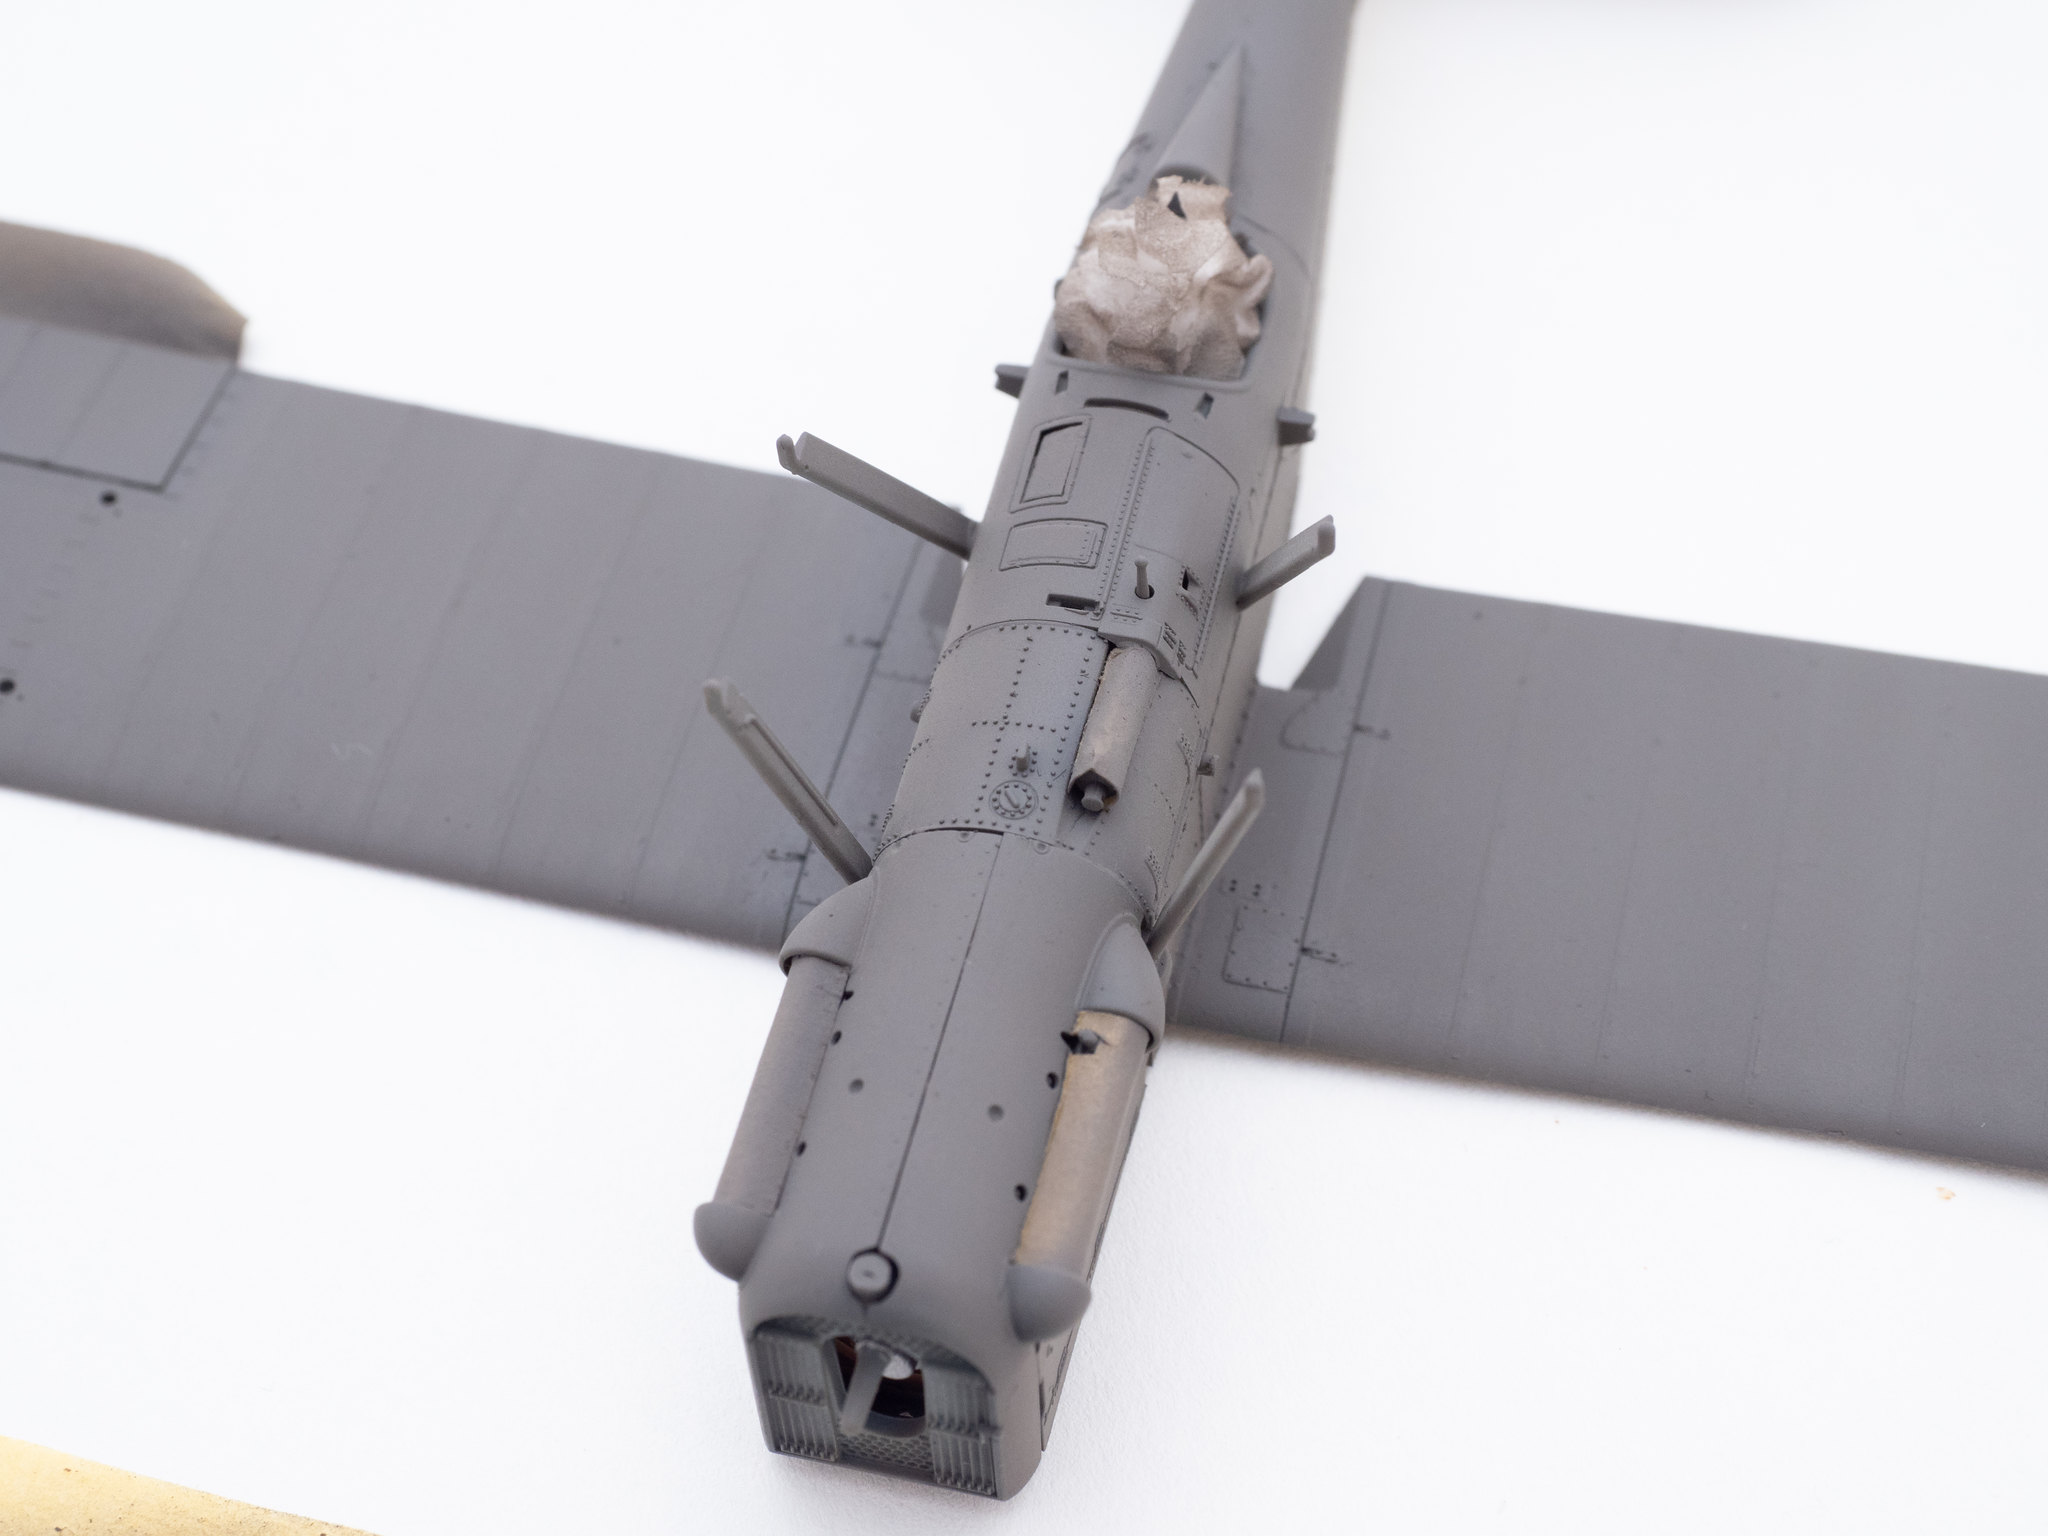
Then I got down to masking...
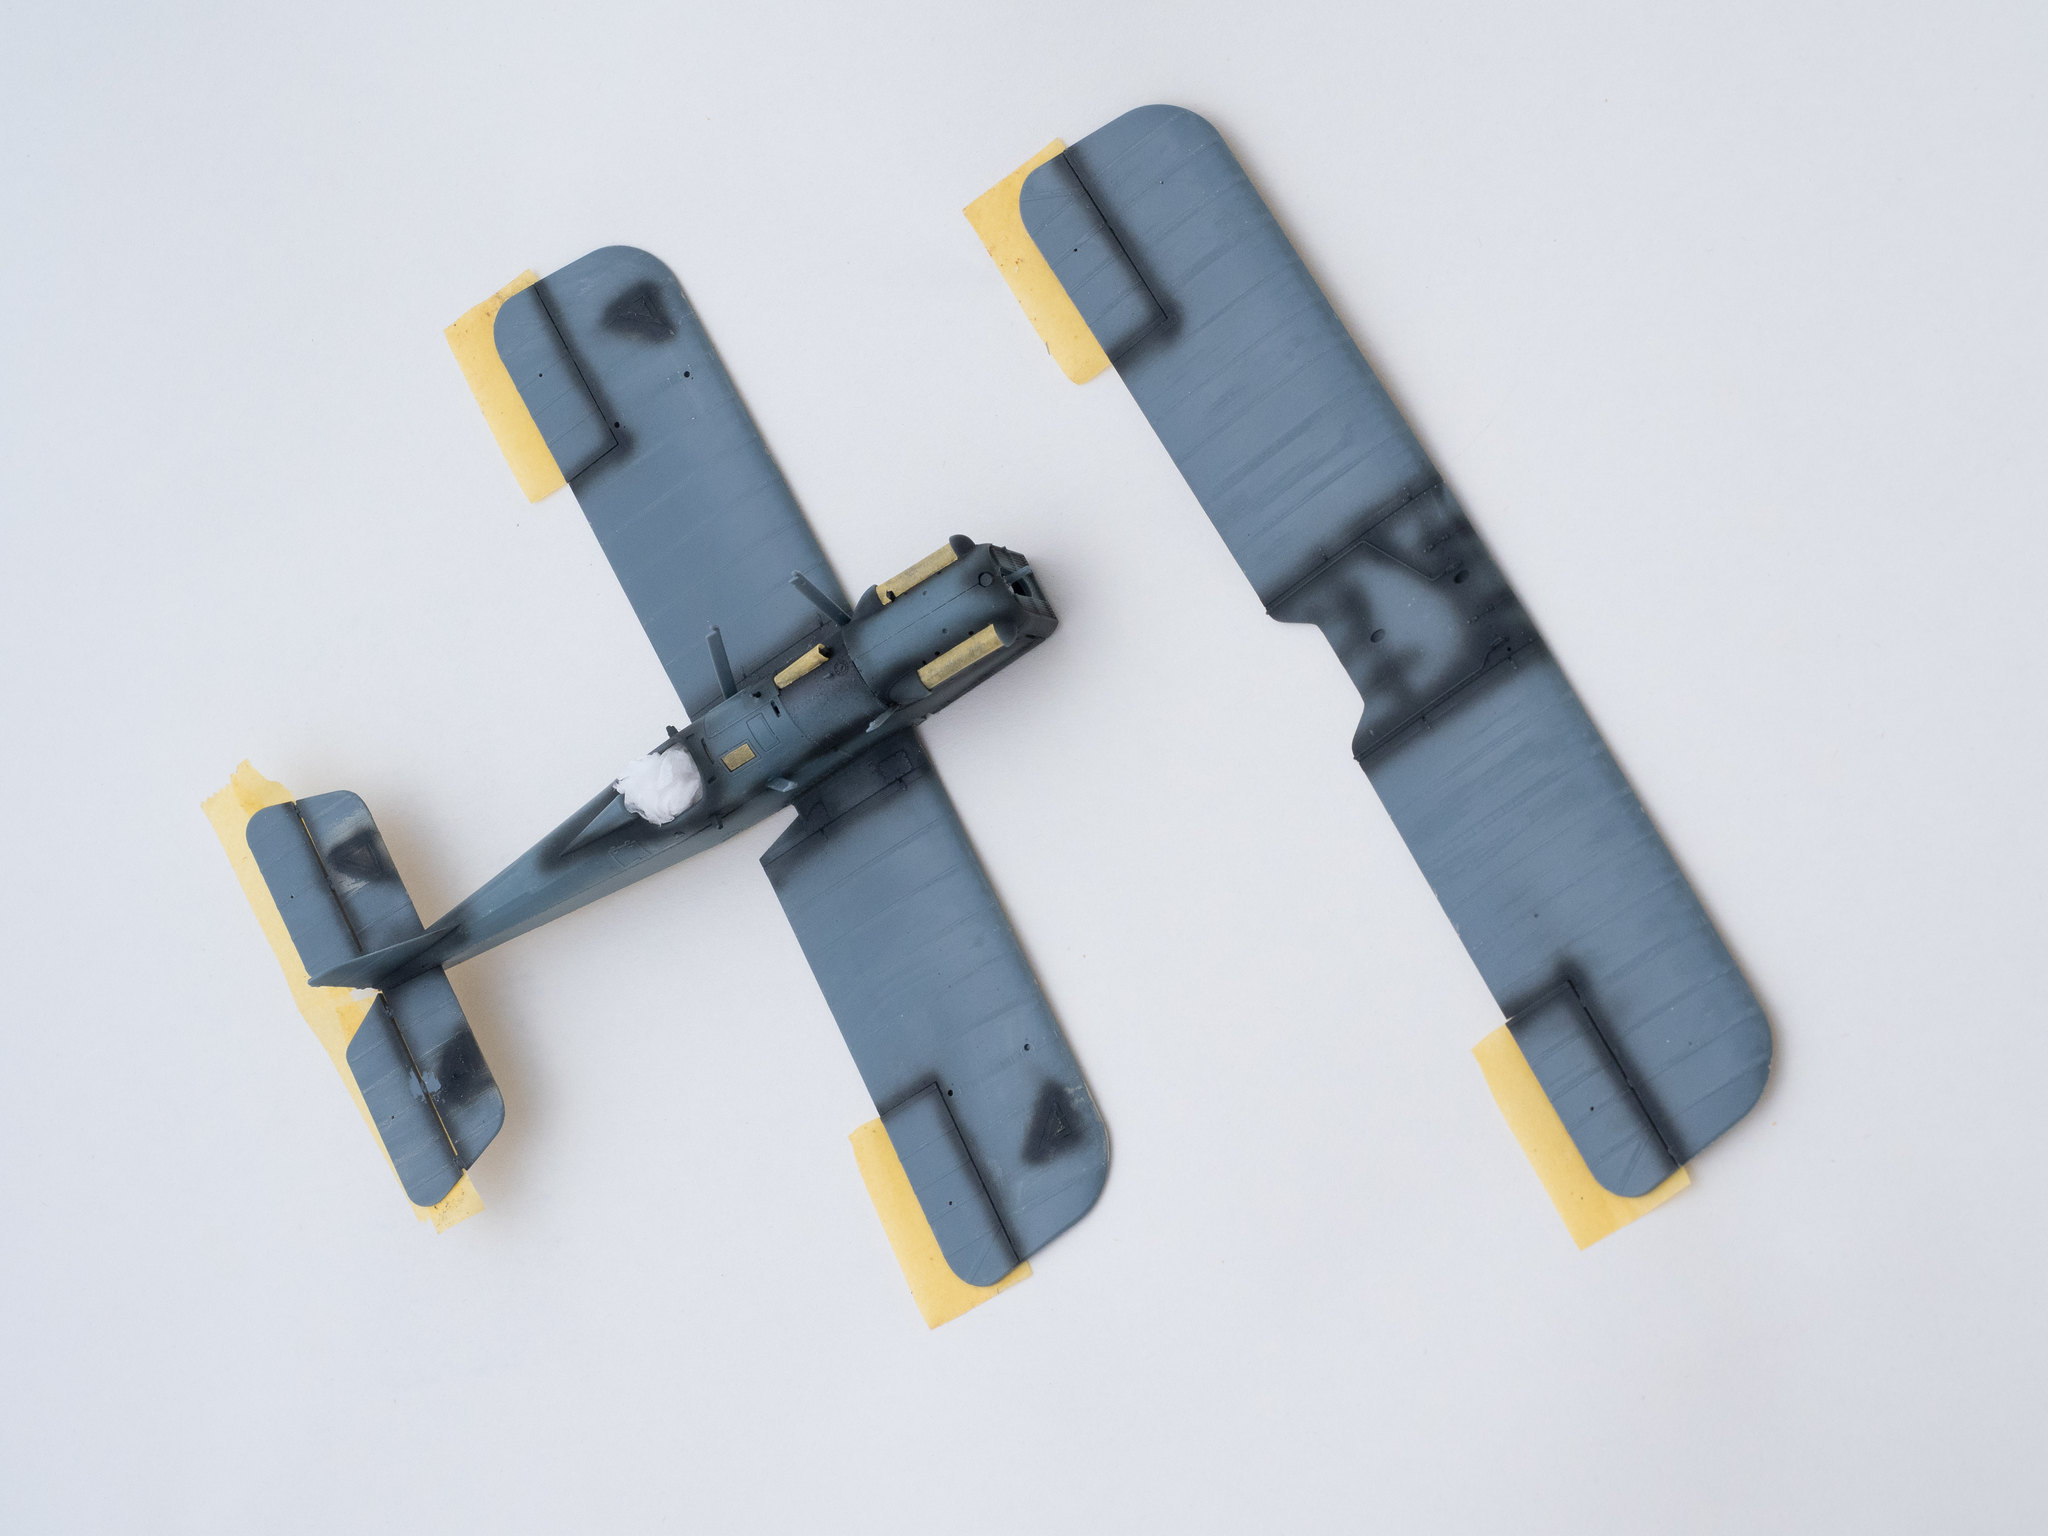
I used a neat thinned Tamiya Khaki Drab to stand in for PC10... Came out just the right mix of brown and khaki i think.

Then I added a few drops of white to lighten the mix a bit and tried to add some tonal variation... I did this because frankly, the idea of masking all those bloody rib takes again gave me the shivers... It was looking a bit too stark to begin with and I was worried that I would have to give it all an over filter of Olive Drab again, but after a coat of gloss, it wasn't so bad.


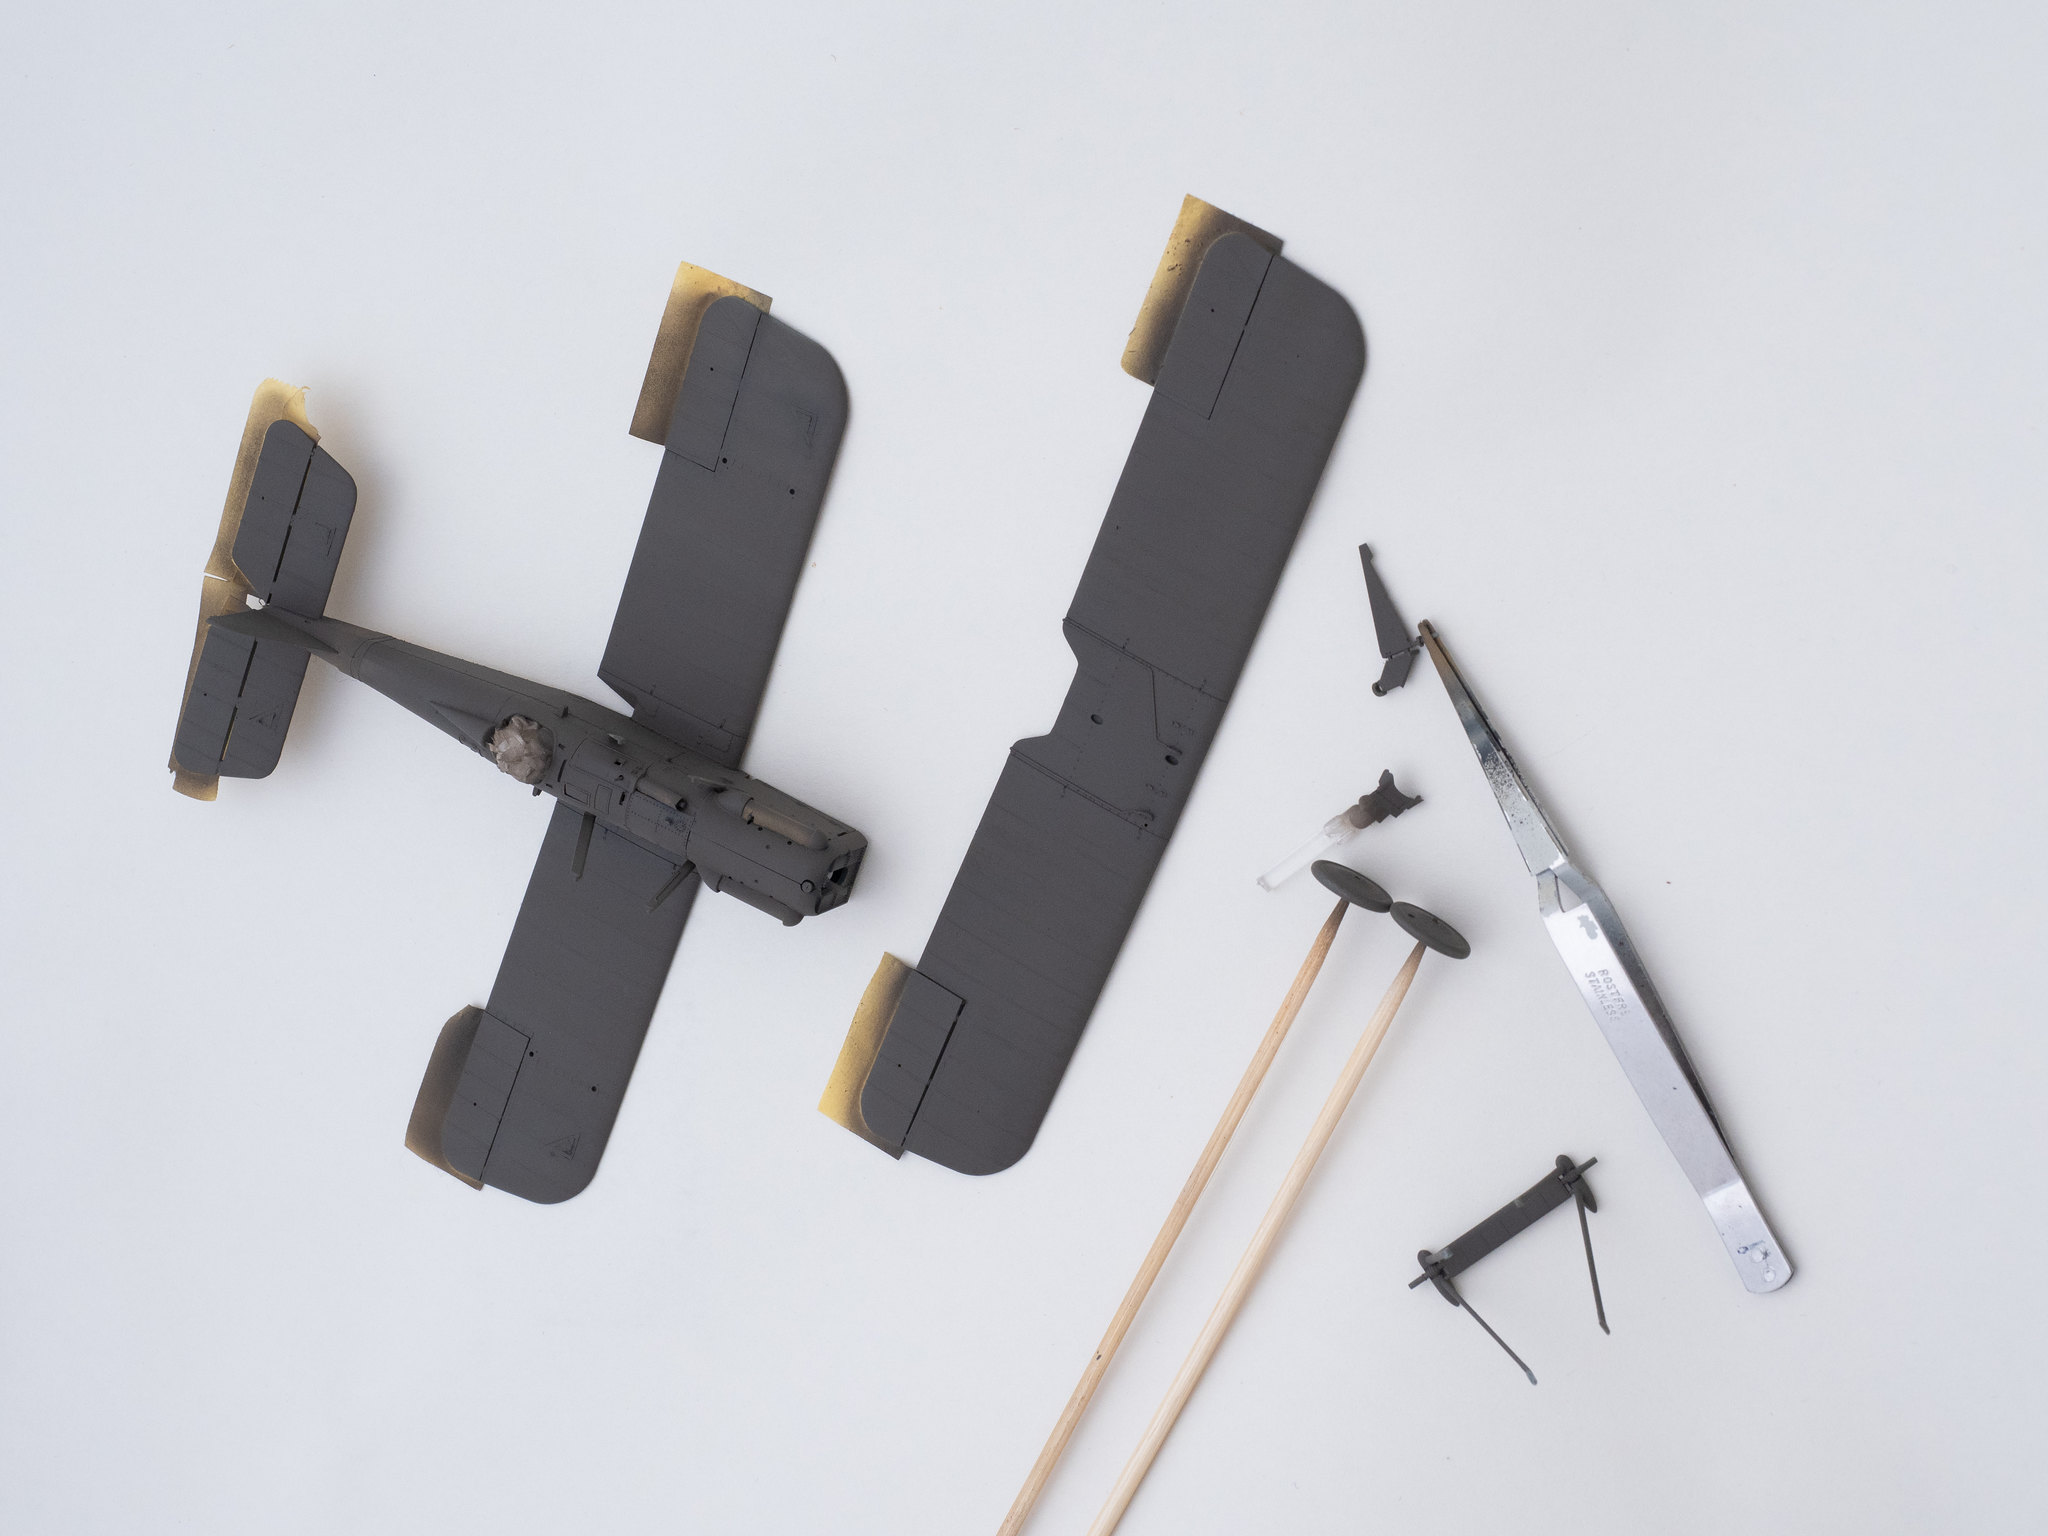
Have I told you how I hate decals? Hate is a strong word I know, but it's probably not strong enough to describe how I feel about decals... Abhor? Detest?
Way back when, I would prefer to mask and spray rather than struggle with recalcitrant decals... But I'm starting again... And I thought, how hard can it be?
Well, let me tell ya! By the time I'd done the wing cockades, and the E on the upper wing, I had a head ache. Seriously, my head hurt and I had to go find wifes stash of Paracetamol. One is a throw away, but I dont have any spares, so... It's gonna have a slight wrinkle. The others? Well, they might settle down, but hells, I wish I'd masked and sprayed! I don't think it's the fault of the decals, I just think I'm out of practice... But that was what this build was for wasn't it.

I still have to do the Fuselage cockades and the bloody E that goes on each side of the Fuse, but I'm gonna finish my cup of tea first... Then, maybe go and read a book...
Cheers,
Hugh

