Evening All,
“It is a truth universally acknowledged, that every serious aircraft modeller makes pusher biplanes, either from kits, vacuforms, conversions or scratch builds: they are landplanes, floatplanes or flying boats, and can have a combination of tractor and pusher engines. Ideally they should be in God’s Own Scale, but other scales are permitted. When the modeller has built up a suitable collection in the Proper Scale, it is quite appropriate for them to turn to a larger scale and build them in strip-down form.”
Making Real Model Aeroplanes by Lone Modeller, Idontgoto University Press, (in prep).
In keeping with the above, I will attempt to build another large scale (1/32) strip-down pusher, this time the Airco de Haviland D. H. 1A.

When I built the Vickers FB 5 Gunbus I wrote that this was an alternative possibility but because of a lack of information about some parts of the machine, especially the internals of the nacelle, I chose to attempt the Vickers. I am still lacking some information but have come to the conclusion that it probably does not exist. Consequently I intend to use modeller's license and the fact that G. de Haviland helped to design the Royal Aircraft Factory FE 2a: the two machines were remarkably similar in many ways. Given this I intend to construct what I think is a plausible representation - if anyone has contradictory evidence I would be very pleased to have it.
I have already converted one of these from the Airfix 1/72 D.H. 4, the build log of which is at
https://forum.ww1aircraftmodels.com/index.php?topic=3261.0It looks like this:

So I have put together my kit which consists of the usual plastic strip, card, rod, brass rod and bar, wood, thread, etc and some odds and ends from specialist suppliers:

As the engine in the above image is a bit small and the wrong type, I have selected this lovely specimen from WingnutWings:

I had toyed with the idea of making one of these from scratch but decided that I might want to build another model before senility prevents me from doing so. I also used these wheels on the Gunbus and recommend them to anyone building early aircraft in this scale:

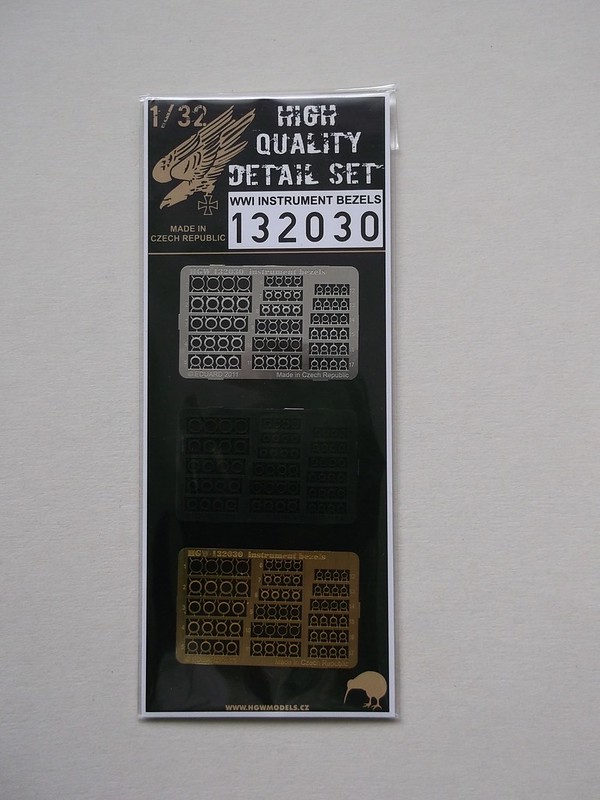
I used these instrument bezels on the Gunbus and although they are barely visible on the model at least I know that they are there together with Airscale transfers for the instrument faces (not illustrated here):
Another small detail will be provided by resin representations of the pulsometers:

That is enough pre-manufactured material, now to start the real modelling. The Gunbus was a half-strip down model but that presented unforseen problems because the weight is concentrated on one side, making the model inherently unstable and in need of permanent support to stop it leaning. The undercarriage is also not as strong as I would like it to be, so I have decided to build this model as a complete strip down. This means that all of the interior detail in the fuselage nacelle and the engine will be fully exposed, together with the structure of the flying surfaces. I know that there are kits that represent different aircraft in varying degrees of strip down, but as far as I am aware, none of the Airco D.H. 1A.
I have been experimenting with some parts as I was finishing the FE 2d, the first being how to make the wing ribs. There are rather a lot of them and they have to be the same size in two patterns: some with holes and some with slots and holes. To ensure that they are all the same size I am using the following procedure:
a. cut a length of 60 x 180 thou Evergreen strip (top)
b. shape the strip to the shape of the rib. This will be the master strip for all subsequent ribs of this size. (second from top)
c. using the master as a template, cut and shape another piece of plastic strip and mark on with a sharp pencil where the spars pass through (4th from top)
d. drill holes between the lines which mark the spars (bottom)
e. cut out square holes for the brass bar spars (middle):

Complete the rib by drilling holes and cutting the slots as necessary. There are 40 full chord and 29 narrower chord ribs to make for both sets of wings, so I will make some and then work on another part of the model, go back and make some more, repeat etc until they are all made....
I also want to try out another idea which is to use wood laminate for the propellor. I have already commented elsewhere that British propellors were made from laminated mahogonay or similar wood and so should be uniformly dark, as on my Gunbus, but I decided to be a little inaccurate on this model and have used two types of wood instead. Strips of laminate were cut to length:

These were glued with Evostick wood glue which dries clear, and the piece put under a press overnight:

Not much chance of that delaminating when it is shaped! First mark out the plan of the propellor and file the wood so that the basic outline of the propellor is made:

I marked on both surfaces where the bosses would be and the curved flat faces between the bosses and the edges of the blades. By carefully filing one face at a time the propellor can be shaped:

As stated this is not strictly accurate as the laminations should be much thinner and darker but most people who look at the model will not be aware of this and I want something a little different.
It may be a little while before the next post because although like others I am currently confined to my home, I have rather a lot of ribs to make and I need to work out the internal structure of the nacelle, and then how to start making that and the internal fittings.
If you have been, thanks for looking.
Stephen.

