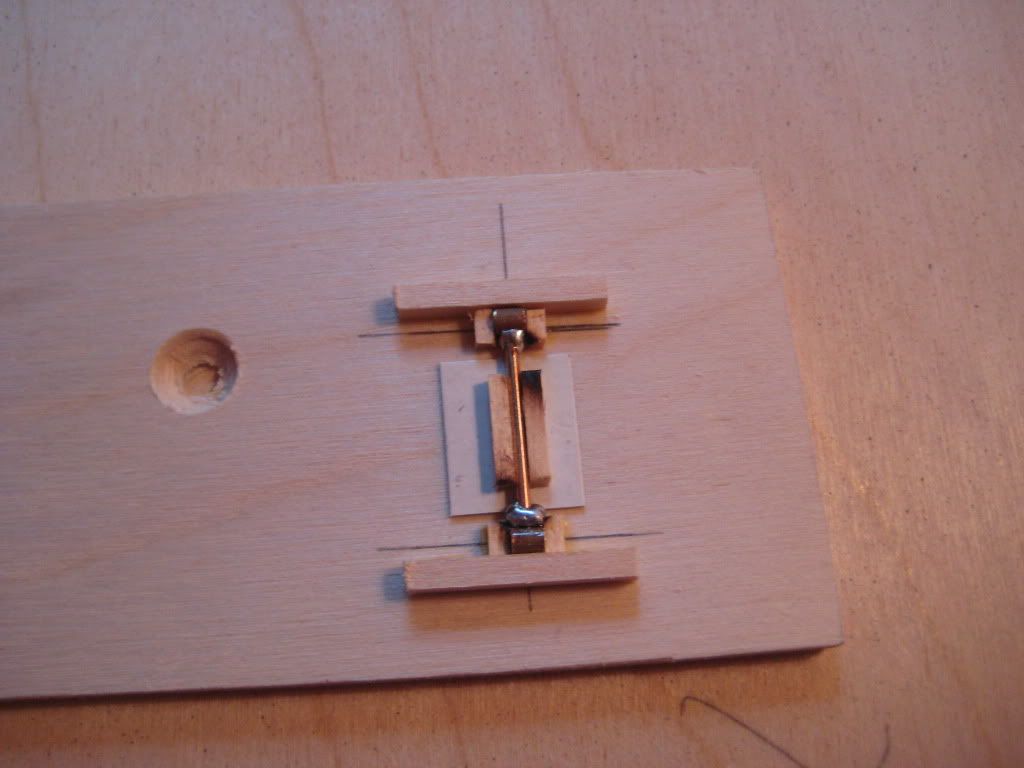
Here's the latest, moving along at a deliberate pace. I actually built a jig and soldered the top wing mounting bracket (a pair of 3mm wide lengths of brass tube connected by brass rod about 1.9mm long overall), FINALLY! I had been putting this off because I was nervous about my lack of skill and experience with soldering, but the jig made things easy and it went well, over in about 3 minutes (all that fretting for naught!). Here is the jig, with the soldered parts:

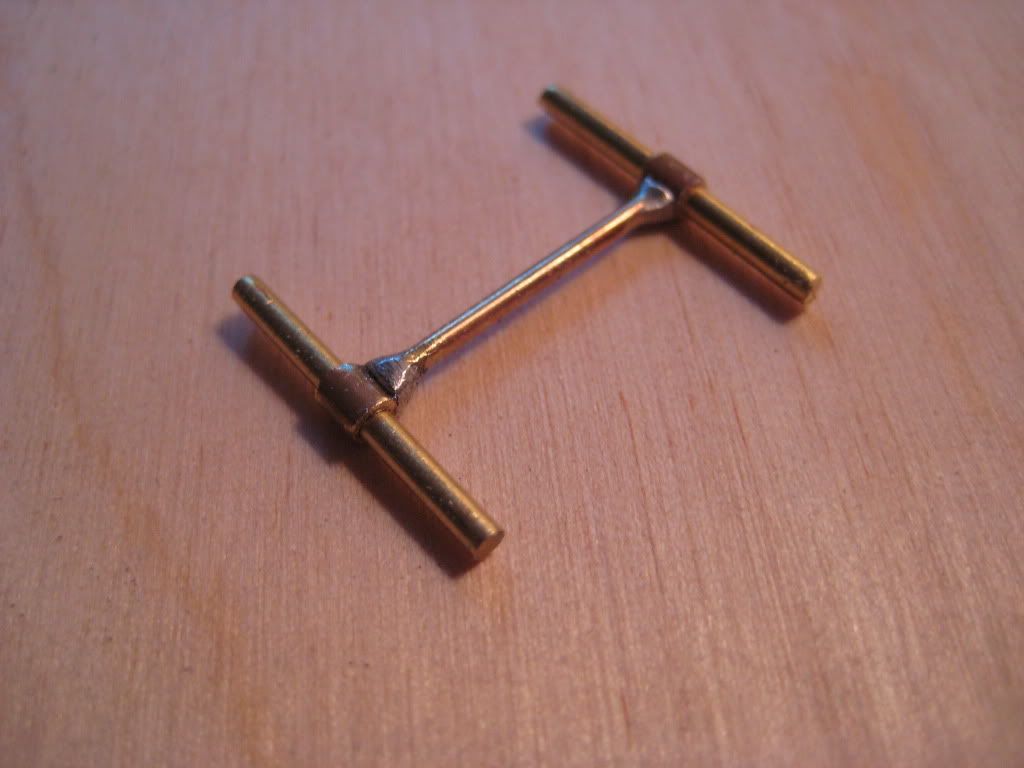
Note the big blobs of solder; like I said, not my forte. Still, it cleaned up with a jeweler's file pretty well. This pic shows the bracket with the brass rod top wing pins which slide through the bracket tubes:

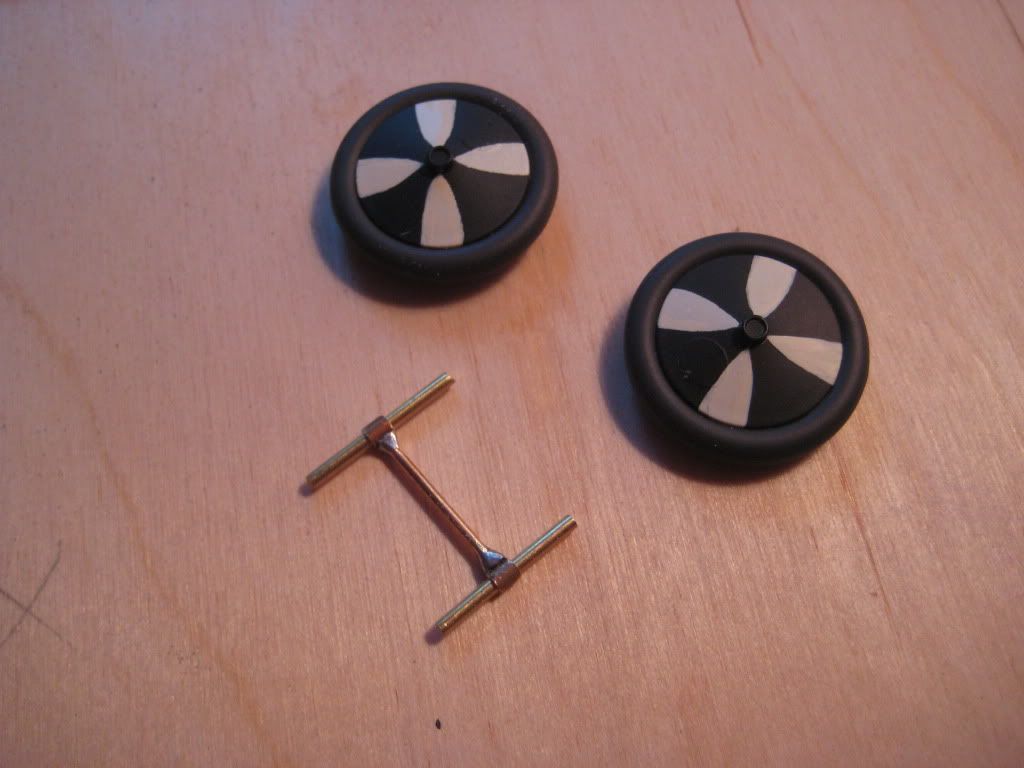
The bracket tubes rest on the cabane struts, which meet in an inverted V along the centerline of the fuselage. Here is another pic of the mounting bracket and wing pins, with the wheels thrown in to show relative size:

I couldn't resist doing the crosses on the wheels, as I do not have any other aircraft models like that. It appears from photos that the AH air service employed this wheel motif frequently, and I have several pictures of Series 82 Lloyds with such wheels. I like them.

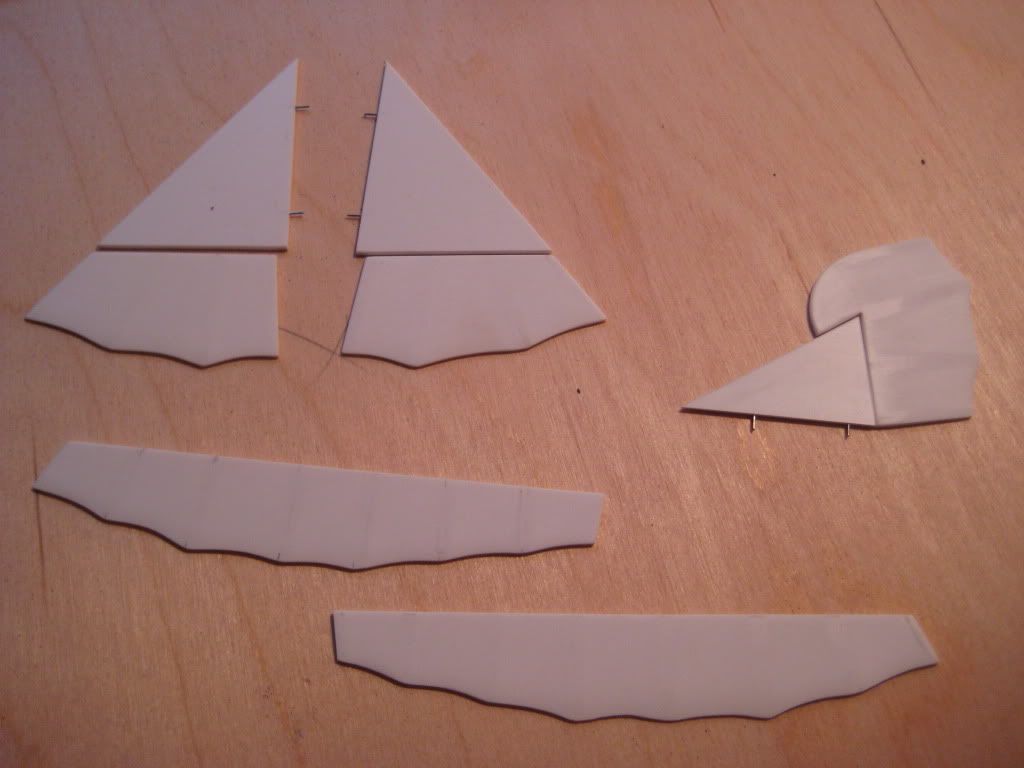
The flying surfaces are now ready for paint. Although it's hard to see in the photos, I sanded between the ribs, and the surfaces feel and appear slightly scalloped. I will accentuate that with paint and weathering.

That's all for now. We are babysitting my daughter's 14-week old Black Lab puppy for another week, so progress will be slow--the puppy is a real handful and takes lots of what used to be free time!

. . . but she's really cute.

Cheers,
Bob