Author Topic: WNW 1/32nd Bristol F2b "McKeever"  (Read 31078 times)

Offline Whiteknuckles

  • Hero Member
  • *****
  • Posts: 1334
Re: WNW 1/32nd Bristol F2b "McKeever"
« Reply #45 on: December 25, 2012, 08:46:08 AM »
Excellent pit Lance - the quiche is obviously not doing any harm!!

Andrew
Eternal Apprentice

Offline Chris Johnson

  • Hero Member
  • *****
  • Posts: 1959
Re: WNW 1/32nd Bristol F2b "McKeever"
« Reply #46 on: December 25, 2012, 09:48:12 AM »
Think I'll "bin" the Christmas Eve Shrimp Linguine and pop a Quiche in the oven before the Missus gets home...............

Did you pick up a taste for Quiche at the hunt camp?  :o ;D

Cheers,

Chris
You can have it good; You can have it fast; you can have it cheap. Pick any two, but all three are impossible.

Offline lcarroll

  • Administrator
  • Hero Member
  • ******
  • Posts: 8567
Re: WNW 1/32nd Bristol F2b "McKeever"
« Reply #47 on: December 25, 2012, 12:00:48 PM »
Think I'll "bin" the Christmas Eve Shrimp Linguine and pop a Quiche in the oven before the Missus gets home...............


Did you pick up a taste for Quiche at the hunt camp?  :o ;D

Cheers,

Chris

Ouch! I'll stop all this prattle now! (and ditch the Pink Cutting Pad as well!)
Cheers,
 Lance  :o ???

Offline Dal Gavan

  • Sr. Member
  • ****
  • Posts: 469
Re: WNW 1/32nd Bristol F2b "McKeever"
« Reply #48 on: December 25, 2012, 07:29:48 PM »
Pink cutting mat or not, Lance, it's looking very bloody good, mate.  Keep up the good work.

Dal.

PS  This sudden fixation on quiche and pink of theirs?  A bit sus, isn't it?  :D

Offline mgunns

  • Hero Member
  • *****
  • Posts: 2255
Re: WNW 1/32nd Bristol F2b "McKeever"
« Reply #49 on: December 26, 2012, 04:31:51 AM »
No worries Lance;

Remember:  Real men do eat quiche and.........like it.  Merry Christmas and don't take the 12 ga. to it just yet. 

Best

Mark
Mark

We few, we happy few.....

Offline lcarroll

  • Administrator
  • Hero Member
  • ******
  • Posts: 8567
Re: WNW 1/32nd Bristol F2b "McKeever"
« Reply #50 on: February 09, 2013, 06:48:22 AM »
    Hard to believe it's been 6 weeks since my last update; time at the Model desk has been at a premium of late! Finally I do have some progress to post, the engine assembly is more or less complete. I found this part to be a bit of a "bear", lots of conflicting reference material and many challenges. Since there were 3 separate versions of the Rolls Royce Falcon used on the aircraft there appears to be a larger number of plumbing layouts employed. This one is my best guess at the common layout for, despite a wealth of reference photos and assistance from Des with even more photos, the confusion still remains. Also many of the photos I found were of Falcons on stands, removed from the aircraft, and missing various lines.
   Overall, if I did it again, I would incorporate less detail, as I'll admit freely that this sub-build was not only a bit painful, but also exceeded my talent level. I'm happy with the overall effect however "clean" this is not, even under the guise of dirtying and weathering. Not being the sensitive type I'll accept any and all constructive comments and suggestions. There's lots to be learned from the experience here, and I'm wide open to that!
   First, I elected to complete the engine as a separate module to be added to the airframe on final assembly. With my fat fingers the potential for disaster during assembly or rigging is at an all time high. The components including frame, radiator, and engine proper were prepped in the usual manner and as much pre-assembly painting as possible was done. The aim is to display this beast with the engine panels removed, however I may install just the right side panels, that option can be employed at any time.
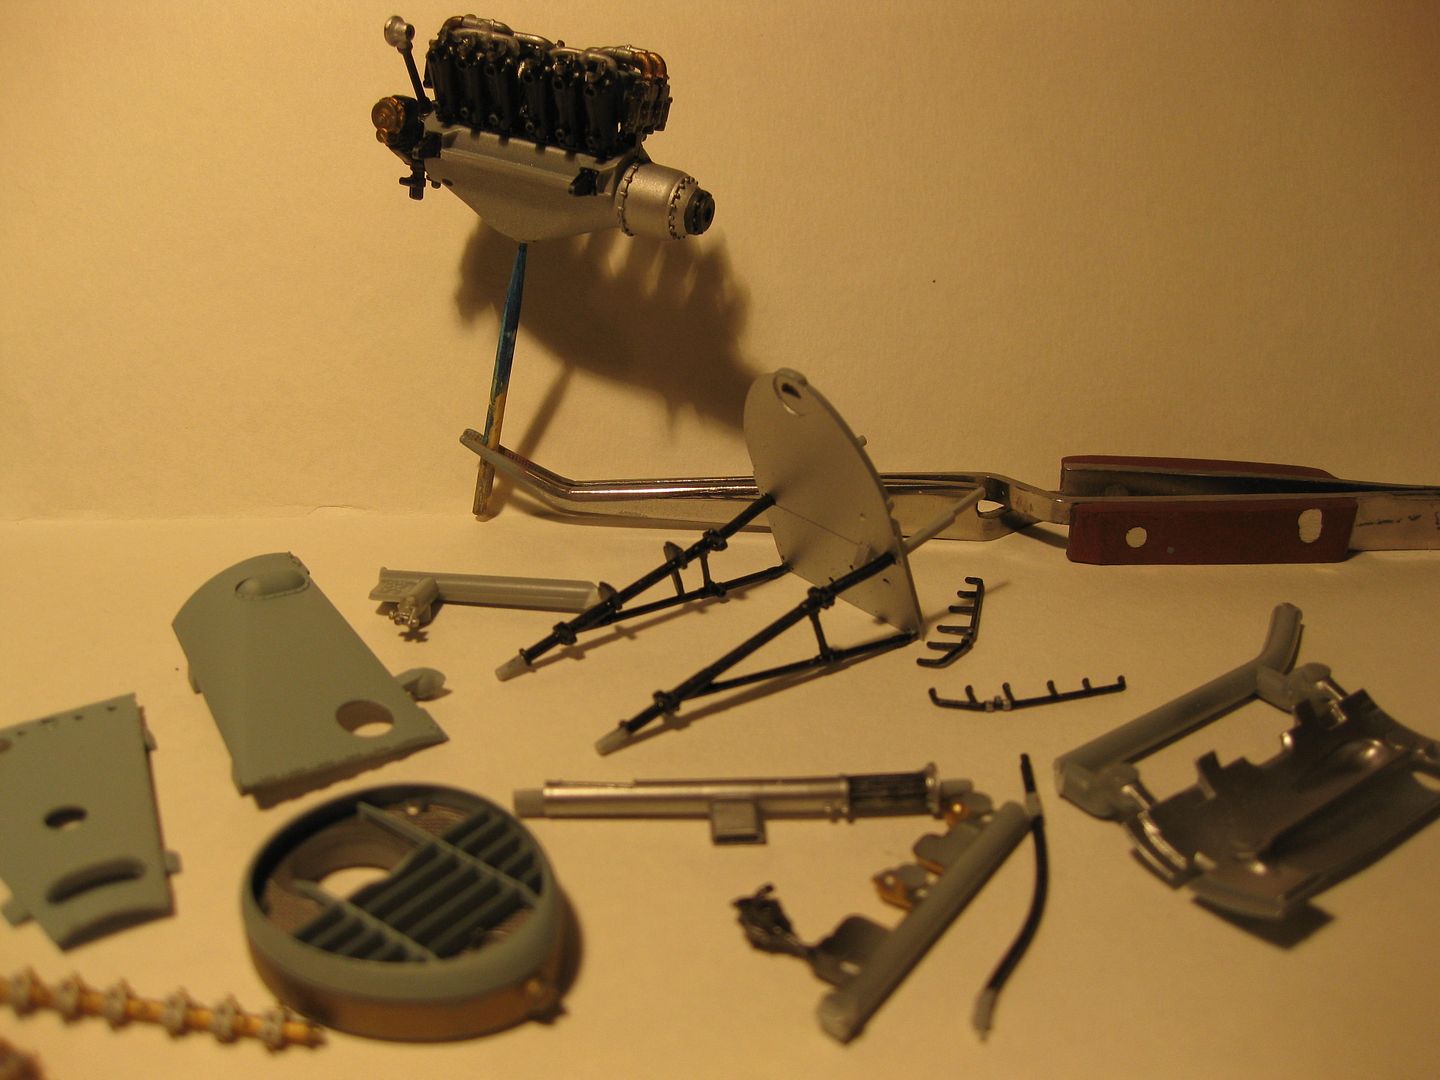
Assembly proper commenced with the basic engine component ready for the ignition harness addition. I recently discovered Alclad paints so a lot of the components have this metalic finish. Great product but without a sealing or overcoat rubs off at a disasterous rate!


   Next copper ignition wires were installed on the mags, #80 holes being pre drilled and thin CA used to attach the individual wires. I discovered two distinct methods of Mag wiring, the one I used had the two bundles of six attached to their own sides of the mag, some photos showed three of each combined per side and then bundled as a "six pak" above the magnetos.

   Note the Alclad Brass rubbed off on the photo above, since touched up (many times!) The assembly was then installed on the back of the engine block for routing to the plugs etc. At this point the wires were painted with a beige enamel.

   At this point things were going quite well. I'll follow this with a second update immediately as I'm concerned with my computer or router locking up. The joys of country living!
Cheers,
Lance

Offline Des

  • Administrator
  • Hero Member
  • ******
  • Posts: 9325
    • ww1aircraftmodels.com
Re: WNW 1/32nd Bristol F2b "McKeever"
« Reply #51 on: February 09, 2013, 07:08:19 AM »
Good to see you back on track with your build Lance, and what you have shown today is very impressive, the engine turned out well, it will be interesting to see it once that mass of wires are fitted. Looking forward to seeing more progress on this model.

Des.
Late Founder of ww1aircraftmodels.com and forum.ww1aircraftmodels.com

Offline lcarroll

  • Administrator
  • Hero Member
  • ******
  • Posts: 8567
Re: WNW 1/32nd Bristol F2b "McKeever"
« Reply #52 on: February 09, 2013, 07:30:53 AM »
   Update continued.......
The spark plugs being all but completely hidden I painted them gloss white and then drilled a #80 hole immediately behind each to recieve the plug wires. The wires were routed per the reference photos and CA'ed into their respective holes. One thing I would do differently is to use tape as wire ties vs. the flattened lead wire I used which appears to me as being over scale. The mono lines visible in the photos are the cabane rigging wires which were pre-attached to the engine mounts.


   Next came the various oil and coolant lines of which I added over a dozen more then the kit included. I used a combination of lead wire, sprue, and copper wire for the various lines. On the bottom view several simply disappear into the "mass" around the oil pump as I couldn't find any detailed photos of the scheme. The engine frame was wired/braced prior to assembly.
   Bottom view:

Left side:

and right side:

    Also added above was the oil tank drain cock and the large oil supply line from the bottom of the tank to the oil pump at the rear bottom:

   At the front radiator section I scratched the Constantinesco Drive assembly and plumbing by the prop hub and the carburettor drain pipe tap on the bottom of the radiator (some references had the latter, others did not?)

   All that remains are the prop logos and the bellcrank for the radiator shutters (the hole in the nose cowl right side.) and weathering of the prop.

 I may do a little more weathering on the engine if only to disguise some of the gaffs! A lot of the dust apparrent in some photos has been cleaned up. As I've said before, I never know whether to curse or be thankful for the Machro Digital photos we use.
   Feedback always welcome. Now it's on to the wings and fuselage, never thought I'd look forward to a bout of PC10 but I can't wait for the change!
Cheers,
Lance

Offline coyotemagic

  • Hero Member
  • *****
  • Posts: 7710
  • "Here's to not buggering it up." -Winston Chuchill
    • My Models
Re: WNW 1/32nd Bristol F2b "McKeever"
« Reply #53 on: February 09, 2013, 07:51:48 AM »
Phenomenal detail on the engine, Lance.  I'm particularly impressed with your wire bundles.  Fantastic job.
Cheers,
Bud
"All men dream: but not equally. Those who dream in the dark recesses of the night awake in the day to find all was vanity. But the dreamers of day are dangerous men, for they may act their dreams with open eyes, and make it possible." -T. E. Lawrence

Offline rhallinger

  • Hero Member
  • *****
  • Posts: 1976
Re: WNW 1/32nd Bristol F2b "McKeever"
« Reply #54 on: February 09, 2013, 08:12:45 AM »
Impressive work Lance! ;D  Great to see you back at this one.  Ditto what Bud said above re: the wires!

Your metallics look superb.  Did you brush on the Alclad on the smaller parts? 

Keep up the great work! :)

Regards,

Bob

Offline bobs_buckles

  • Hero Member
  • *****
  • Posts: 3742
  • Freedom isn't free.
    • Bobs Buckles
Re: WNW 1/32nd Bristol F2b "McKeever"
« Reply #55 on: February 09, 2013, 08:17:21 AM »
Lovely work on the engine, Lance.
Keep going!

vB


https://www.bobsbuckles.co.uk/

Last Minute Man Of Faith

Offline Chris Johnson

  • Hero Member
  • *****
  • Posts: 1959
Re: WNW 1/32nd Bristol F2b "McKeever"
« Reply #56 on: February 09, 2013, 09:13:16 AM »


Wow! The time you spent on this engine has certainly paid dividends Lance. Your extra detailing is absolutely superb. I look at your wire ties and I just don't know how you managed to do it. You might think they look over scale but I sure don't. And then there's those magnetos! Nice clean work there my friend, especially as there are 12 wires per magneto. All in all, it looks as clean and busy as one would expect the real thing to be.

Cheers,

Chris

P.S. With all of this under your belt, how would you feel about doing the same to my engine if I was to send it to you?  ;D
You can have it good; You can have it fast; you can have it cheap. Pick any two, but all three are impossible.

Offline mgunns

  • Hero Member
  • *****
  • Posts: 2255
Re: WNW 1/32nd Bristol F2b "McKeever"
« Reply #57 on: February 09, 2013, 11:46:03 AM »
Hi Lance:

I have to add my $00.02 as well.  The spark plug harnesses really look the business Lance, and as Chris mentioned I don't think the harness ties look over scale either, well maybe a little thick, but; the camera catches that, the eyes won't.  This will certainly be an eye catcher and the focal point of this model. 
Glad to see you back at it and look forward to more as you progress.

Best

Mark
Mark

We few, we happy few.....

Offline lcarroll

  • Administrator
  • Hero Member
  • ******
  • Posts: 8567
Re: WNW 1/32nd Bristol F2b "McKeever"
« Reply #58 on: February 09, 2013, 12:58:45 PM »
   Thanks everyone for the kind words.
   Rhallinger, I tried some brush touch ups on the brass pieces and, other then covering the wear areas on the magnetos and lifter assemblies (very small areas) it did not turn out well. In fact I had to re-mask the radiator one last time right at the end and spray it again as the brushed on repairs looked Gawd-awful! It's wonderful stuff but I havn't seen any sealer, anyone got any info on what works well as a top coat or protective finish?
   As for your request re: your engine Chris, "YOYO" which in my flying days meant "you're on your own"!!
Cheers,
Lance

Offline mgunns

  • Hero Member
  • *****
  • Posts: 2255
Re: WNW 1/32nd Bristol F2b "McKeever"
« Reply #59 on: February 09, 2013, 11:31:29 PM »
Hello Lance:

For sealing the metalizer paints you are using, you can try Testors Metalizer sealer.  What has always worked for me is good old Future.  I always apply it with a Q Tip or as you say a "cotton bud".  It sounds as if air brushing might be the option with what you are using as the finish seems to be quite delicate.  Once the Future is dry, which isn't a very long time, you can handle it with ruining the finish.  There is a bit of luster loss, but you won't have to worry about it whisking away when you touch it.

Good Luck

Mark
Mark

We few, we happy few.....