Thank you Rick, Alexis, KiwiZac and Ernie!
More work done and the fuselage is closed.
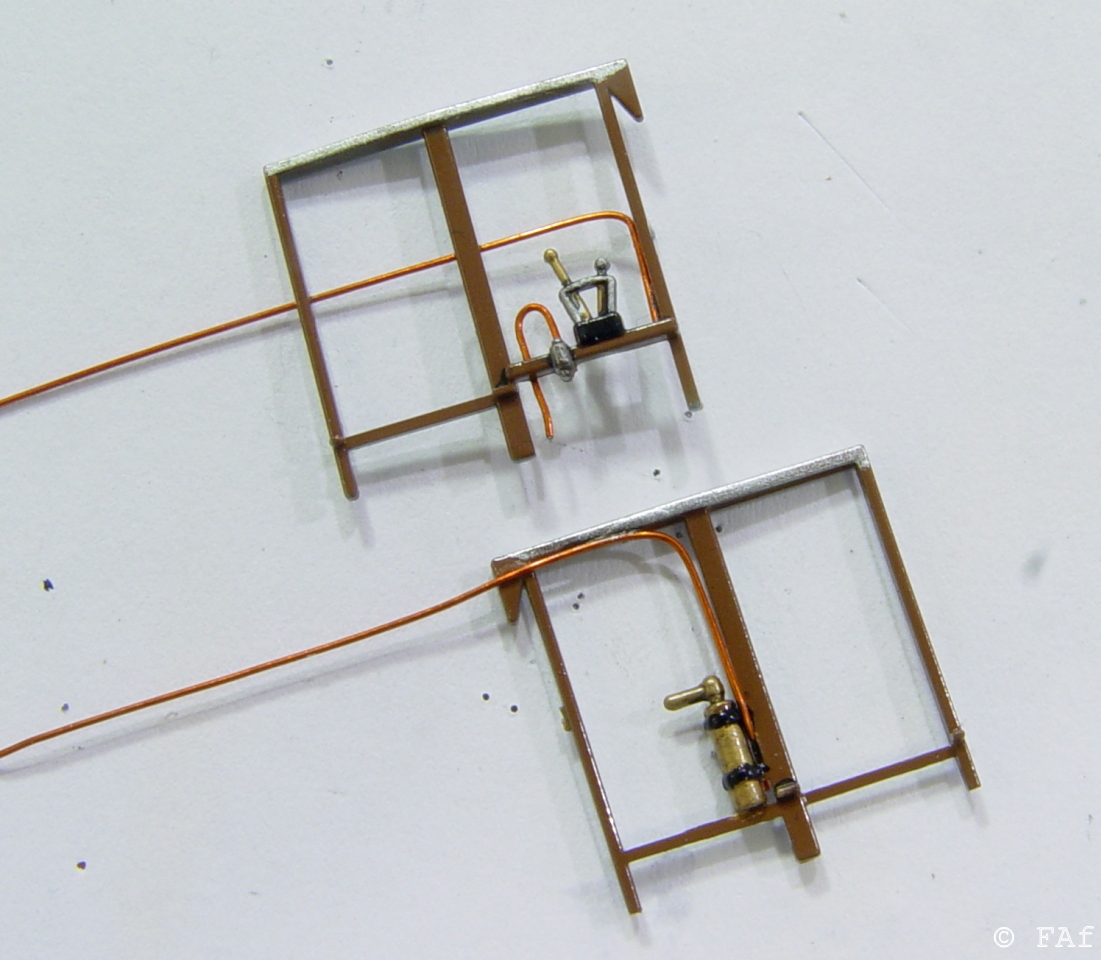
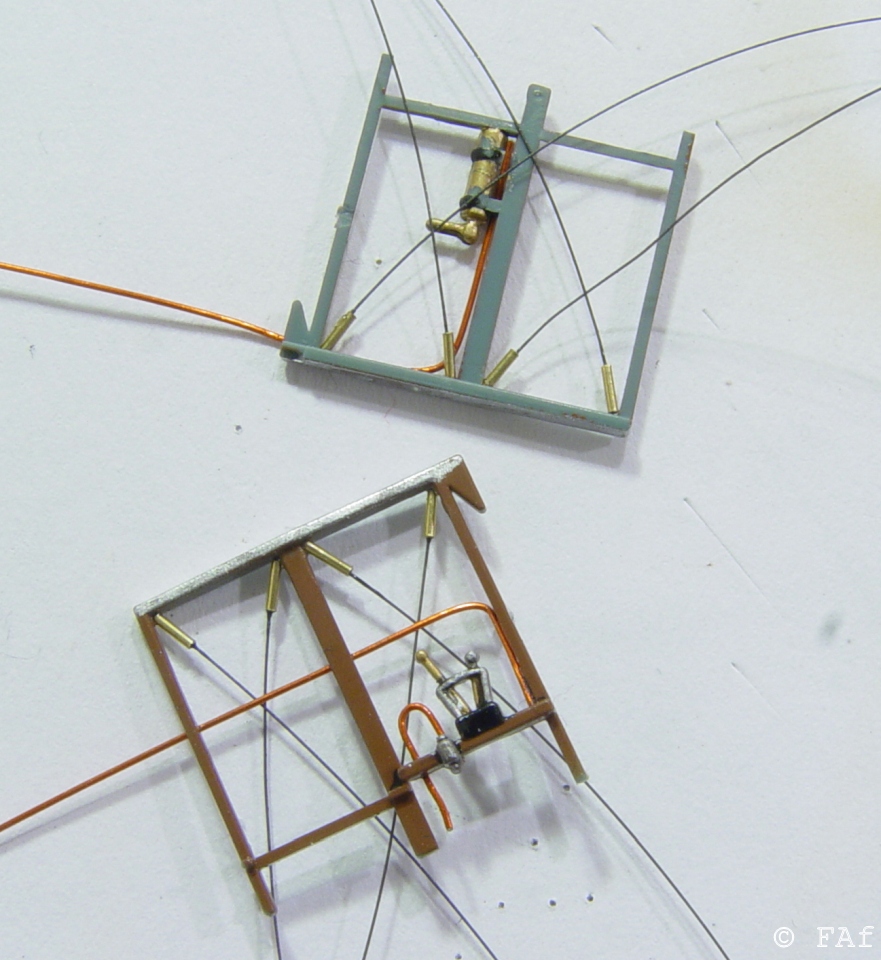
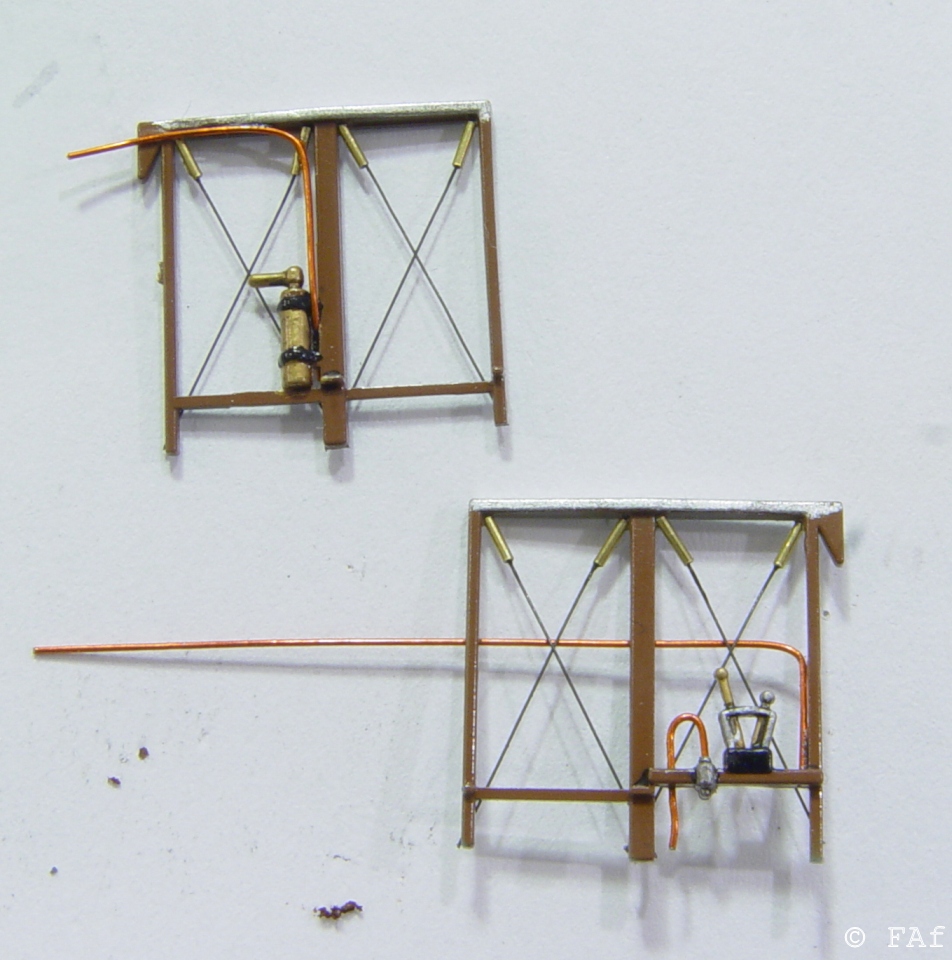
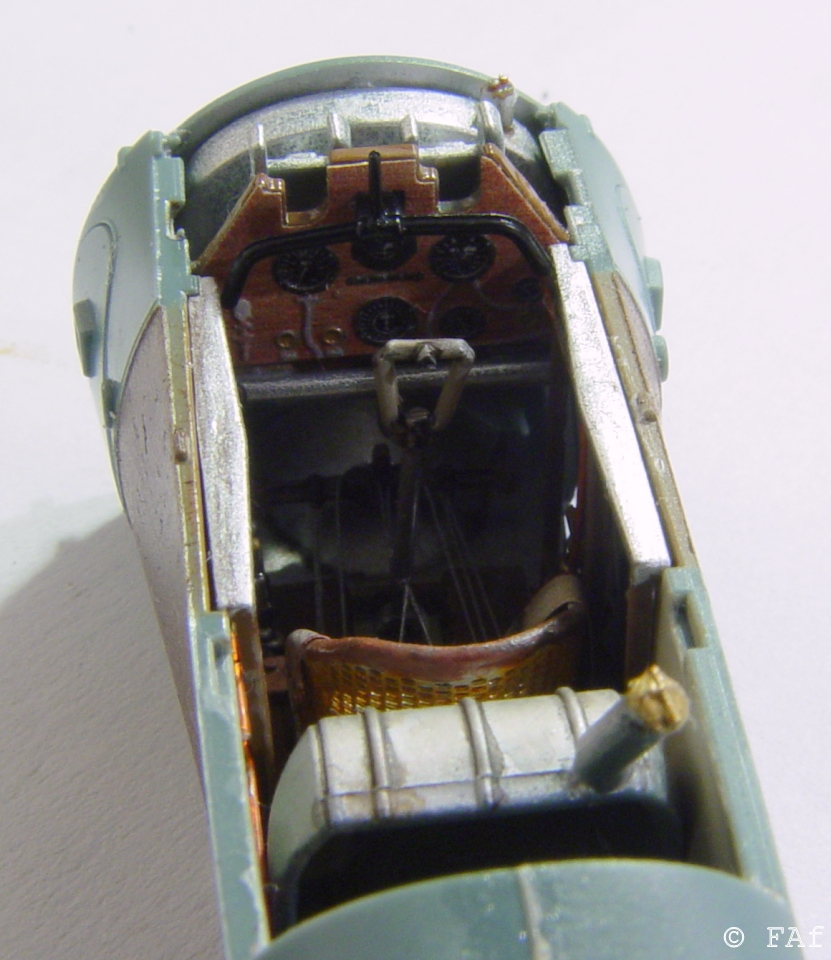
Some internal rigging done. No drilling, just some 2 mm brass tubing from Bob's Buckles and fishing line painted with Vallejo Steel and everything superglued into place.
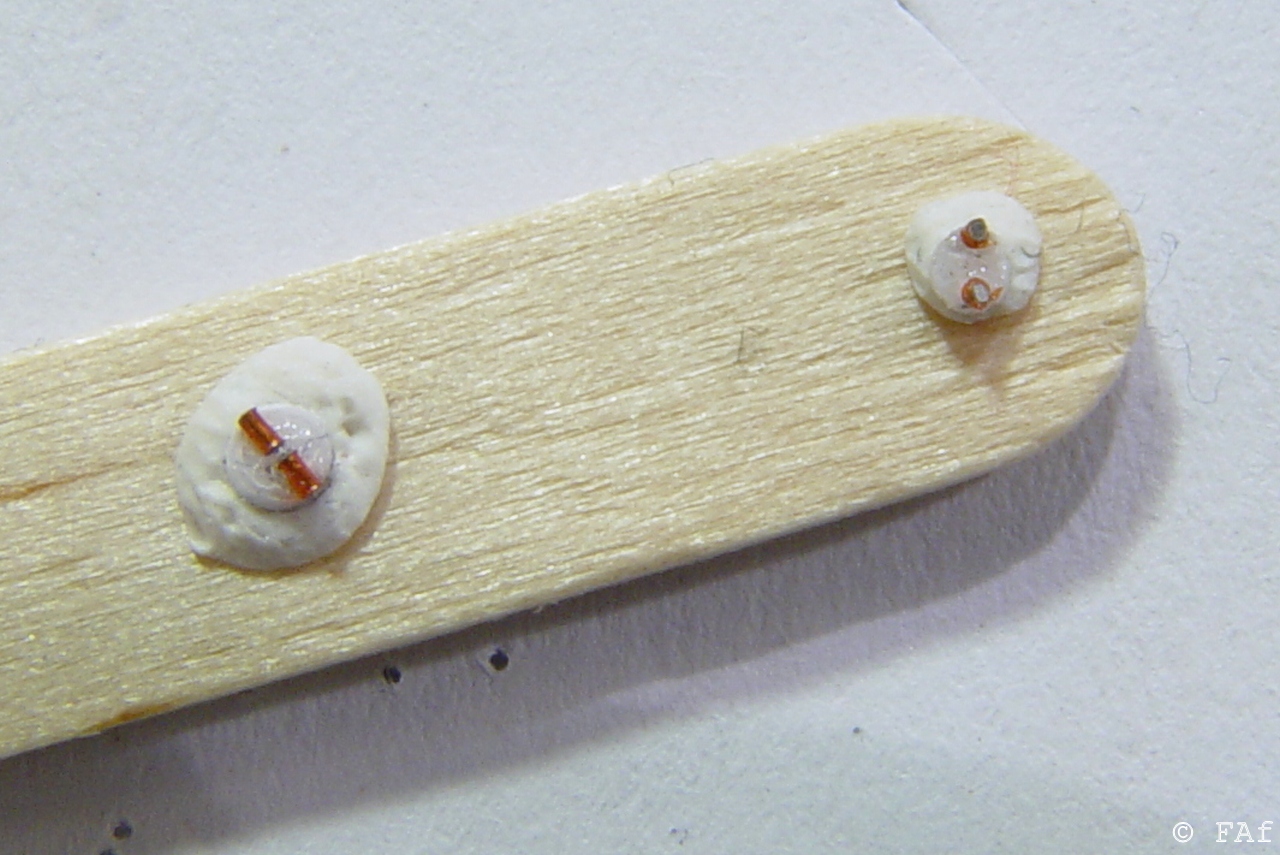
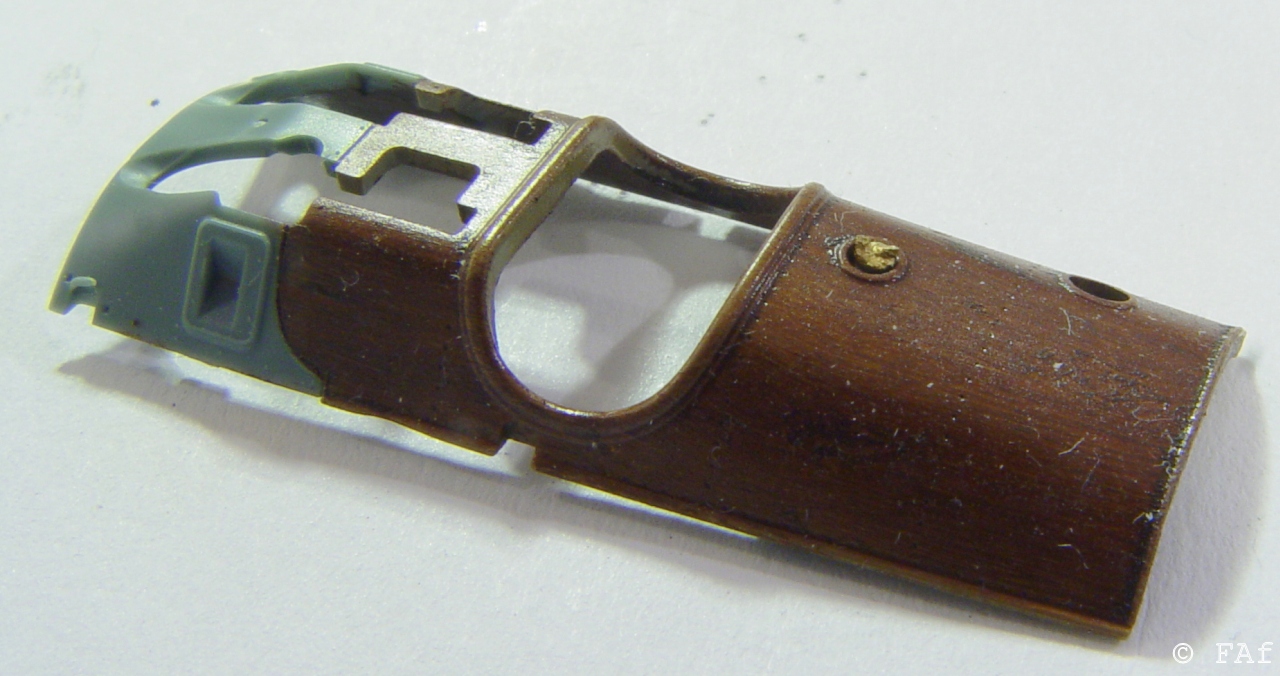
Then there were those caps. Whenever Frank shows his work, and alot of others too, it always looks nice and clean... this, not so.much! 😀 But I'm quite happy with it after paint and in place. But please ignore all those dust particles. I'll have take care of them later, and the camera tends to exaggerate them a bit.
After that it was time to close the fuselage. At this point you're beginning to see how little that will be visible of the innards, but we all know it's there.
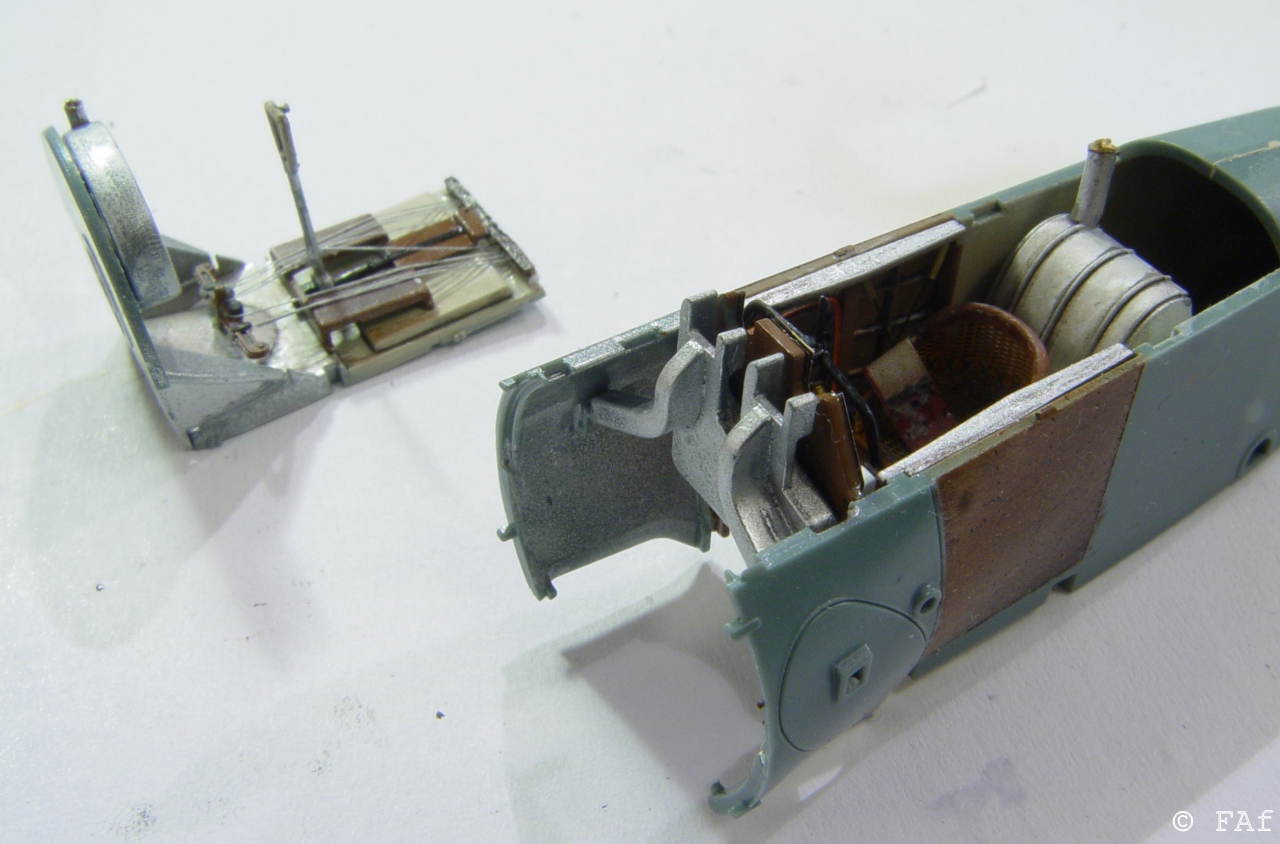
Eduard tells you not to glue the seat and tank frame or the IP to both sides of the fuselage. That is because you need to be able to flex the front end open a bit in order to insert the firewall and fuselage bottom. Works like a charm though, even if I managed to get a bit of a fingerprint onto the bottom part.

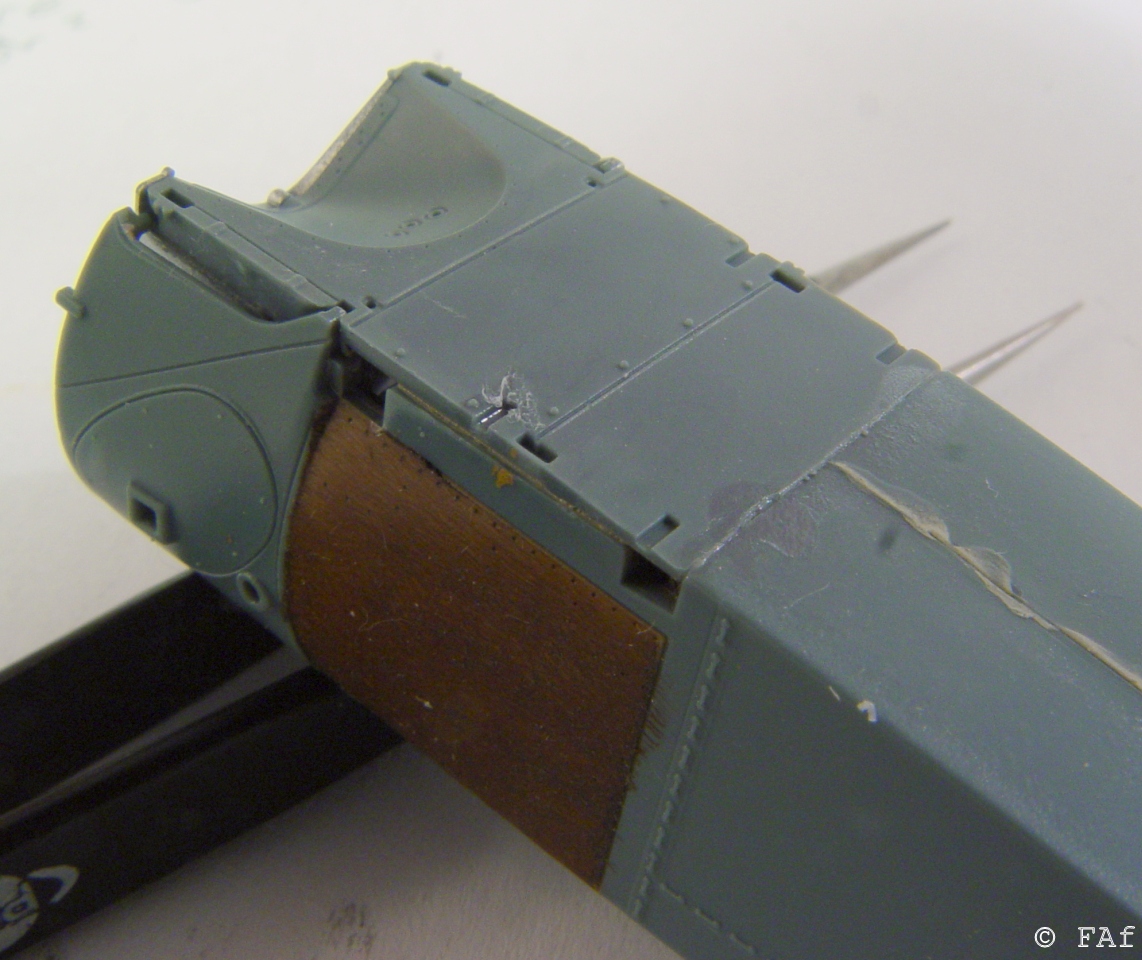
And with the top placed, but not glued, in position. Next step... probably preparing wings and control surfaces for rigging.

/Fredrik

