HI Everyone,
After completing my first 1/32 biplane, thoughts of my second have never been far away. So, finally I've begun. I started a few days ago by laying some primer down in places, then detailing the inner fuselage wood grain in an experimental manner. The result was less than I had hoped, but since the external fuselage will have no wood grain, I feel no compulsion to redo the interior.

Then today I devoted most of the day to the engine. The only changes I made to the engine was to add Ignition wires and tape the carburetor pipes. After a painful lesson with my Roden D.III I thinned the intake pipes before adding the tape this time.

With my airbrush I painted the assembled engine with Alclad polished aluminum. Then I used washes to add colors. I wanted to give the black cylinders the look of parts that have been chemically treated instead of painted. The "browned" effect on the rocker boxes was done to mimic pictures I've seen. Likewise the weathering effects were all done with tube acrylics thinned with water. The detail painting was done either in tube acrylic or Tamiya enamels. I did a lot of work that will never show, but I enjoyed doing it anyway.
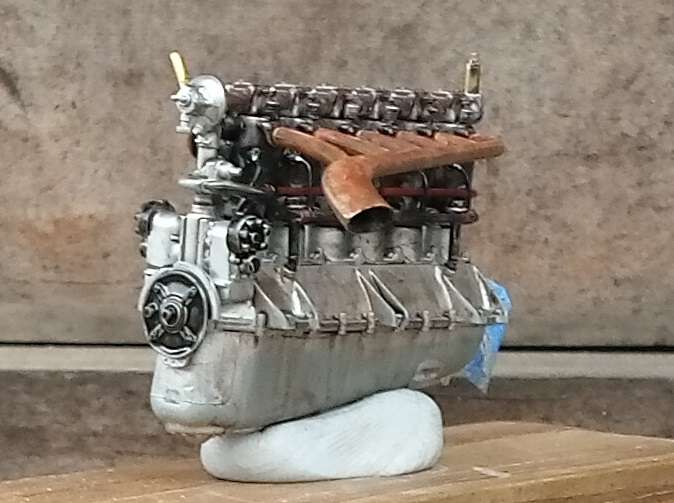
Many of you do great things with all of those wires coming from the magnetos, but I have to admit that I can't see myself completing that part successfully.
The exhaust pipe was also weathered with various washes to get a somewhat heated metal effect. Later, I will use some pigments to add a bit of blackening. It's all very experimental at this point as I work on new methods.
Thanks for looking!
Gaz

