Thanks for all the positive comments. Hopefully others can use some of the ideas here.
Update for Feb 25
Getting more time to work on this. It's getting interesting now with more details being fabricated.
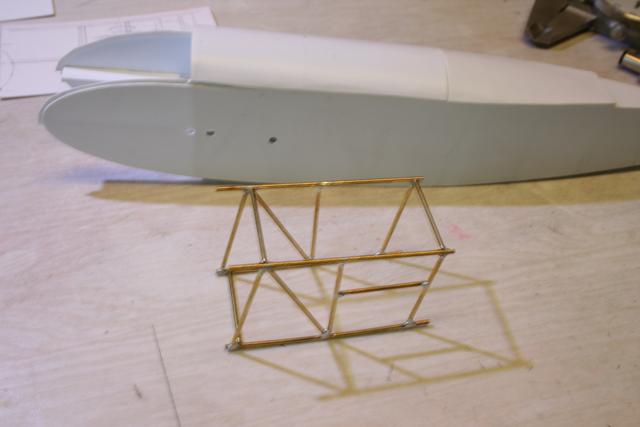
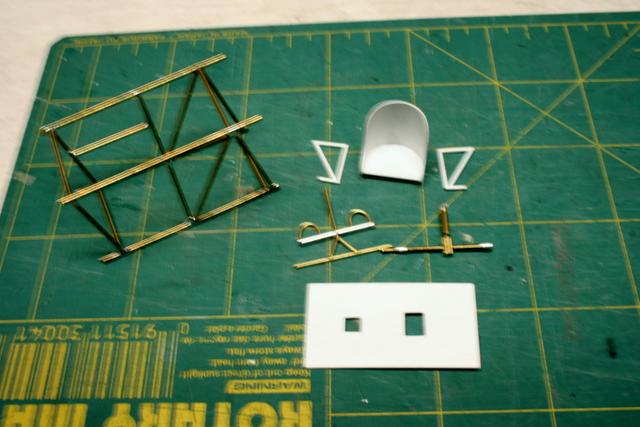
A little cutting, a little soldering, a little filing, and you have the framework for the cockpit.
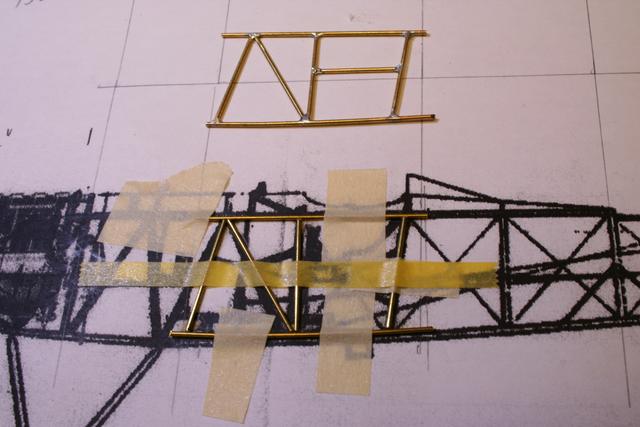
The sides are soldered. The cross pieces are CA glued. Didn't want to screw up the soldering on the sides by trying to solder the cross pieces in.
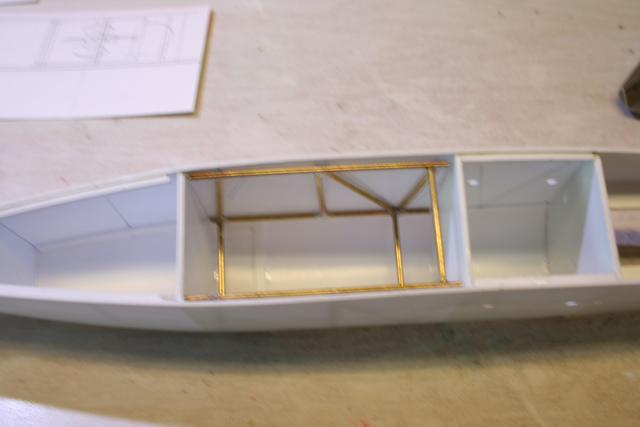
It even fits!
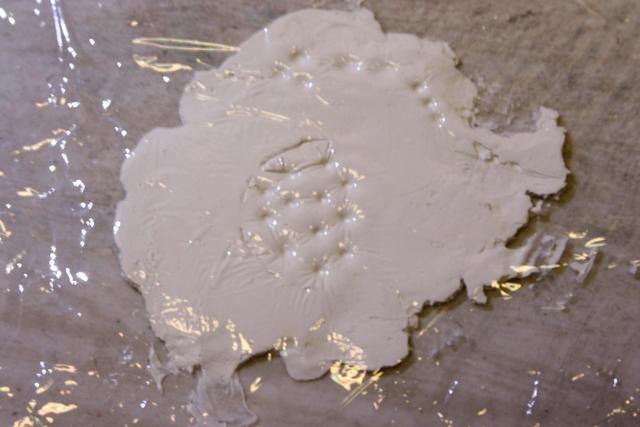
Making a seat cushion. Rolled out some Milliput about 1.5 mm thick. Cover with plastic food wrap. Poke it with a toothpick. Let it cure.
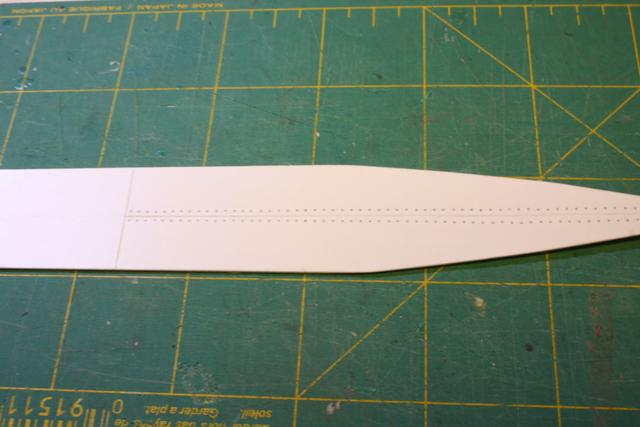
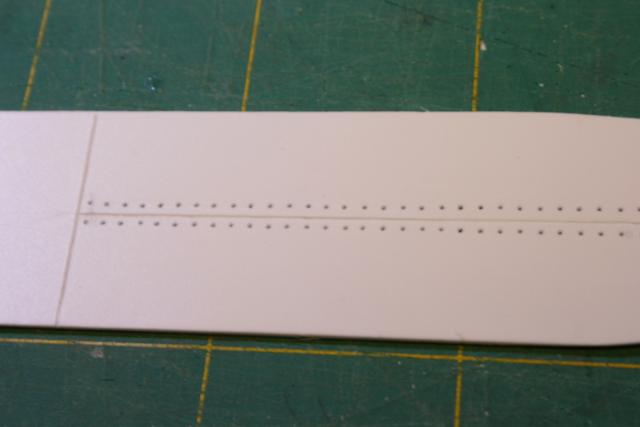
The bottom of the fuse will have monofilament stitching.
Getting on with the cockpit doohickeys.
I'm working in a roundabout fashion, jumping from one thing to another in random order. The wings and tail surfaces still need detailing.
I'll have to start painting soon.
Sorry for the blurry pics. I am hand holding the camera for long exposures.

