Evening All,
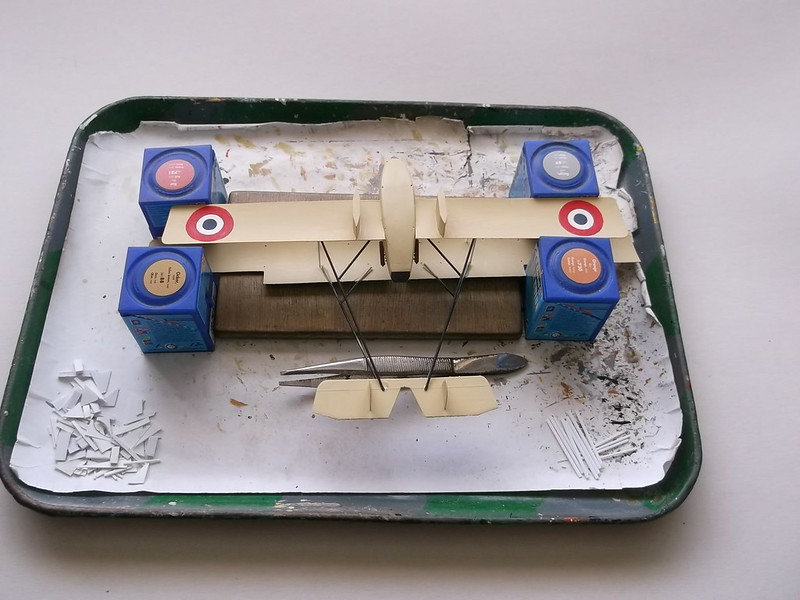
Thanks Ian, Ondra, Rick, Des, Old Man, Juan and Lance for your kind rekmarks. Lance here is another of my home made jigs - note the great care with which the various components were selected from what was available within arm's reach.......
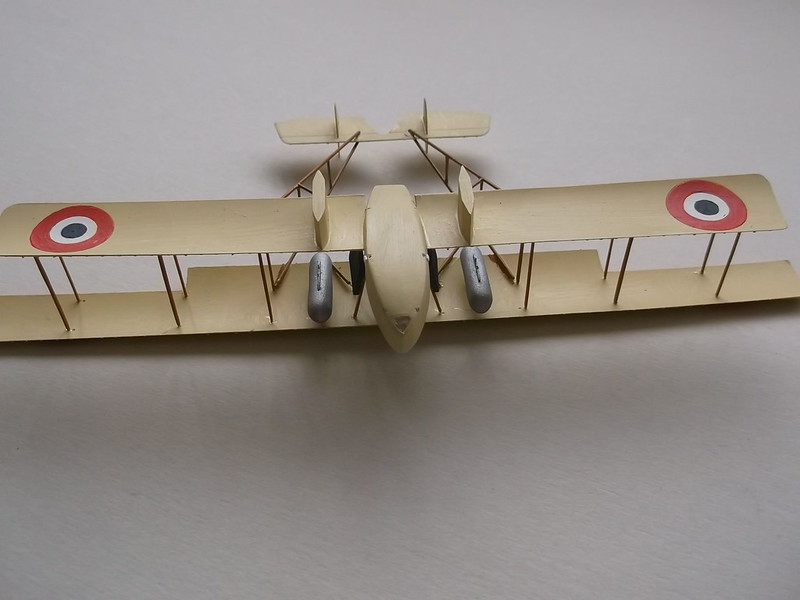
The exhausts were the first thing to go on after the painting: they were made from rod and glued into the holes in the rear fuselage where I had added extra card in the interior to make the sides stronger. The oil or fuel tank, (not sure which - does anyone know for sure?) above the rear fuselage was made from thick sprue filed and sanded into shape.
The top wing and tail unit were next. The procedure is one that I have used many times before in that I glued the inner wing struts to the lower wing and while these were still flexible I placed the top wing on to them. The tail unit was slid into place between the rear of the booms: I had already put drops of superglue on to the ends of the booms so the tail unit had to be placed carefully before the boom ends were pulled together. The whole was jigged while the wing struts dried out.

After drying out overnight it was relatively easy to add the remaining wing struts, followed by the cabanes and finally the vertical boom struts. I also glued the radiators on to the cabanes at this stage as they were relatively easy to get to.
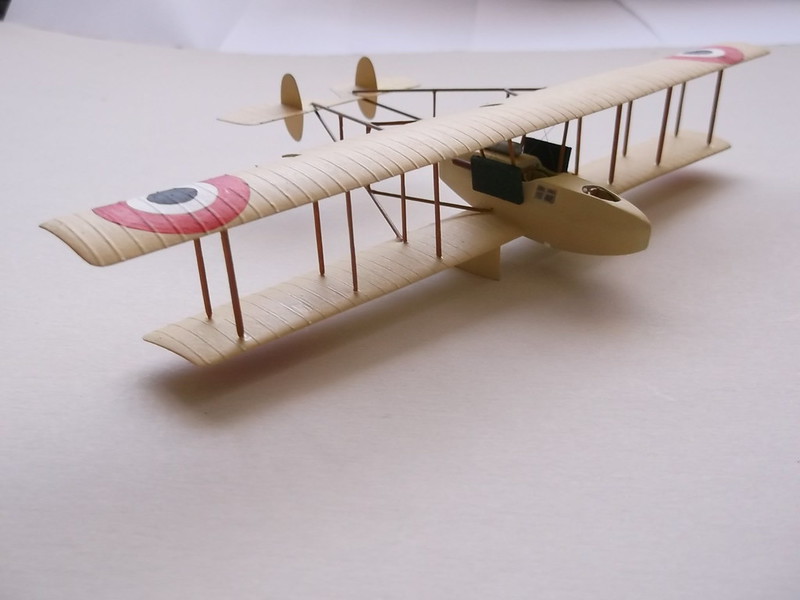

With the wing and booms now firm and strong I could add the large fuel tanks under the top wing.
Undercarriage next.
Thanks for looking.
Stephen.

