Evening All,
Thanks Ian, Richard, Rick, OM, Scott and Juan for dropping by and leaving such kind remarks. Thanks especially to Richard for the plans: those were actually of the Br 4 (or at least I think that is the correct designation: it was the fighter version of this machine, and the designations are a bit complicated but I believe that I am correct with the numbering).
There has been a bit of a delay with this project as I have struggled to restore pictures to my posts.... I am sure that you will know what I am referring to. Anyway I have managed to make some real progress over the weekend and did some last touches the other night so that I can post something that is, I hope, worth seeing.
I joined the fuselage halves having inserted the windows in the sides first. These were made from thin acetate from an old Airfix bubble wrap. The windows were secured with super glue: I did not add much extra detail inside the fuselage as most of it cannot be seen anyway. The lower wings were glued to the fuselage nacelle and all of the the joints cleaned up with filler and a little sanding - not much was needed as the sides of the fuselage moulded rather well this time. I drilled holes for the exhaust pipes in the rear sides of the nacelle and for struts in the wings. The next step was to put on the booms which I make at this stage as it ensures that they fit exactly and do not have to be adjusted at a later and more delicate stage. My method is as follows for those who have not seen it before:
I start by cutting pieces of florists wire to length. I use this as it is malleable and easy to straighten if it gets bent but it is also rigid enough not to sag or bend under any weight from tail units etc. I then file two shallow grooves into the wings where the wires will be attached at a later stage.
I calculate the angle that the booms need to be in relation to the trailing edges of the wing and make up a simple jig to support the tail end of the booms.
I lay the wing on to a plan and align the wire booms with the plan., putting the ends of the wires over the wing trailing edges in the position that they will eventually be fixed, and on to the jig at the rear end.
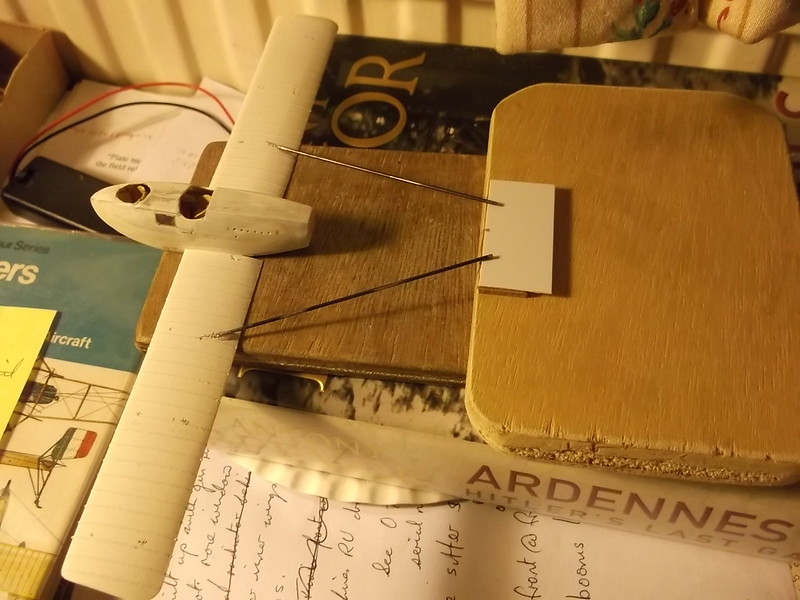
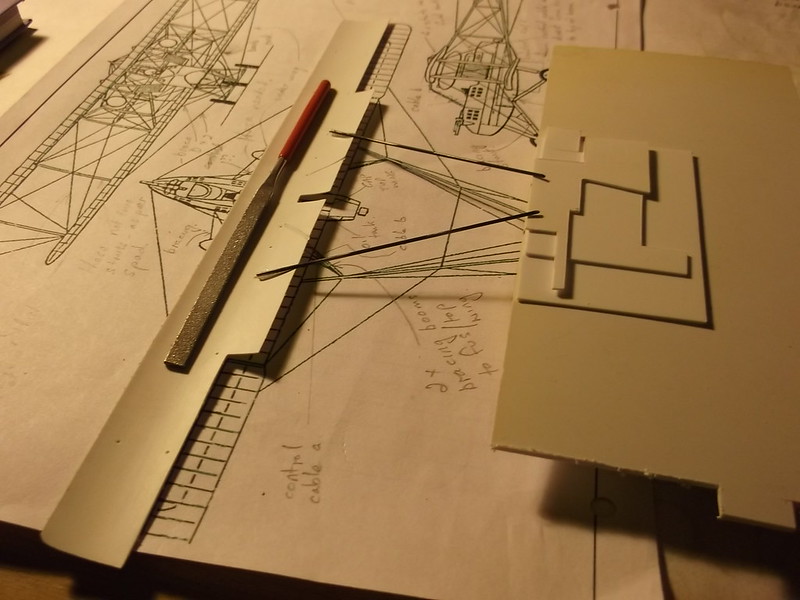
When I am satisfied that all is ready I mix some expoxy rapid glue and attach the front ends of the booms to the trailing edges of the wings, lay the wings and booms on the plans to get the alignment correct, and support the rear ends of the booms on the jig. I leave everything for at least 12 hours to harden.
Here is the bottom wing boom assembly with its jig. Note that I have not used the plan in this case as I marked on to the piece of plastic card the positions of the centre line of the aircraft and the booms:

Next is the top wing boom and jig set up, this time over the plan. The file was put on to the wing to hold it down:

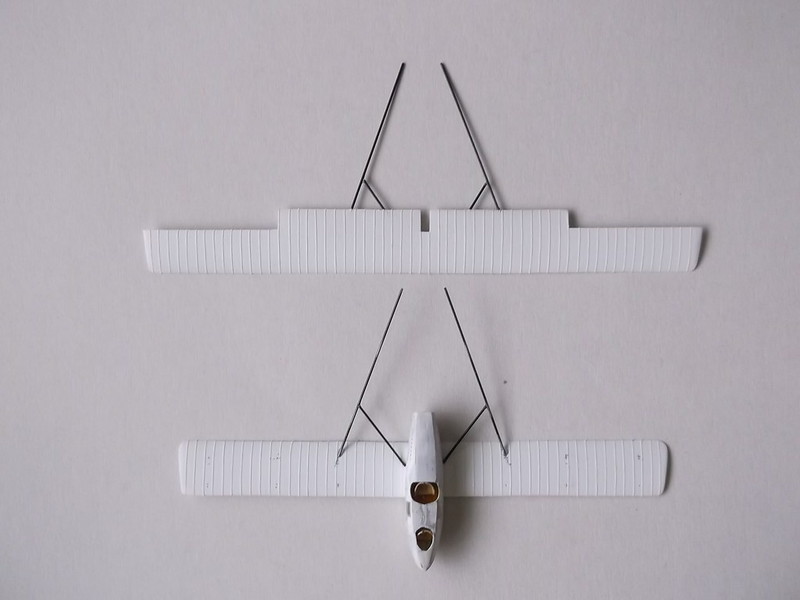
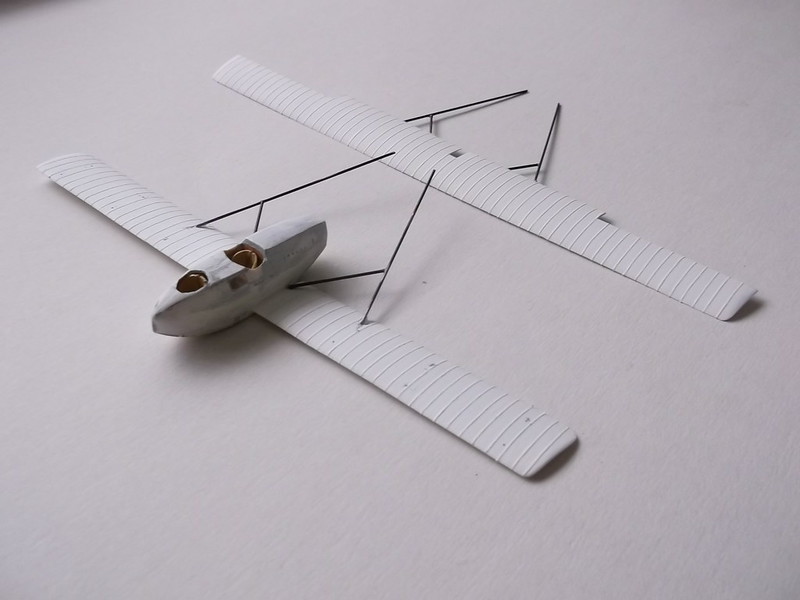
The Breuget booms were different to most pushers because they had short horizontal struts to help improve the strength of the structures: these were put in place with superglue once the main parts were thoroughly set:


Now the booms are in place I can proceed with the painting and markings, which will be hand painted.
Thanks for looking.
Stephen.