Evening All,
Thanks to Malaula, Ondra, Edgar, Toby, Ian, Steve and Rick for your kind remarks. Yes Malaula the fuselage is going to present a challenge but then there is no point in building something unless there is a challenge somewhere along the line!
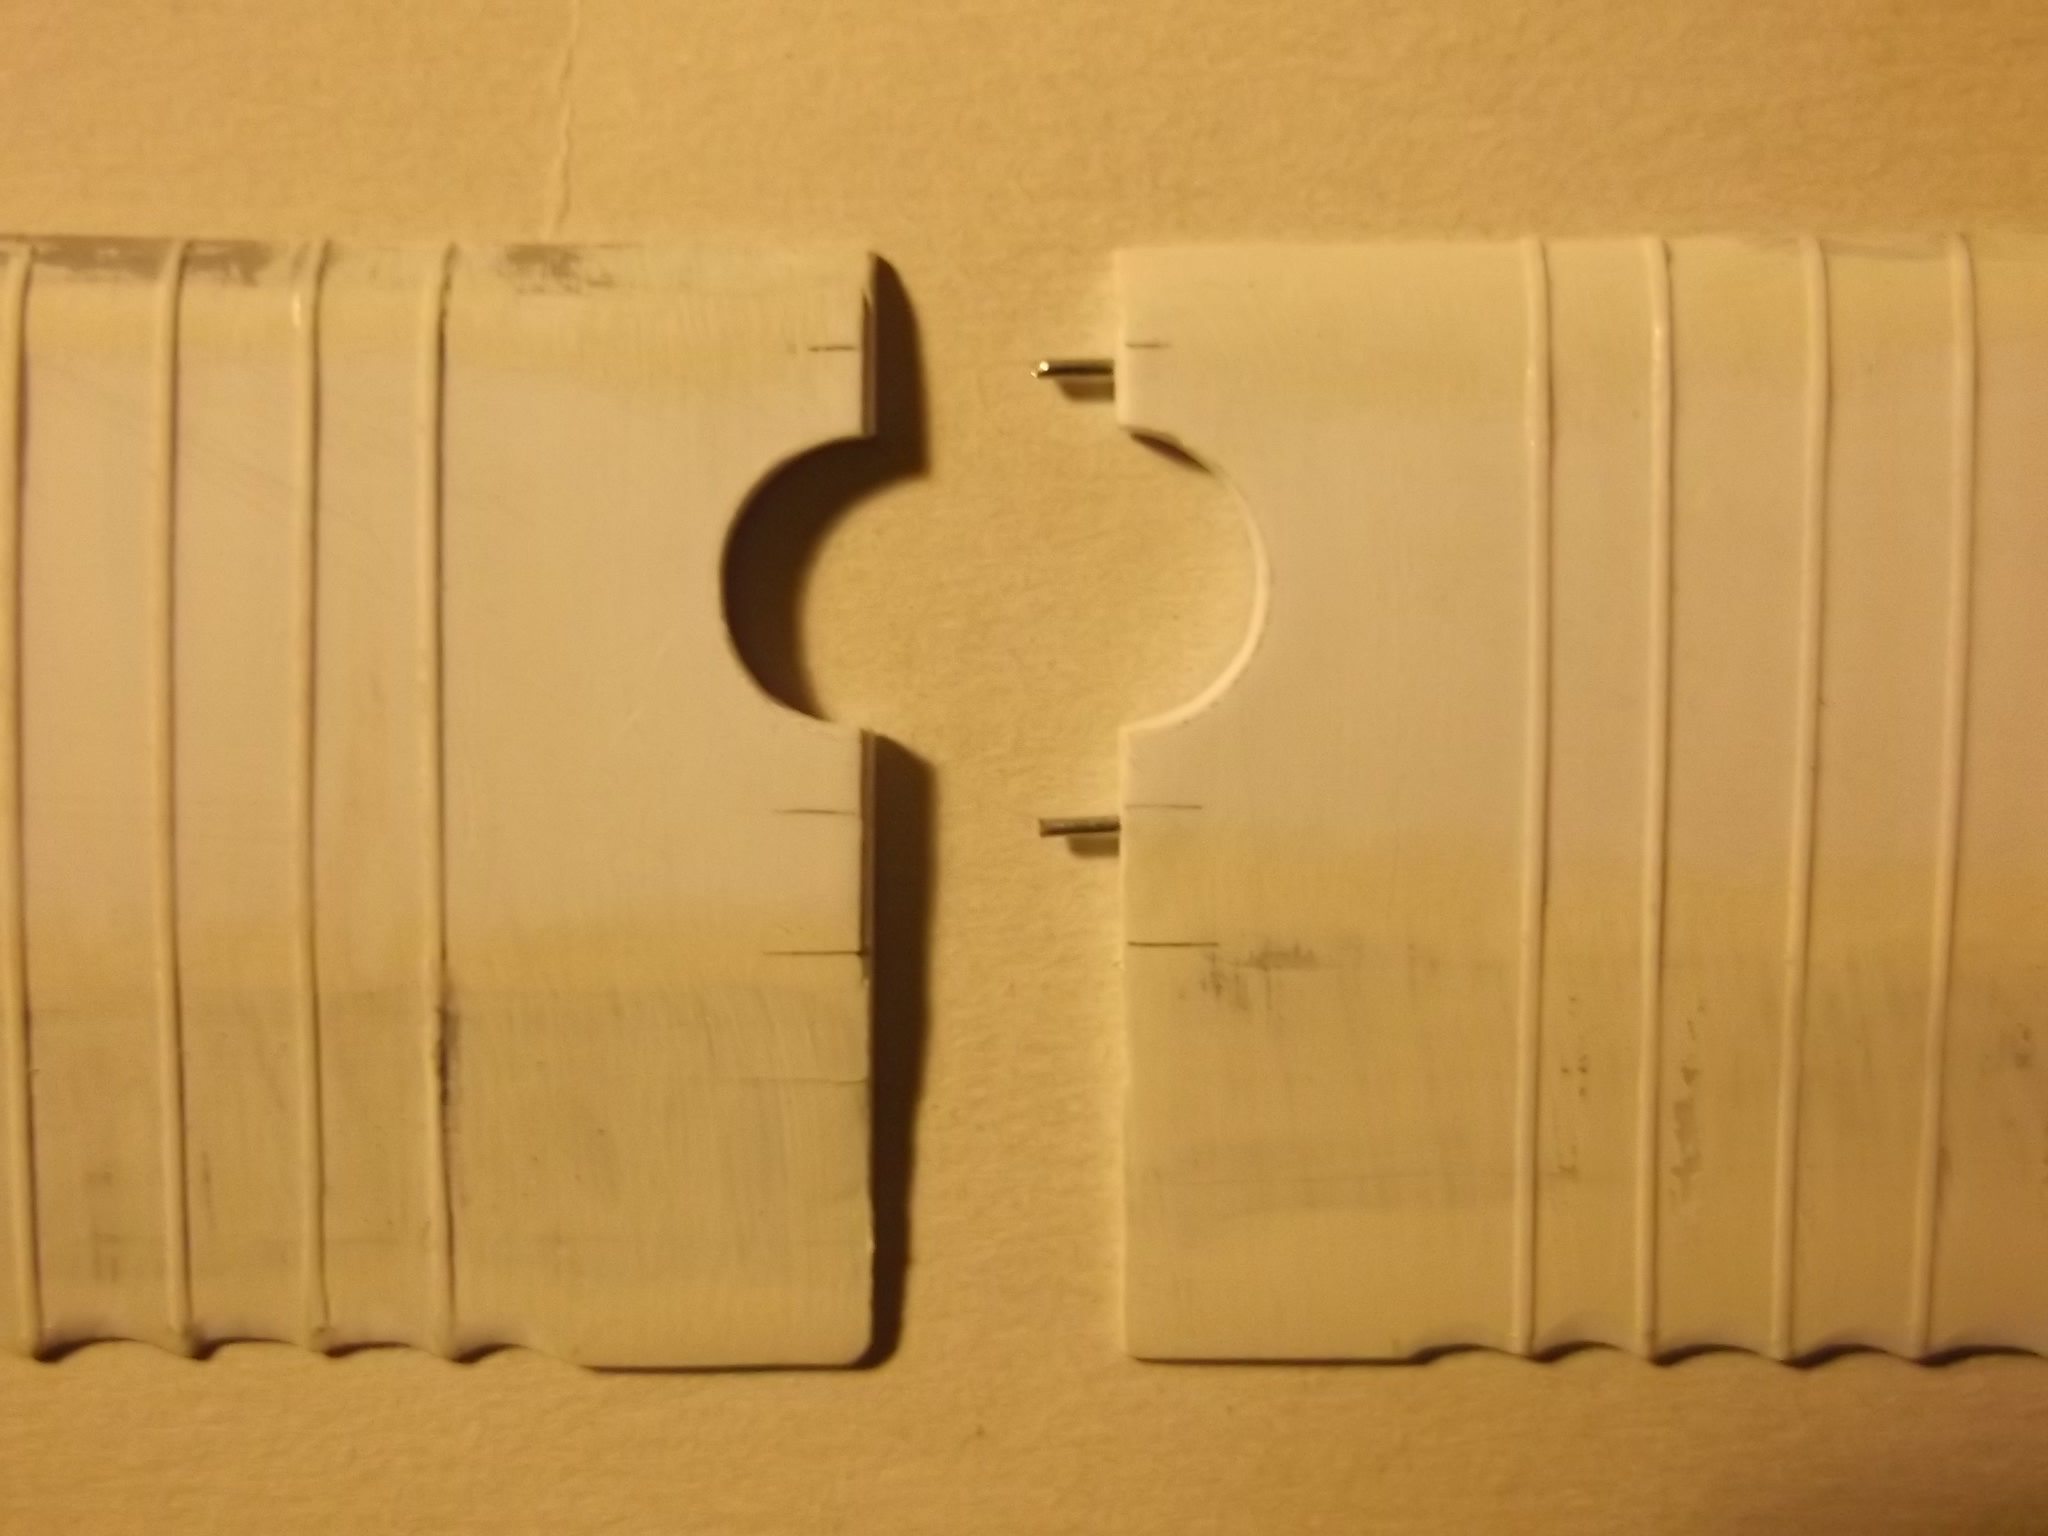
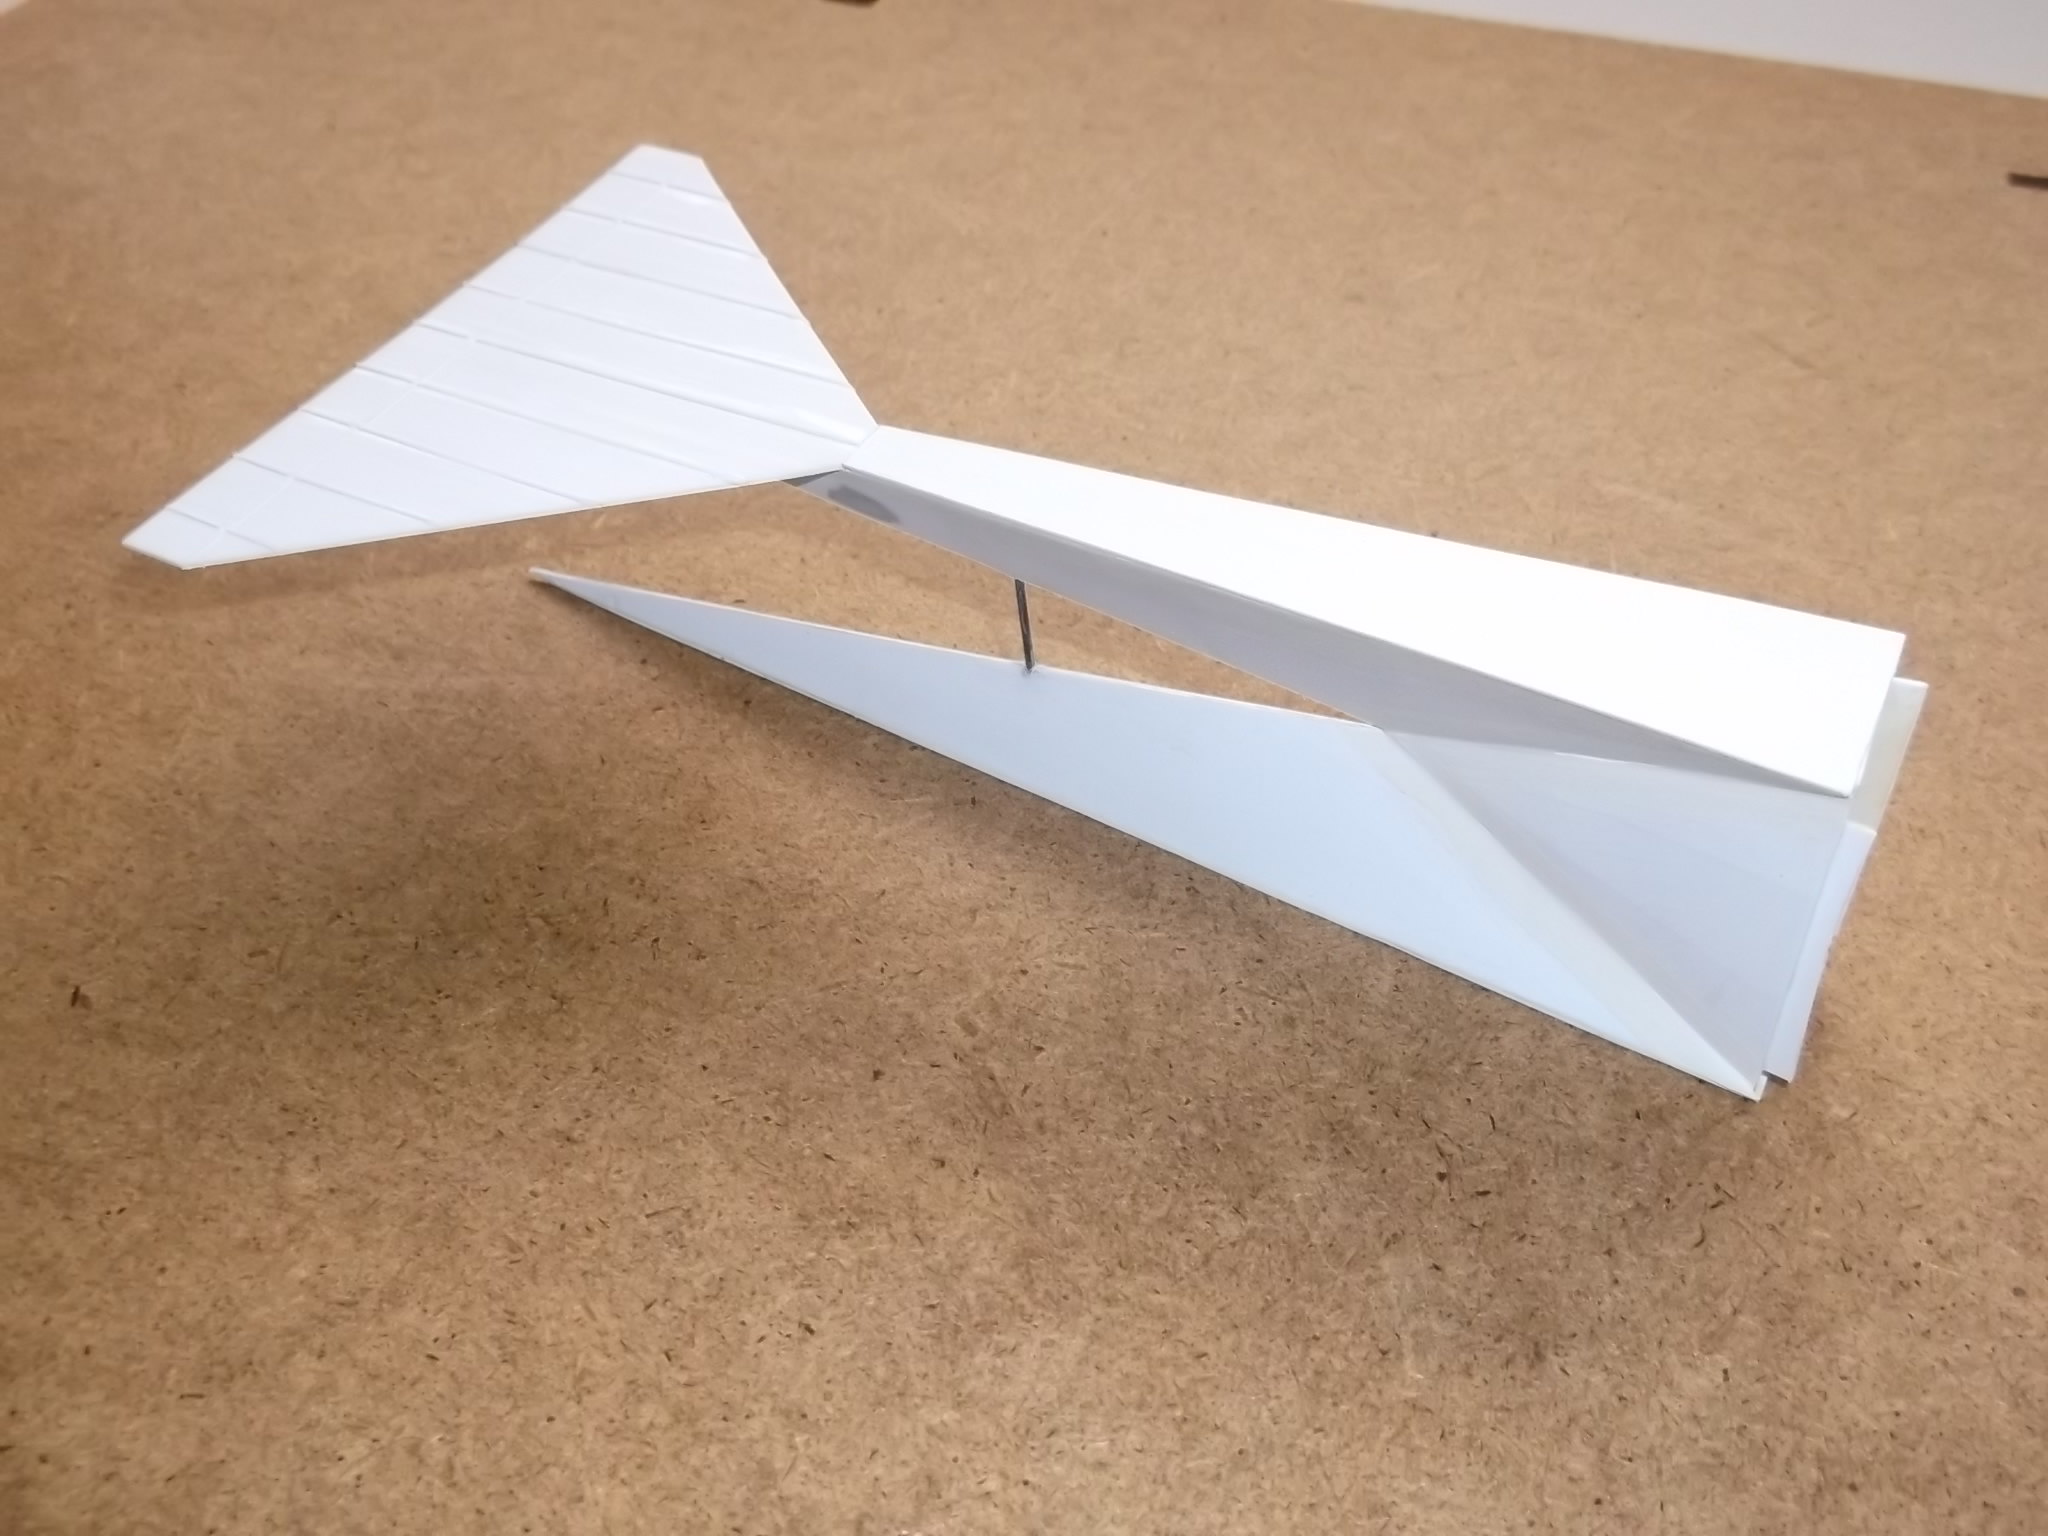
I have been working on the rear fuselage and slab sides of the centre section. However the first priority was to join the halves of the top wing as this will be needed to help to hold the sides in place when I want to attach the nose and rear sections. I drilled 2 holes in each wing half and inserted small metal pins cut from a paper clip. I do not have any brass rod - the metal in the clips is rigid enough so these were CA'd into place and then the wing joined with cement and CA. The circular hole is where the upper gun position will go later.
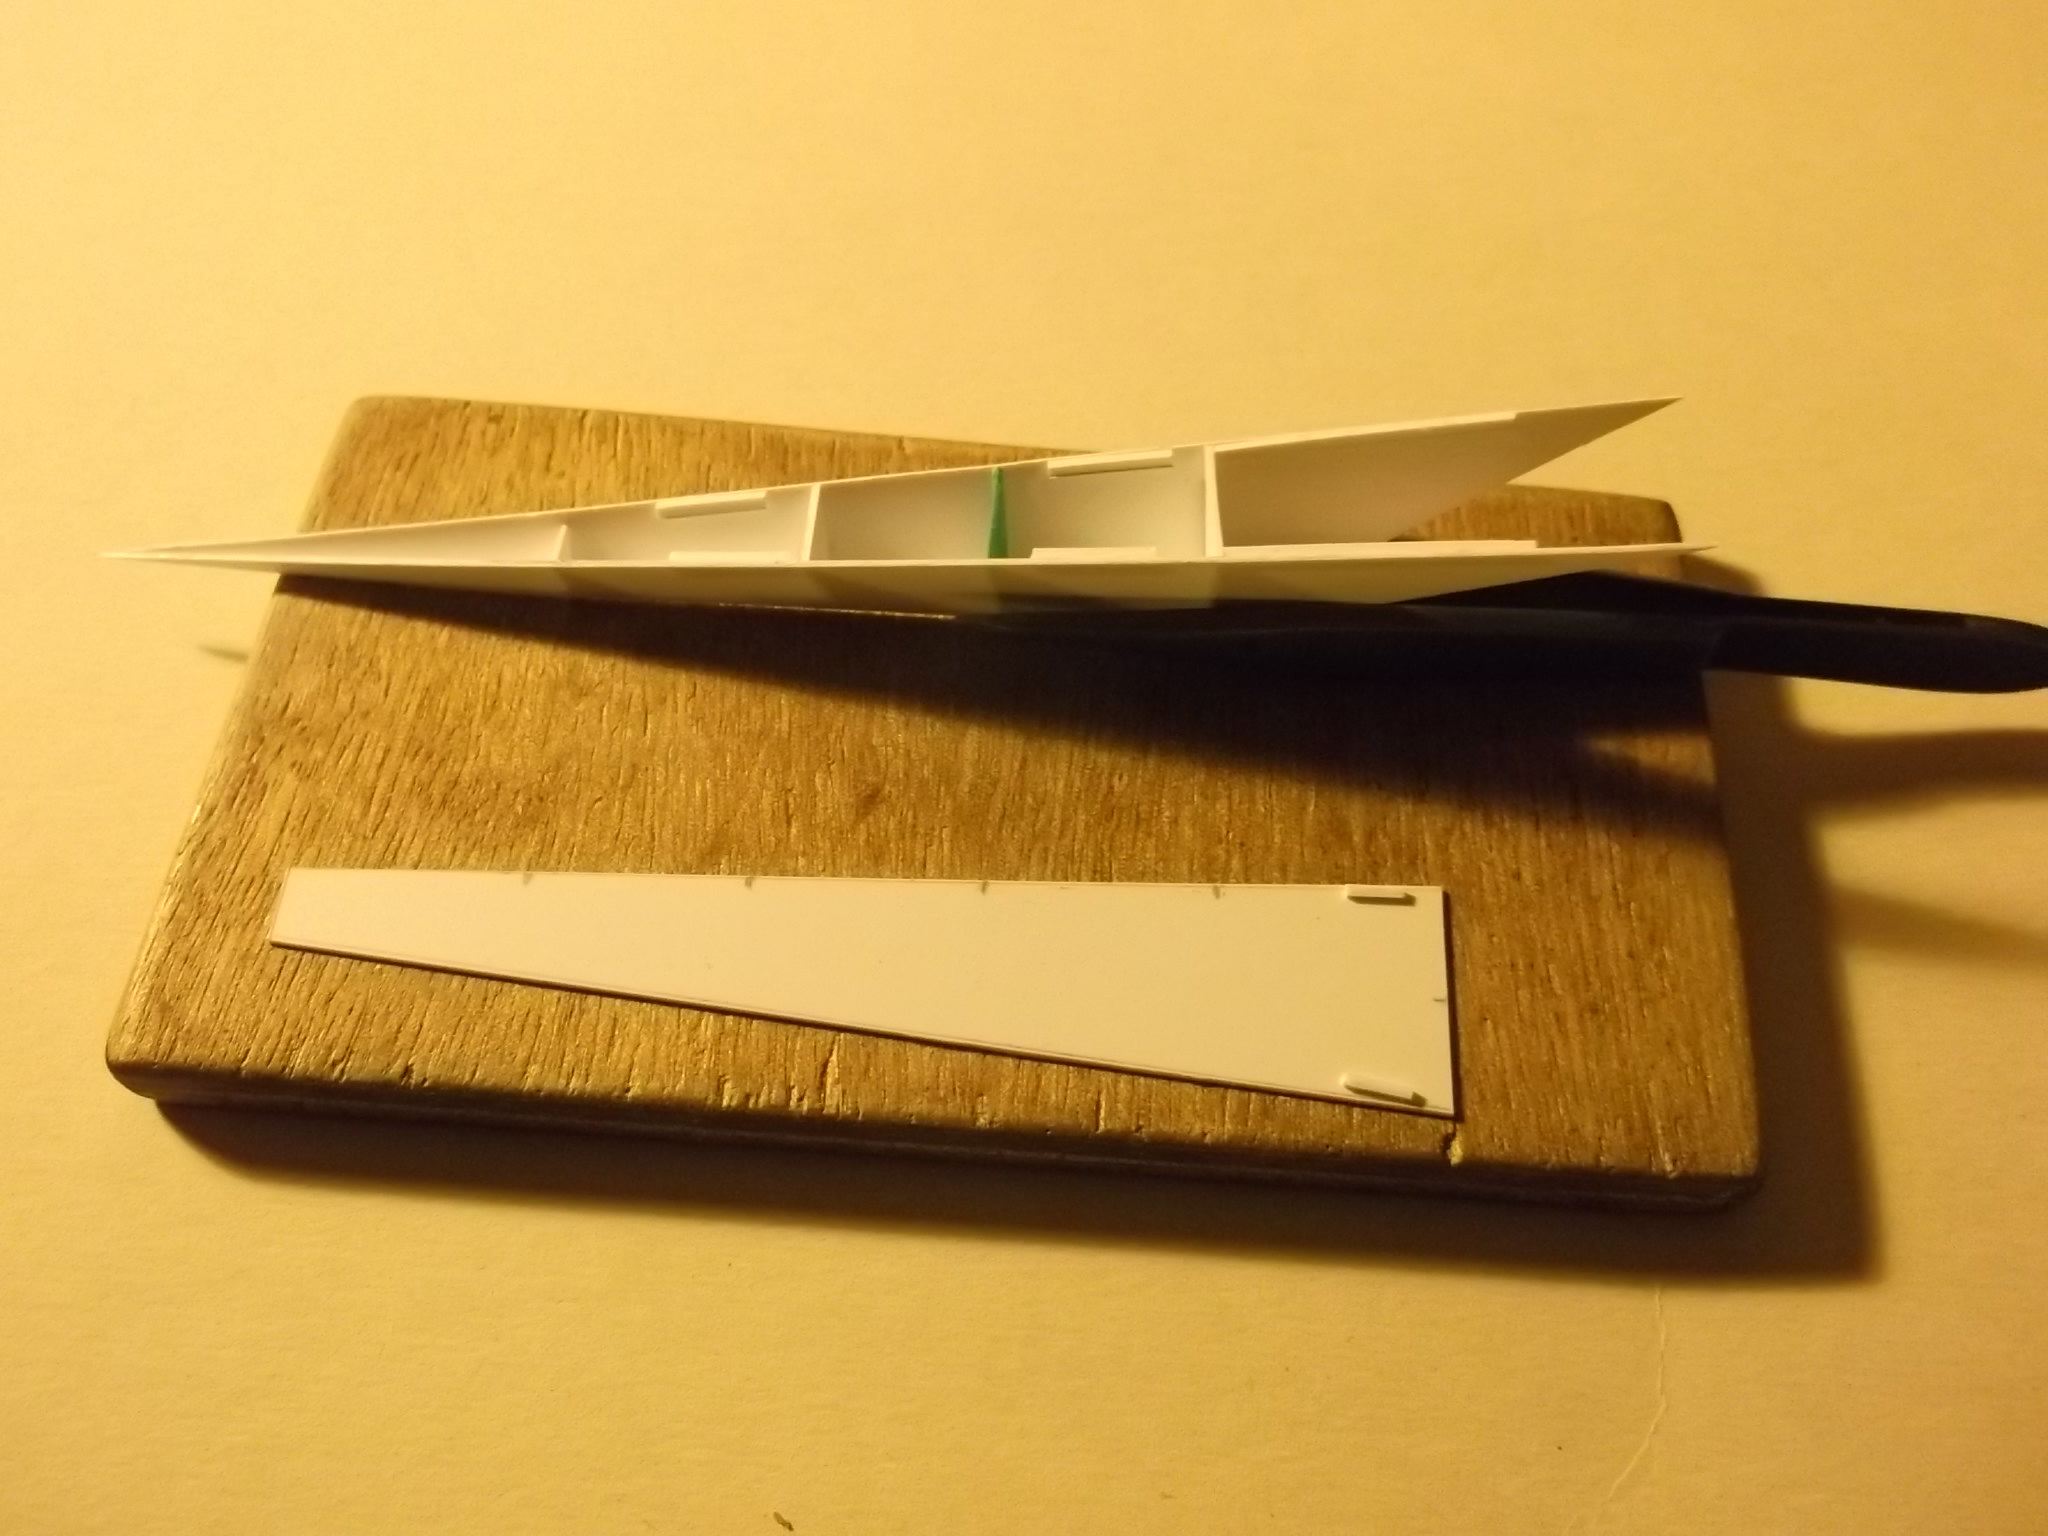
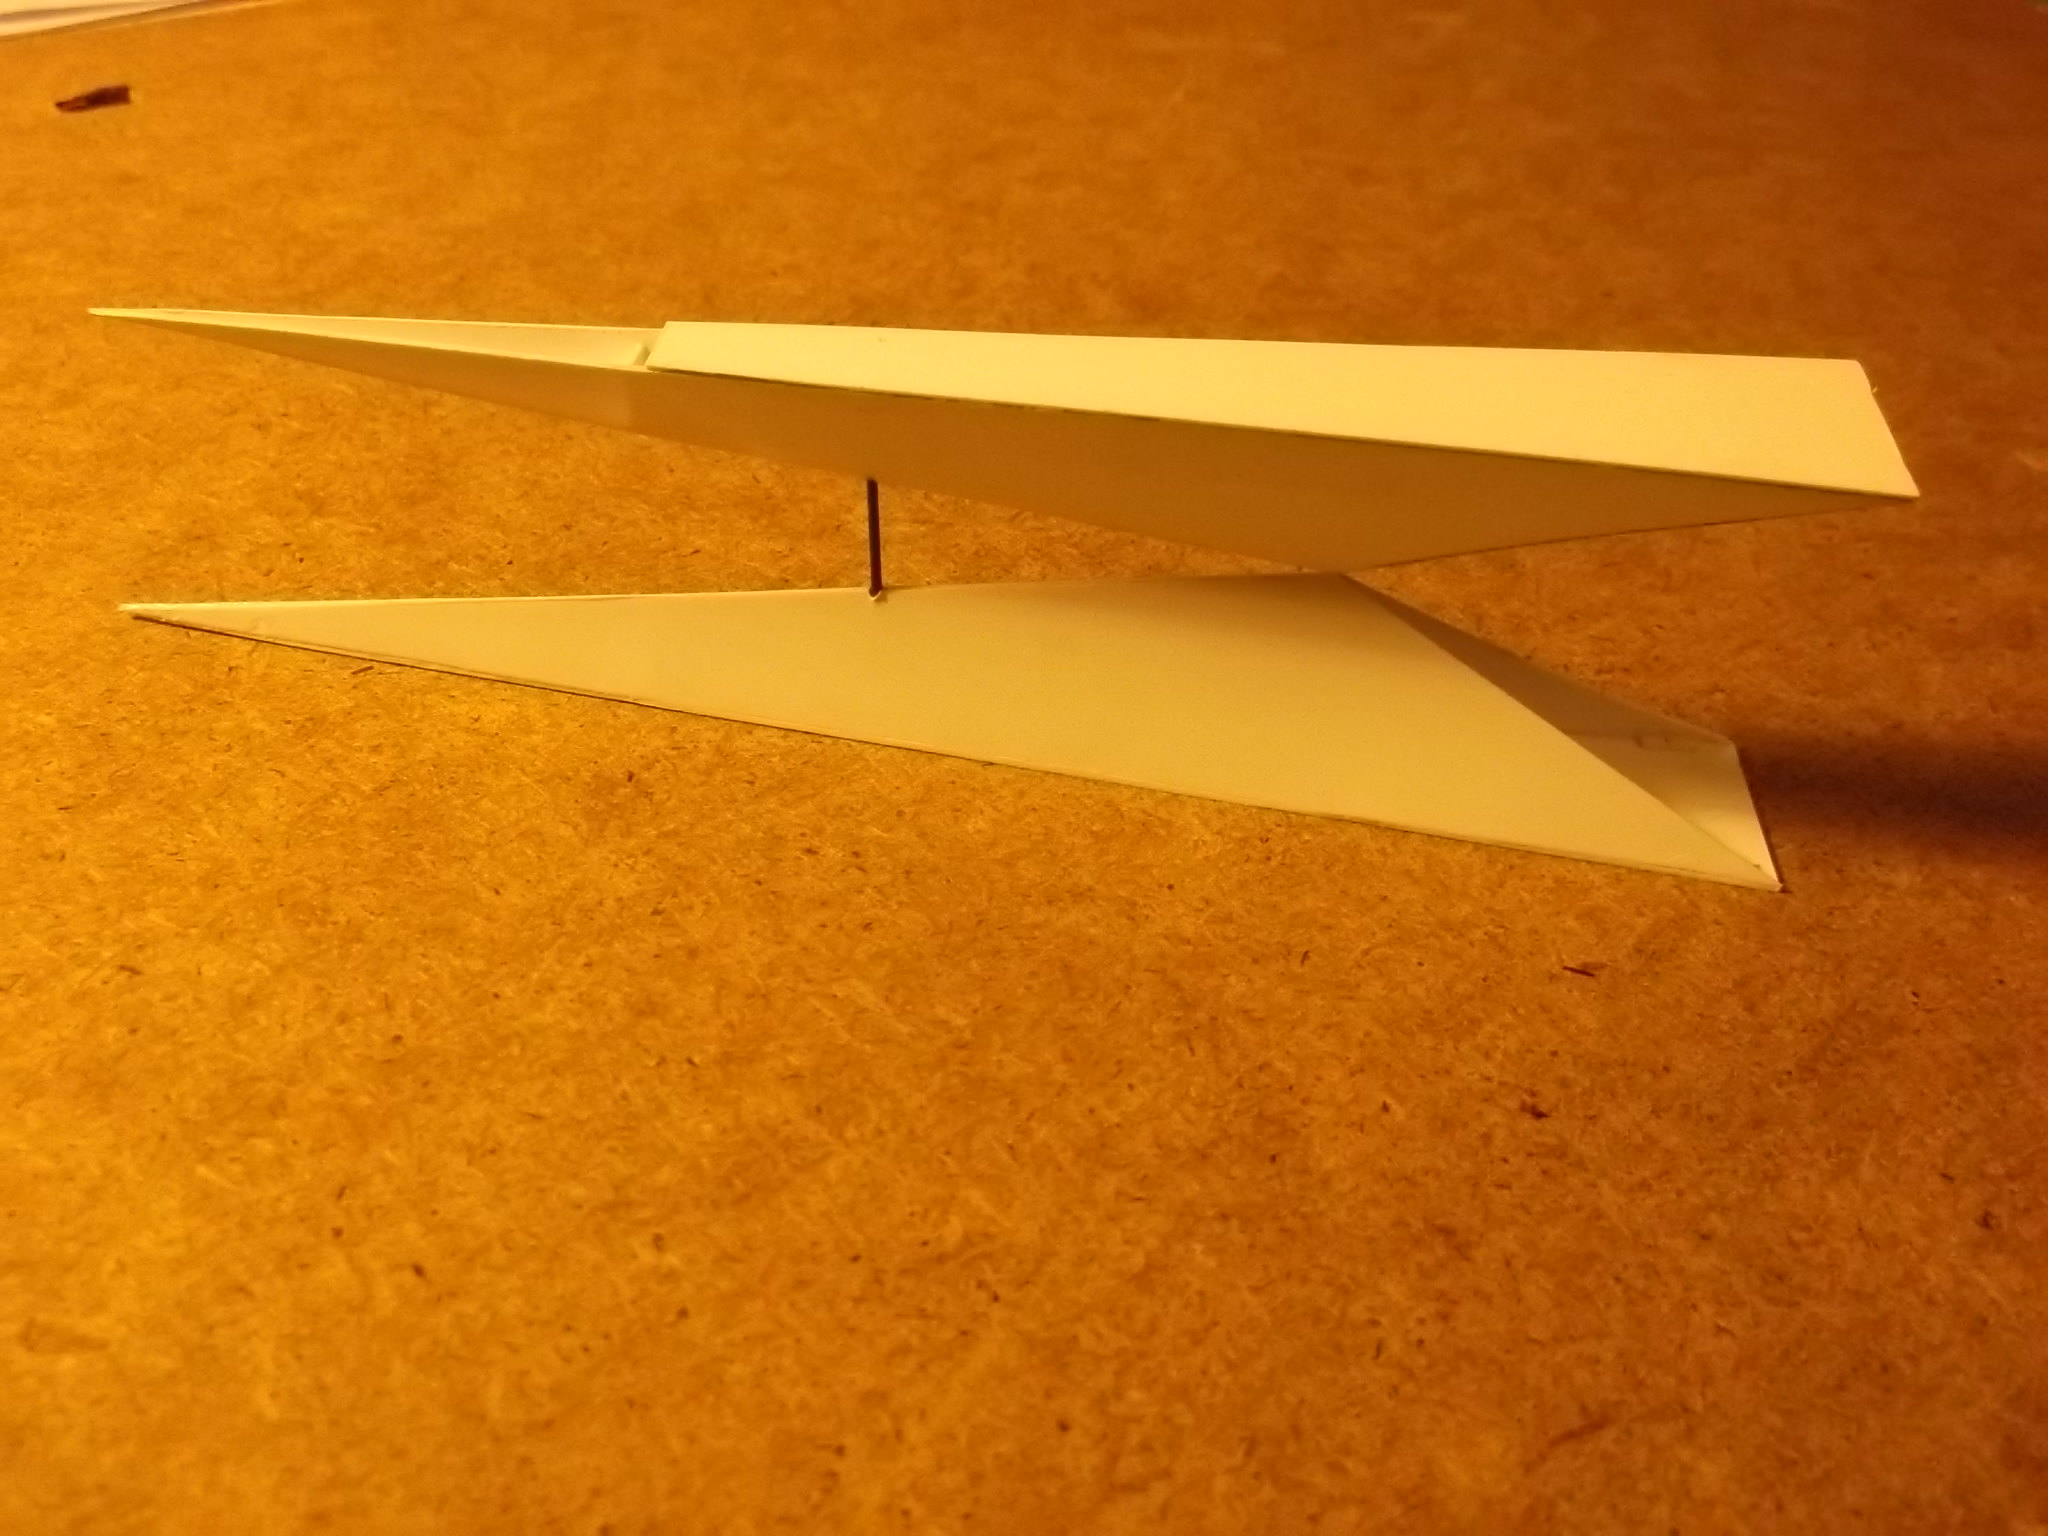
On to the rear fuselage. This consisted of two triangular sections mounted one above the other. The upper section was slightly smaller than the lower one. These were made from 20 thou card for the sides and 30 thou card for the top and bottom. I made small bulkheads from scrap card to help support the sides. Unfortunately I somehow got the dimensions wrong on the first attempt so I had to make a second pair. The top rear of the upper section was left off as the horizontal stabilizer will need to be fixed there later. Holes were drilled in the apex of each triangle to allow for a piece of wire to be inserted later to represent a bracing strut - the photos show what I mean.
[
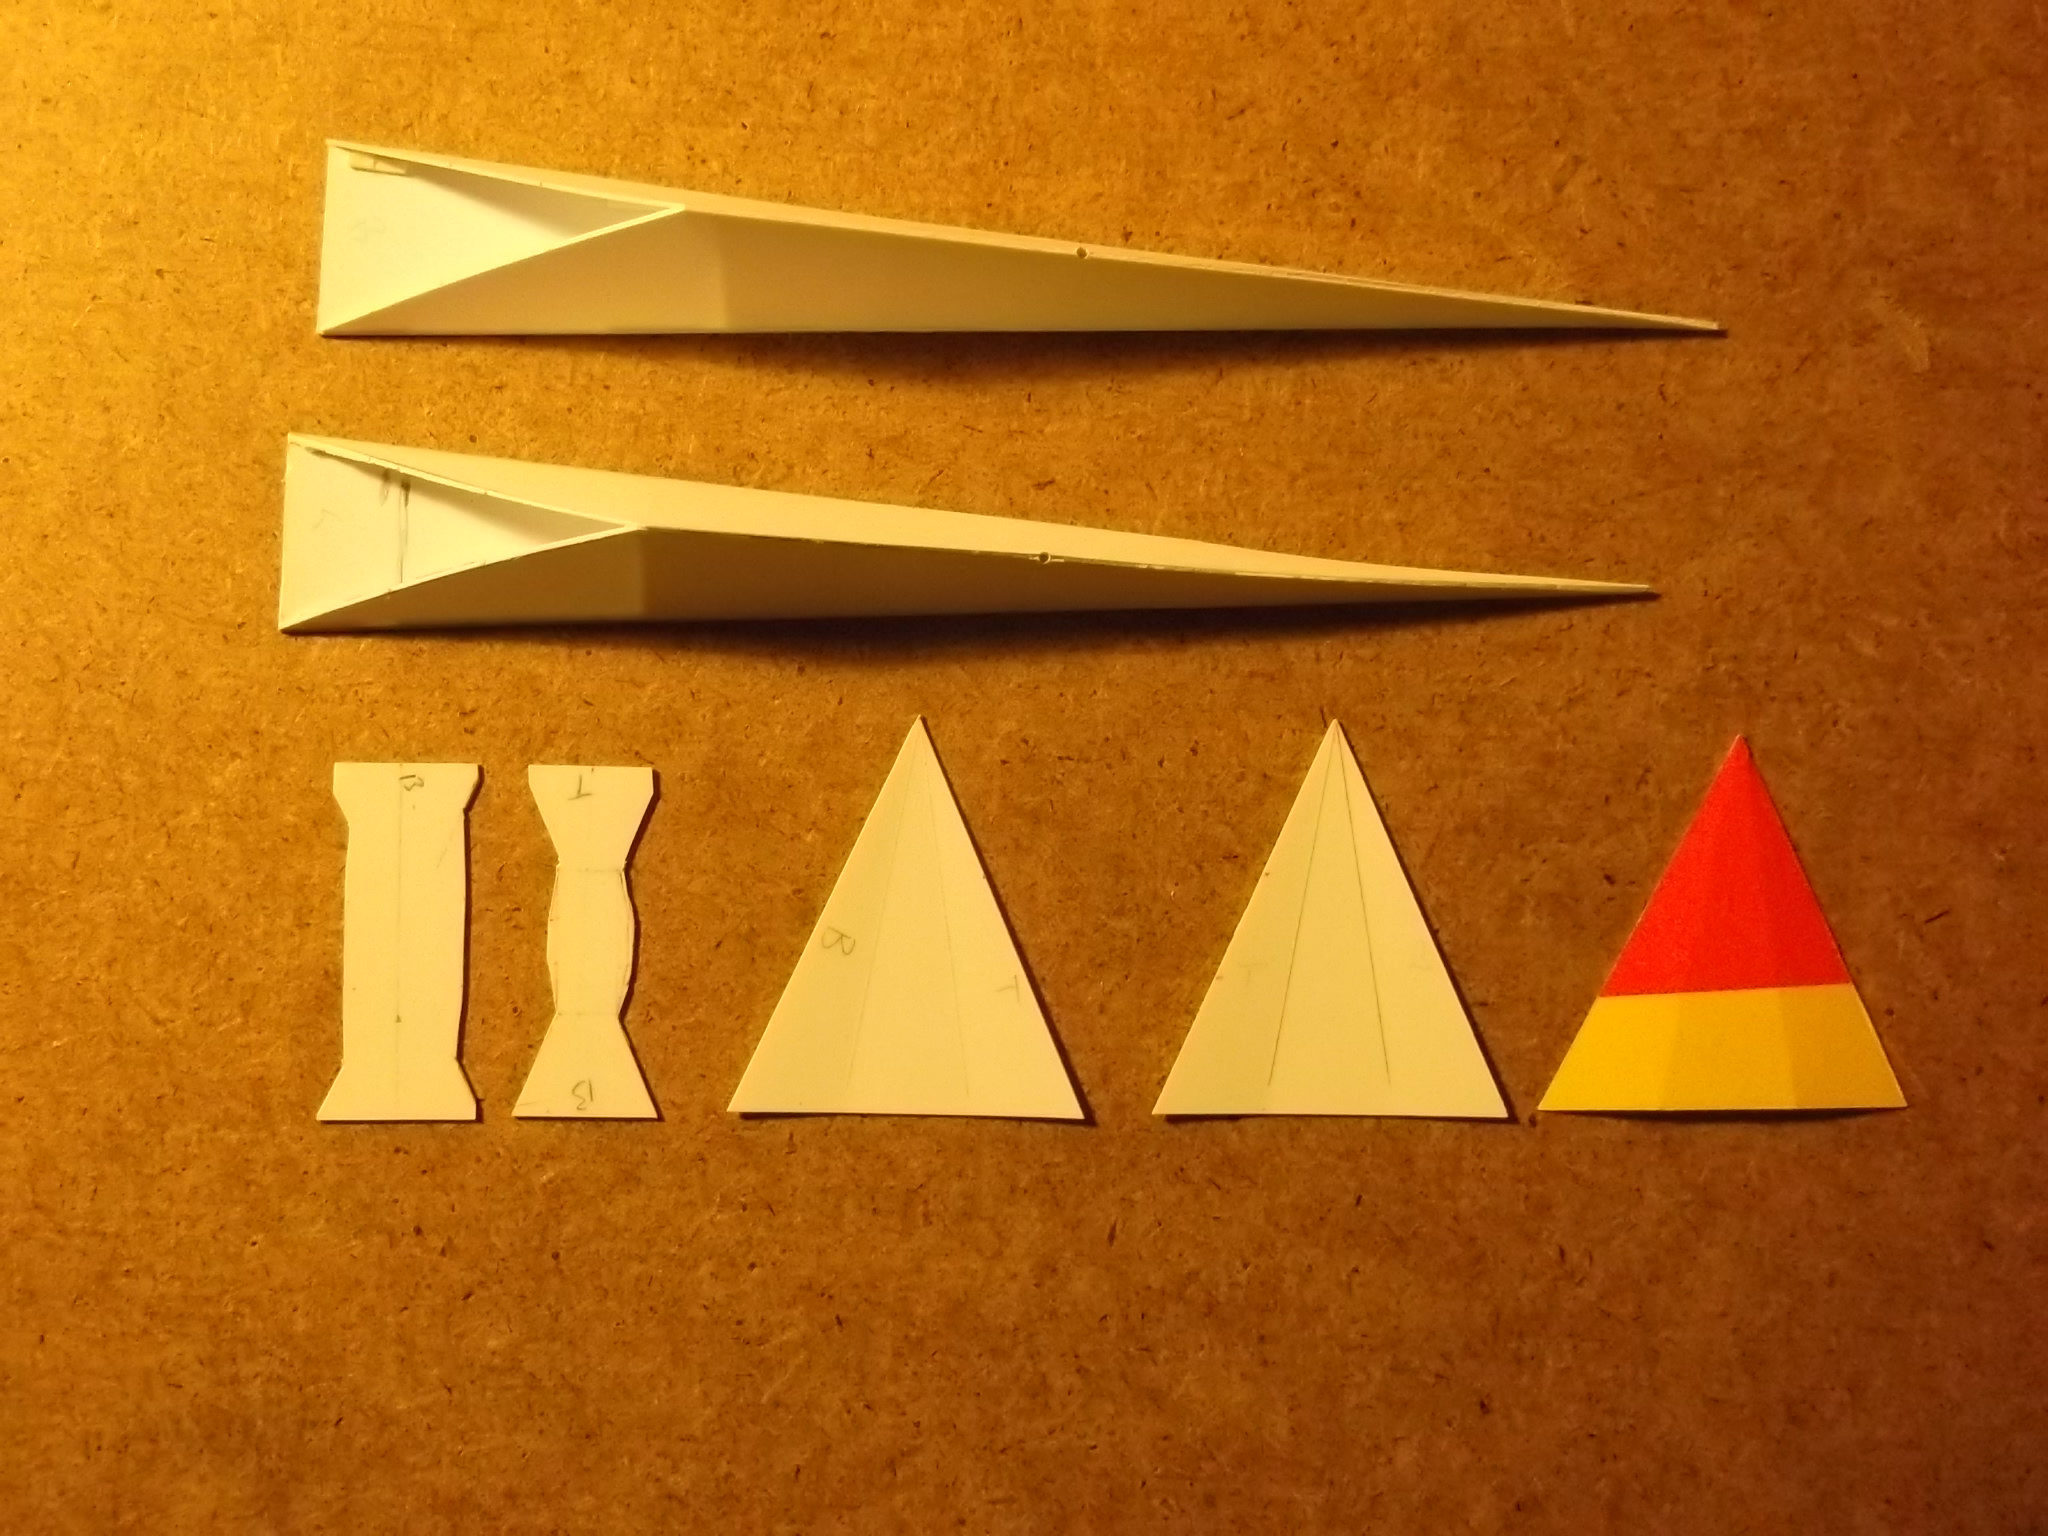
I now made the triangular side sections which fill the gap between the rear sections of fuselage and the slab sided centre section. The drawings show these to be flat but the shadows on photographs show that they were divided into three surfaces at a small angle to each other. To get the correct size I cut out a card template and bent this gently to make sure that this was the correct size. When I had got this right I cut two pieces of 20 thou card and scored and bent these to shape. Finally I cut and shaped two bulkheads which will help to join the front ends of the rear fuselage triangles and hold the side pieces in place.
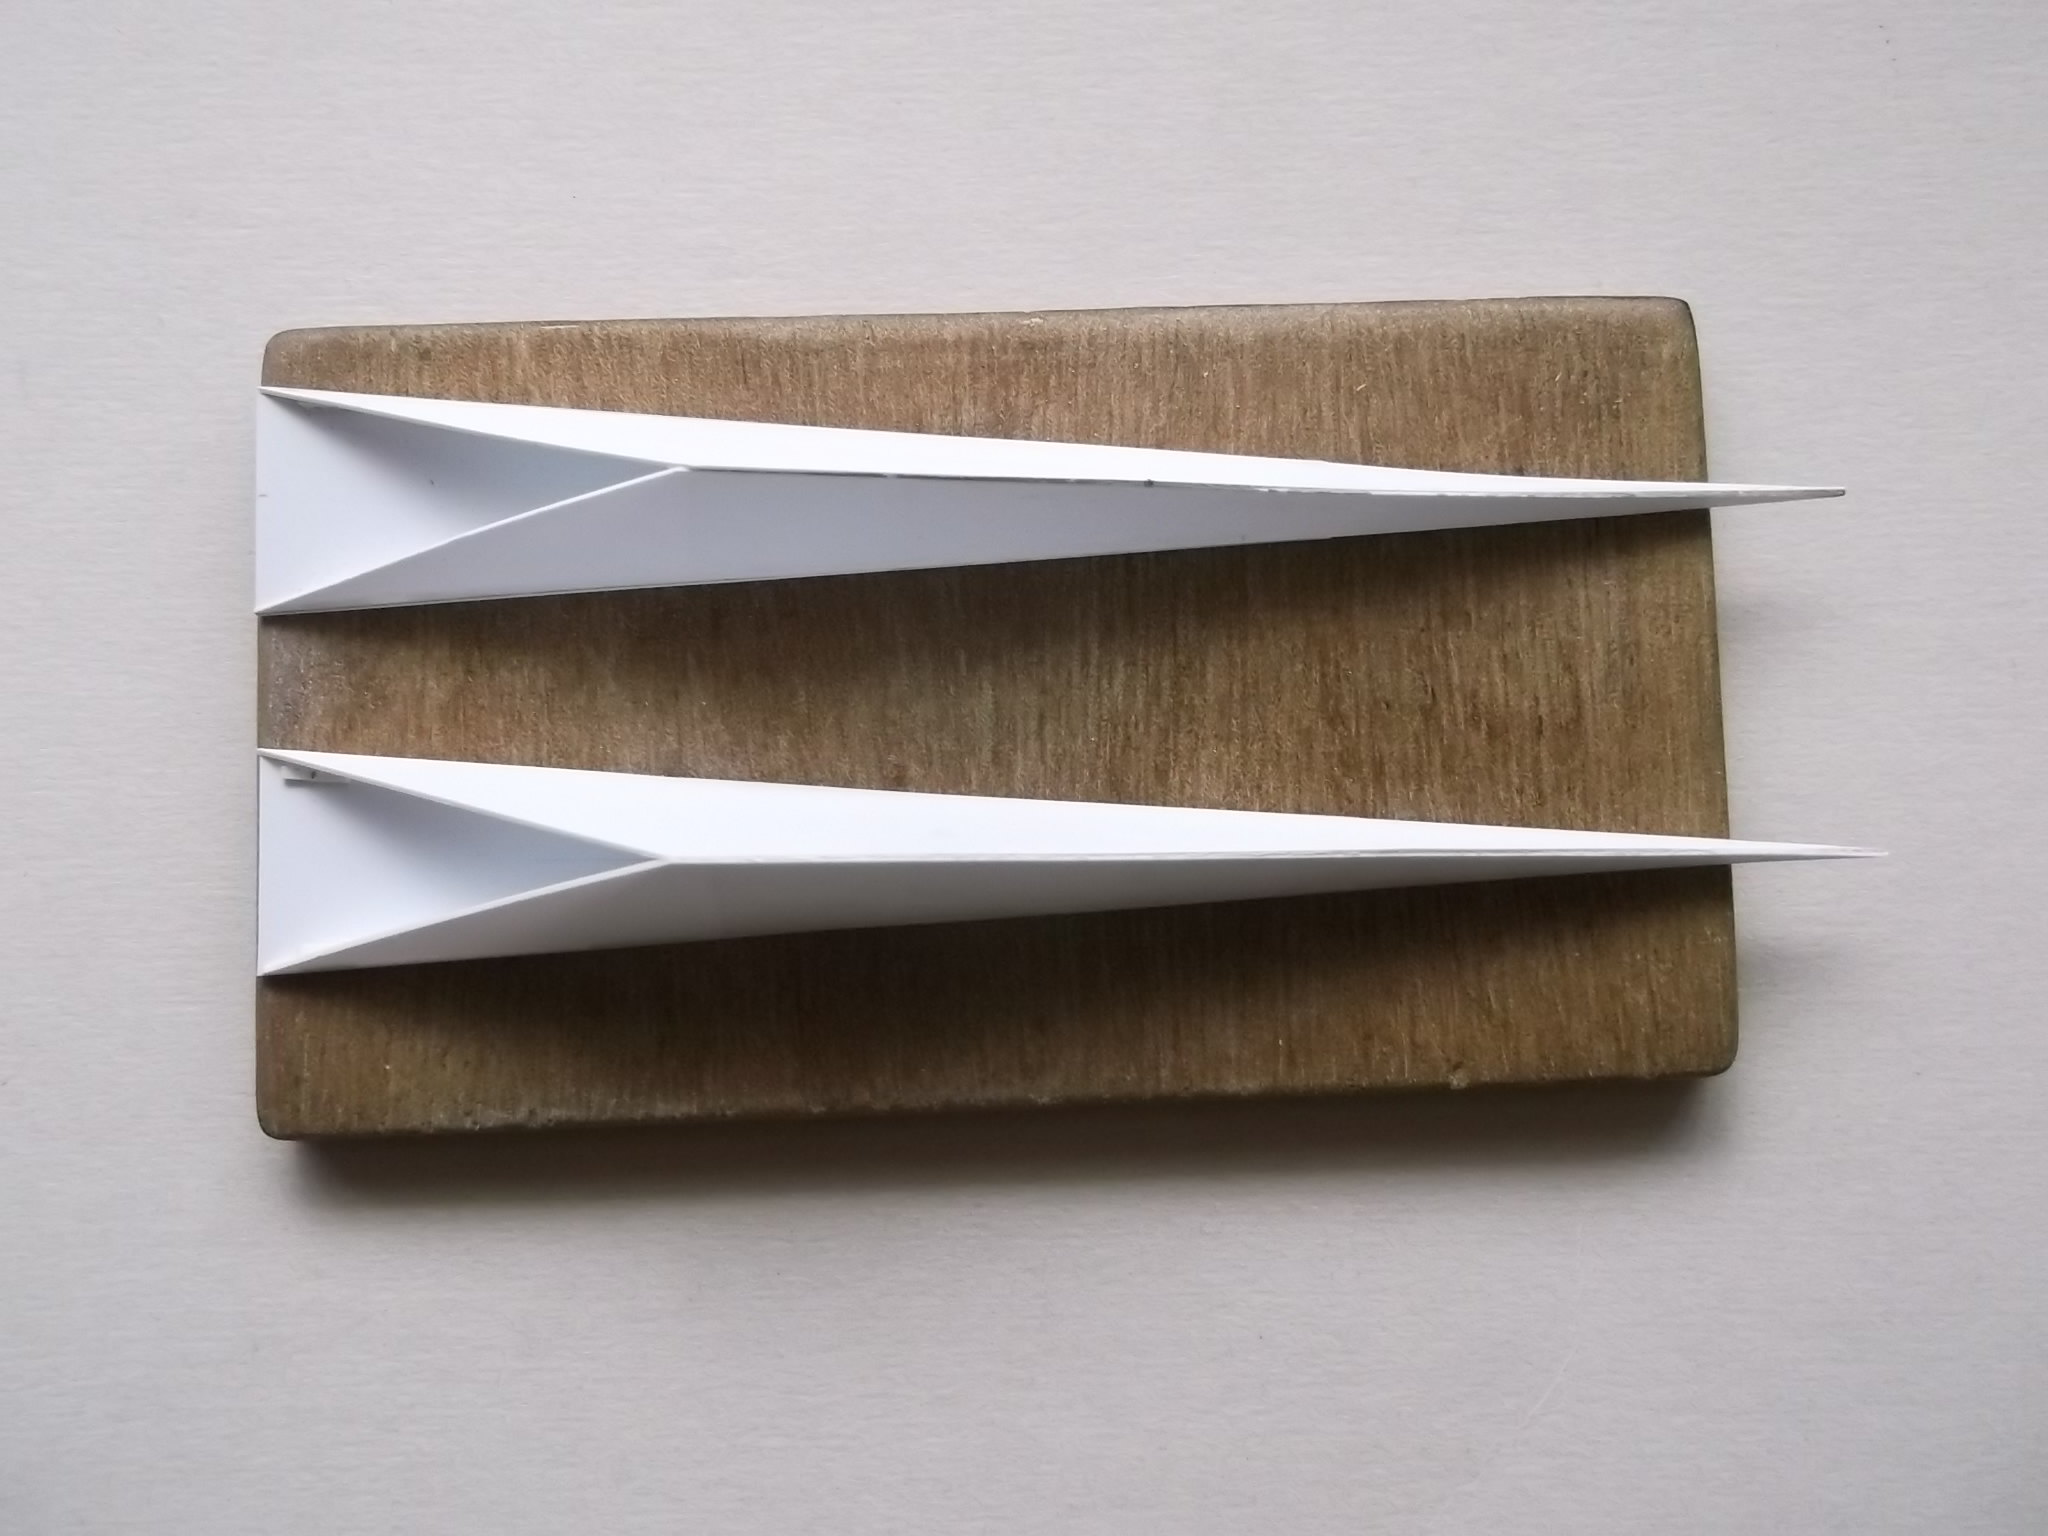
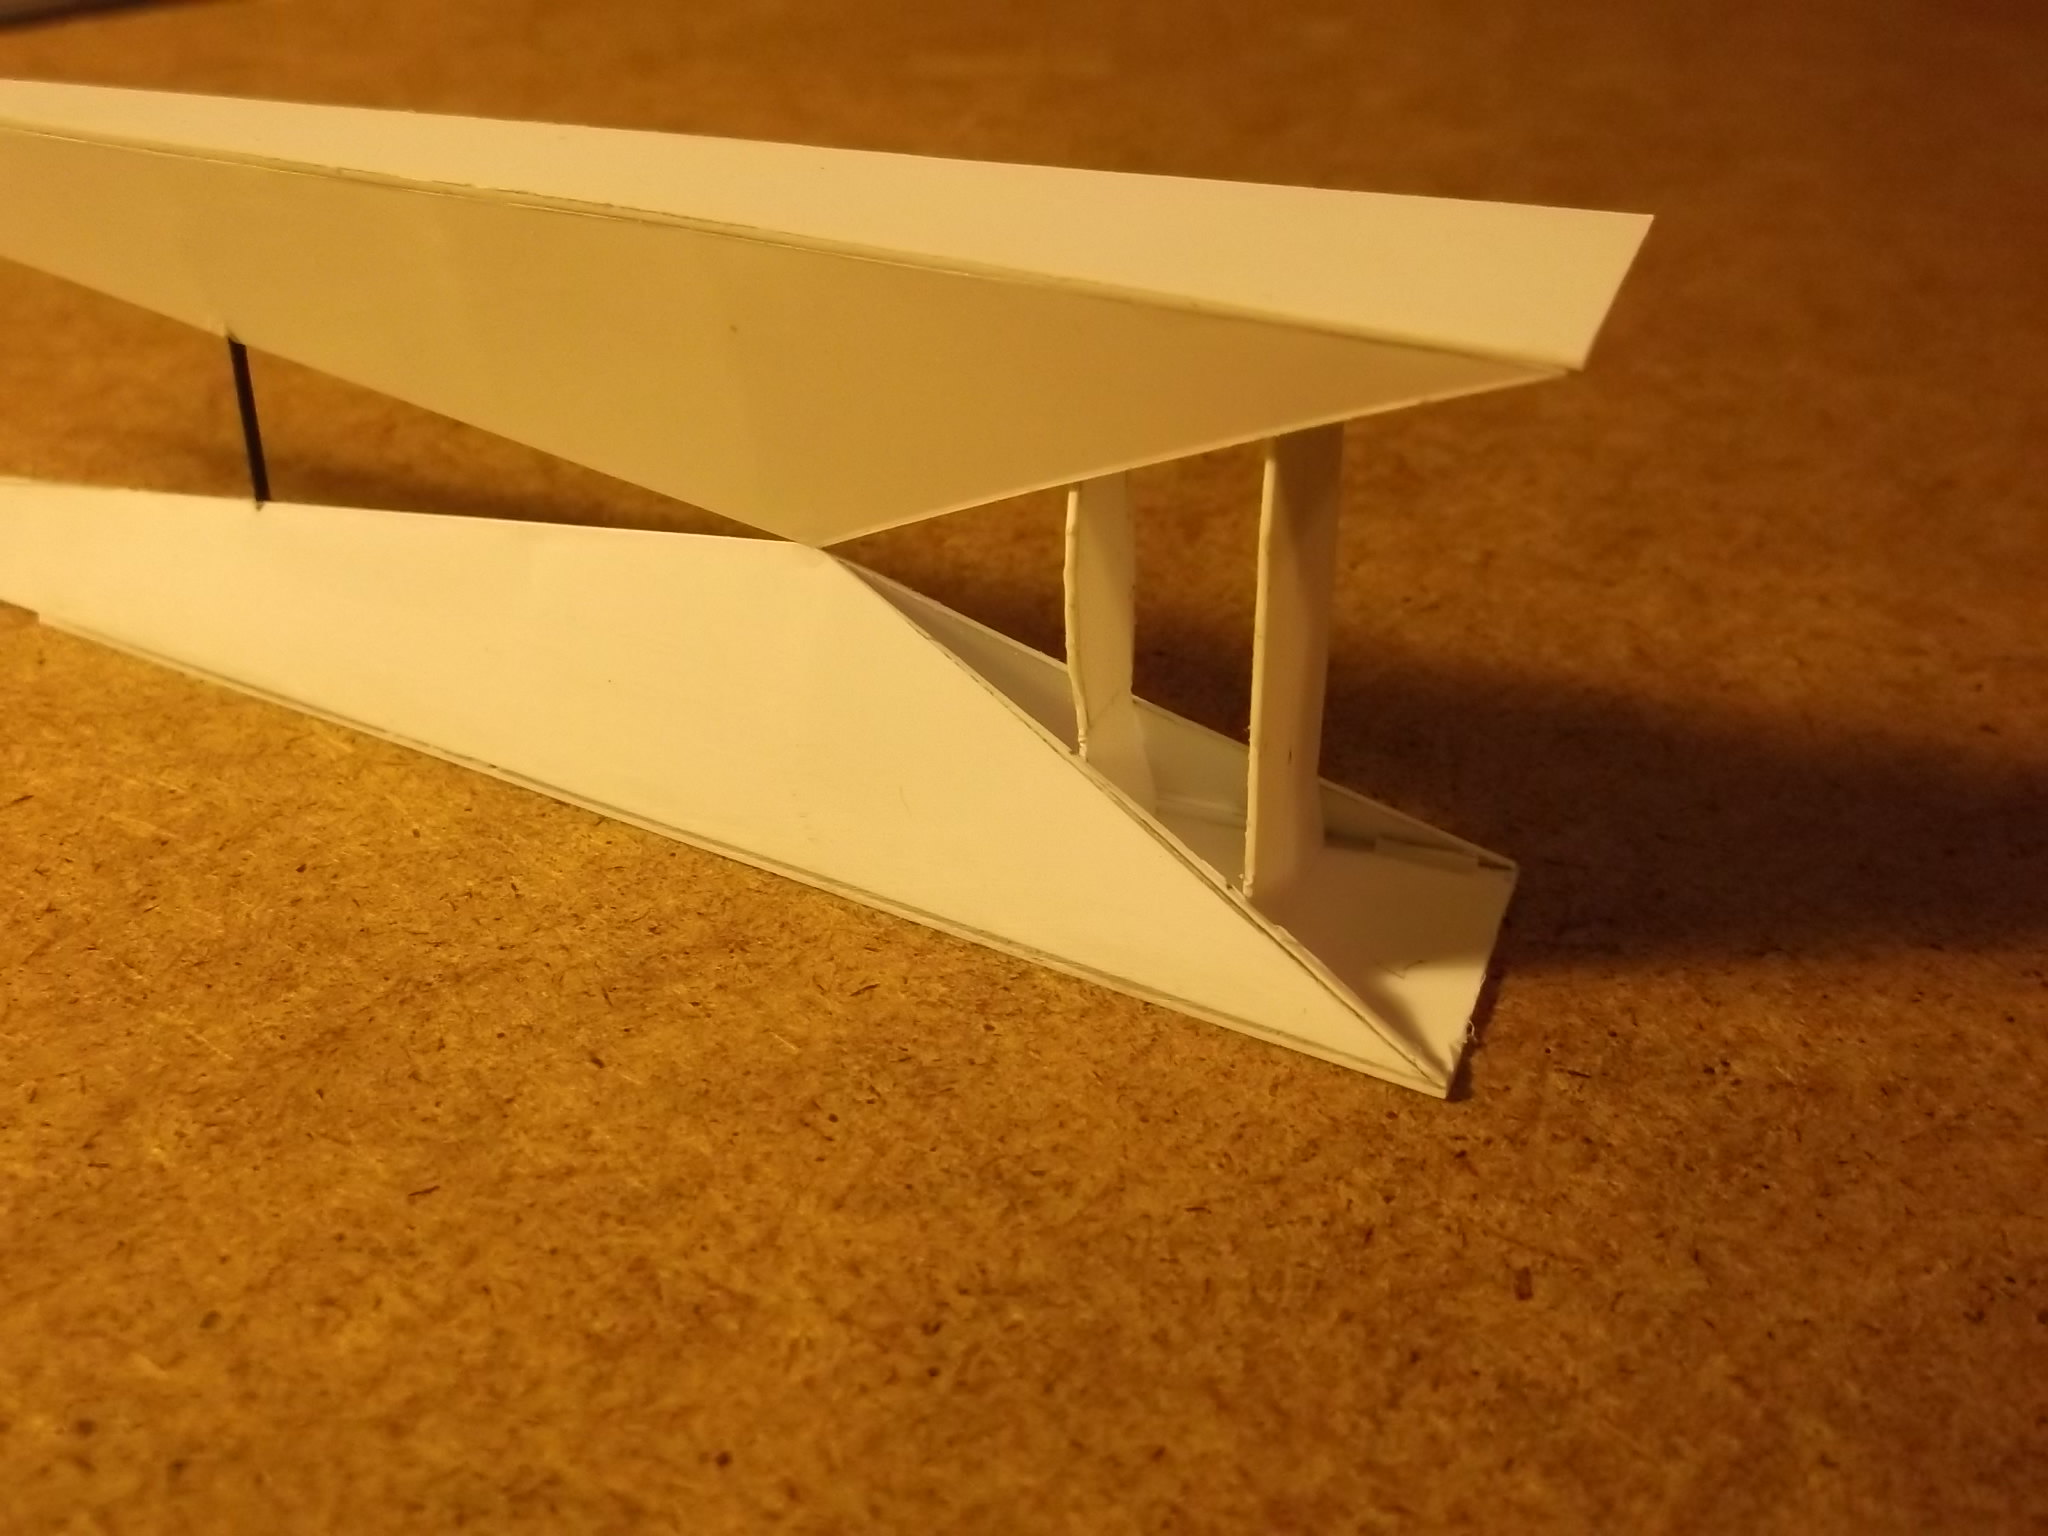
Now I could assemble the rear triangular sections. I did this by inserting the wire into the holes in the apexes and CA'd that in place while at the same time cementing the front of the triangular sections where they met.
The bulkheads were then fixed to the front end of the rear fuselage sub-assembly.
Finally I added the sides and filled any small gaps. The next stage will be to put the sides on to the top wing and then join the rear fuselage and nose assemblies: more on that later when I have got that far.
Thanks for looking.
Stephen.

