Hi all! thank you for the support!
Tonight where I live was struck by a thunderstorm big enough to disrupt the sinking and savage network resulting in a couple of cm of water all over my basement!
Not a big deal, but it took good 3 hours of work by my wife and me to get going and it is still not completely over... fortunately my models were high above the floor

...
My thought goes to all the people hit by a real flooding... that has to be really a disaster, one that I have always undervalued and what happened is a good lesson I had learned.
Anyway... here are some pic of the tank.
I started working at the interior:
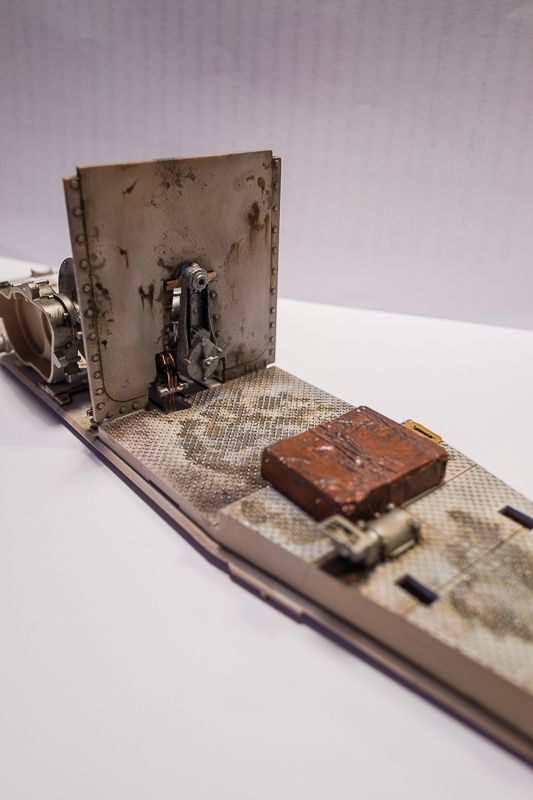
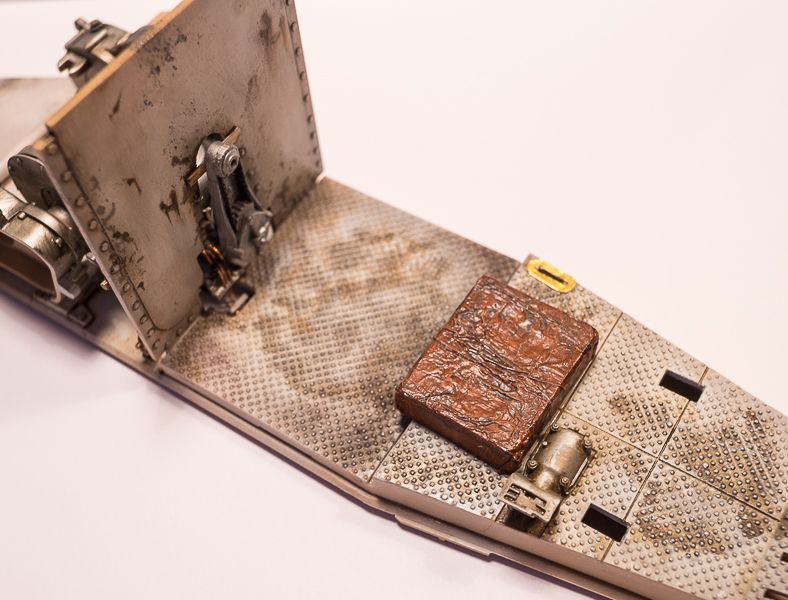
The seat (quite crude in the model) is enhanced as Mastro Bertl has shown us.
The transmission needed some extra work as he fitting is not good: something like 2 mm too back which results in a non square engine wall, so I had to reduce the starting gear and a little of the transmission itself...
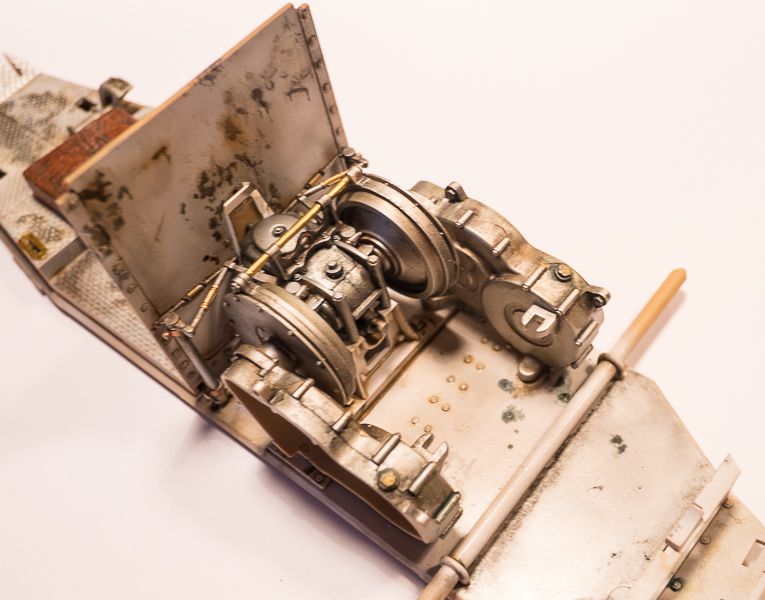
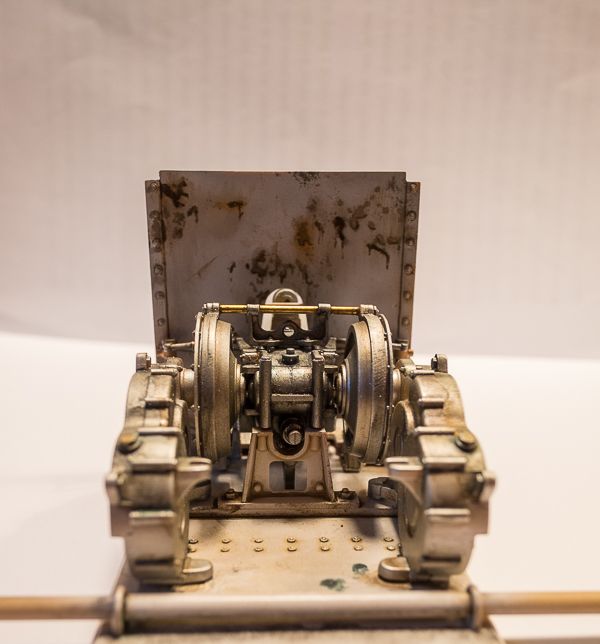
And started working on the left hand side
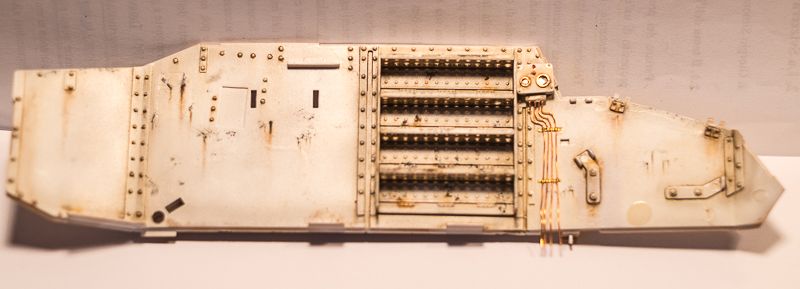
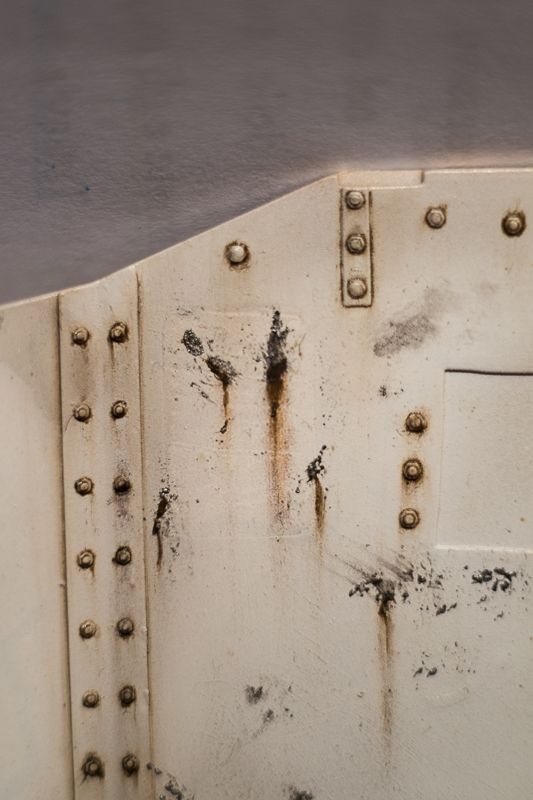
This is a close up of the rear left side to show the weathering I did: after a wash with raw umber, I used a sponge to apply a mix of black and silver to simulate chipping that was subsequently rusted with raw umber and pastels.
LOTS of ejection marks had to be removed something that i HATE to do... maybe is all wasted time as almost nothing will be seen in the end, but those roundels all over the surface is something I just can't live with

I also filled the area where the spare tank will be located as I want to show it outside the tank itself (more on that later, but if you look closely you can see whare it was supposed to be).
I laso enhanced (at least I hope so...

) the gears in the driving compartment
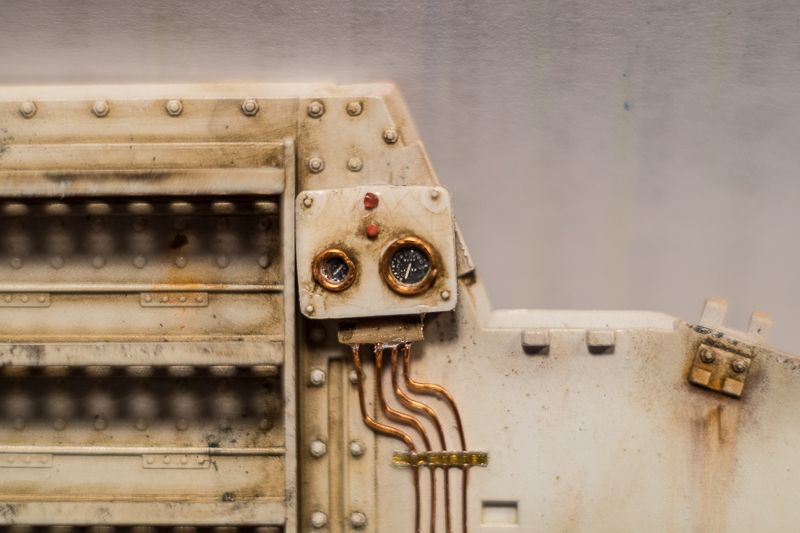
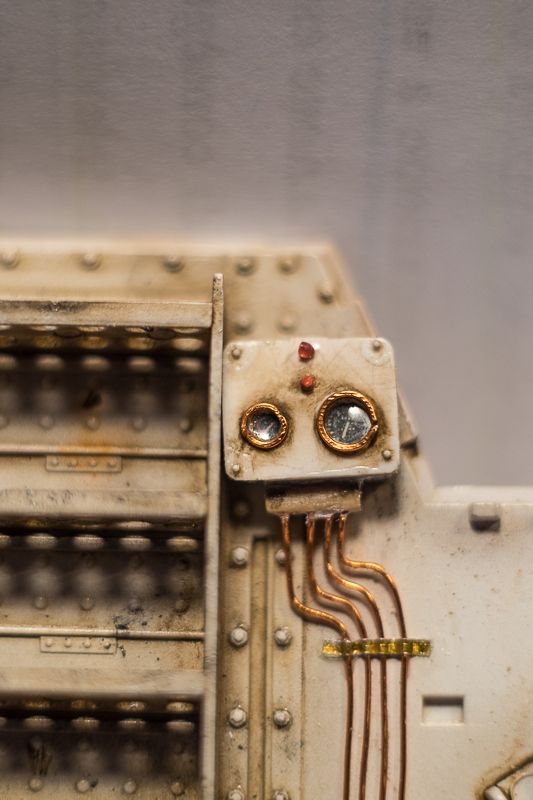
I haven't a picture of the original part, but this is what I found on the Net so you can see the difference
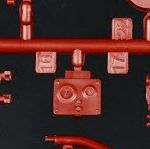
And this is why I cut a hole in the floor to accomodate the cabling under the driving compartment, not sure of the accuracy, but those gear HAVE to be connected to something

Well this is it for now...
ciao
Edo