Another update before I get ahead too far. The post shading and the initial weathering has been done and the entire structure given a few light coats of Vallejo Satin Polyurethane Varnish. So far dry chalk pastels and weathering pigments only have been applied.
The rib shading is lighter then I usually apply it to give this model a "newer" look.
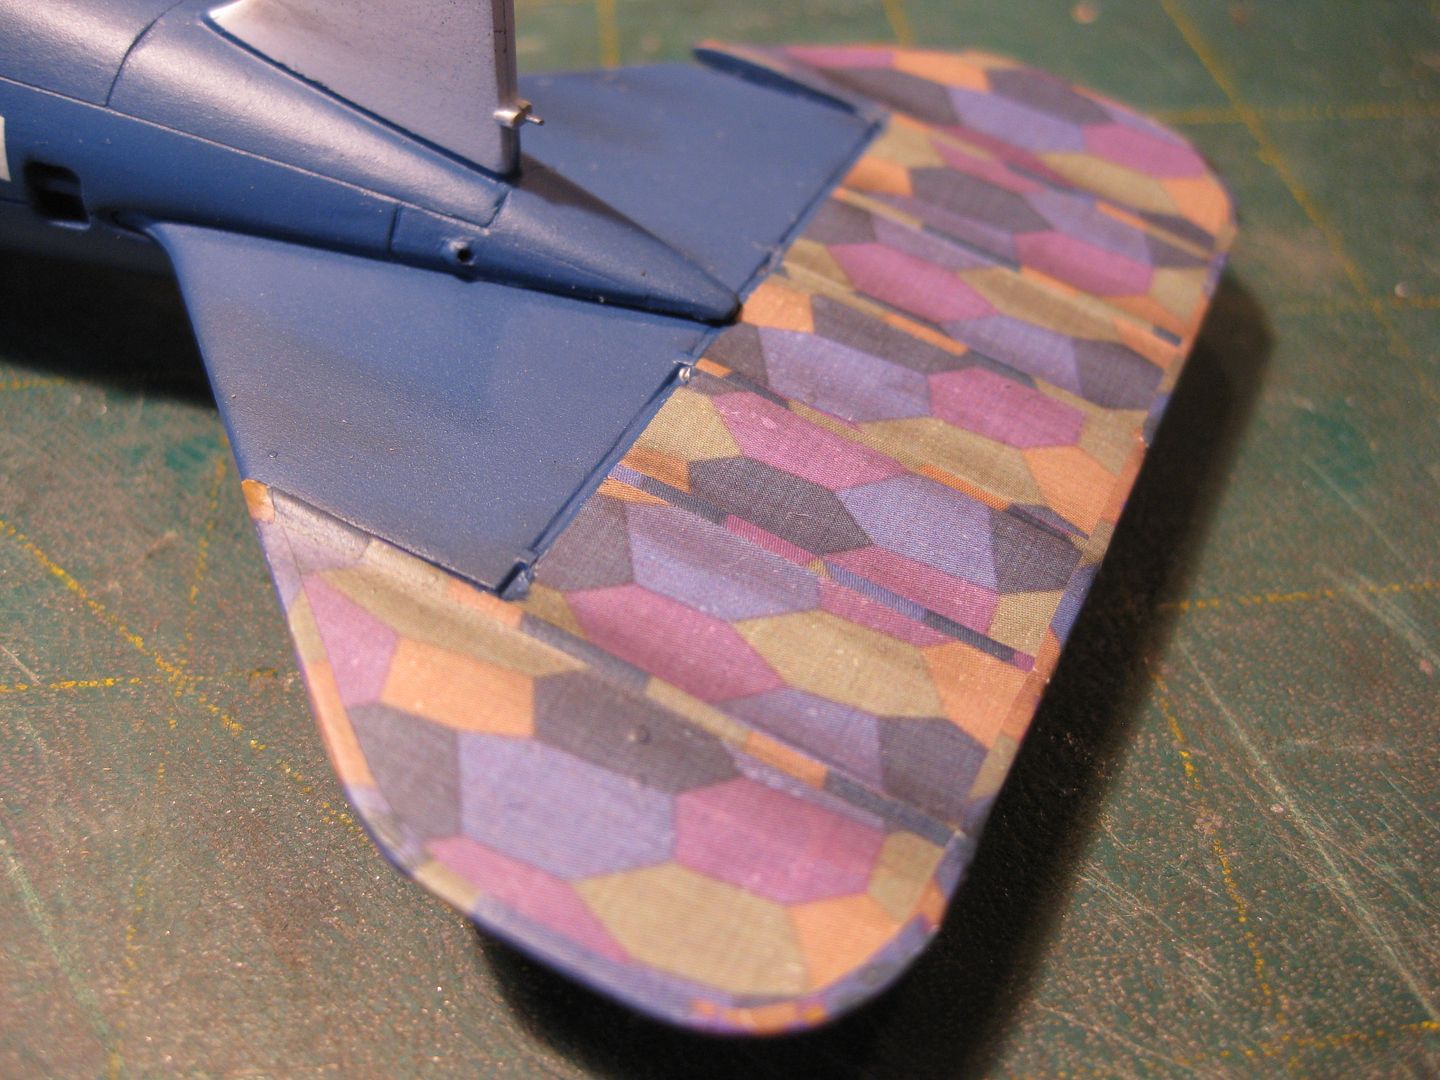
Just a bit of oil residue streaked onto the vertical and horizontal stabs:

At this point I thought I'd go for a change of pace and get the wood prop built. Based on the photos in the Data File I started with a very dark and very light pair of veneers from the "tickle trunk" and followed my usual method. This prop would require two blanks to construct a 4 bladed one so four laminated blanks were produced to allow for back ups should one or two get spoiled.
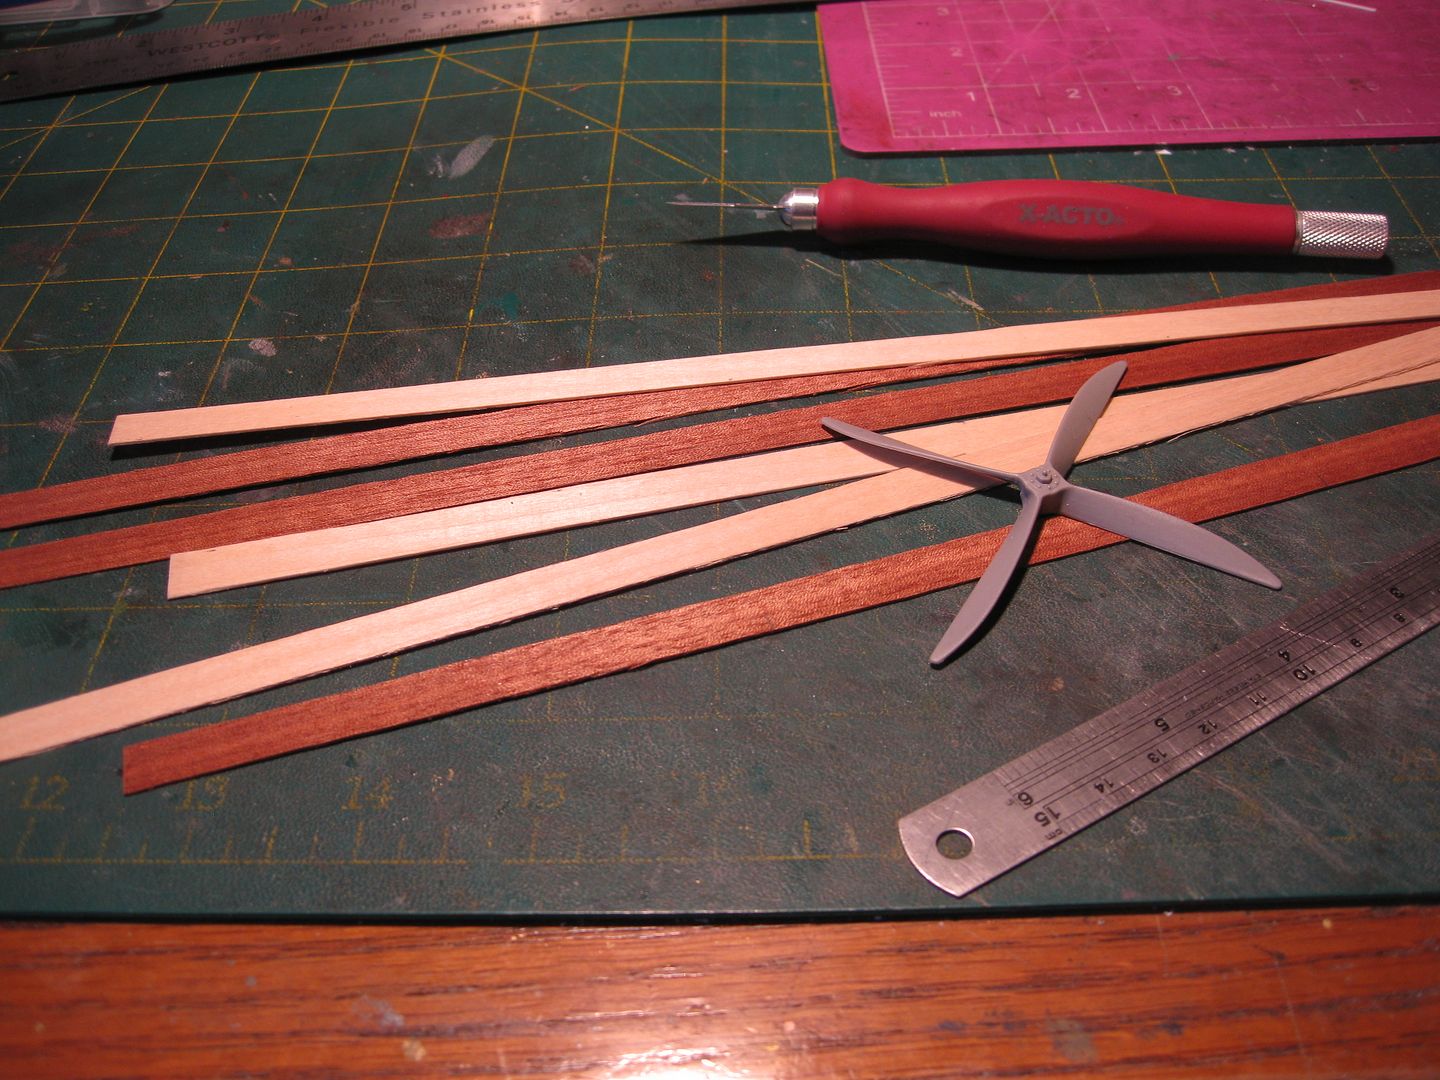
The strips sorted and ready for the gluing and vice clamping stage:

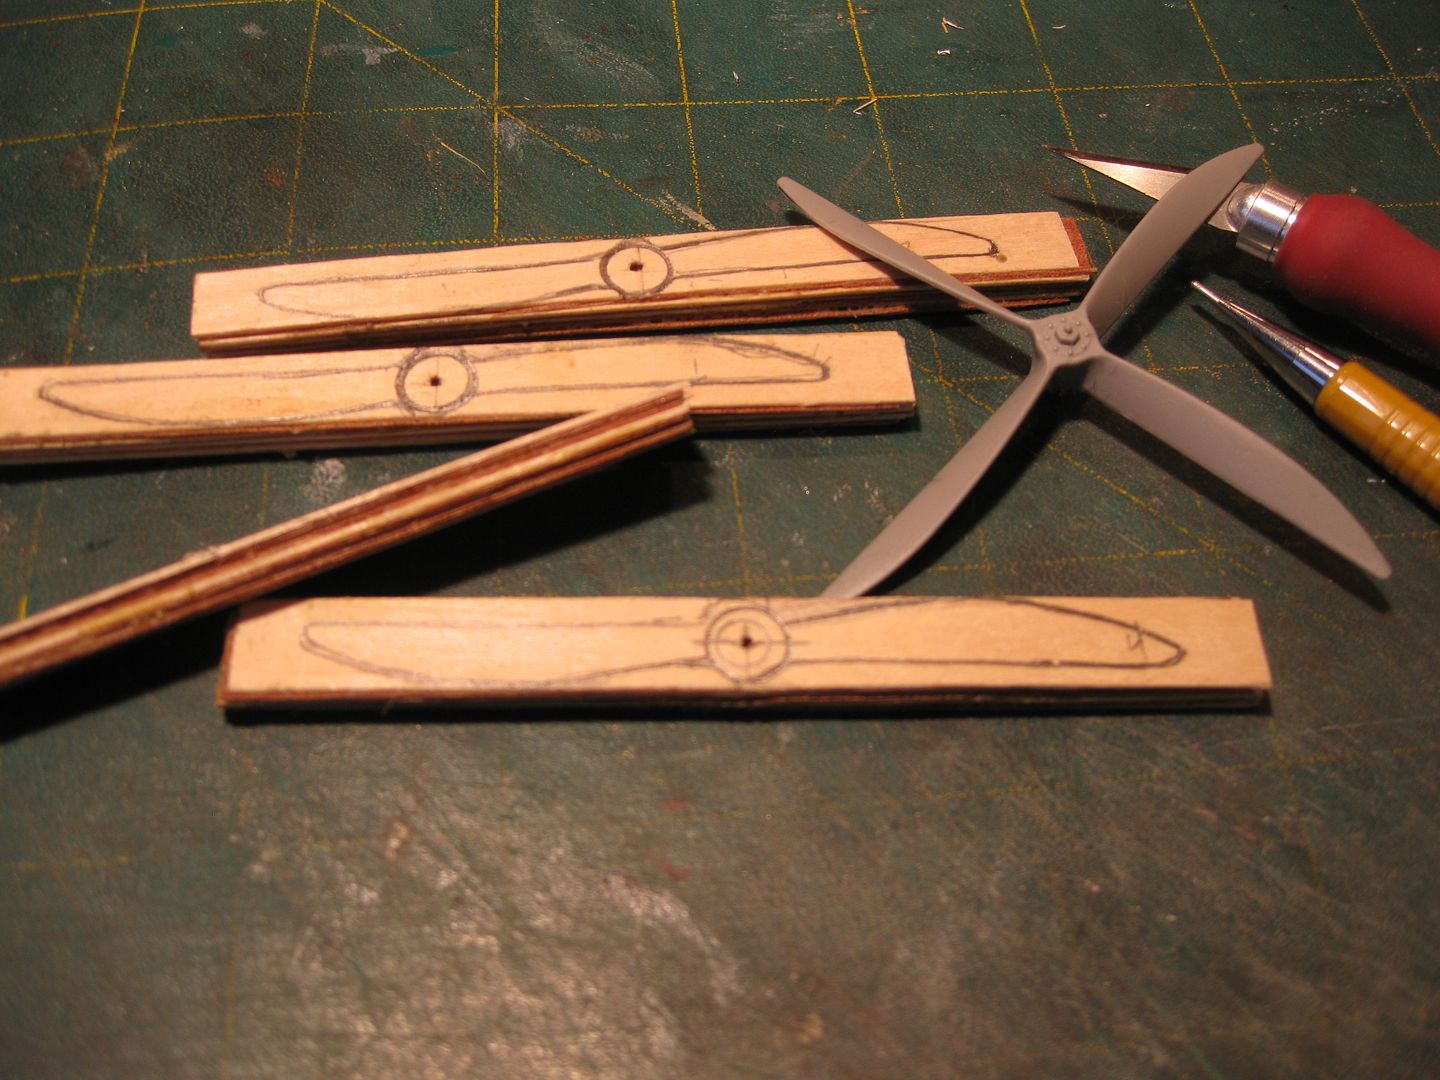
The Blanks ready for carving:
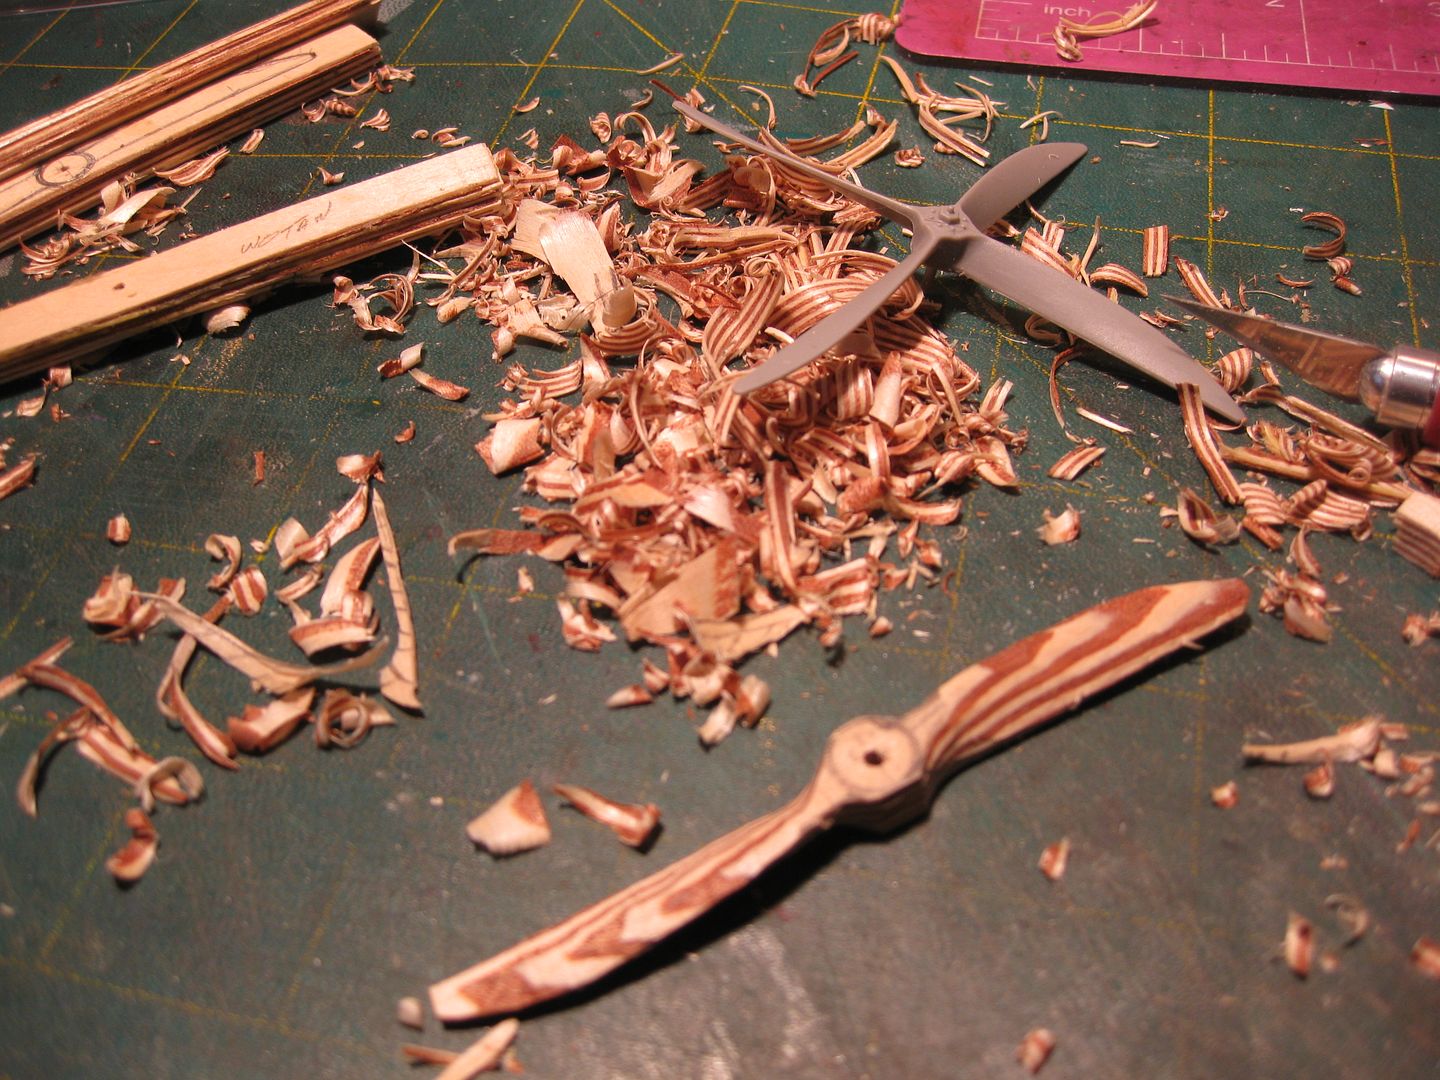
The ugly part!
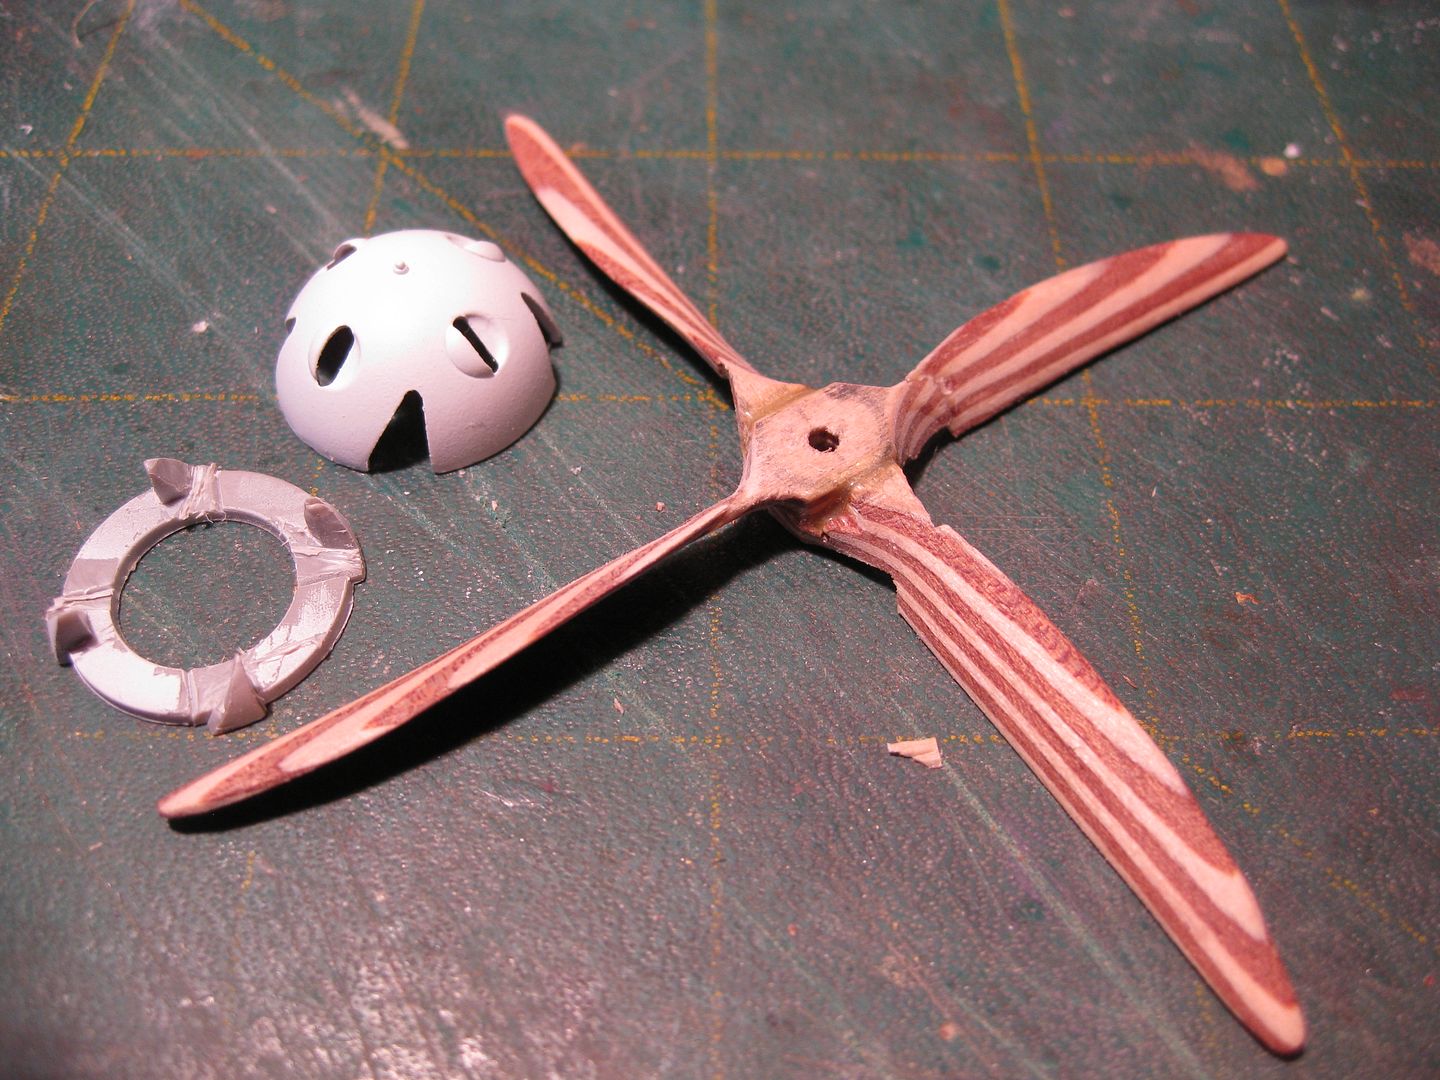
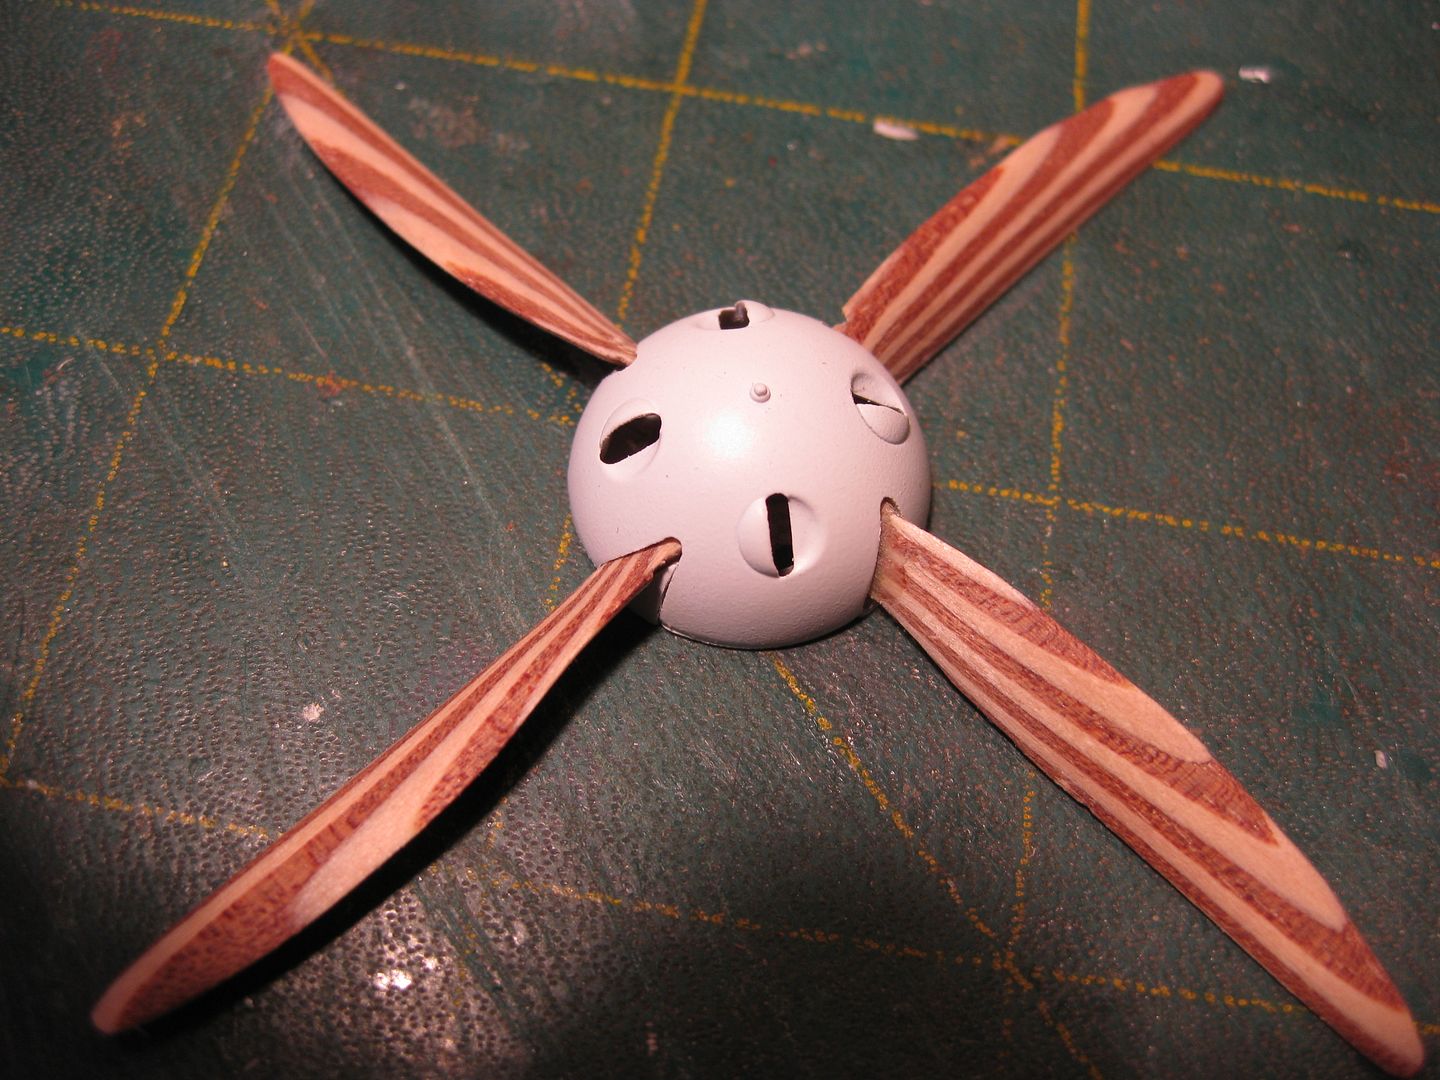
Two props become one 4 bladed one, final sanding and trimming to fit the spinner completed. You'll notice that Mr. Smooth Hand managed to break the blades at the 2 and 8 oclock positions; luckily the spinner will cover the repair spots!
And "posed" final assembly. The prop has since been given a shot of Golden Oak wood stain and will be given a coat or two of satin polyurethane once that dries. the one blade will need a small chip patched up prior to that.
And that's where she stands at present. Next step is some drilling and installation of some buckles before getting the final assembly stage going. I'm looking forward to seeing this one all together, it's certainly a nice looking subject, just ugly enough to be pretty!
Cheers,
Lance

