It's time for a very long overdue update on this Build. It's almost complete so I thought it would be a good time to get the Log up to date.
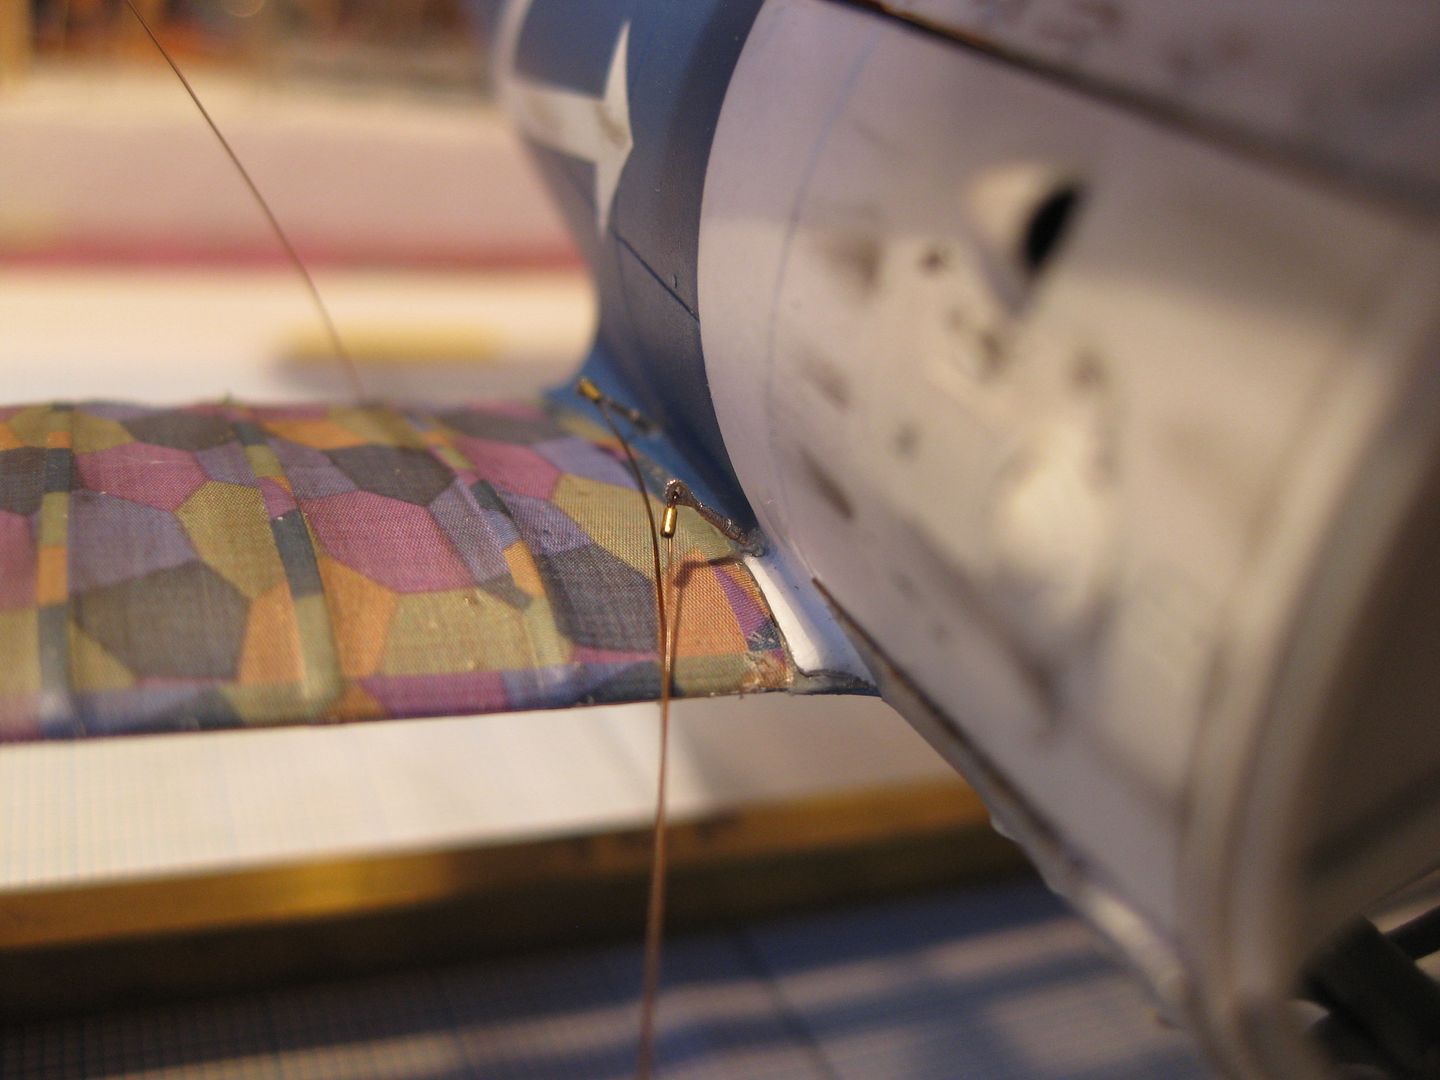
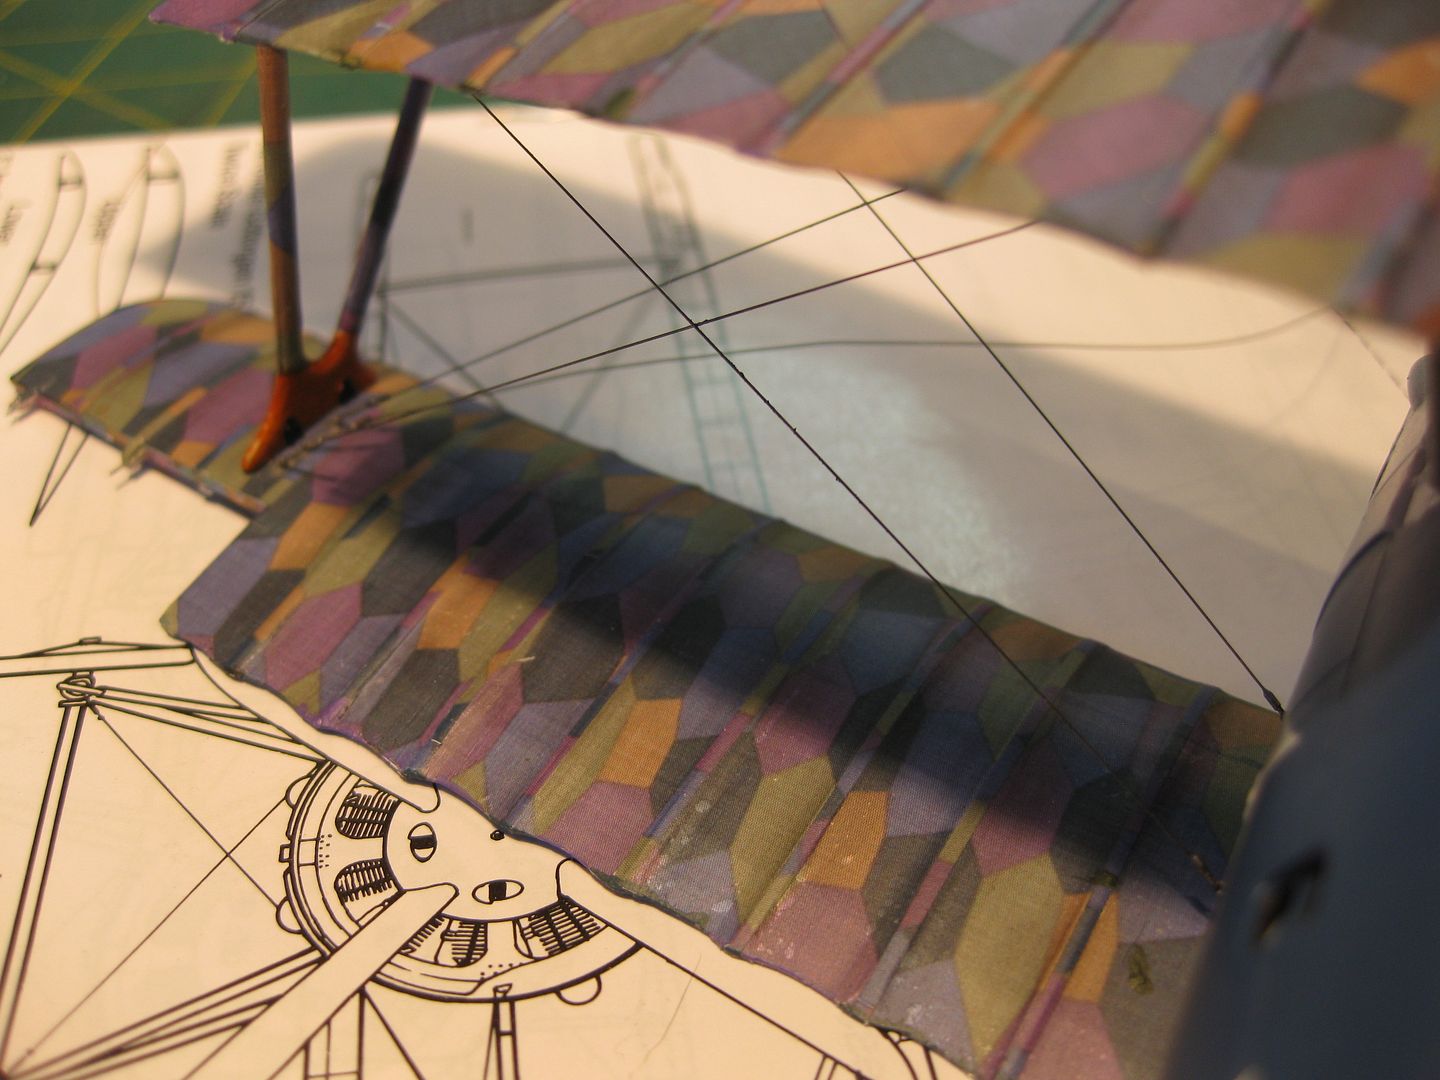
First the rigging was attached at all it's lower terminals. I used Gas Patch 1:48 Turnbuckles on these lower fittings with 1.0 mm Bob's Buckles to complete the joins. The structural rigging wire is Maxima Chamelion .12 mm (2 # test) with Mr. Metal Colour "Stainless" #213.
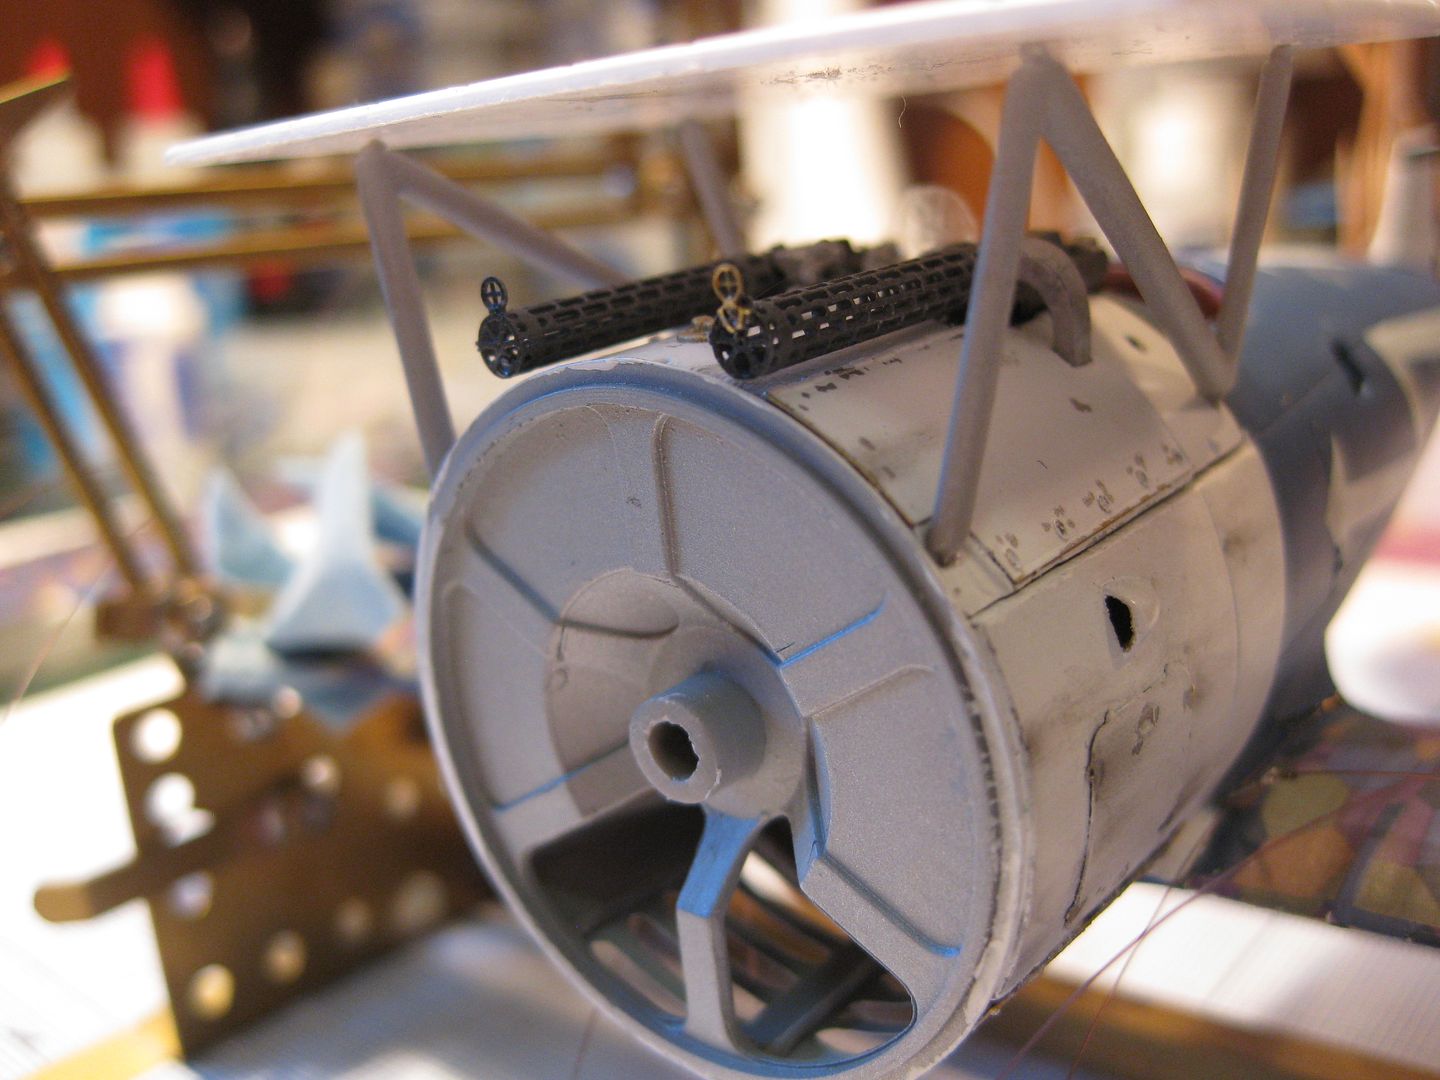
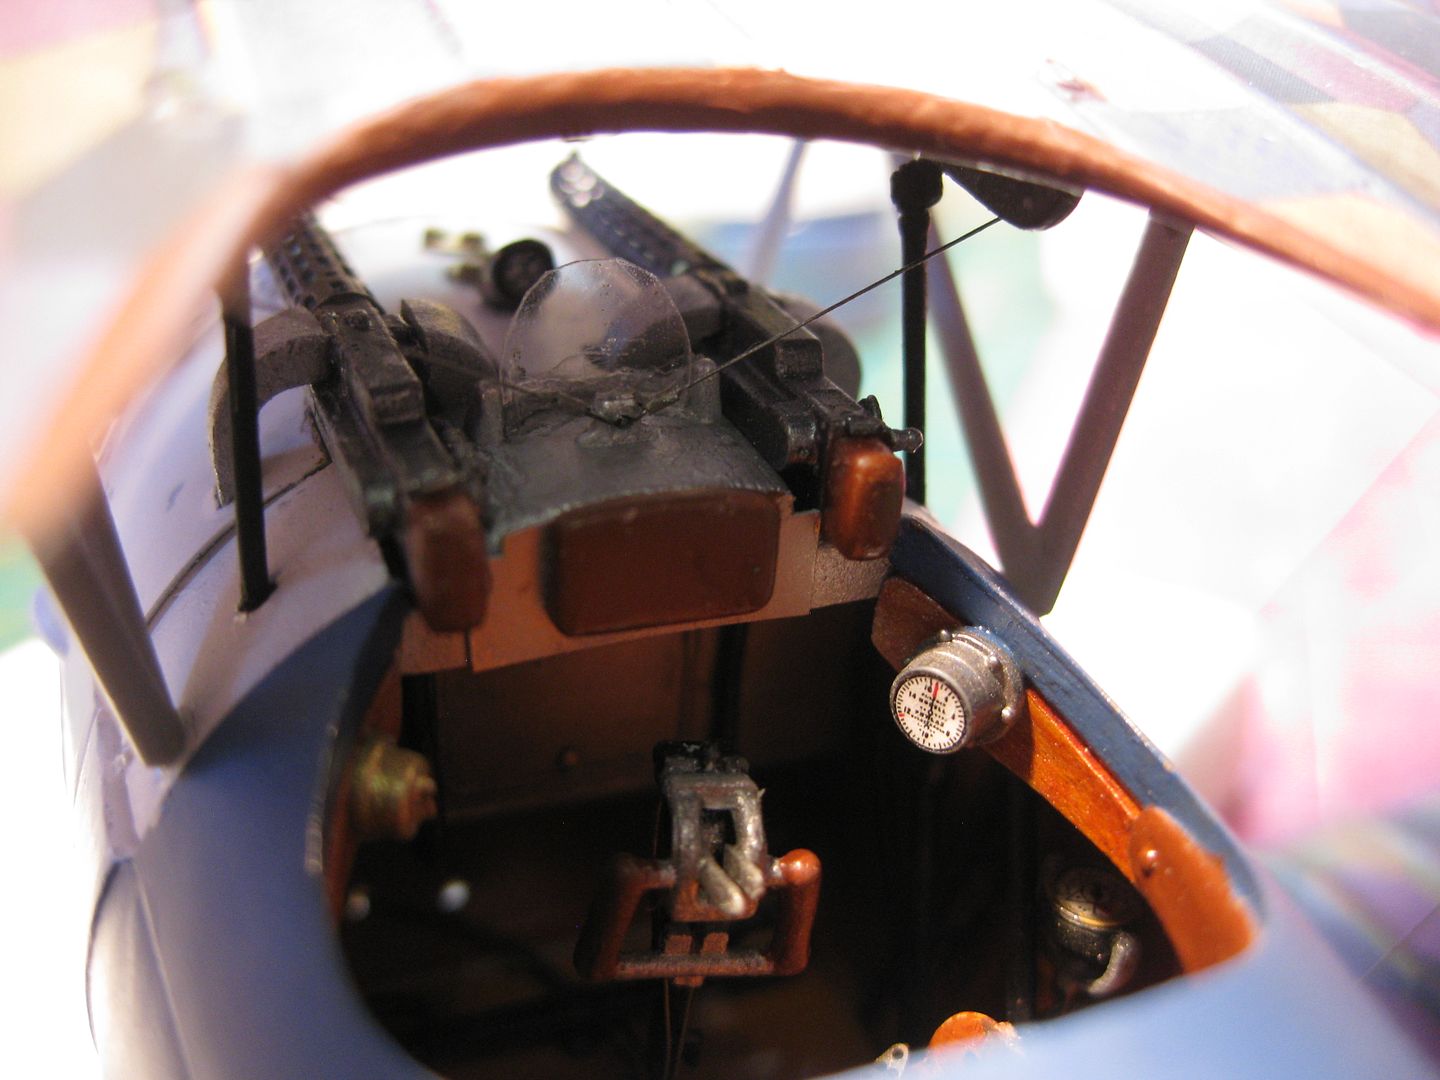
Next step was the cabanes which, like all of the struts, were drilled and "pinned" with stainless steel guitar wire. They were mounted with CA using a simple spacing and alignment jig. I managed to snap off both Spandau barrels and one ring sight during this step but got lucky, found both barrels and had a PE spare of the ring sight, and saved them for re-installation later.
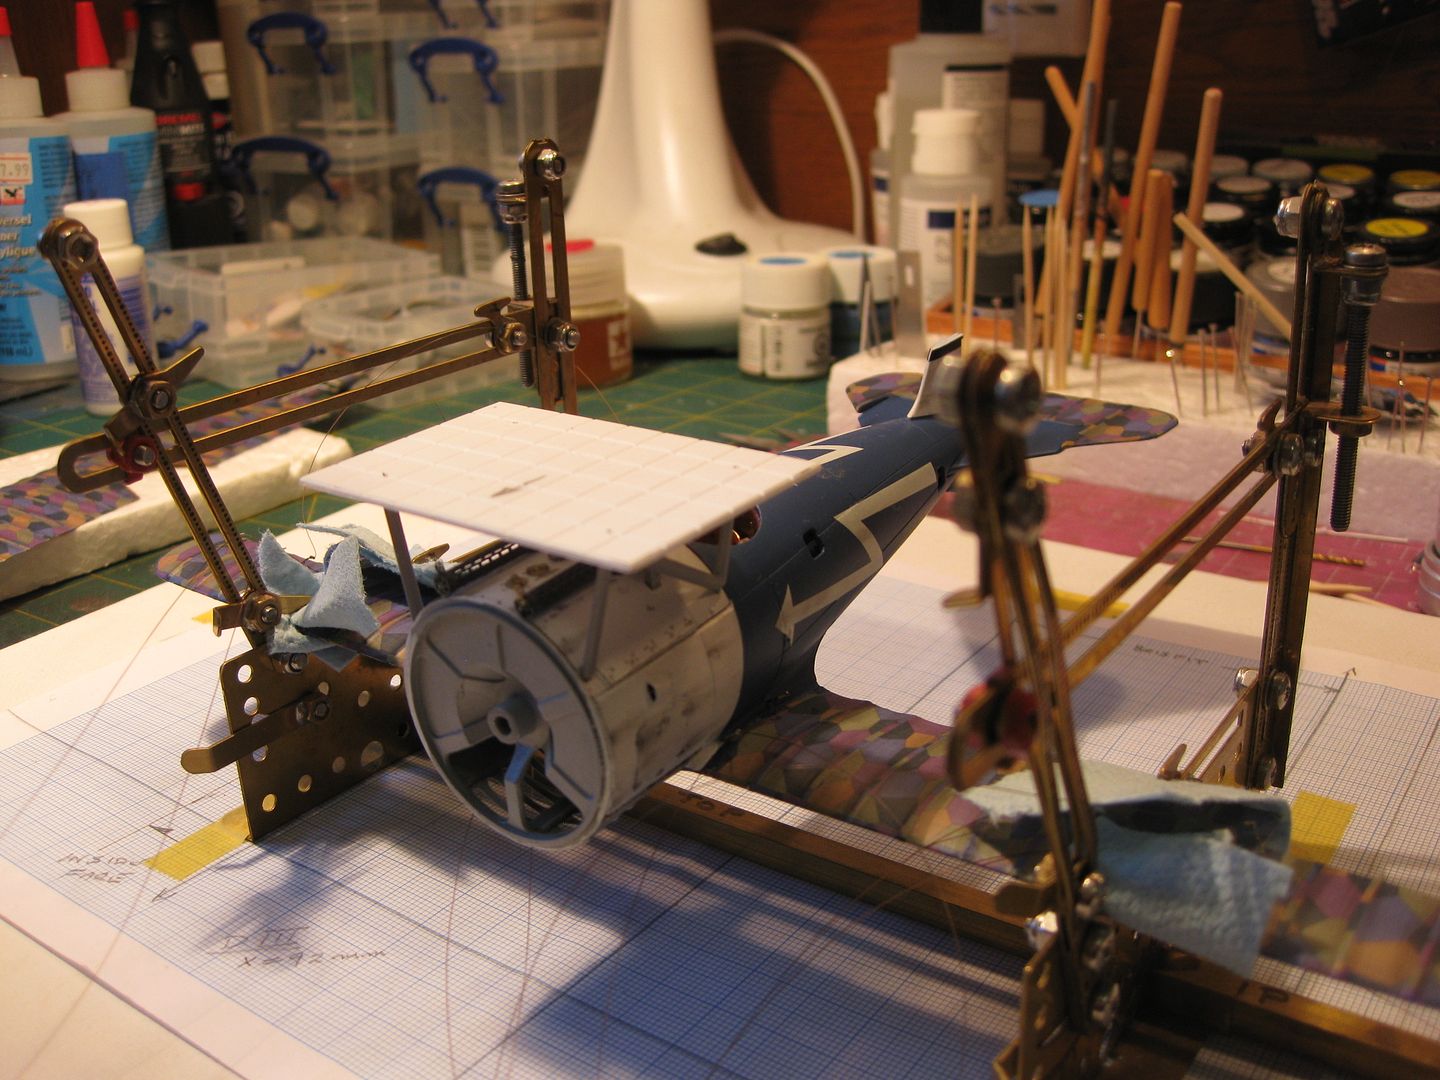
Next step was mounting the top wing which I neglected getting photos of. It was mounted on the cabanes first however the main struts didn't fit at all. I had to carefully break the wing off and the bottom connections of the main bay struts, ended up trimming about 2 MM off each aft strut of the latter, and then the assembly went quite well although there is a very minor bend in one when closely examined. With that done the upper rigging attachments were completed.
I also did the cabane cross bracing using Modelkasten's 1:48 elastic thread for both the fore and aft positions. This view also shows the windscreen scratched out of a thicker clear stock then the Kit supplied version.
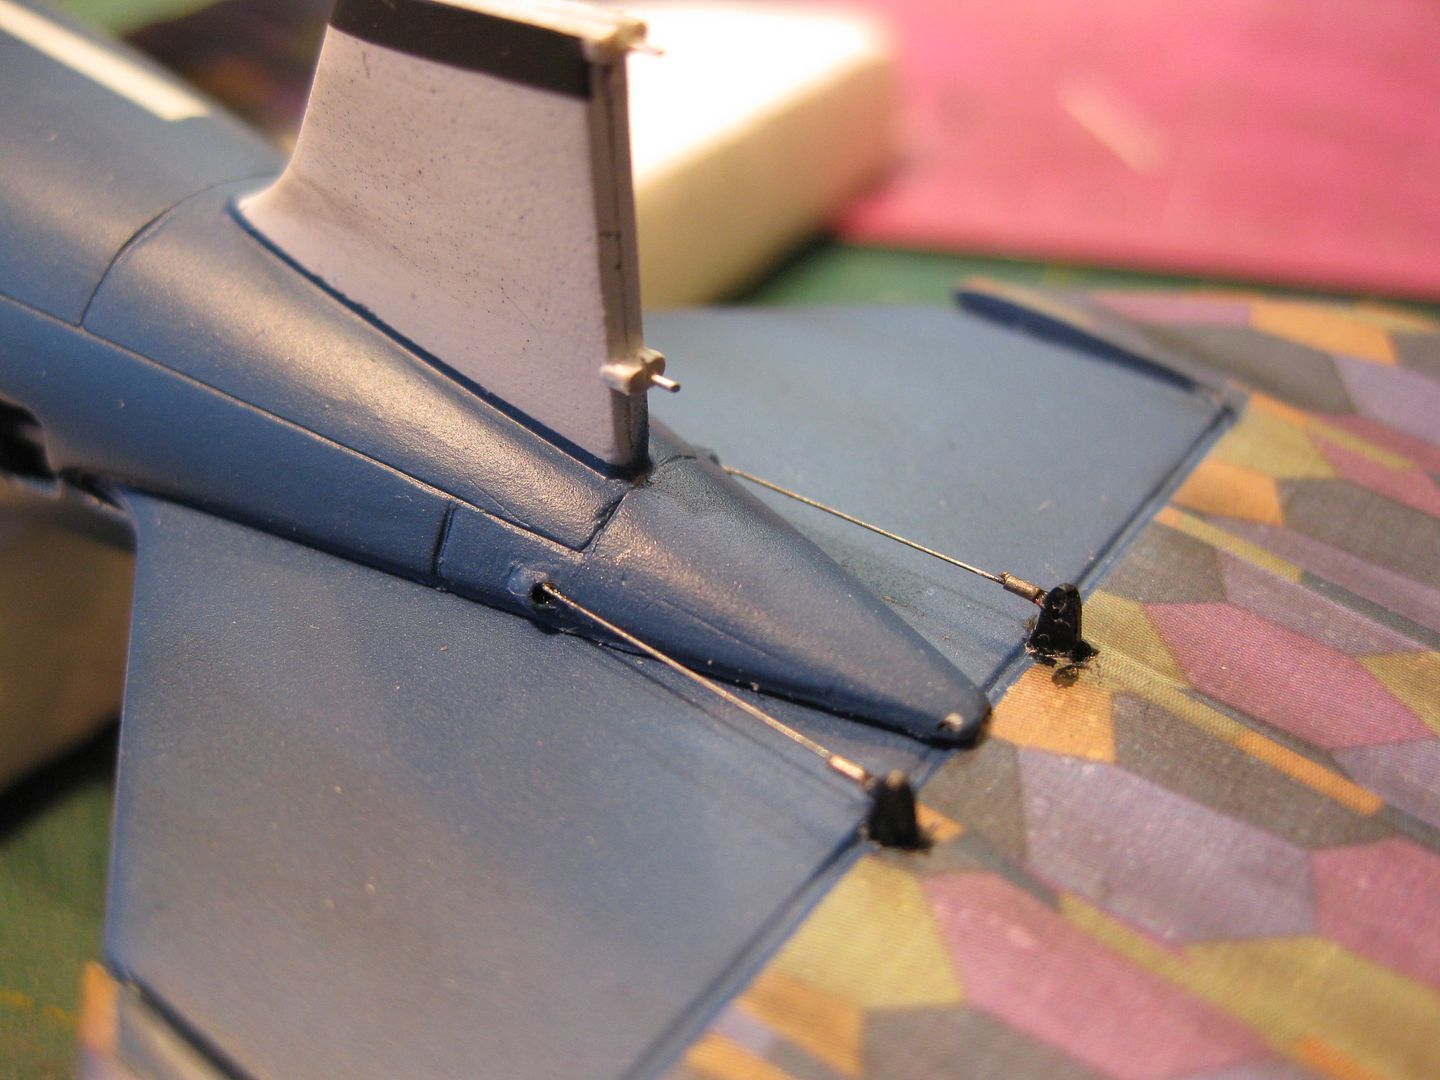
The elevator control cables were done with 0.11 mm mono and 1mm Bob's Buckles. The black over paint "glob" has since been touched up.
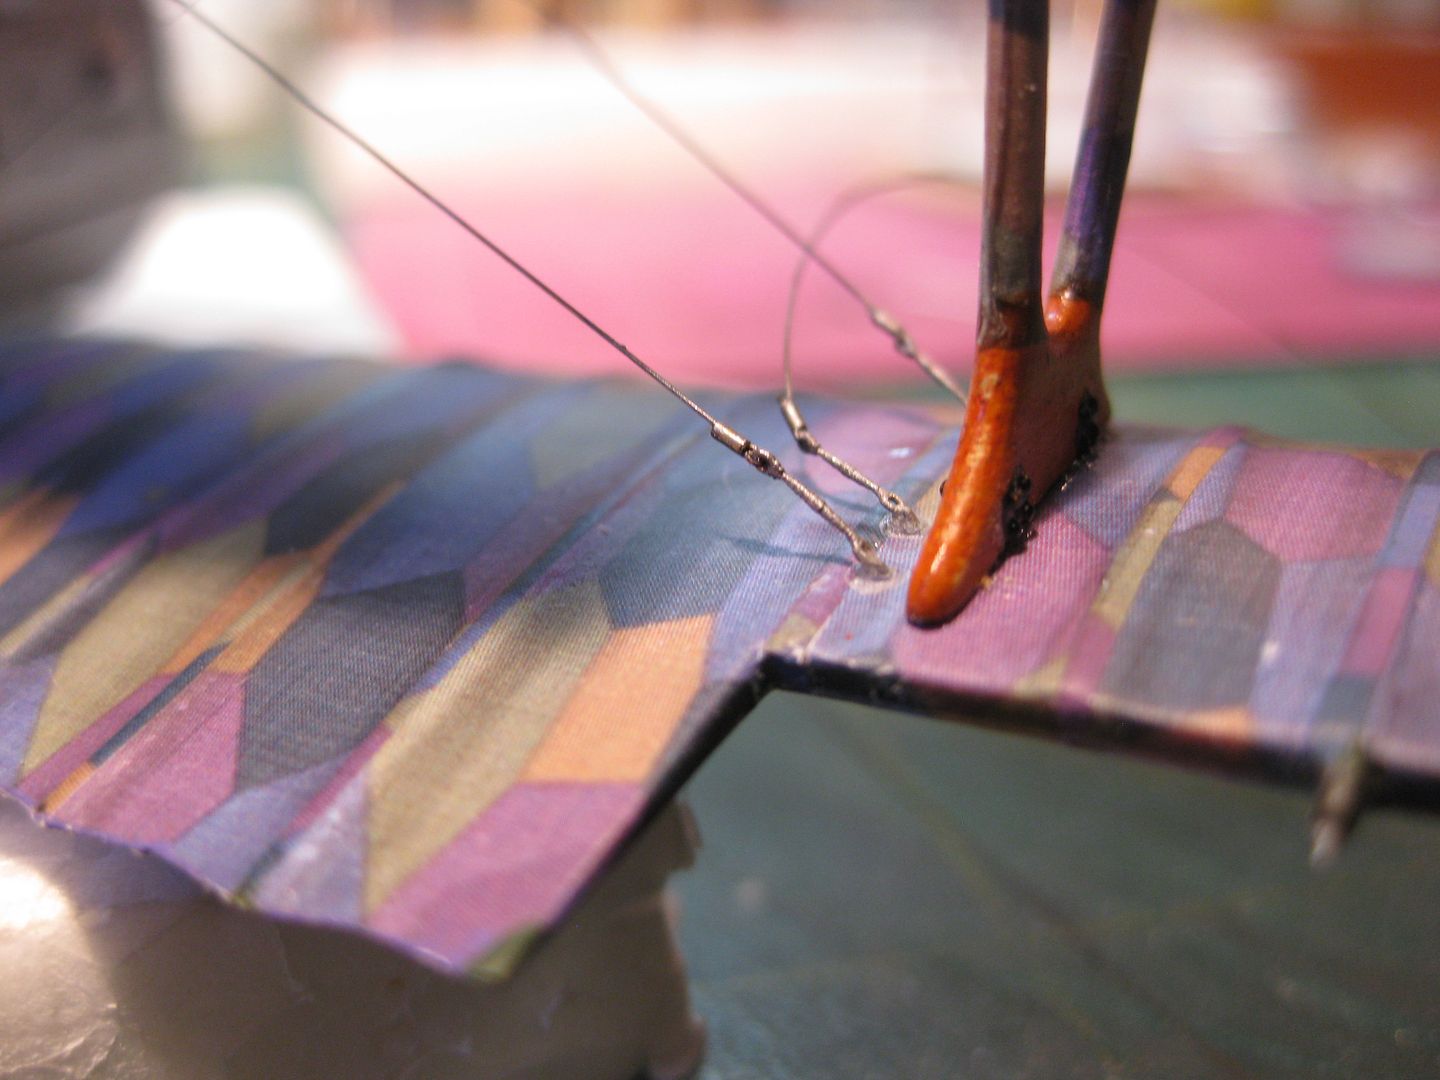
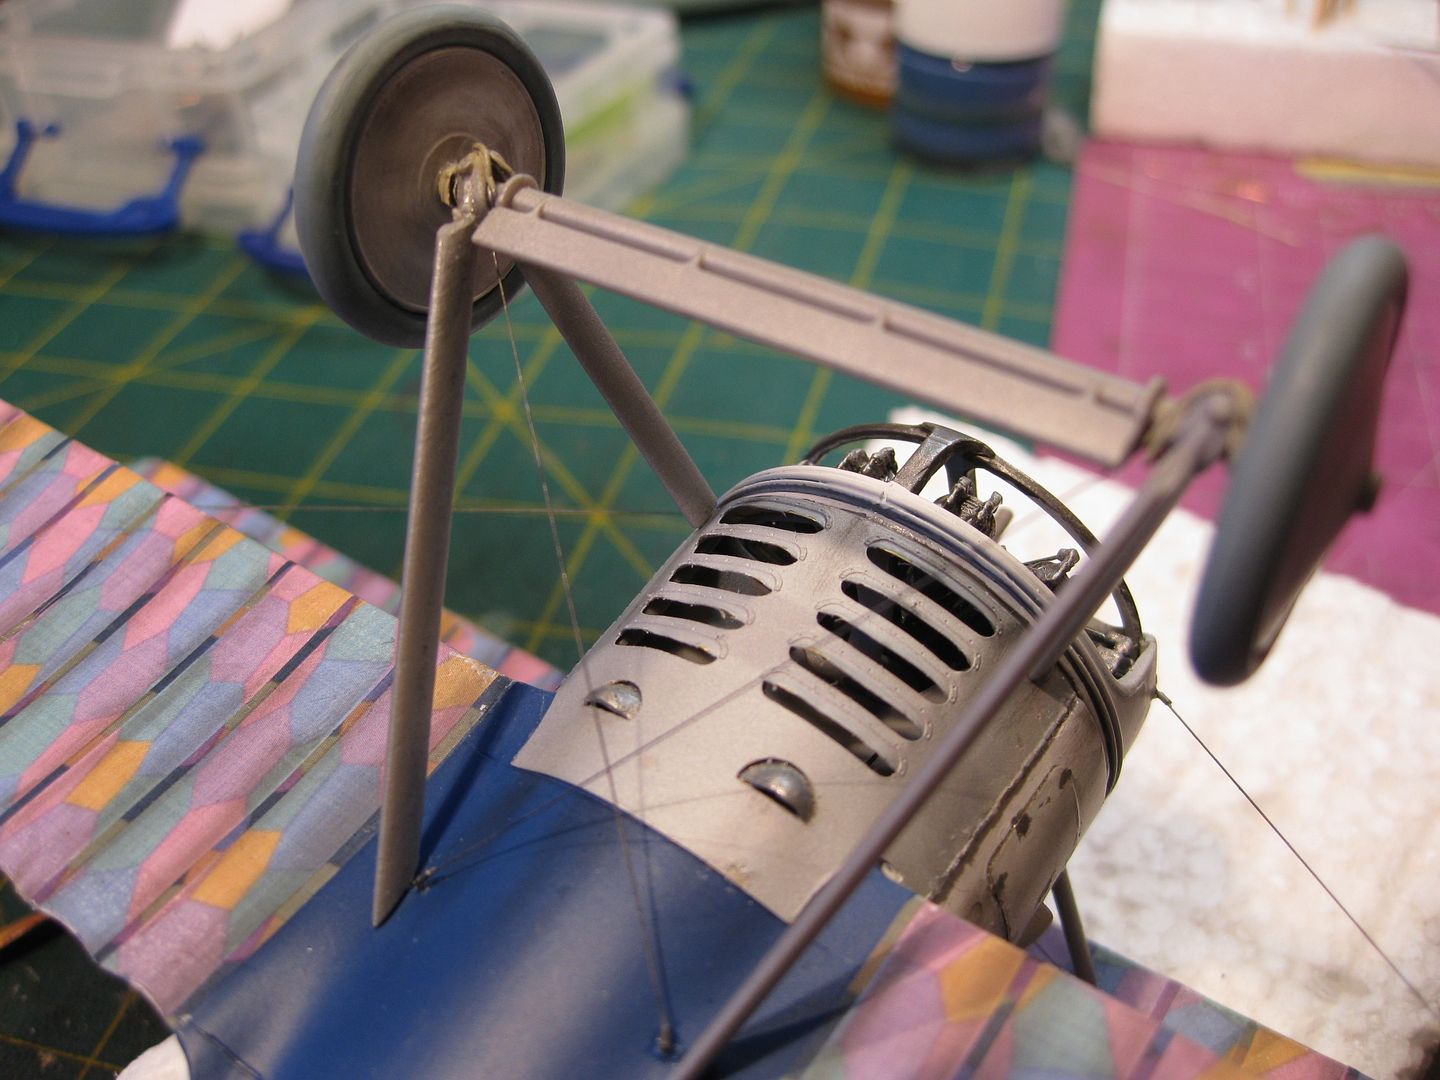
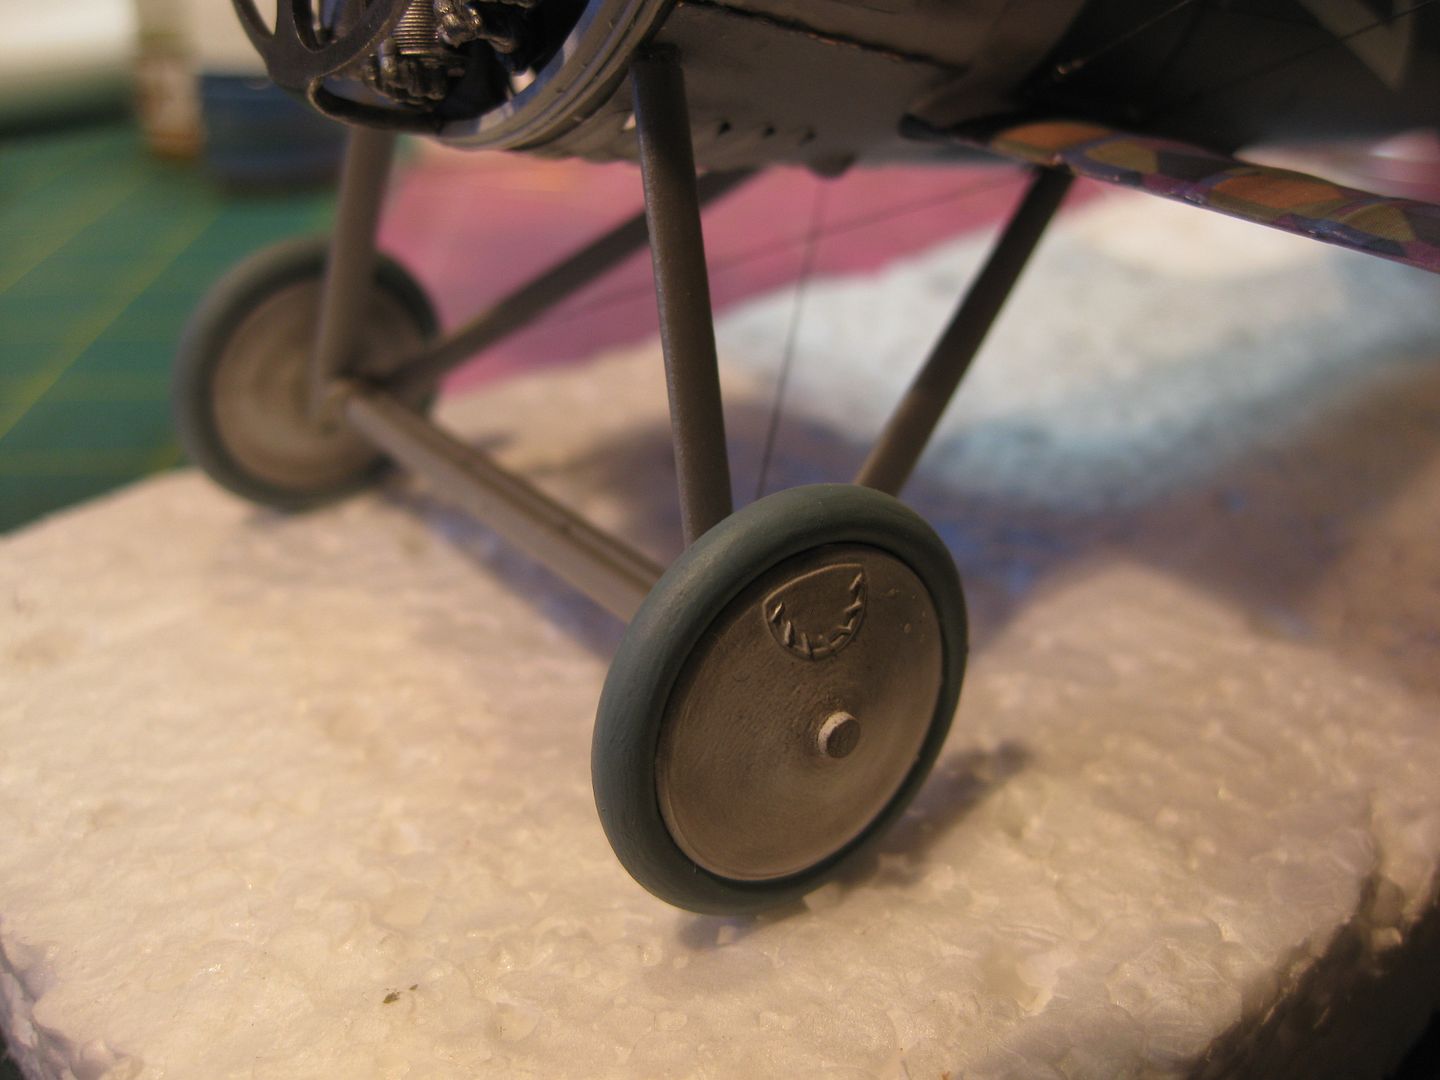
Next came the landing gear assembly, again facilitated with a simple jig and a level was used to ensure proper alignment.
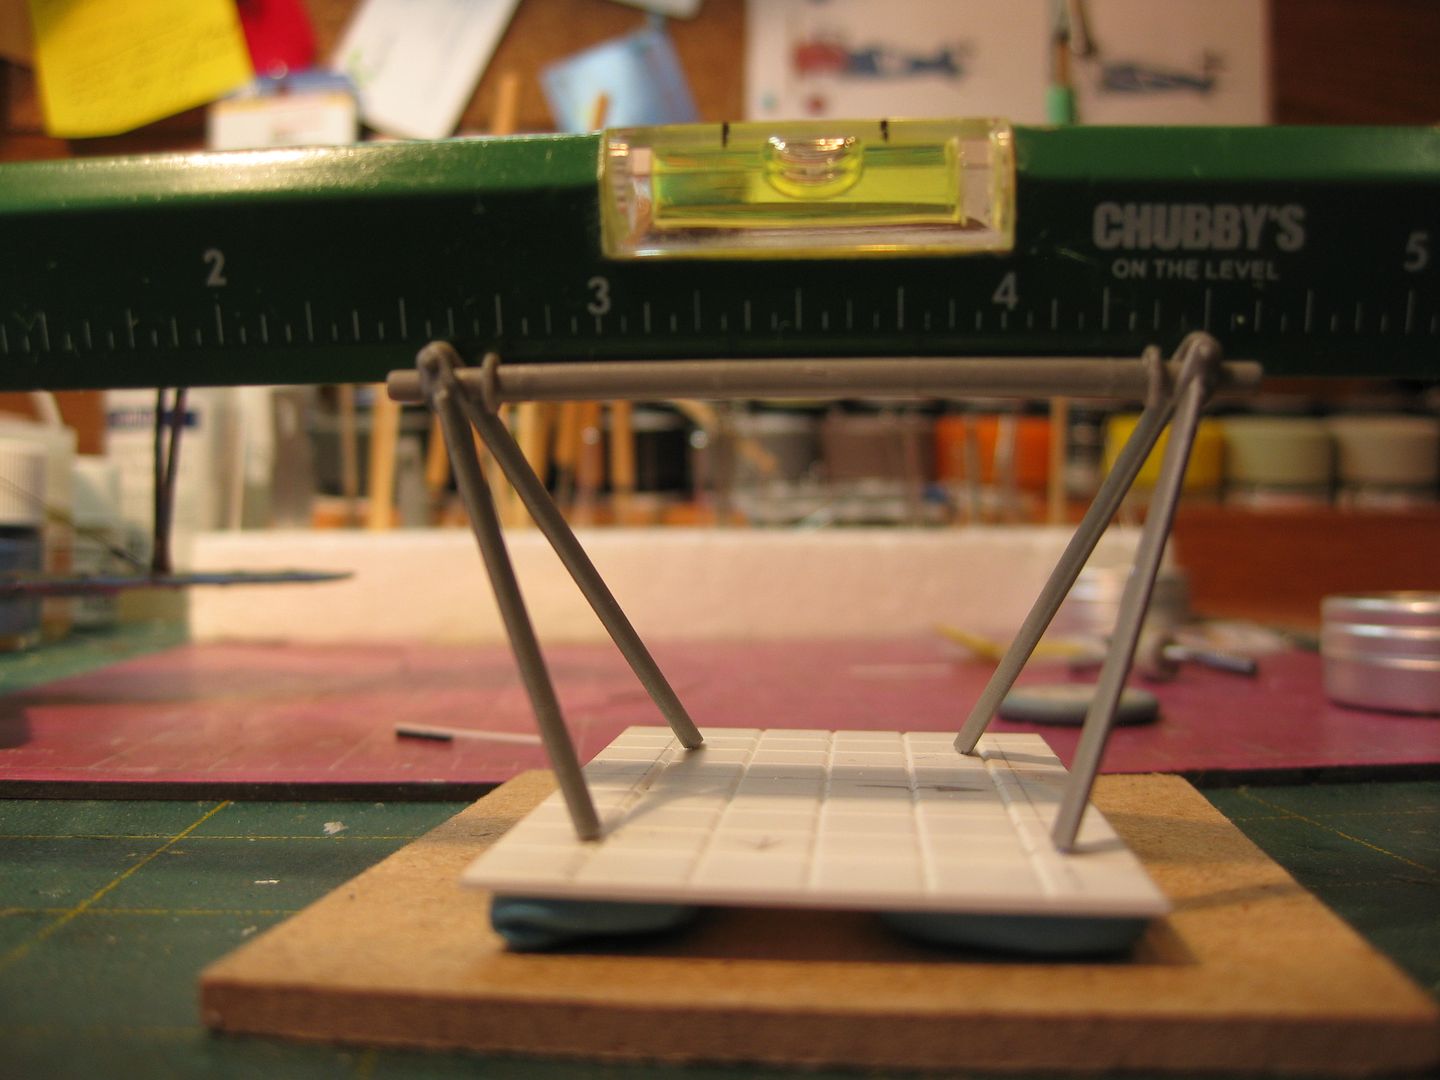
The kit didn't provide any representation of the bungee suspension on the axle so lead wire was installed and painted with Tamiya's Deck Tan.
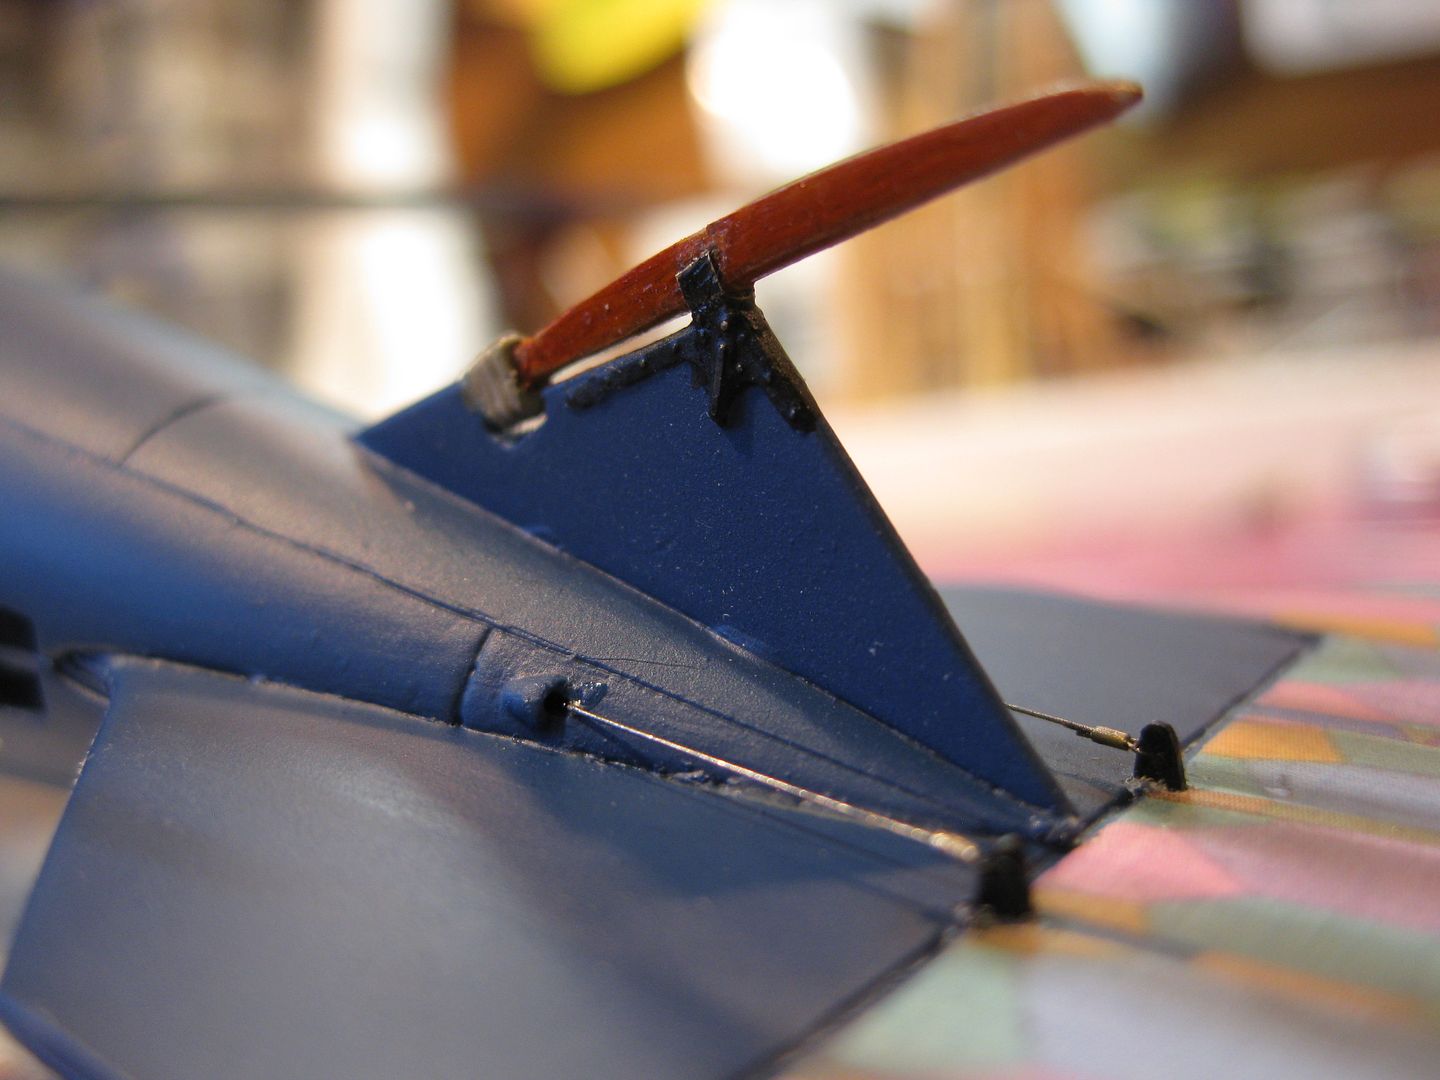
I then installed the tail skid and added a bracket from scrap PE at the rear connection.
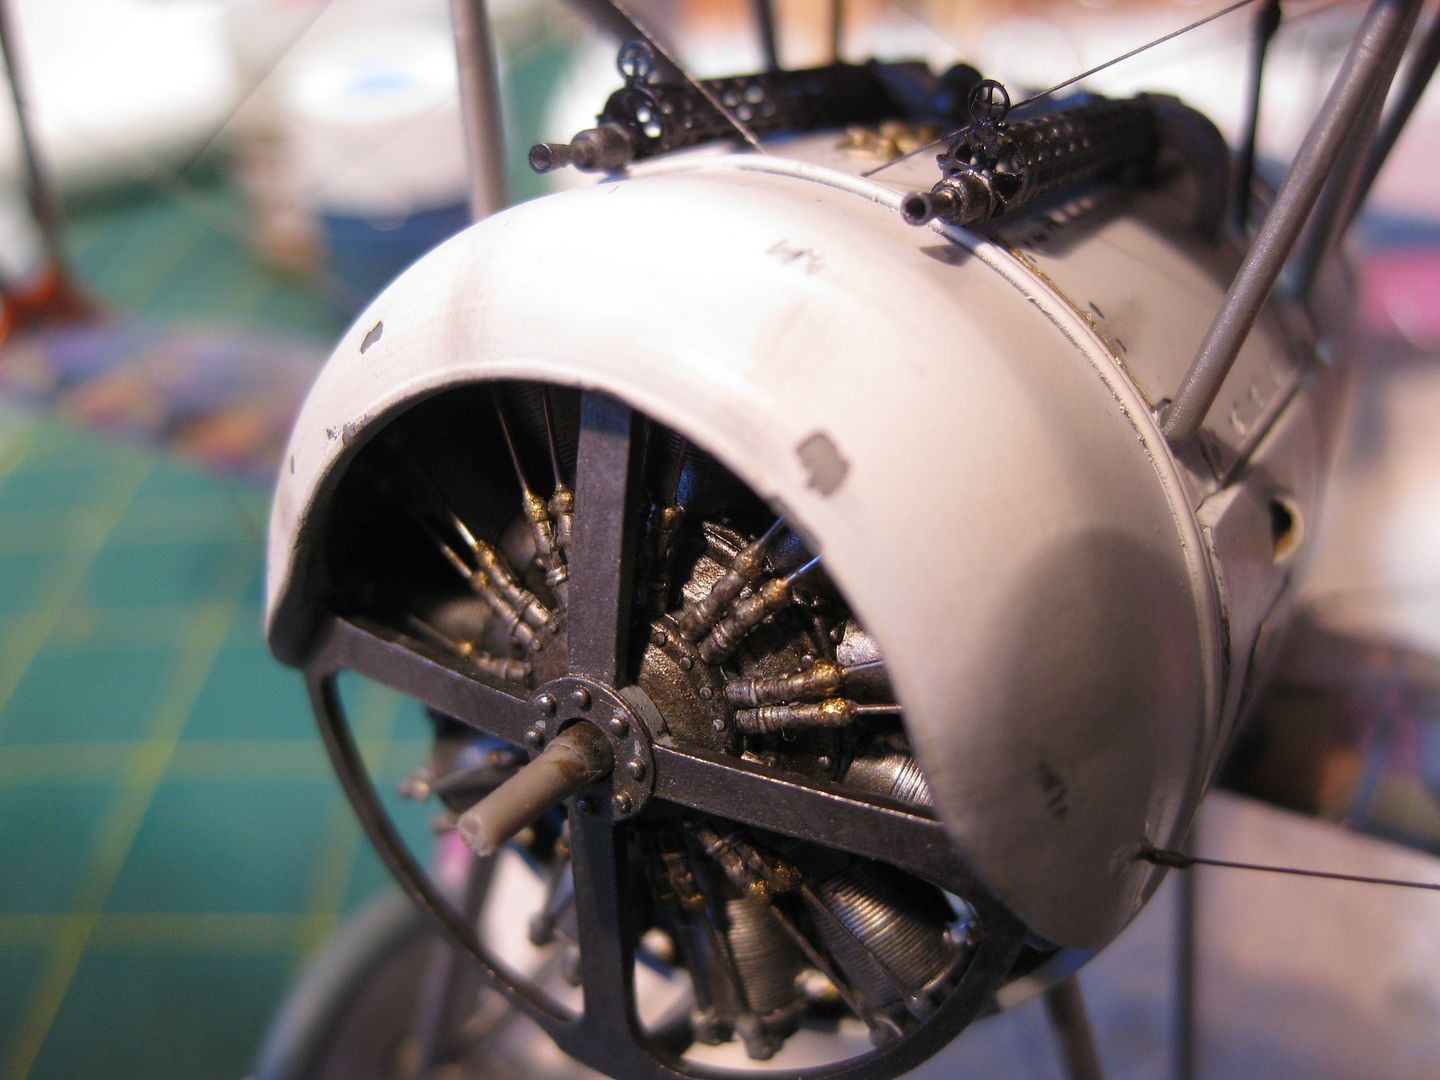
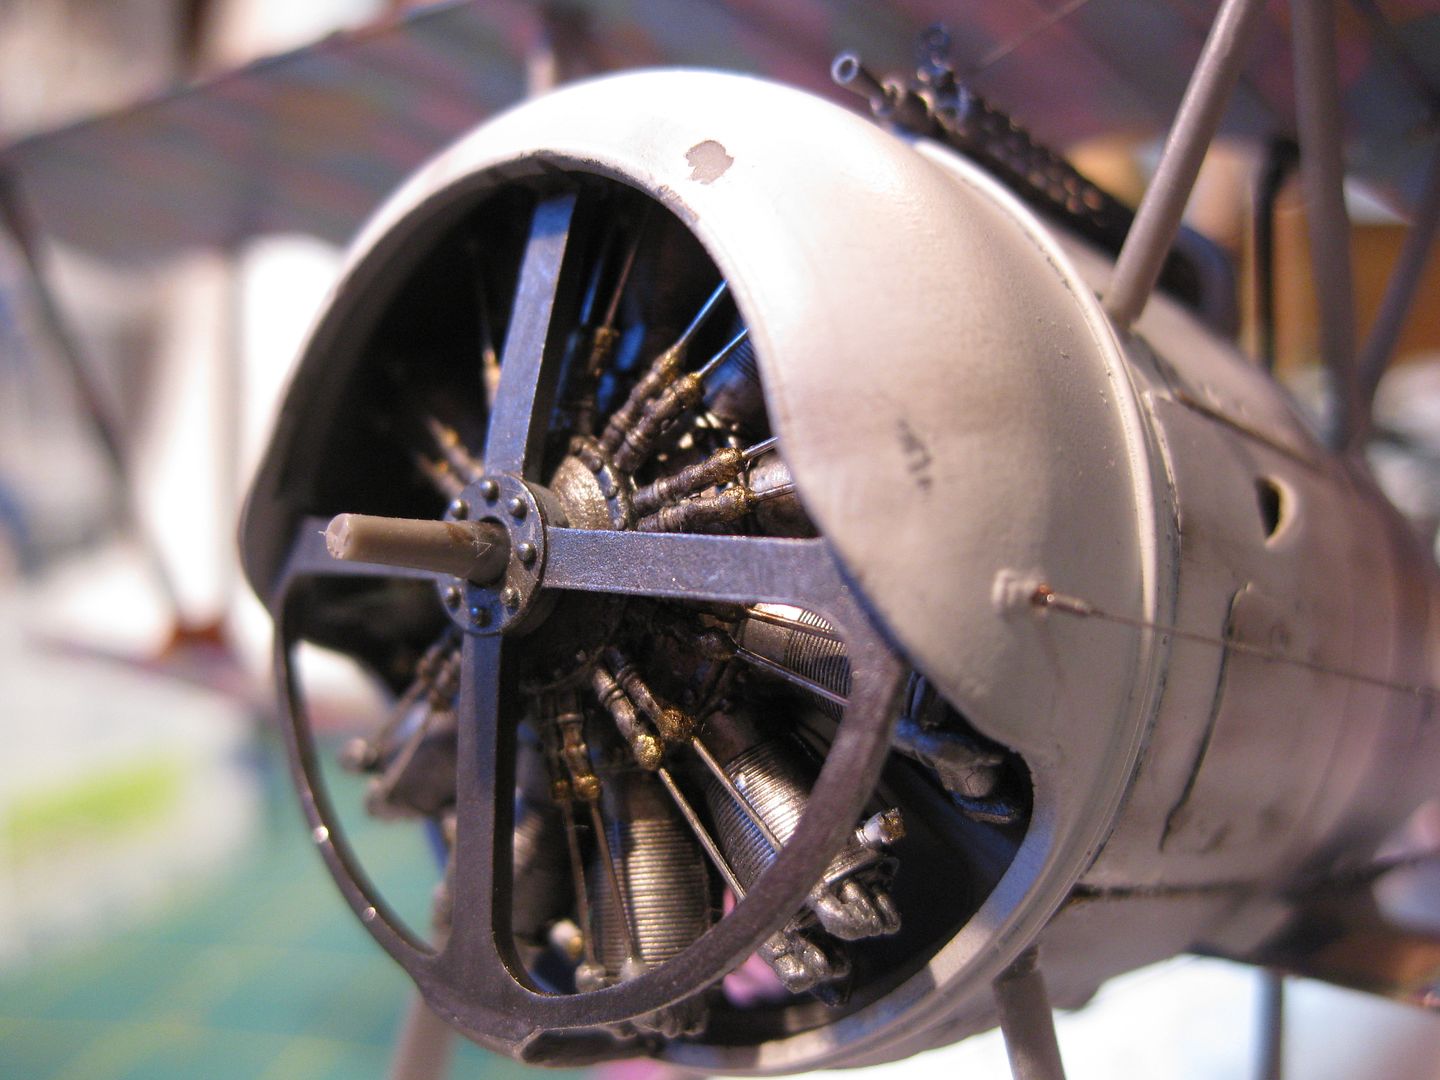
Last, the gun barrels were re-installed and paint touch ups done followed by mounting the Kit's engine and the cowling, then completing the last rigging wire to the cowling.
The final steps will be adding some oil and a bit of "dirt" and a final touch up. Hopefully she'll be completed by tomorrow!
Cheers,
Lance

