Evening All
Thank you Warren and Rick for the kind remarks - I appreciate them greatly.
The top wing has been put on, together with the gravity fuel tank. The tank was made from a cocktail stick cut and shaped and held in place with two small pins put into holes in the tank and under the top wing. I glued 4 struts to the fuselage nacelle and to the centre section of the top wing. The struts were made from 40 thou rod. In real life these were steel tube so the round cross section is correct. Having holes in the wing and fuselage made fitting relatively easy and alignment was not difficult.
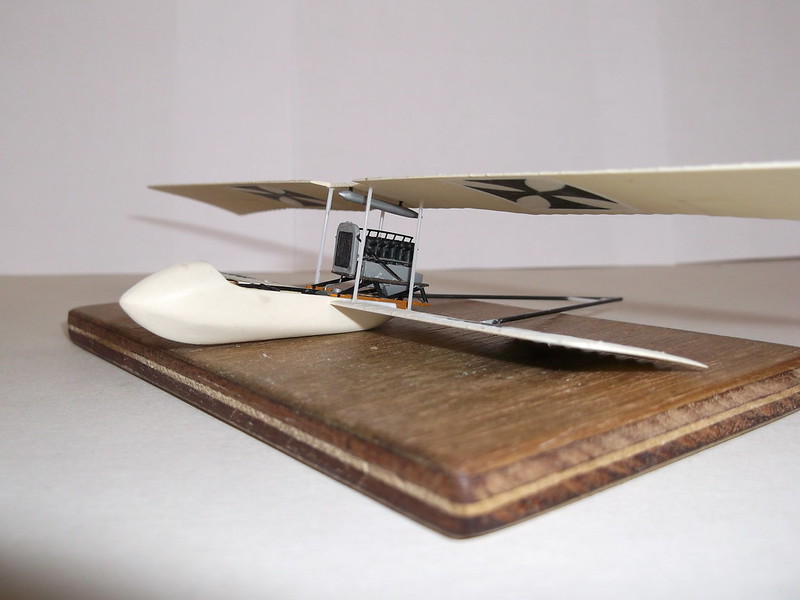
When the struts had set I put in a small piece of plastic rod to represent the fuel pipe as access was easy at this stage. The remaining struts were then fitted starting with the middle bay and then the outer bay to finish. This made a rigid and stable structure.

The booms could now be fixed to the top wing but to do this the fin/rudder needed to be fixed at the same time. The fin supports the booms and makes sure that they are held in place while the epoxy glue dries out. The forward ends of the booms were put into grooves filed into the top of the top wing and were held with epoxy glue. The fin was attached to the booms with superglue which dries quickly and helped to hold everything in place. The model was inverted while the epoxy hardened - no jigs were required on this occasion.
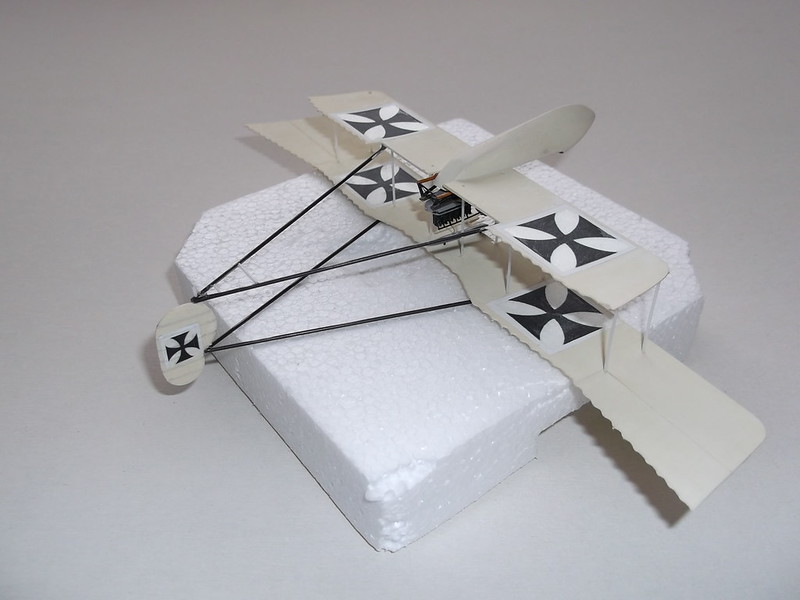
Finally the boom struts were fitted one at a time, starting with the middle - each strut was measured to fit and then fixed with superglue. As soon as two struts were in place the structure was strong enough to handle without fear of it falling apart.
I did start to make an undercarriage assembly from rod and strip but my first attempt was the wrong shape and size so once again it was back to the plans for a closer look. Aaaaarrrrgggghhhh!!!!
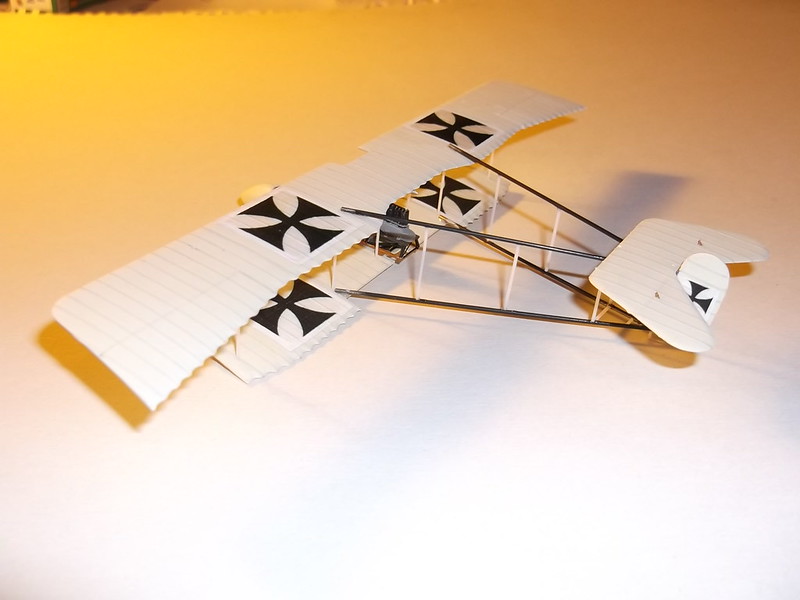
The new structure is almost complete but not fixed to the model yet.
Thanks for looking.
Stephen.

