Evening All,
Many thanks to all of you who have dropped by and left encouraging comments: as I have written in another thread it is in part through comments such as these that I have learned much and gained the confidence to tackle a model such as this one. However things have slowed right down recently as life has intervened between me and my modelling tray. (I work on a tray that was given to me by my mother when I started to make models as a pre-teenager. Sentiment or practicality? I am not sure which, but probably both).
One of the hold-ups has been that I had to remake the lower wings - I had misinterpreted the drawings and the ones I had made were too short…. B****r! So for those reading and pondering Jorg's current thread in the Time to Relax section and are wondering how some modellers seem to produce perfect models, there is a lesson for you…. we all make mistakes. But as Old Man has written, an advantage of scratch building is that you can always make another part. Still frustrating though.
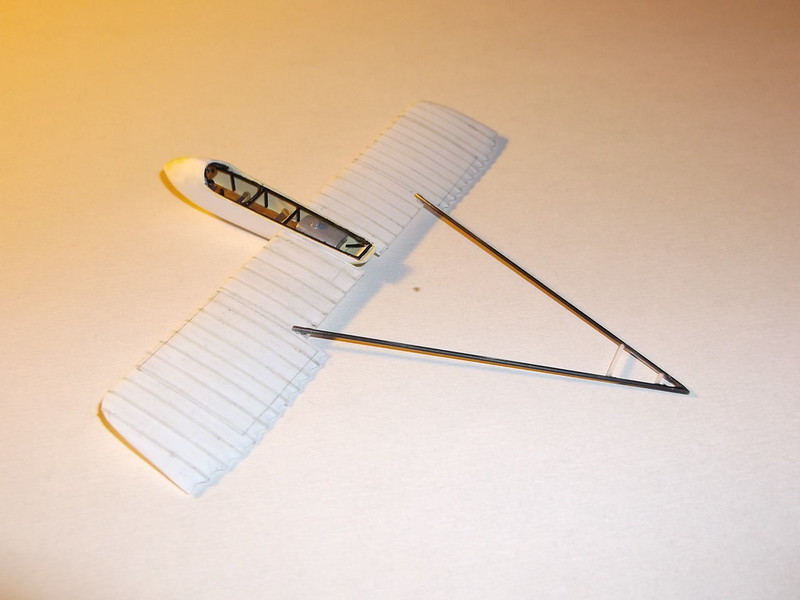
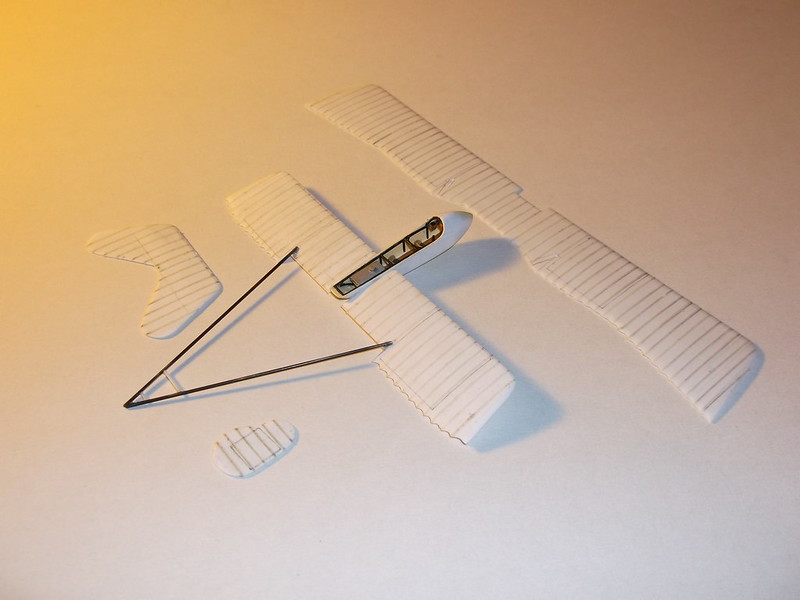
I have also been thinking about how to assemble this one. Normally with pushers I tend to join the lower wings to the fuselage nacelle and then put the booms on the upper and lower wings and paint them. I then add the outer struts, top wing and rudder in a single move, but with this model I do not think that that will be practical because the engine has to be fitted on top of the rear of the nacelle between the wings. The engine sits on a platform and there is a large radiator at the front of the engine which means the method I have used in the past will not work. So. First I joined the lower wings to the fuselage and then added the booms which were made as usual from florists wire. The booms were fixed into shallow grooves which I had made in the tops of the wings with the tip of a small round file and were glued into place with epoxy resin. I also put in the two small horizontal struts at the rear of the booms from plastic rod and fixed these with superglue.


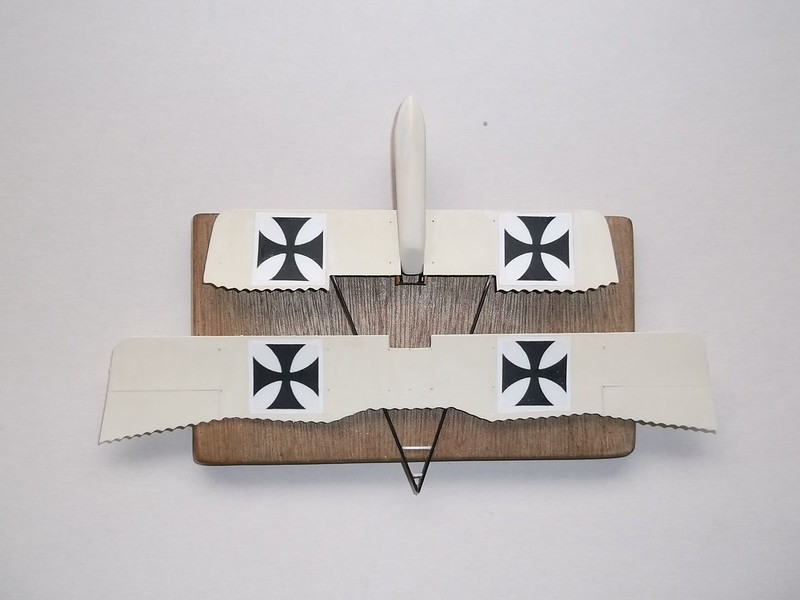
Now I painted the wings, fuselage, lower booms etc as per usual procedure in the past. The wing markings were home made on my computer, printed on waterside transfer paper, sealed with varnish and applied in the normal way.

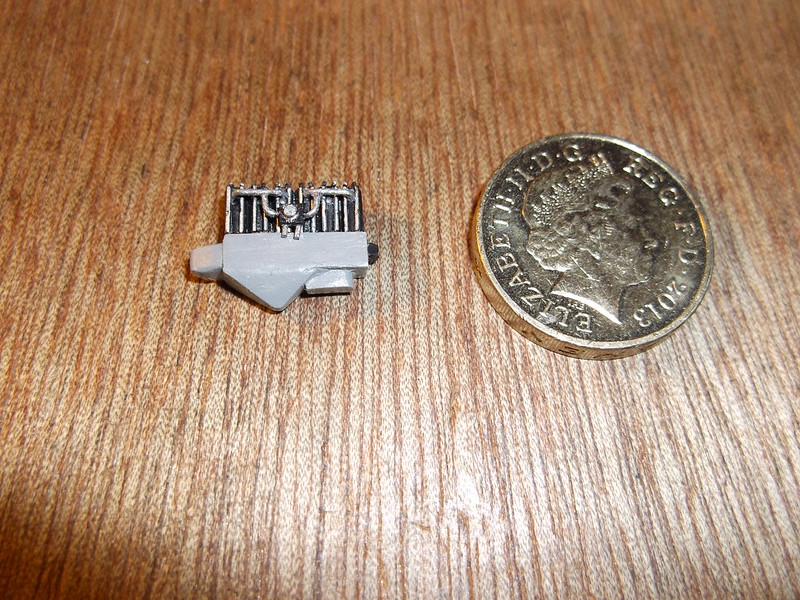
I have done some more work on the engine - added the inlet manifolds and the push rods which were mounted on the exterior of the engine cylinders. I intend to build the engine platform and mount the engine before I start trying to put the top wing on. The coin in the following image is £1.

Thanks for looking.