Finally ready for another update before I get too far along, Chris is really progressing on his Late "Silver Bullet" version and cracking the whip to keep me going!
The cabane struts were installed with the help of a simple template/jig to ensure proper attachment and alignment of the upper wing. Once the positioning was satisfactory ultra thin CA was run into the bottom strut locations. The very positive fitting and alignment of the cabanes eliminated the requirement for a full "Biplane Jig" on this one. They were then rigged with Modelkasten stretchable rigging thread to prevent sagging as the various other struts and lines exert force on the assembly.
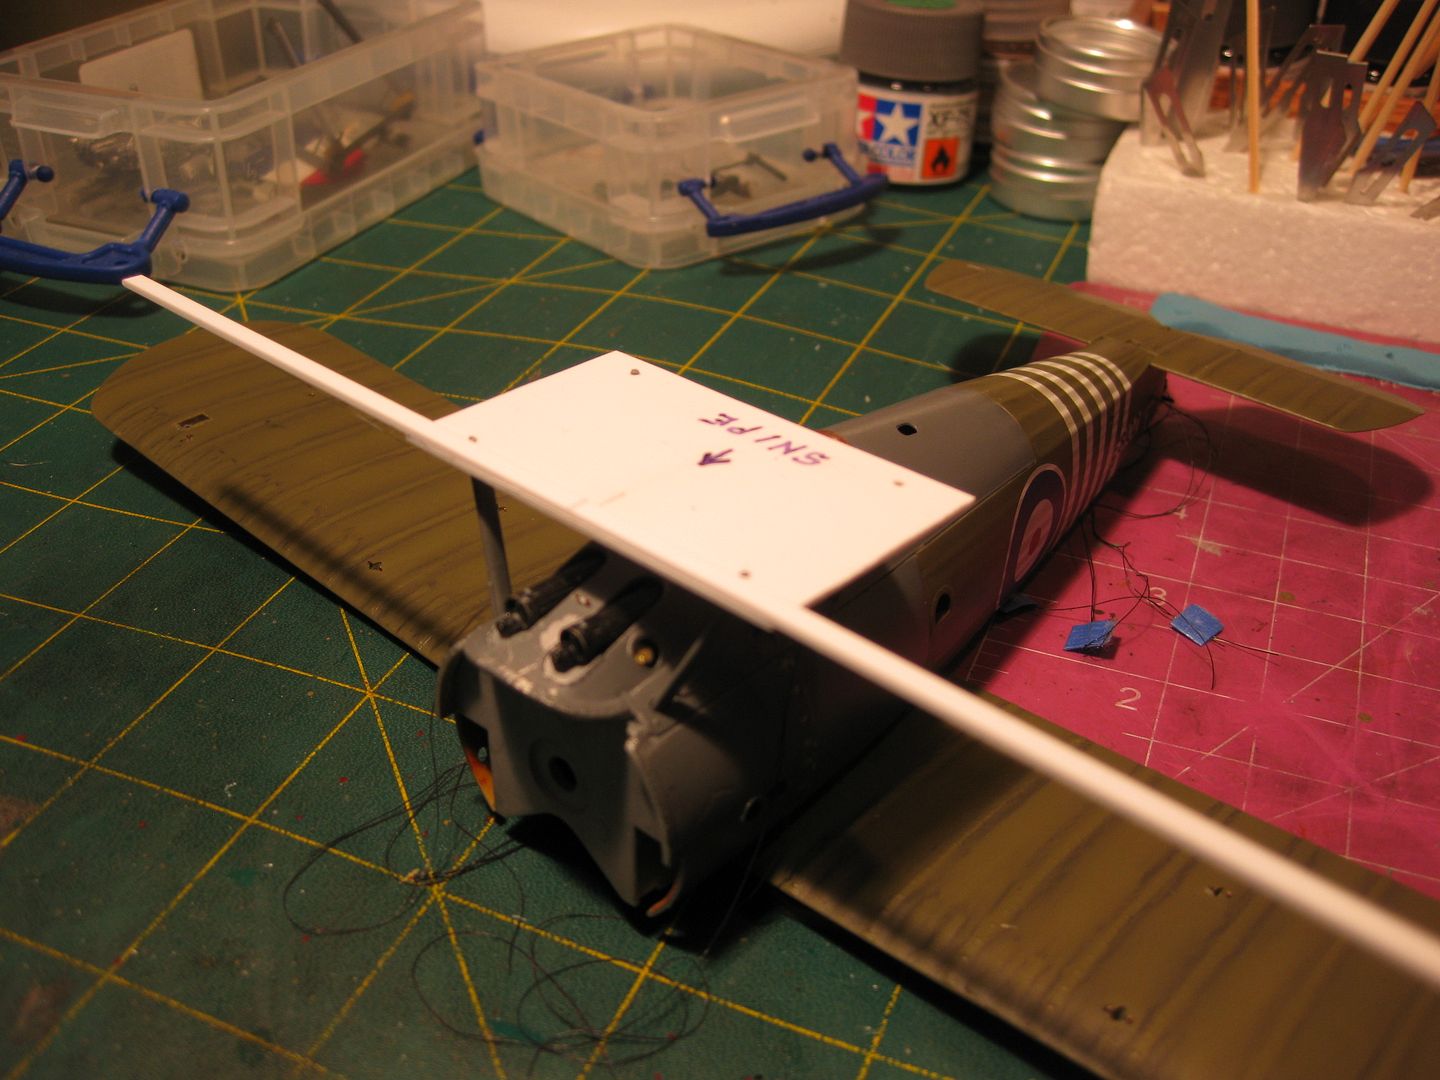

......and the results
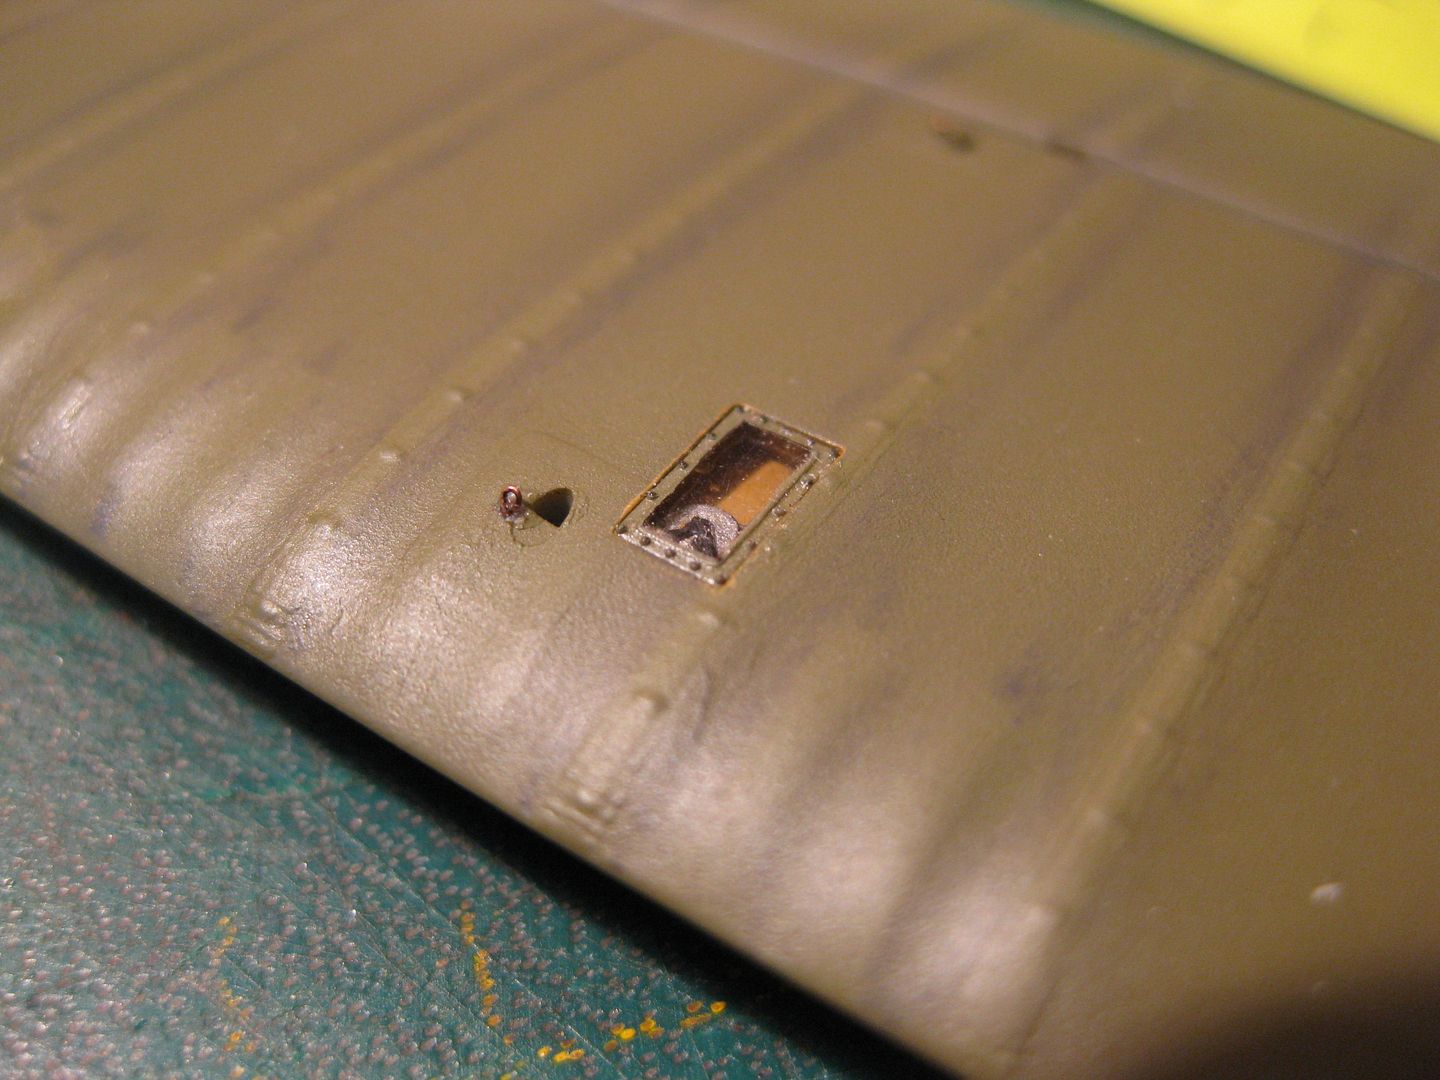
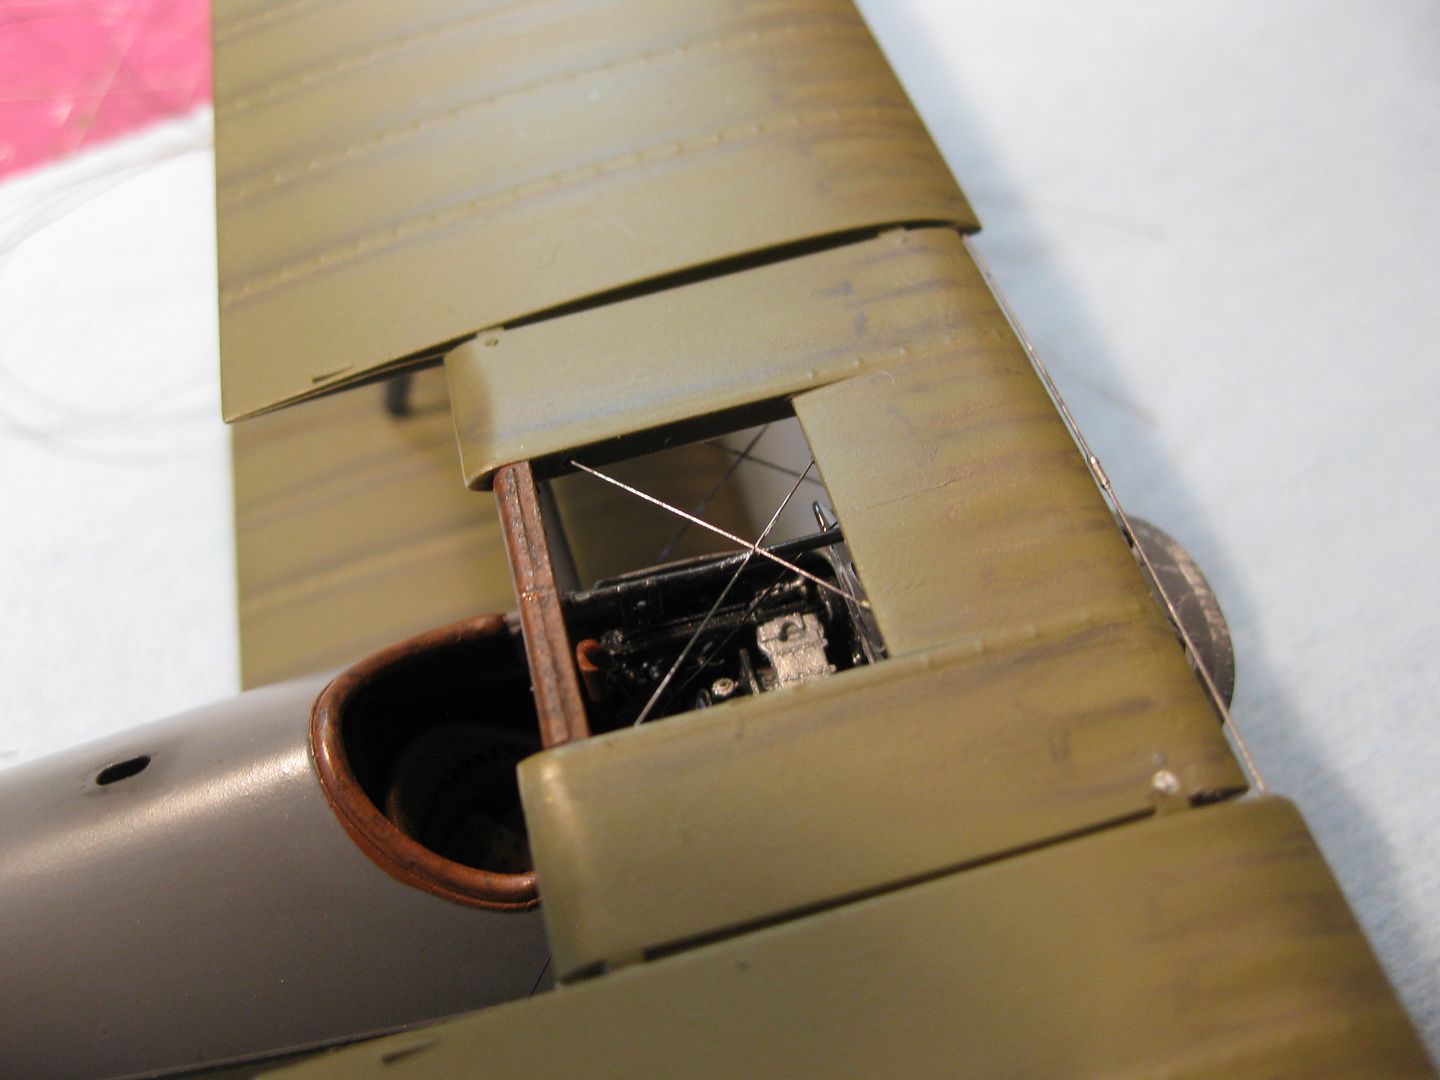
The aileron inspection windows were added, such a perfect fit that no glue was required. The dust was removed after the photo was examined!
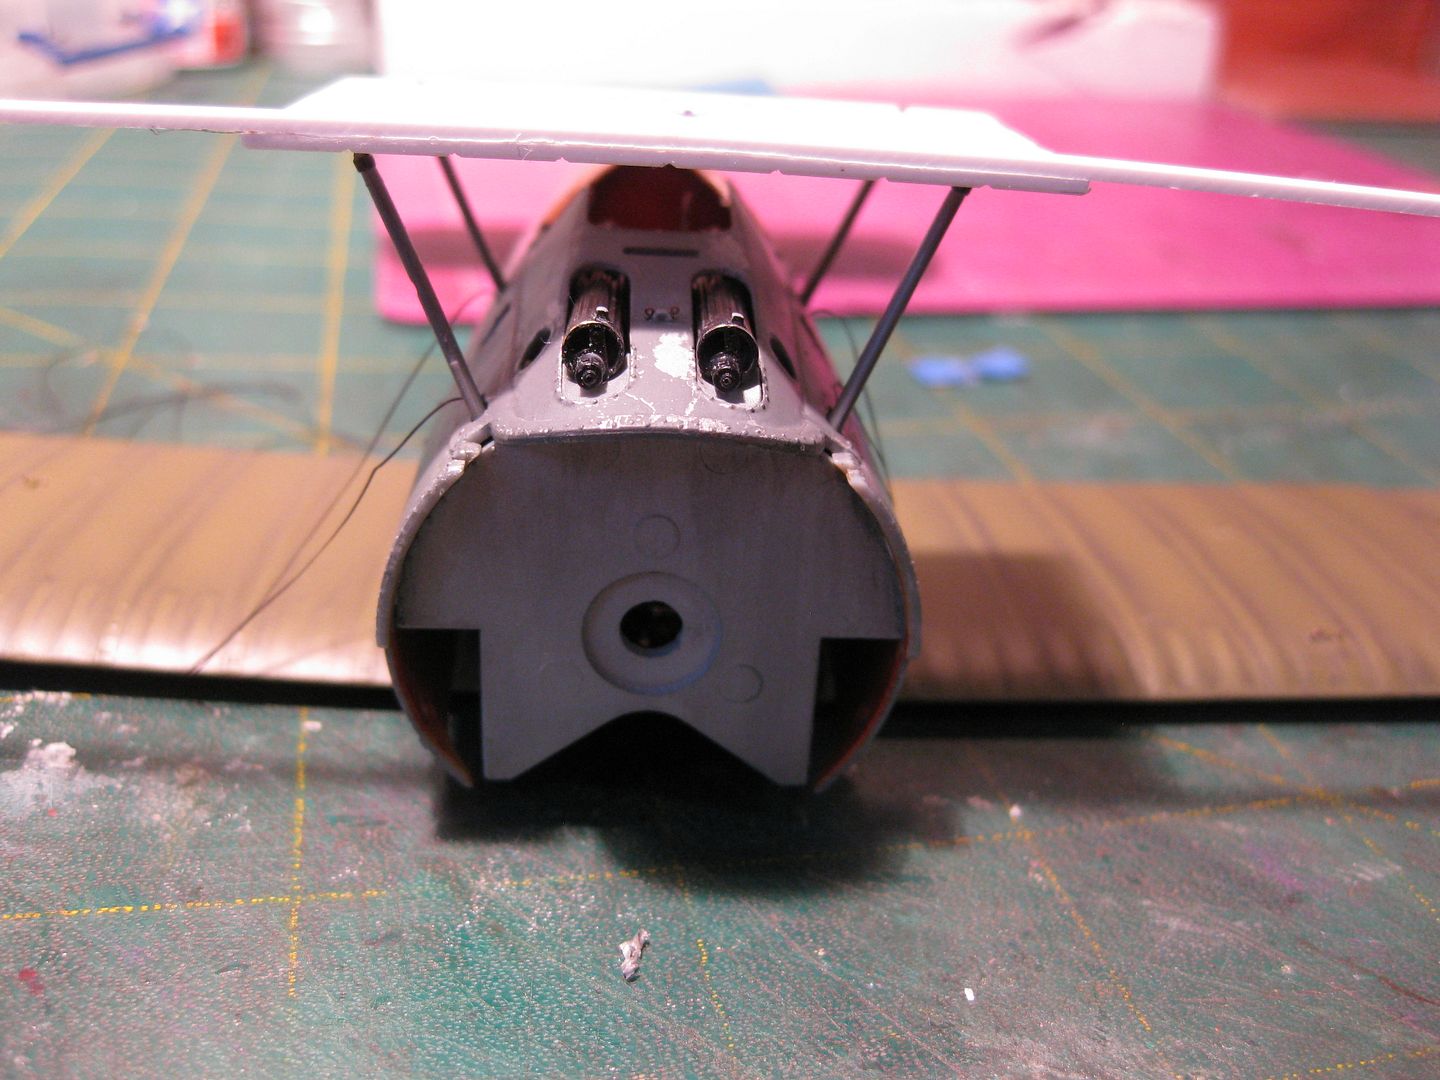
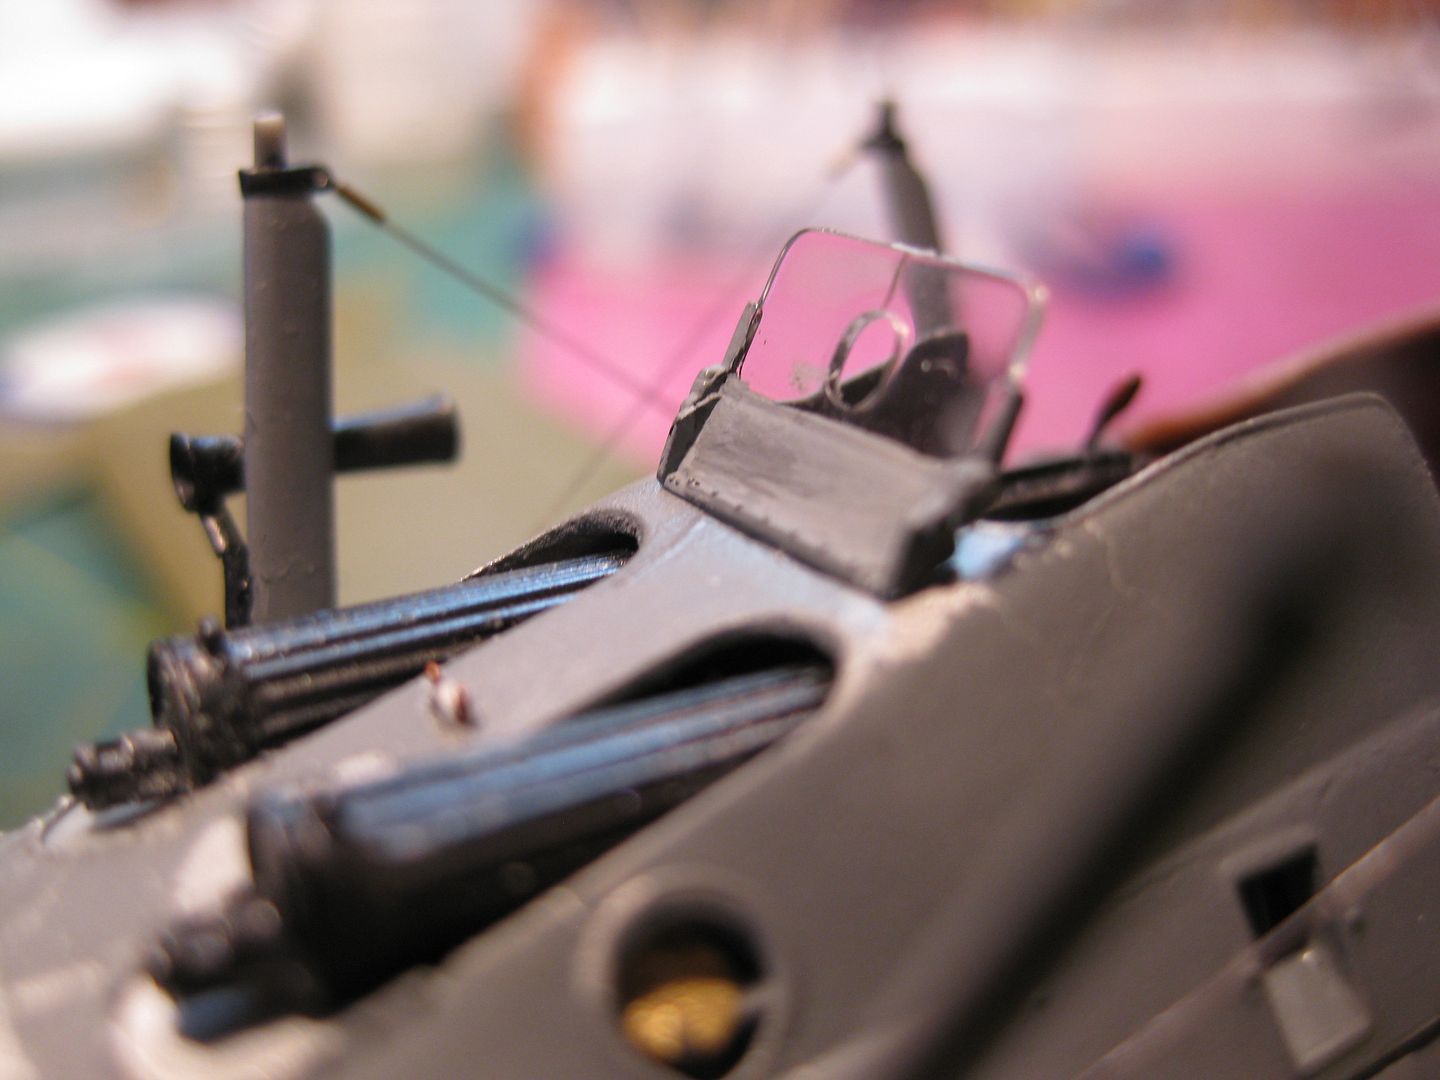
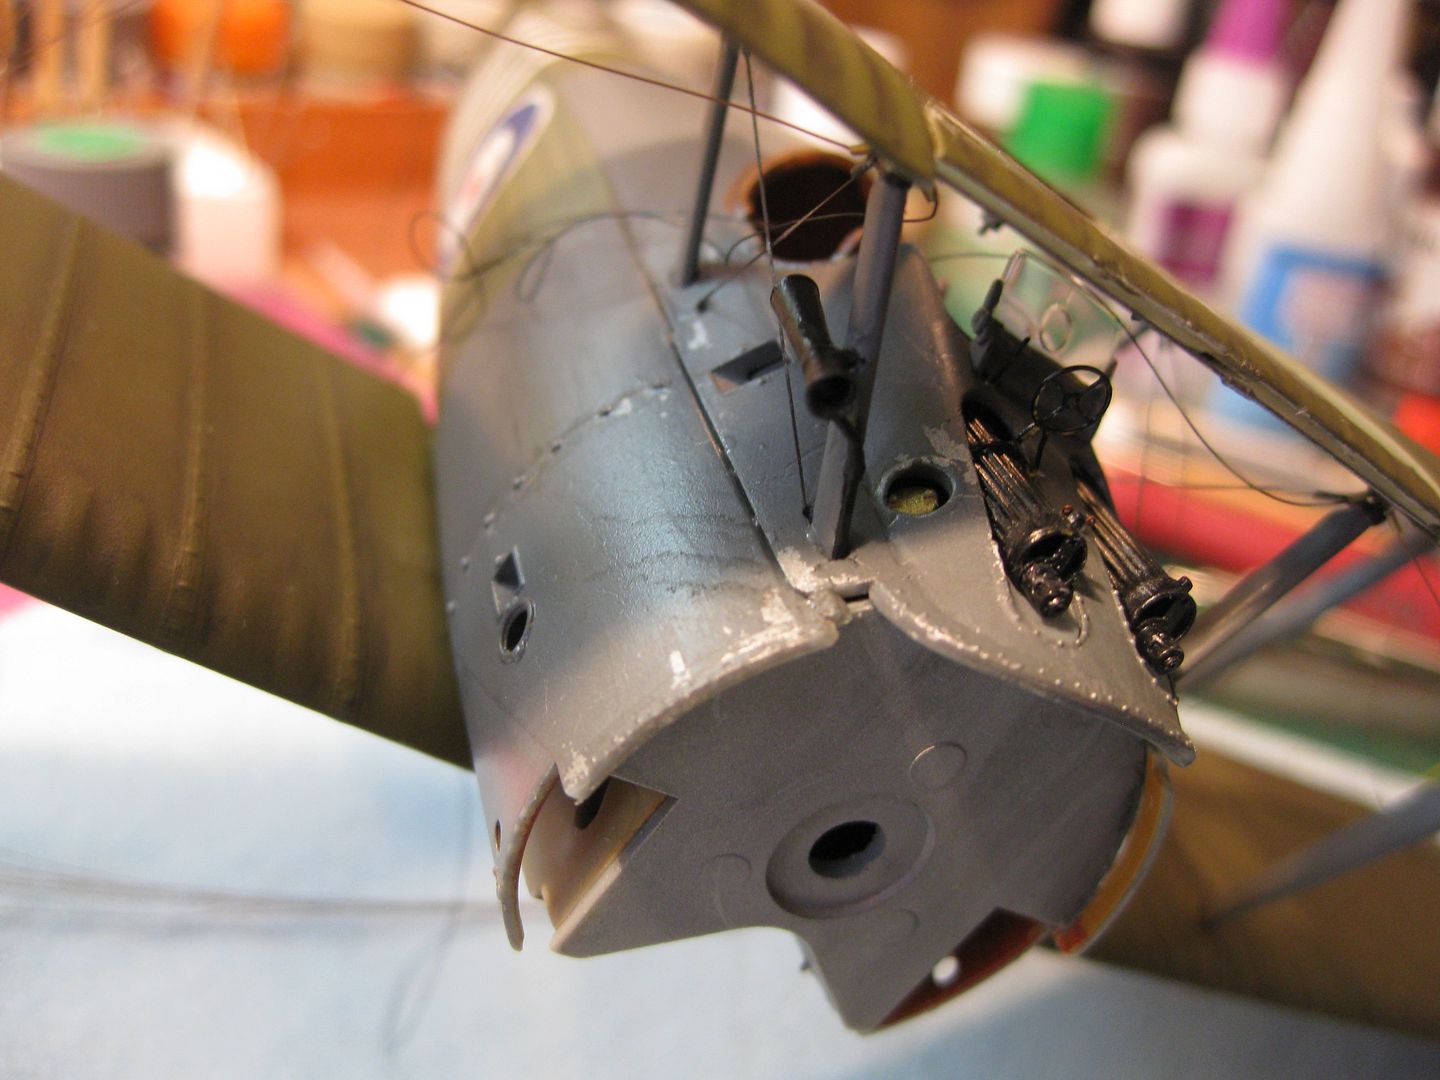
I then installed the windshield and the fuel system venturi, the latter which I have since re-installed three times due to insertion of fumble finger frolics into my work pattern!!
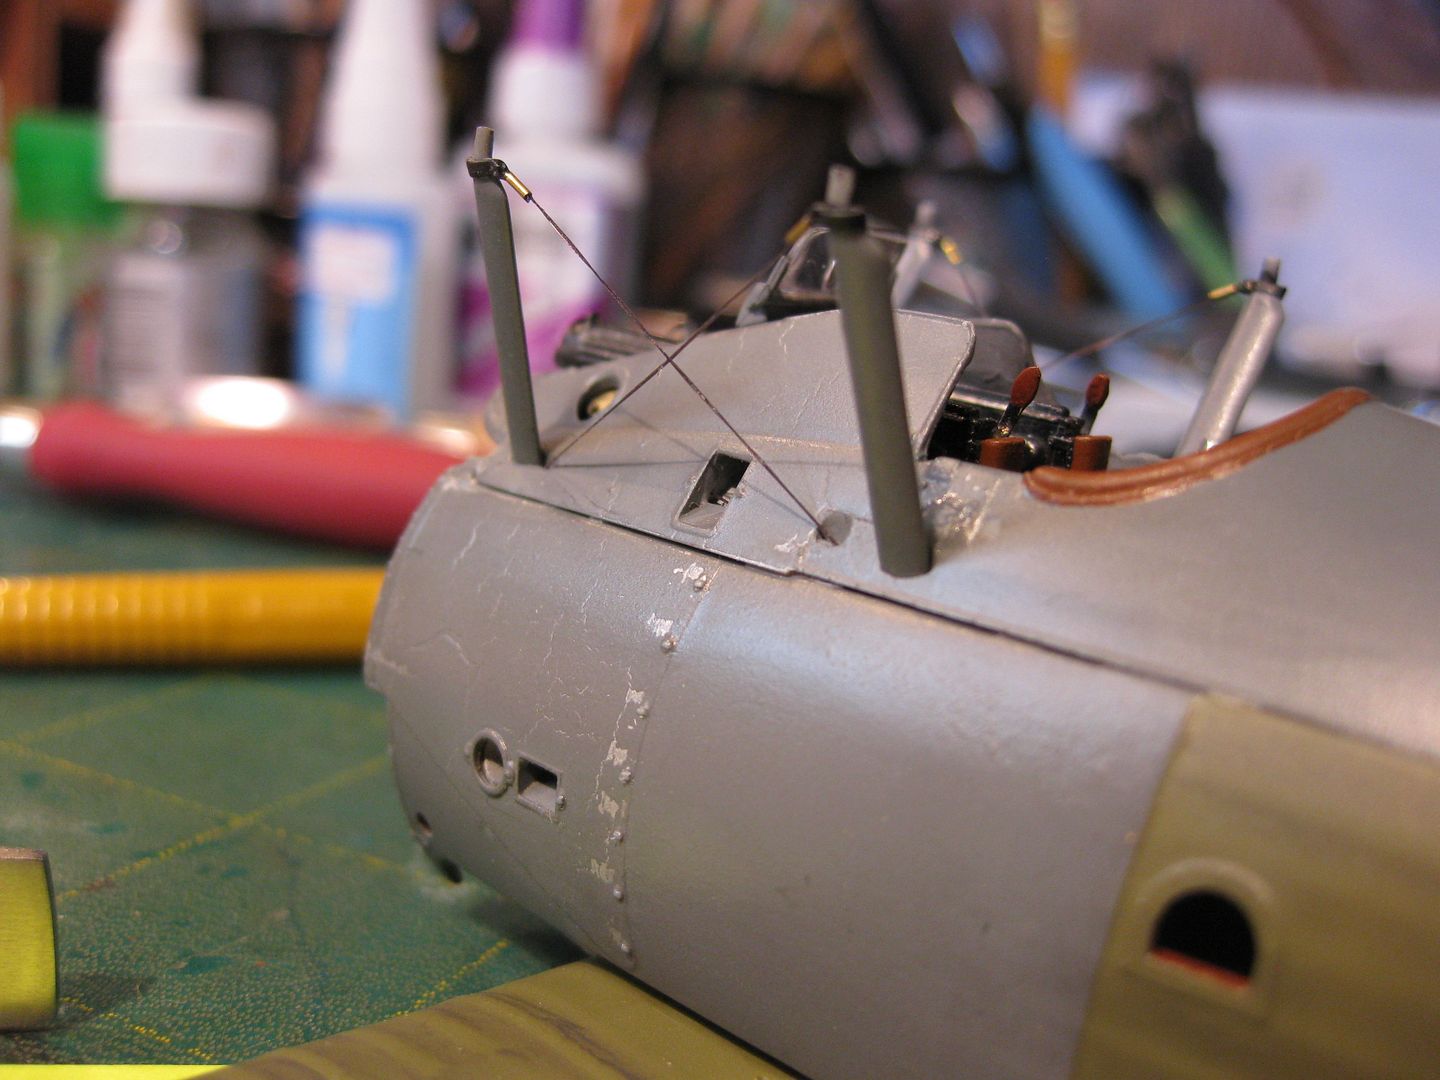
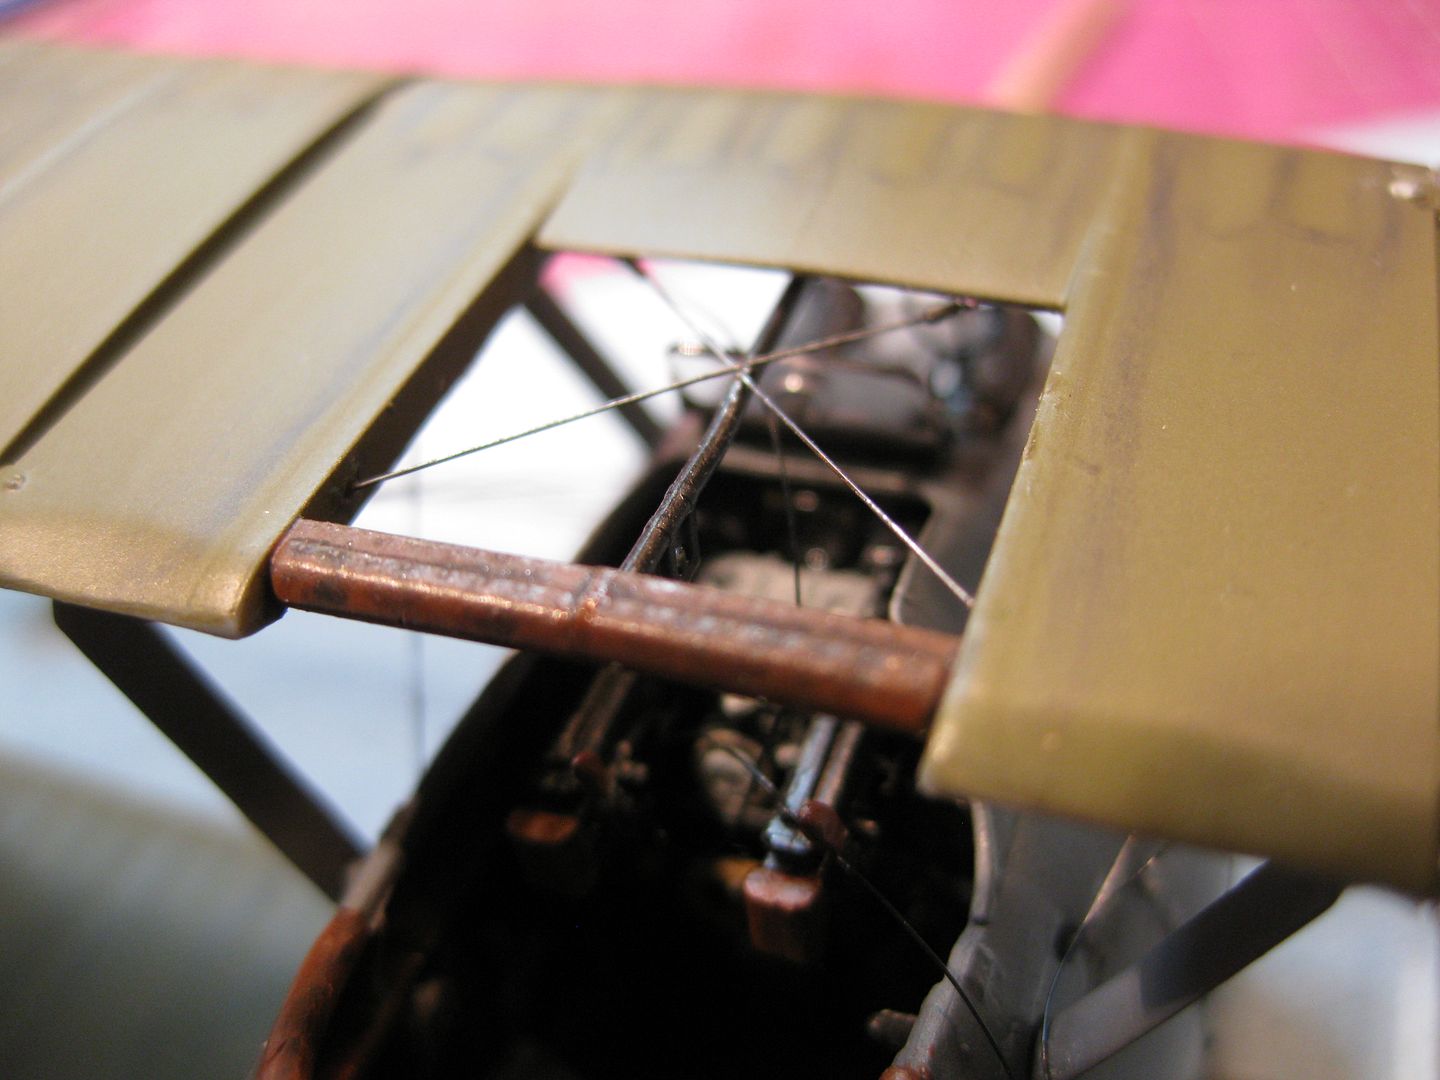
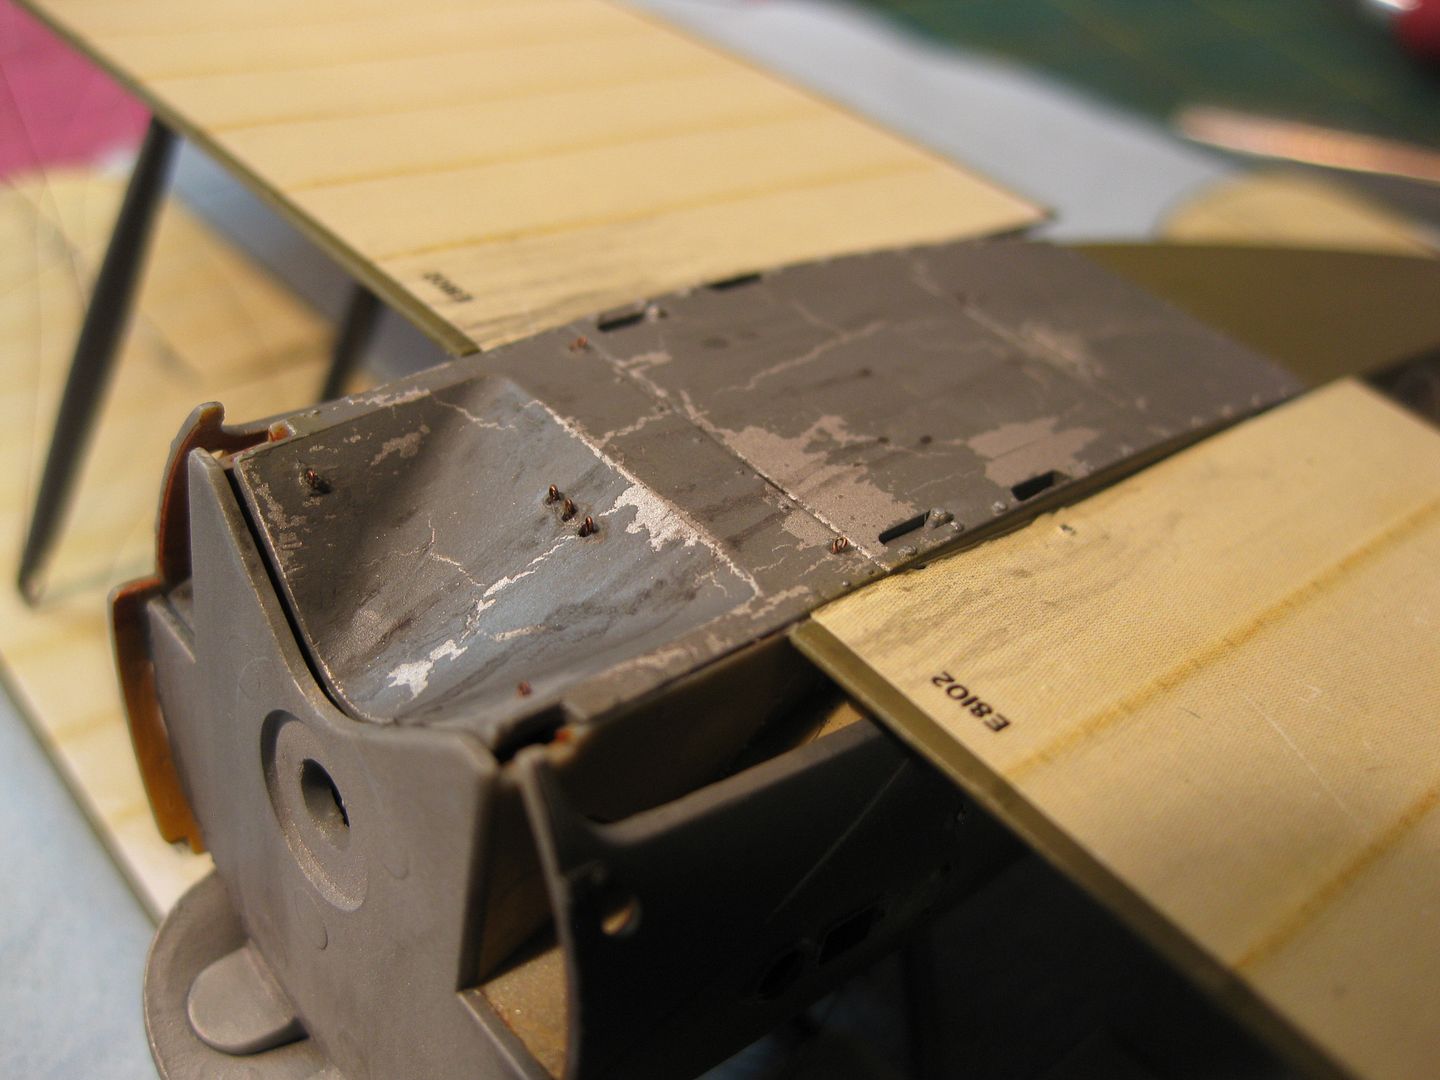
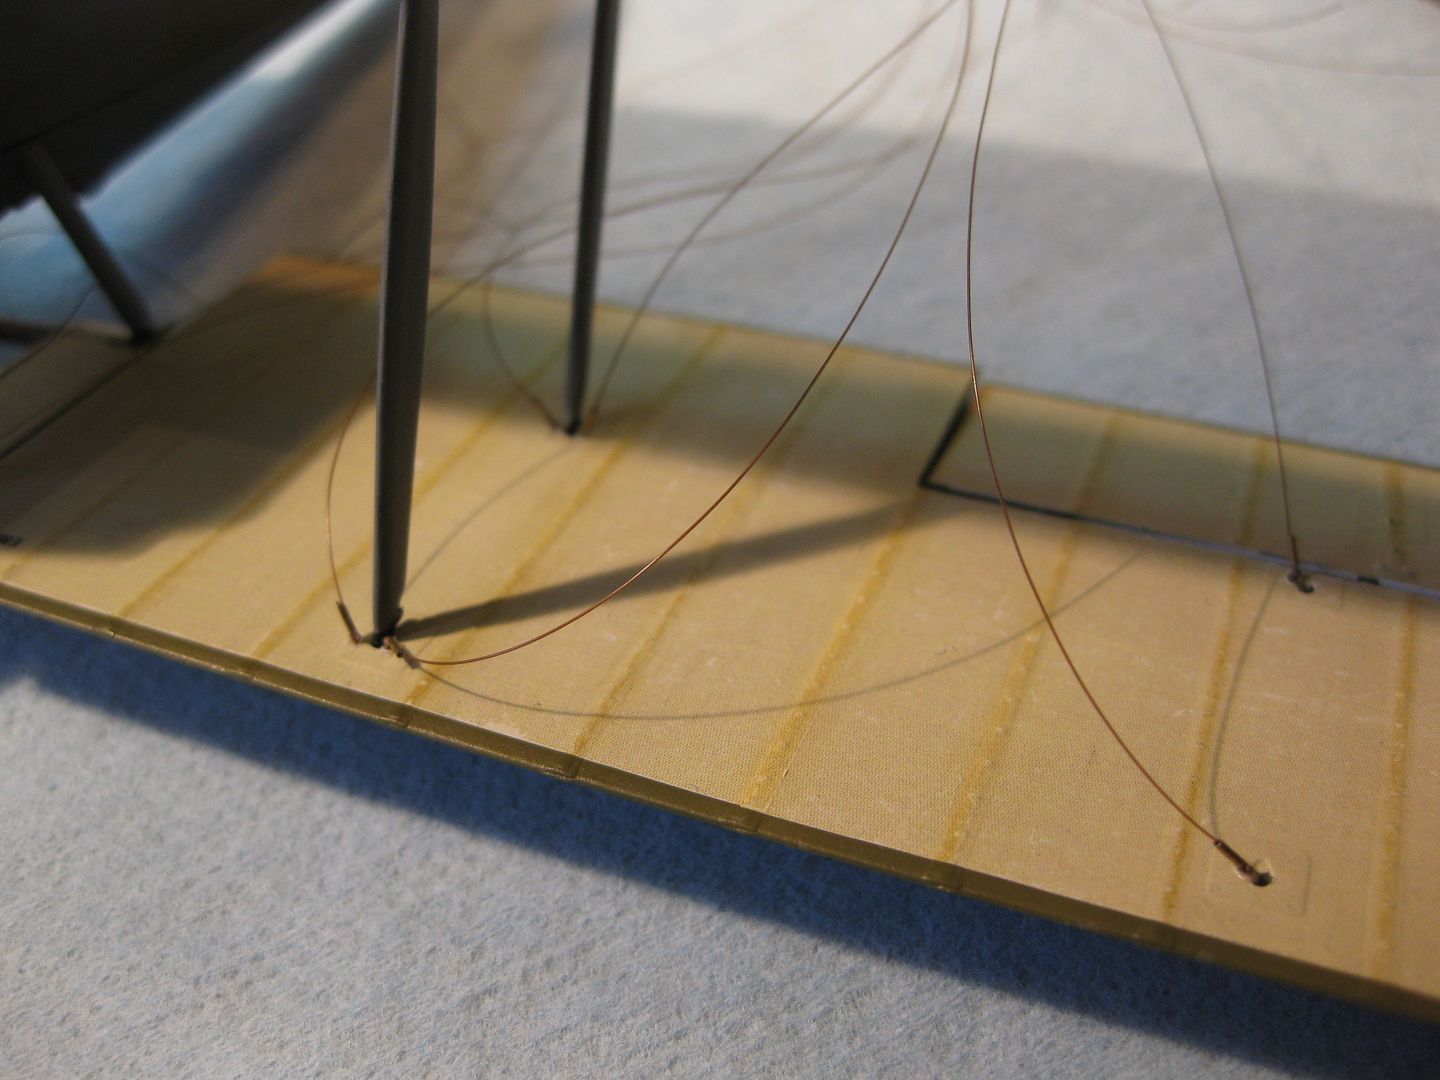
The interplane rigging was installed on the bottom surface, aileron control wire and turnbuckles added, and the cross bracing in the center section added. I used Maxima Chameleon 0.12 mm mono for the rigging, first time I've used it and I love the stuff, Thanks Chris! The aileron control wire is steel guitar string. The fuselage oil staining and grime added where required and the cockpit leather coaming and center section overhead cross member were given a bit of wear and grunge using Winsor Oil Lampblack. Once the upper wing was attached to the cabanes the inner bay interplane struts were attached. They'll be cross rigged next before the process gets repeated on the outer bays.
A little grime on the coaming and hand hold.......
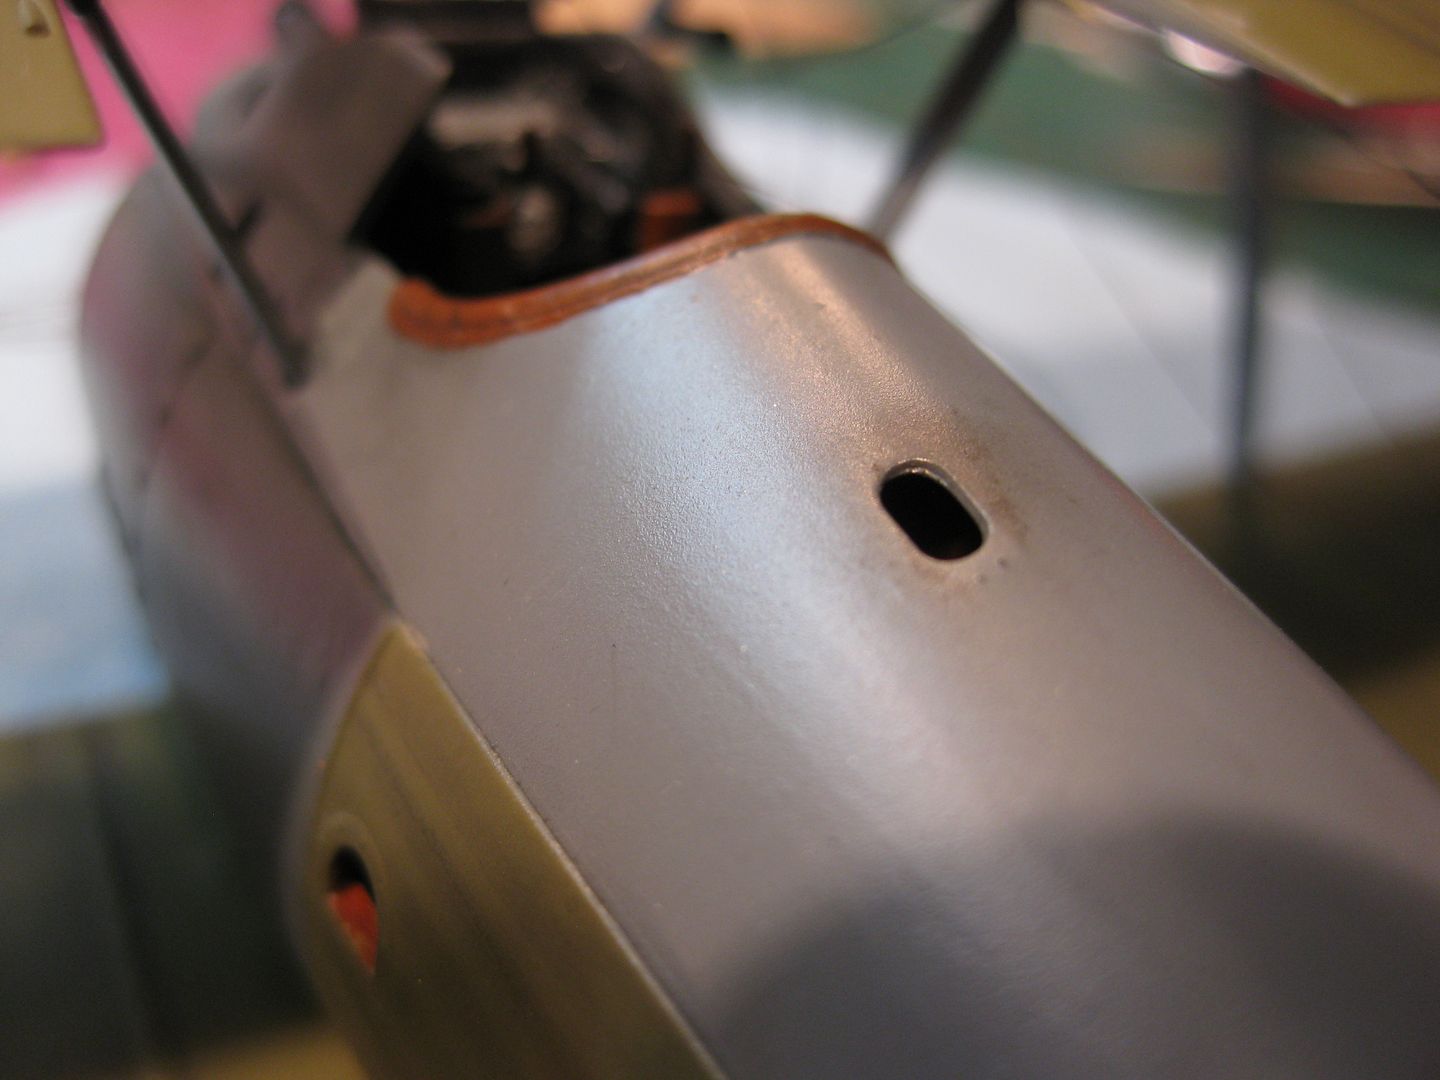
......a few shots of the center section work, the hole on the right forward cabane mounting will be patched and cosmetically restored later, just another brief insertion of the builder's head into his lower body cavity, nuff said about that little episode!!

......a few shots of the oil staining, thanks to Jamo's excellent photos of the TVAL Replica Snipe in our Forum.
And next all the little lines start to get tied to their various anchor points to hold it all together.
It's a typically spectacular Wingnut Wings Kit but I'm finding it a real challenge. Most problems have been very much self induced, maybe I'm just rusty or age is starting to impact on my results. Could be getting real close to a shift into 1:24 Scale!


Cheers,
Lance

