Thanks all!
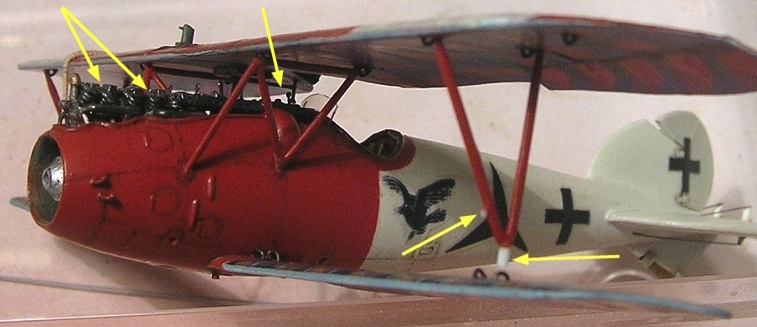
The cabane struts installed on Udet's machine. This requires a precise adjustment of the templates but when all eight attachment points are aligned, the most difficult part of the build is behind you. The arrows show the weathering, consisting into a wash of a rather clear earth color, instead of my usual dirt mix of brown and black oils.
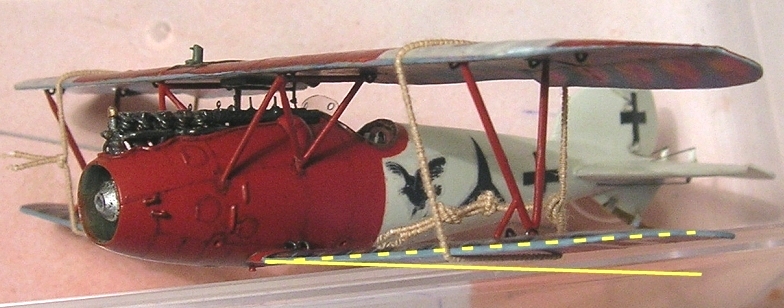
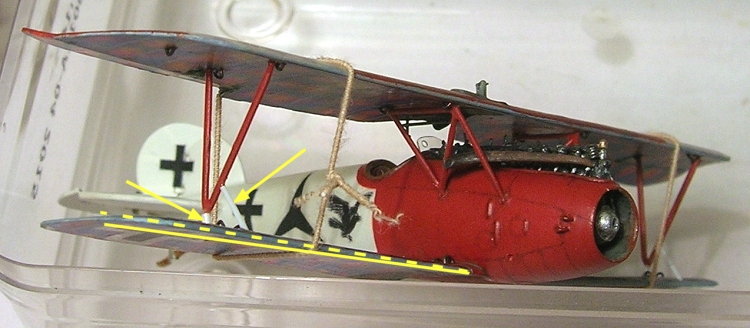
After the cabanes were glued in place, the templates were removed and the V-struts installed, with elastics keeping the wings in place. Unfortunately this led to an excessive dihedral angle for the lower wings.
I have gently un-glued the V-struts from the lower wings, added a small plastic rod and cut the reinforcement braces away. This view shows a close-up on the valve springs and all the bits and pieces below the upperwing: radiator grid handle, gun levers etc
After that, the base of the V-struts is glued again on the lower wings, using again the elastics. The dihedral is now much closer to that of the real thing.
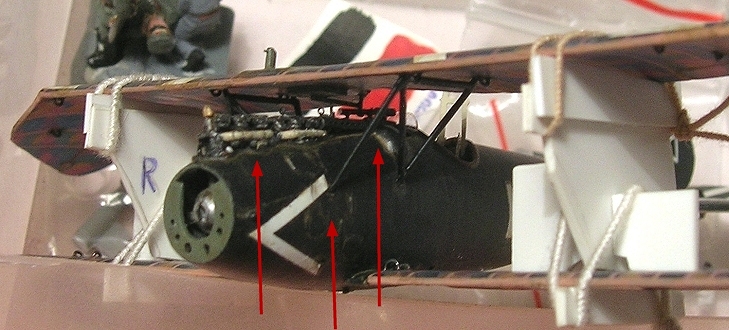
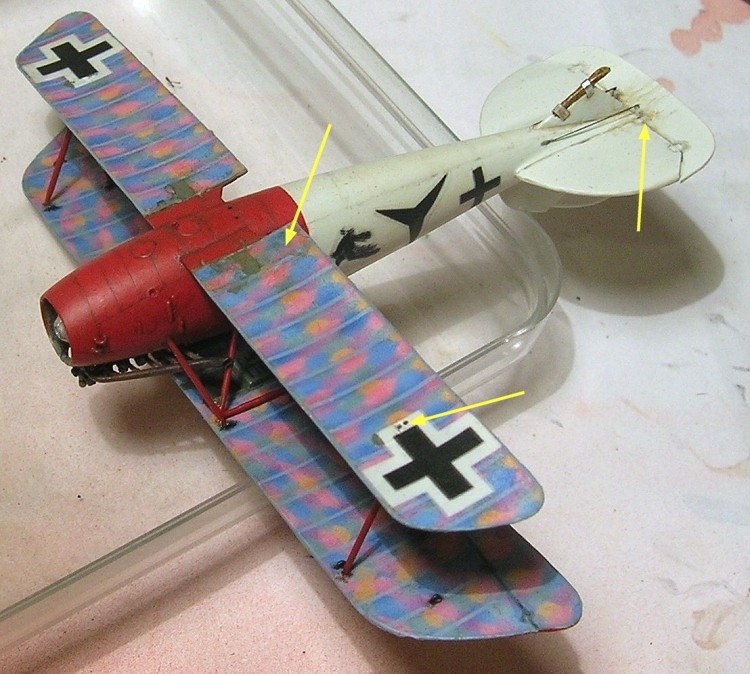
An underside view of the "Jasta 18" bird, since not much of this will still be visible when it's stuck on its diorama. I have added mud spills behind the wheels and tailskid. The holes in the underside cross are for the aileron cables. They will be filled up with a touch-up of white paint.
Now it's knitting time. Except two on the right, the wires are now made from nylon thread which is much easier to tend though more difficult to paint. The picture shows the method: a large buckle is made in order to have enough room for handling the wire tip and tube. When the tip has been passed a second time through the tube (as on the photo), you just need to draw on the wire tip while pushing the tube towards the wire's end and hook.
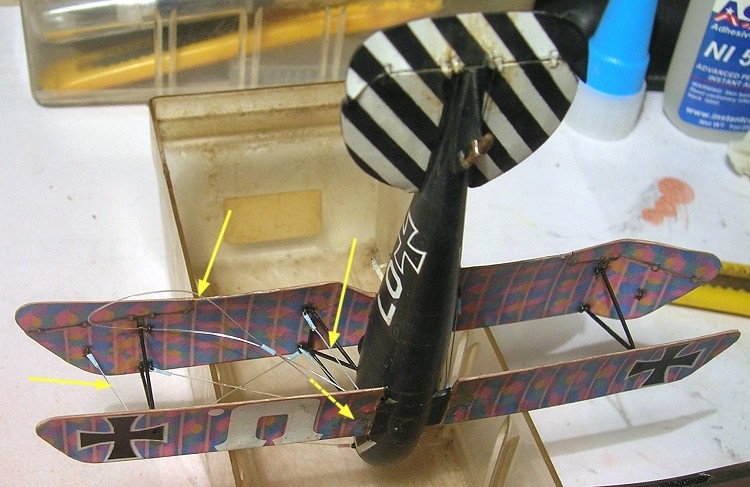
It's not as easy as it would seem to make loose wires, as some of Udet's aircraft need to be because of the crash. Sometimes the thread goes in the wrong direction and does not look like hanging as it should. I will have a go with thread of a smaller diameter on the other side and see if that's easier.

