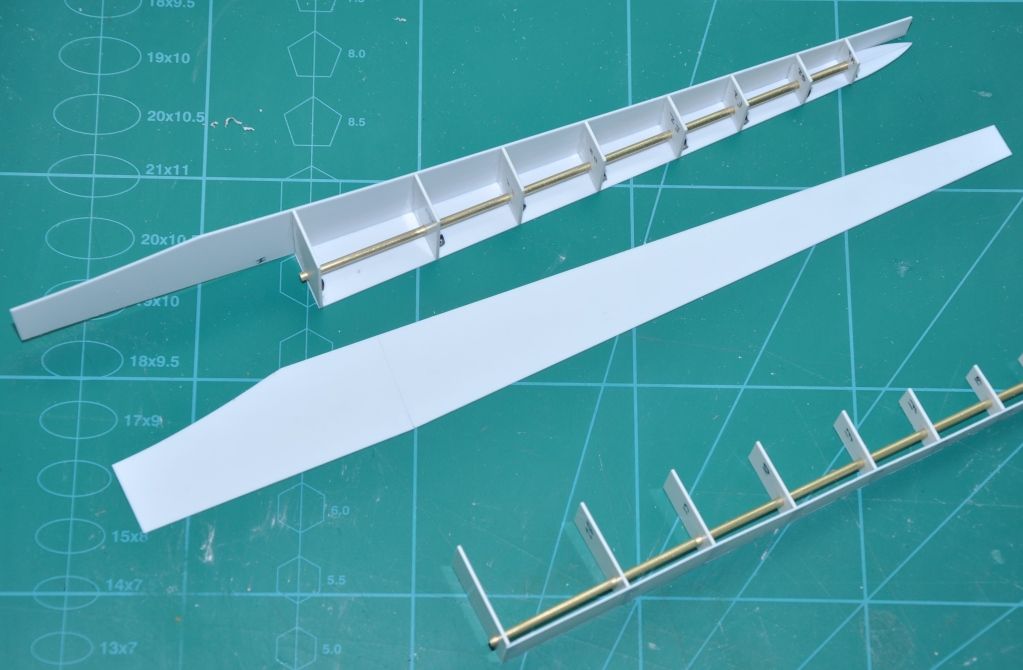
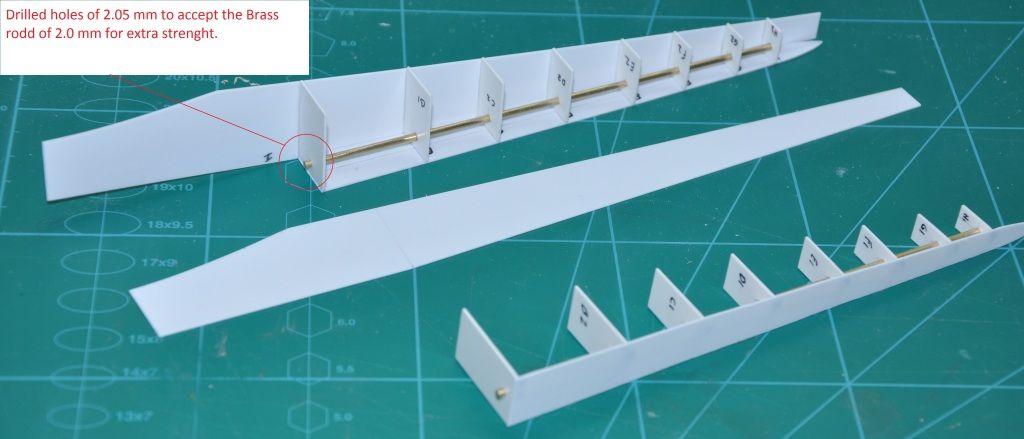
Author Topic: Caproni Ca.3 1/32 Scratch.  (Read 22646 times)

Offline Ronkootje

  • Full Member
  • ***
  • Posts: 229
Caproni Ca.3 1/32 Scratch.
« on: June 24, 2012, 01:43:37 AM »
The quistion was already asked how to put a topic about scratch building since i dont have a kit to show.

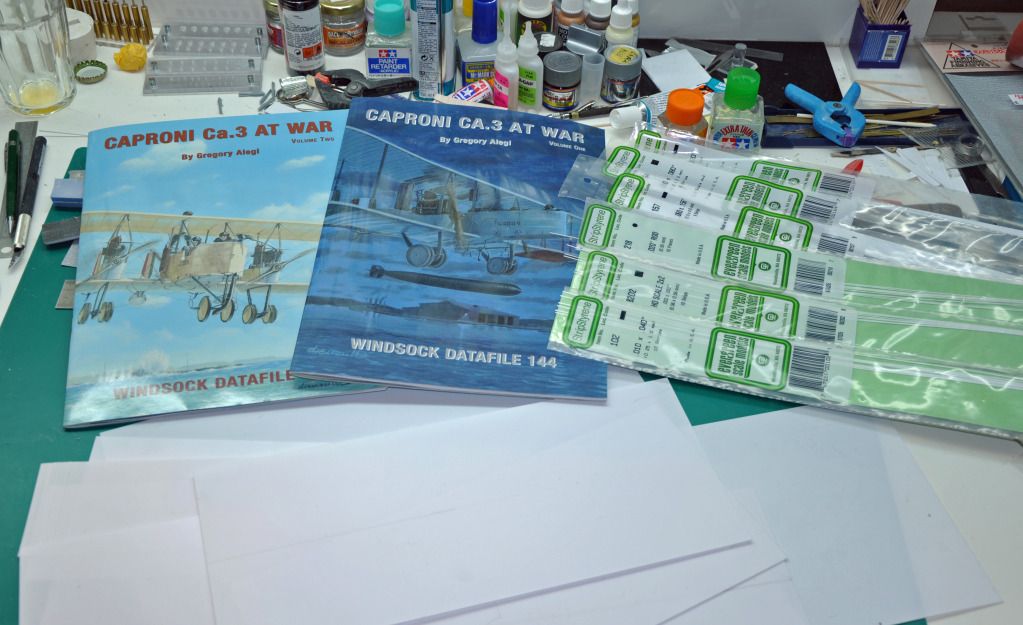
Referens ill be using for the build is Caproni Ca.3 at war Volume 1&2 Scaled the drawing to 1/32 and stuck them on my door to my hobby room.
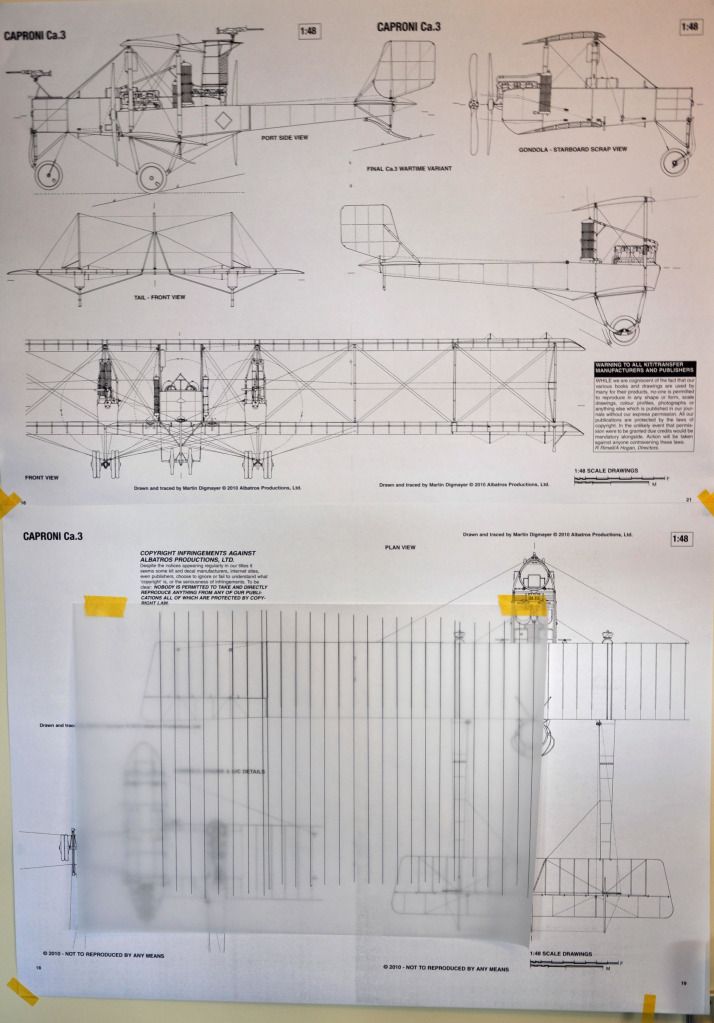
The material ill be using is mostly Styreen, for the wings ill use Balsa wood and ofcours the brass and copper for detailing.
Overall view:

I diceded to start on the wings using the harry woodman methode.
First shaped 6mmx100x1000 balsa wood in the airfoil form using sanding bloks, then cut out the ailerons keeping in mind its 3mm smaler then the real wing.
The overall airfoil shape is 0.5mm smaller this is for the sheet of styreen that is gonna wrap arround the wing.
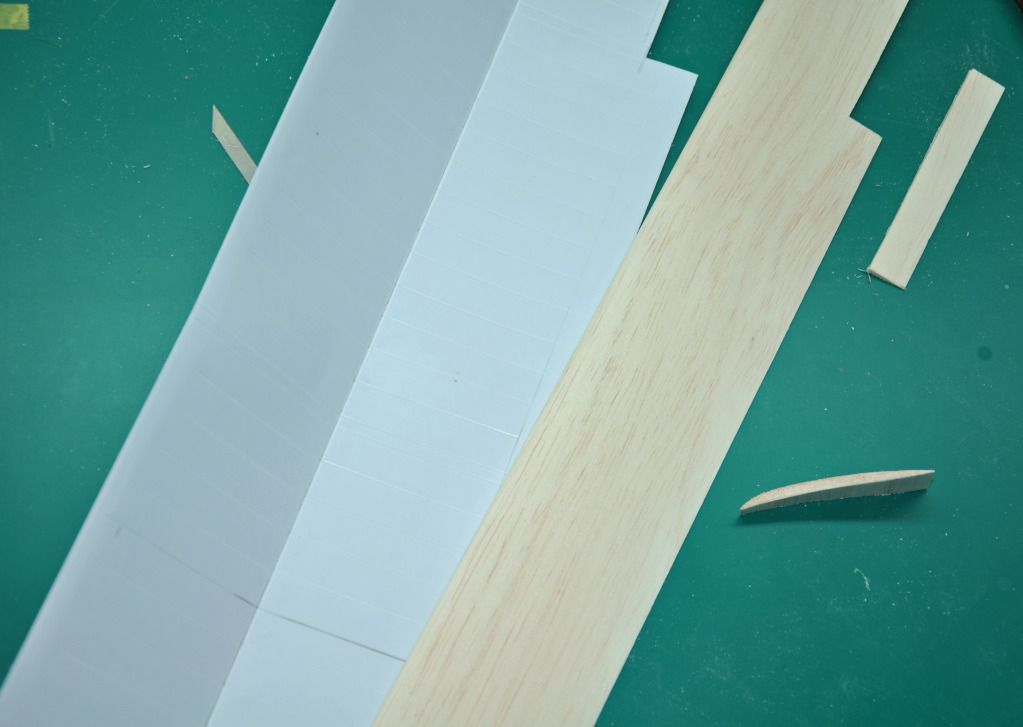
At first when i started collecting info and supplys for this build i had trouble on how to build the wings in one peach since all the sheets of styreen are 250x500mm and the overall wing span is 700mm
So i whent and search the web and found a store that sells big sheets in 0.5 x 1400x1000 for 6.95 so that's cheap two.
Here is the site where i got the stuff.
http://www.kunststofshop.nl/index.php?action=showbasket&lang=EN
Cutting the styreen using a guid rail for a circelsaw, using a knife.
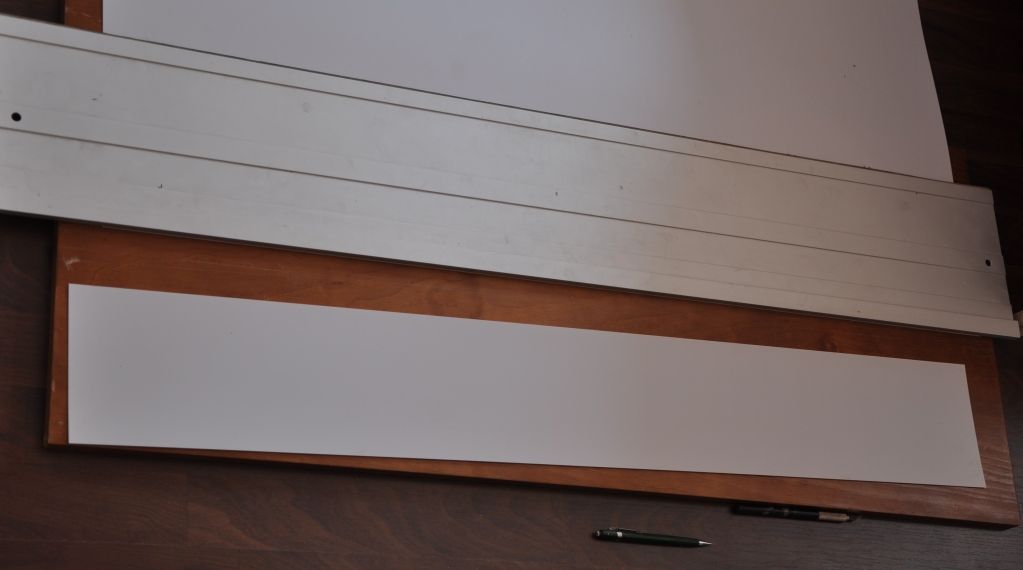
On this picture i trached all the ribs on transparent paper and then taped it on a flat surface with underneat A4 paper and a sheet of rubber.
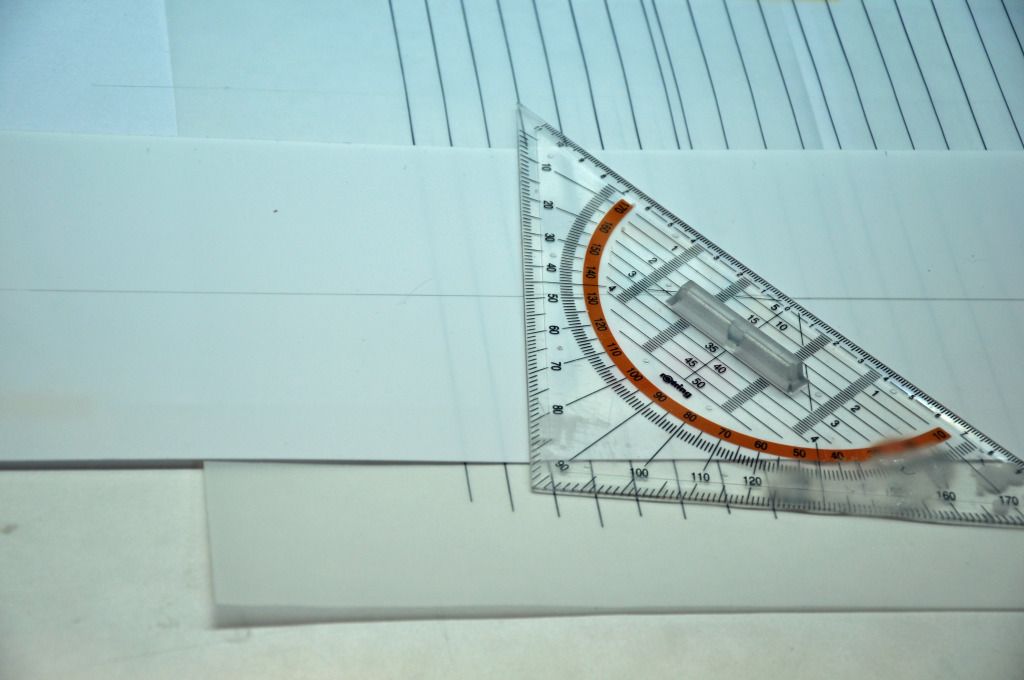
Then using a pen with a ball point and a straight edge of alu profile clamped on the table with the styreen between it, so it cant move.
Then using a try angel as a guid for the pen i pussed the ribs in the styreen.
Harry Woodman advice is using 0.25 styreen wich will be better, forming arround the wing but i coulden't find sheets that big of 0.25. So thats why i use 0.5 little more work but it worked fine for me.
For the smaller wings ill use 0.25.

Afther all the ribs are done on the sheet i pused with a bolled pen in the middel of the sheet over the length of the wing to stress the styreen to make it easyer to bend.
Then using tamiya tape i taped the wing on the inside where i dident wanted the contact glue to go and sprayed it from a spraycan from bison.

Did the same on the balsa wing core and left it to dry for 30 min.
I gave the balsa a second coat afther about 10min since its sucking up the glue.
Then the hard part comes placing the balsa in the styreen, it has to be right! straight away, since no correction is possible with contact glue.
This is the first time i use this methode and it whent whell the first time.
Here is the end result so far:
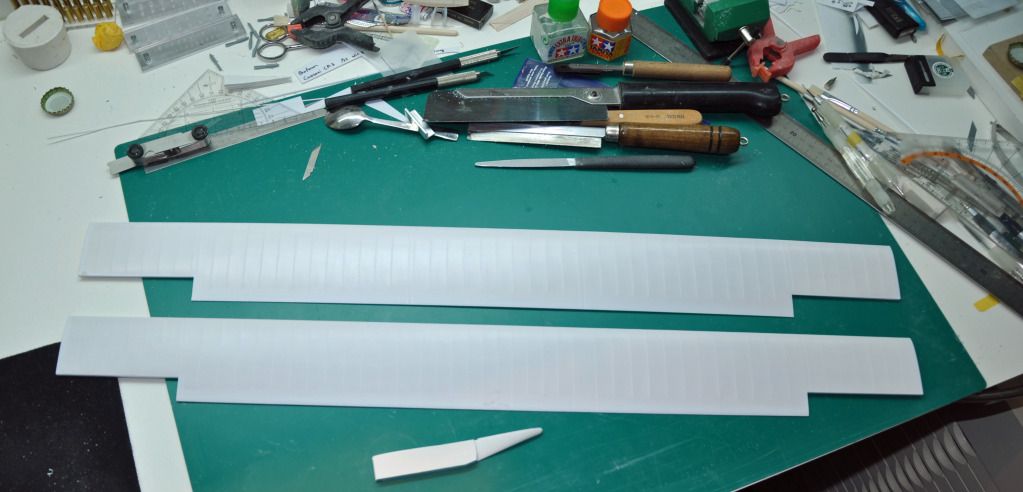
When both wings where done i closed the gaps with styreen of
2mm x1.5 strips where the ailerons are.
In the mean time i sandwiched two strips of 3mm x17x125mm for the wing tips.
When dry sanded them in to shape so they fit the wing flawless took some time but looks good.
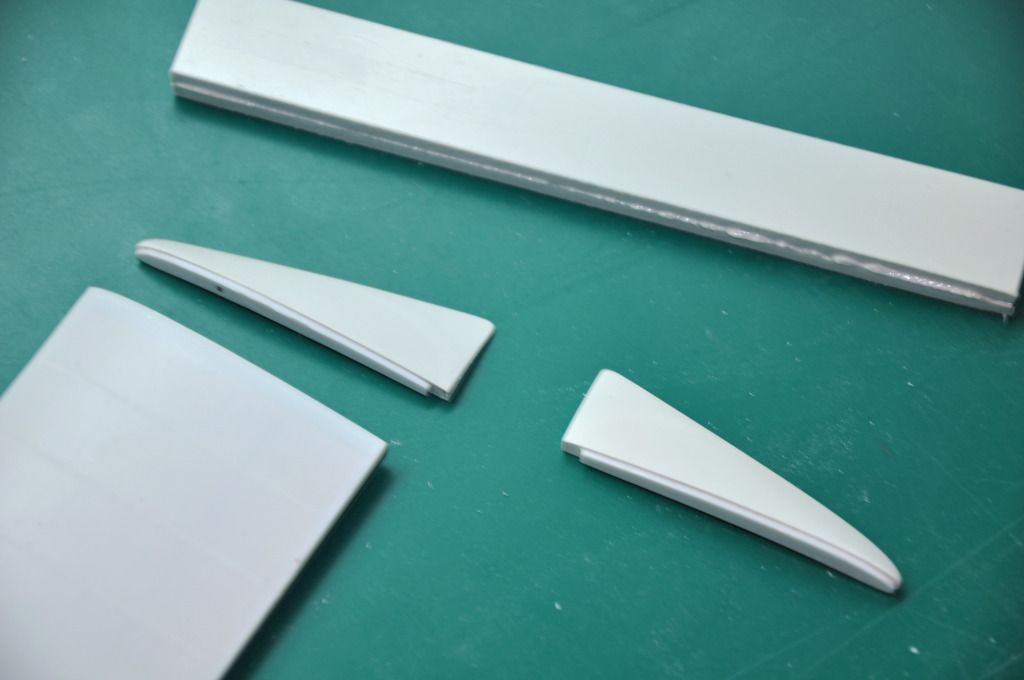
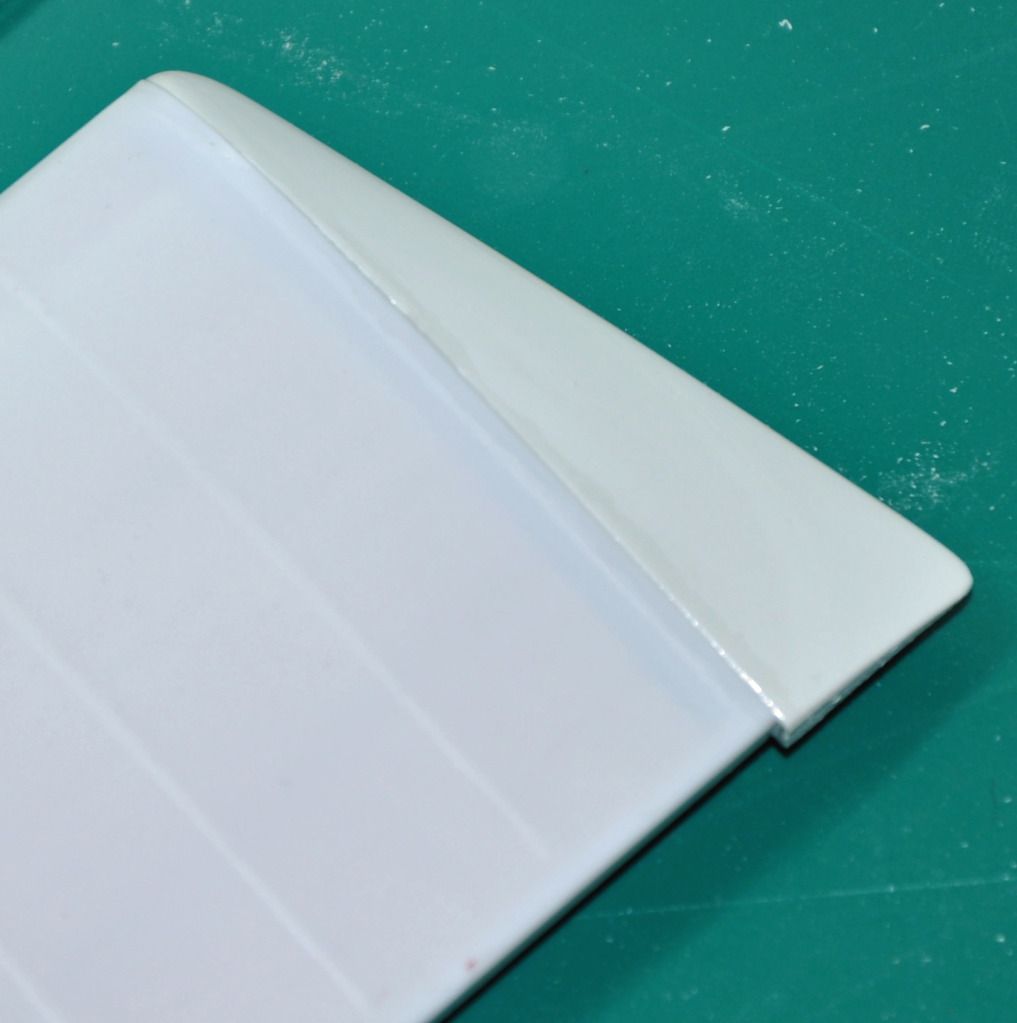
Over all here is where iam at:
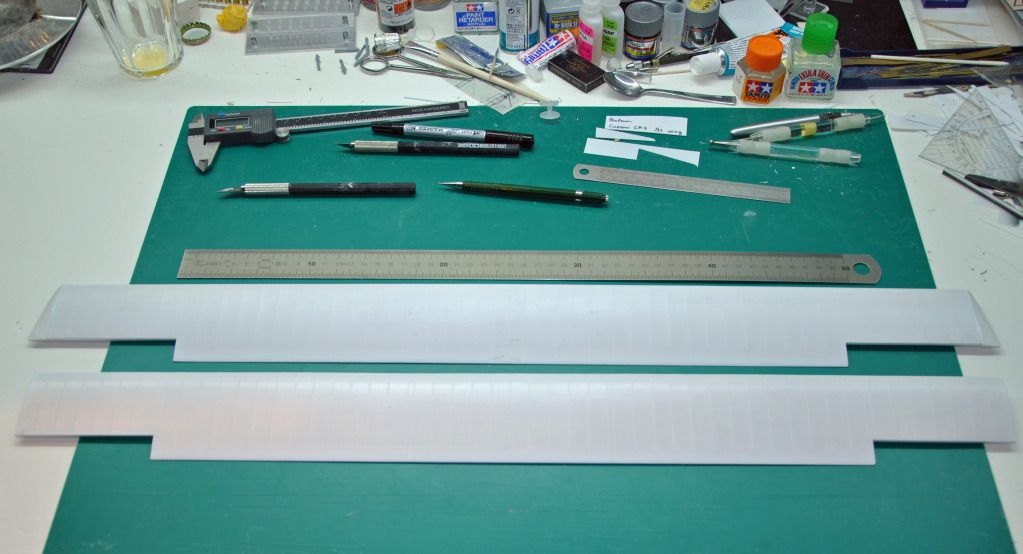

Made alerons for the main wings using 0.25 sheet styreen and inserted brass rodd of 0.5mm to act as a hinge.

USing a drill of 0.55 to accept the Brass rodd's.

Here the rodd's are bent in a L shape and glued in place with CA.

Making disks of 1.0mm and then cut in half glued on both sides of the Brass rodd to make it look like a hinge.

Next made a start with the tail section, cut all the shapes needed and sanded them square.
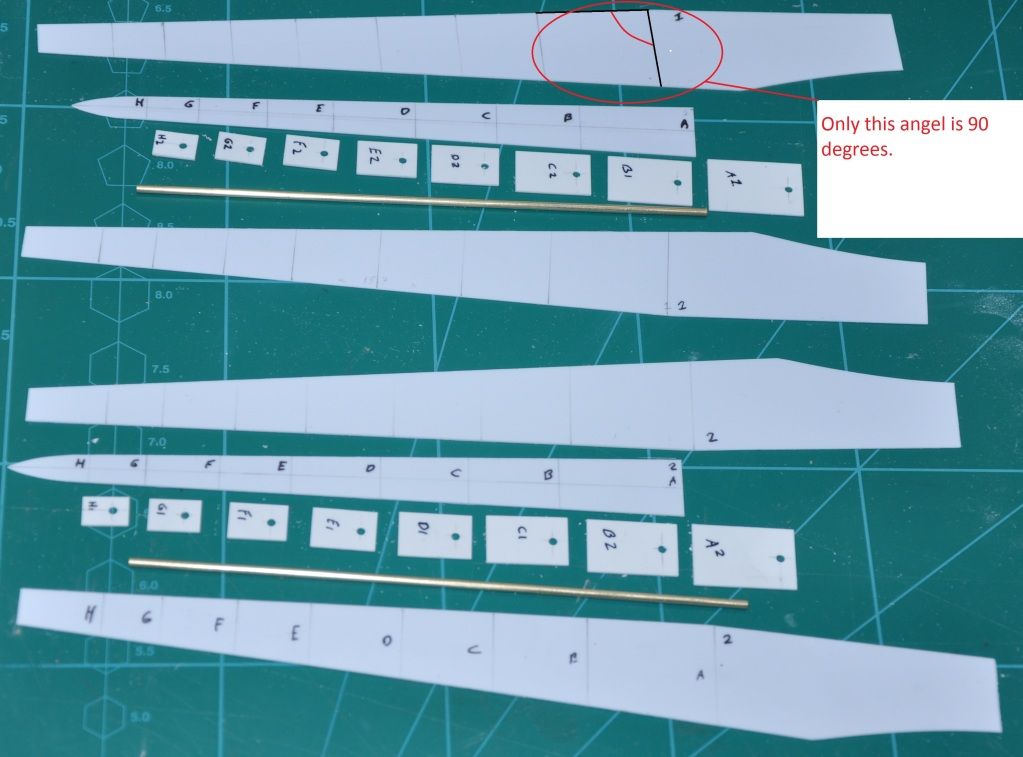


Here you can see my home made sanding Jig for sanding straight and square.

Prep for the eylets later on.
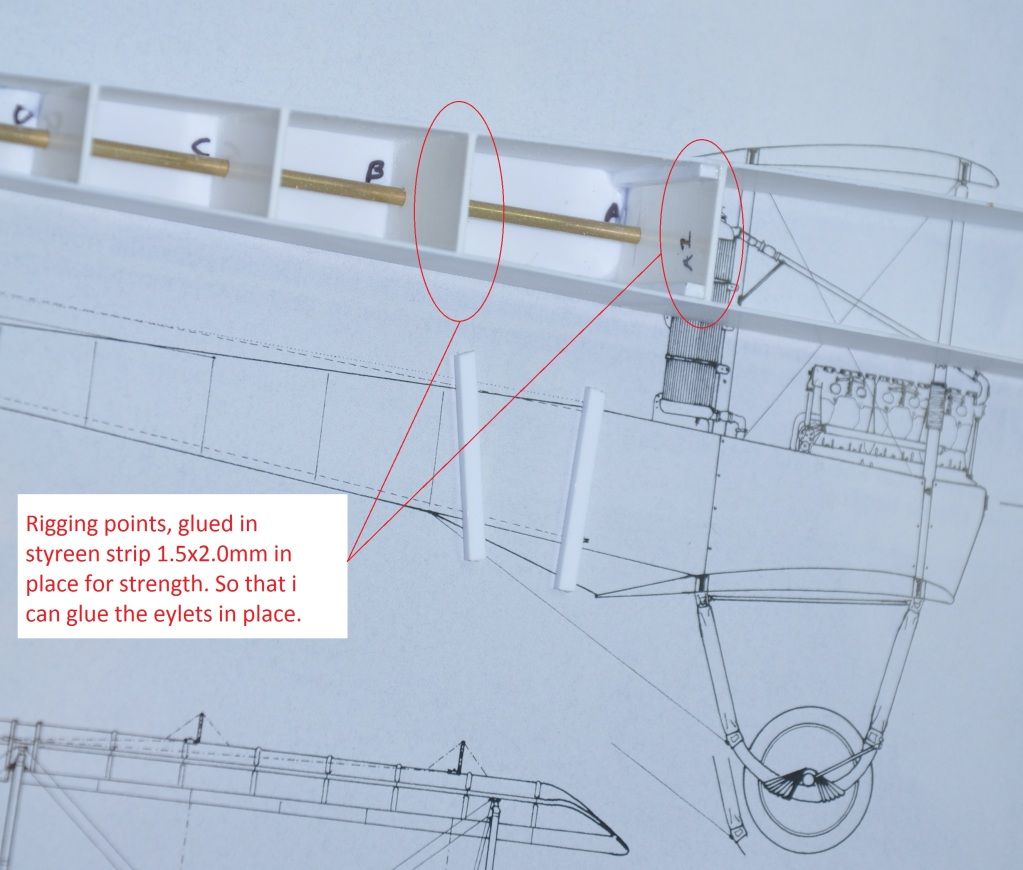
Now i have to for an order of styreen so i began making the tail.

Starting with the horizontal one made of 0.25 styreen sheet and 1.5mm balsa wood.
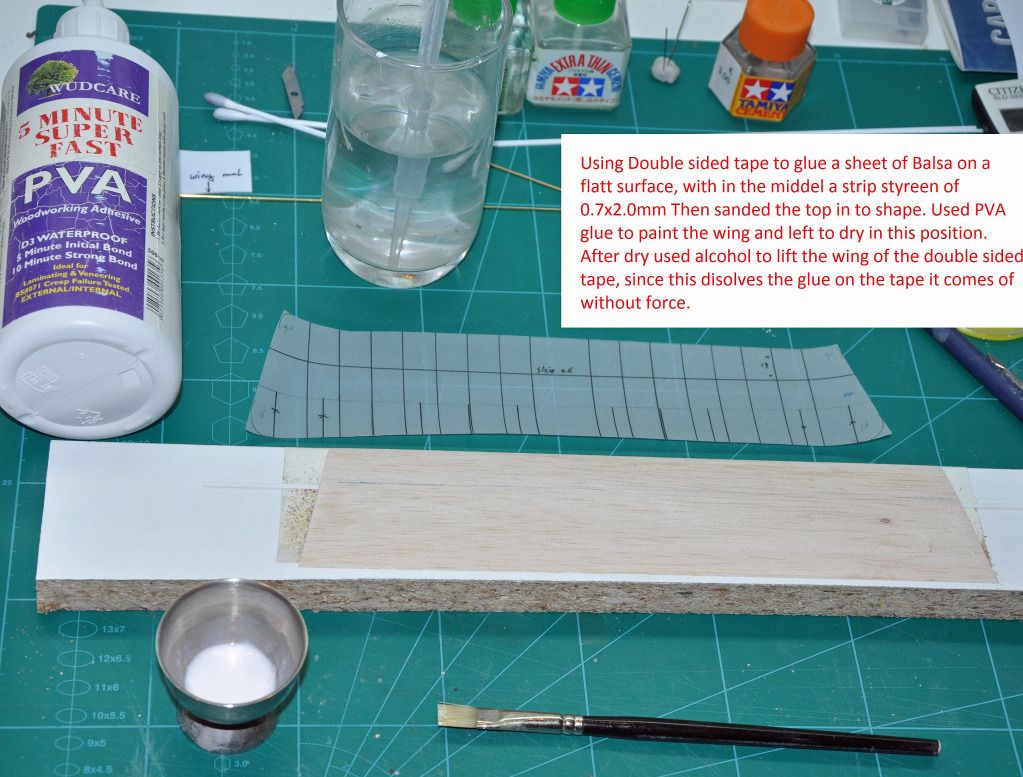


Overall dry fit so far.
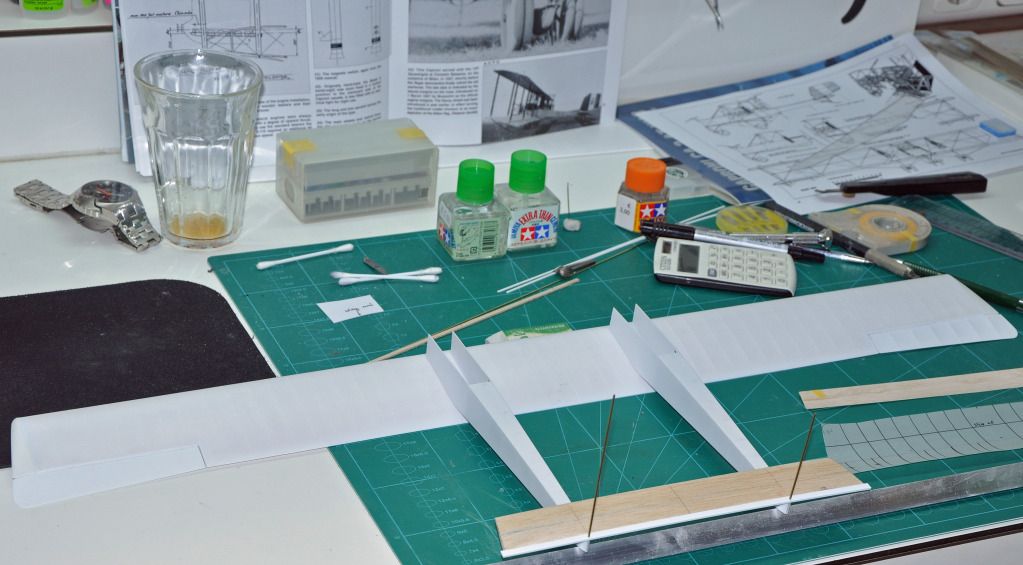

The tail fins, made a mold of Balsa wood then used 1.0 mm tape to simulate the ribs and over that with a layer of tamiya tape 40mm.


Here the pivet points of the tail fins are in place i used 1.2mm tube for this.

Does anny one know if all three fins where used to controle or just the outside ones...?
The middel one is fixed with struts on pics in the Datafile.

Dryfit.


Made a start of the internal detailles for the engine bay.
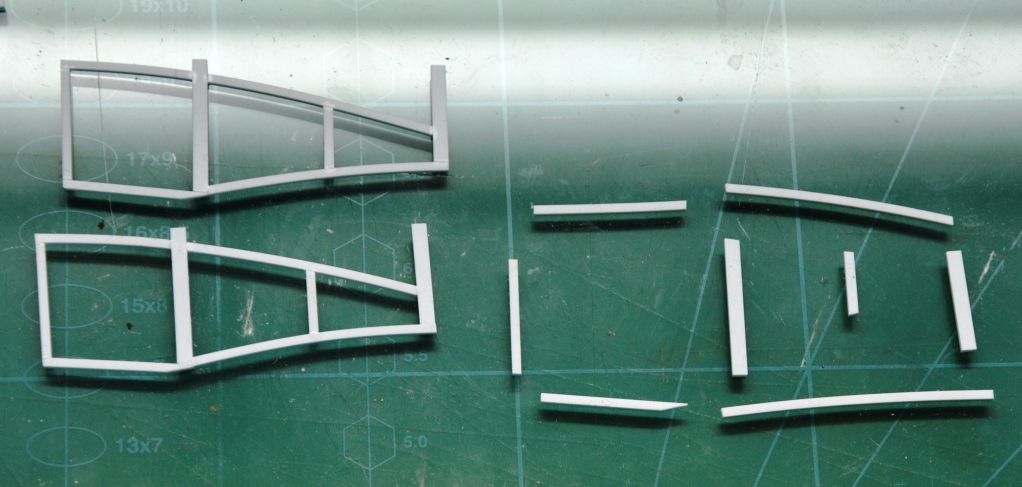

Ron


Offline Ronkootje

  • Full Member
  • ***
  • Posts: 229
Re: Caproni Ca.3 1/32 Scratch.
« Reply #1 on: June 24, 2012, 02:18:38 AM »
Finaly i can post some progress been a while had some troubles with the tail wing.


Engine bays ready for paint and to install in the tailbooms.

Started work on the center fuselage.

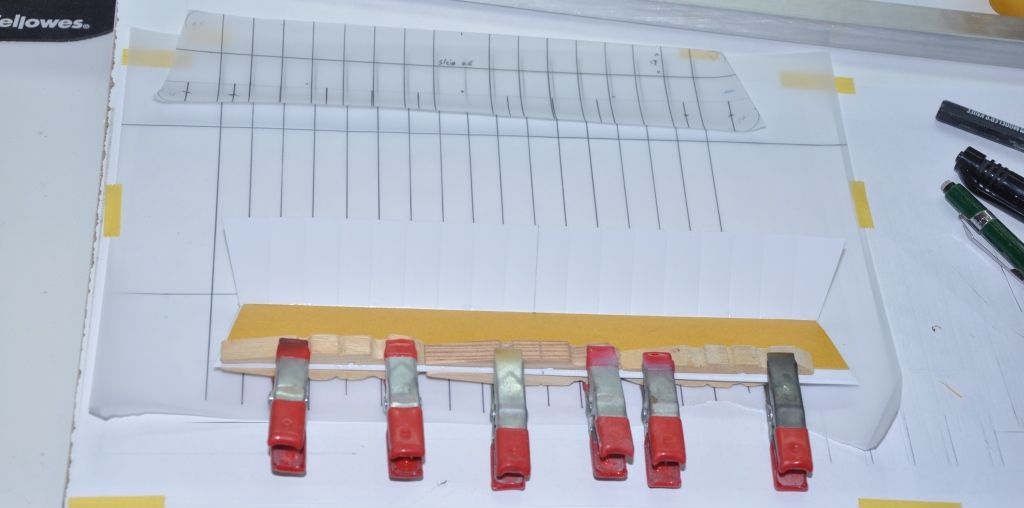
Using a mold to hold the styreen in shape with clamps and then boiled in water for a few min then left to cool down.

First time i did this i used  boiling water from the fast cocker and poored it over it that dident work so i dipit it again in a pan to wich i had water boiling in it, then the shape held it's form.

Made the center struts out of wood and sanded them into shape, afther that i driped thin CA to the wood wich made it stronger and smooth when sanded.
Using a 0.7 drillbit making holes to fit 0.7 styreen rodd for extra strenght.
My drilling Jig for drilling holes in to thin parts.


Overall this is where iam at now.


Dryfit.


Engine bays in position and glued.


Ron

Offline bobs_buckles

  • Hero Member
  • *****
  • Posts: 3733
  • Freedom isn't free.
    • Bobs Buckles
Re: Caproni Ca.3 1/32 Scratch.
« Reply #2 on: June 24, 2012, 02:49:47 AM »
Ron,
 A treasure trove of information. The drill jig is a great idea - cheers!

Keep going!
Von Buckle


https://www.bobsbuckles.co.uk/

Last Minute Man Of Faith

Offline Jim52

  • Full Member
  • ***
  • Posts: 183
Re: Caproni Ca.3 1/32 Scratch.
« Reply #3 on: June 24, 2012, 03:06:08 AM »
Ron,
      That's quite the "Drill Press"! Could you post a couple more pictures of
the various sides of it? I've been looking for something similar and your idea
fits the bill!

Jim

Offline coyotemagic

  • Hero Member
  • *****
  • Posts: 7710
  • "Here's to not buggering it up." -Winston Chuchill
    • My Models
Re: Caproni Ca.3 1/32 Scratch.
« Reply #4 on: June 24, 2012, 04:22:22 AM »
Truly brilliant work, Ron.  I look forward to the next update.
Cheers,
Bud
"All men dream: but not equally. Those who dream in the dark recesses of the night awake in the day to find all was vanity. But the dreamers of day are dangerous men, for they may act their dreams with open eyes, and make it possible." -T. E. Lawrence

Offline Des

  • Administrator
  • Hero Member
  • ******
  • Posts: 9325
    • ww1aircraftmodels.com
Re: Caproni Ca.3 1/32 Scratch.
« Reply #5 on: June 24, 2012, 06:47:24 AM »
Excellent work to date Ron, I can appreciate the amount of time and effort you have put into this build, it will be a gem when completed.

Des.
Late Founder of ww1aircraftmodels.com and forum.ww1aircraftmodels.com

Offline Chris Johnson

  • Hero Member
  • *****
  • Posts: 1959
Re: Caproni Ca.3 1/32 Scratch.
« Reply #6 on: June 24, 2012, 08:47:14 AM »
What a great, informative thread! While I'll never try anything like this, I sure enjoy seeing how you fellows go about doing it.

Cheers,

Chris
You can have it good; You can have it fast; you can have it cheap. Pick any two, but all three are impossible.

Offline Whiteknuckles

  • Hero Member
  • *****
  • Posts: 1334
Re: Caproni Ca.3 1/32 Scratch.
« Reply #7 on: June 24, 2012, 10:54:26 AM »
Wow!!
Impressive Ron and lots of great info thanks.
Watching this build with lots of interest.

Andrew
Eternal Apprentice

Offline GAJouette

  • Hero Member
  • *****
  • Posts: 3579
  • " Beware of the Spanish Inquisition"
Re: Caproni Ca.3 1/32 Scratch.
« Reply #8 on: June 24, 2012, 02:31:43 PM »
  Ron,
Truly outstanding works from a Master Level Craftsman.
Highest Regards,
Gregory Jouette
" What Me Worry"

Offline Jose Chaica

  • Jr. Member
  • **
  • Posts: 95
  • Jose "Von Muttley" Chaica
Re: Caproni Ca.3 1/32 Scratch.
« Reply #9 on: June 25, 2012, 06:32:47 AM »
This forum just gets better everyday.... :)
Excellent choice! The Ca.3 is a favourite of mine! IŽll follow this one close, and try to learn some more scratch techniques.
Jose Chaica, from Portugal.

Offline Ronkootje

  • Full Member
  • ***
  • Posts: 229
Re: Caproni Ca.3 1/32 Scratch.
« Reply #10 on: June 25, 2012, 09:22:51 AM »
Started work on the fuel tanks.

For the round parts i used old Russian weapons.

To mark the 3 tanks i cut dynamo tape to 8.8mm and placed it on the fuel tank to scribe a line all around the part.
This is done two times so that the tanks are 8.8.

Next using files i made the half rond dent in the tank.

For the edge of the tank i used 0.25 x 1.0 mm styreen strip using boiling water to keep it in shape then glued in place.
When all is dry all is sanded flus

Have to put some rivit detailes in the tank but i dont have the decals for it yet, orderd Rivits and rib tapes from HGW anny one used this stuff before?

Afther fitting and sanding the top wings is installed as a dry fit.


All the struts are made of wood and sanded into shape long proces but the strenght of wood is better then styreen.
All the pins that go into the wing are 0.7 brass tube.

Ron

Offline coyotemagic

  • Hero Member
  • *****
  • Posts: 7710
  • "Here's to not buggering it up." -Winston Chuchill
    • My Models
Re: Caproni Ca.3 1/32 Scratch.
« Reply #11 on: June 25, 2012, 01:41:54 PM »
Really beautiful work, Ron.  She'll be breathtaking when finished.
Cheers,
Bud
"All men dream: but not equally. Those who dream in the dark recesses of the night awake in the day to find all was vanity. But the dreamers of day are dangerous men, for they may act their dreams with open eyes, and make it possible." -T. E. Lawrence

Offline Ronkootje

  • Full Member
  • ***
  • Posts: 229
Re: Caproni Ca.3 1/32 Scratch.
« Reply #12 on: July 10, 2012, 05:36:11 AM »
Took me a while to post again, but been decaling the rib tapes of HGW.
Result is verry good!

Would have orderd it from HGW but they are out of stock, so i found Mister kit in Italy and they got 3 in stock lucky me.
In total its 3 sheets of Ribtapes to apply, only the top wing left to do then ill post some in progres pics as a go allong.

Next up is the fuel tanks almost done only need to place  two strips arround and put some riveting detail with HGW rivit decals.

First made a mold of Basswood, then i glued kopper wire of 0.5mm on the mold.
Then using Foil took of a whine botle and press it with a clamp.


Not to bad if i may say so myself.

Next the Nose section made this from Brass.


At this stage its not done yet and all is a dry fit atm.

Next i made the steering wheels, using brass and copper wire.


I choos the 8a Squadriglia Ace of Club insignia.


Over all where iam at now.


Ron

Offline coyotemagic

  • Hero Member
  • *****
  • Posts: 7710
  • "Here's to not buggering it up." -Winston Chuchill
    • My Models
Re: Caproni Ca.3 1/32 Scratch.
« Reply #13 on: July 10, 2012, 07:08:04 AM »
Truly magnifient work, my friend.  I'm glad to see those rib tapes working so well.  I got some for my Aurora DH10a (when I ever get around to it).
Cheers,
Bud
"All men dream: but not equally. Those who dream in the dark recesses of the night awake in the day to find all was vanity. But the dreamers of day are dangerous men, for they may act their dreams with open eyes, and make it possible." -T. E. Lawrence

Offline Des

  • Administrator
  • Hero Member
  • ******
  • Posts: 9325
    • ww1aircraftmodels.com
Re: Caproni Ca.3 1/32 Scratch.
« Reply #14 on: July 10, 2012, 07:35:36 AM »
Looking absolutely brilliant Ron, exceptional workmanship.

Des.
Late Founder of ww1aircraftmodels.com and forum.ww1aircraftmodels.com