Hallo,
here are some news from the Fokker factory:
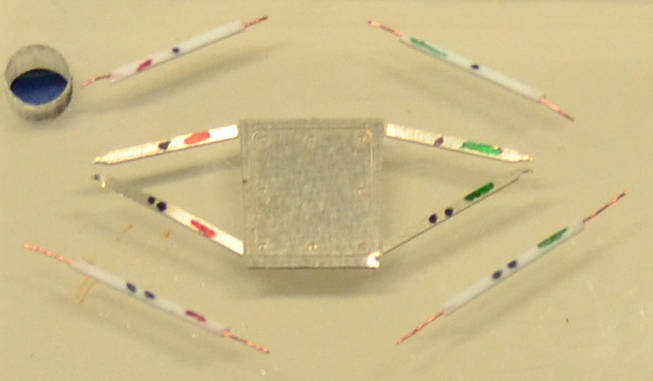
here you can see the brass piece provided by the PE fret simulating the metal panel closing the forward part of the fuselage with the undercarriage struts.
The plate itself is not bad so I decided to keep it, but the struts where flat and I did not like them, so I decided to make them from scratch using a 1 mm diameter plastic rod that I flattened on two opposite "faces" to get the aerodynamic section.
I pierced the rods to insert a pin made from an electric wire.
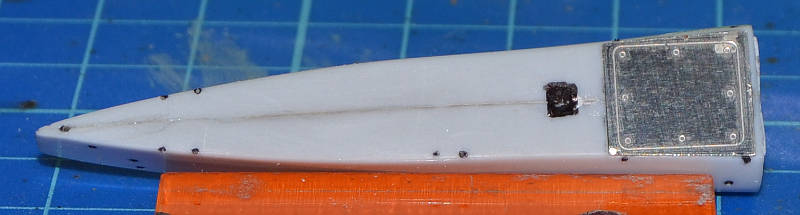
then I cut away the flat-struts and glued the plate under the fuselage.
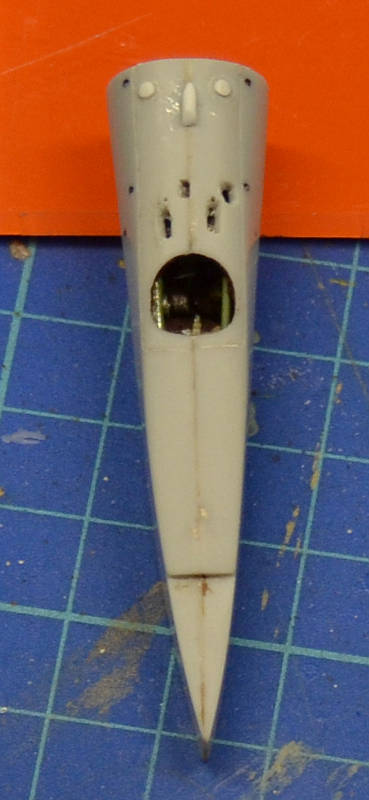
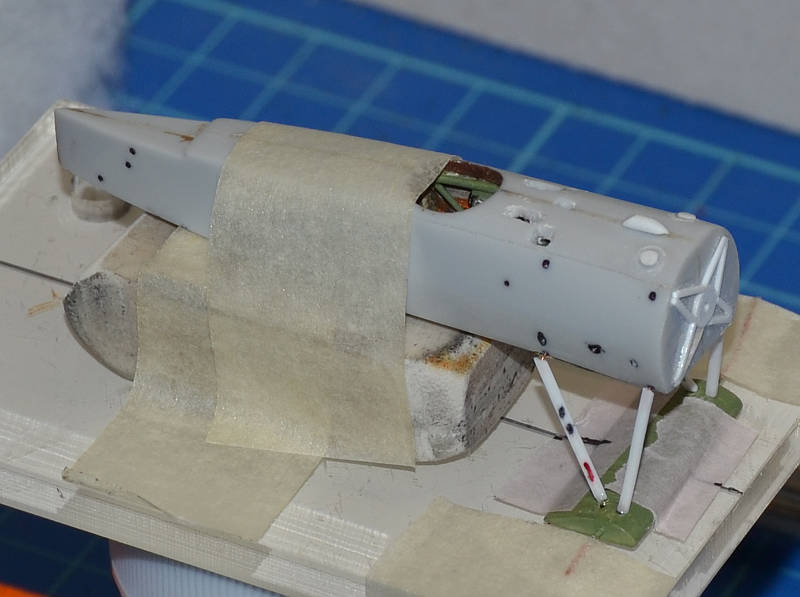
You can see here the holes for the tail handles and the set up to the cockpit pierced and marked with a black felt to see them after priming the fuselage.
I also carved and blacked the square pit under the control column (I suppose...)
The joining line was sanded even enough but not filled with putty, I would like to let it peep from under the lozenges, I will mark it with the felt after priming and study a way to draw the stitching line thet used to close the lozenged canvas according to some pictures I saw...
Any Ideas about how to make it?
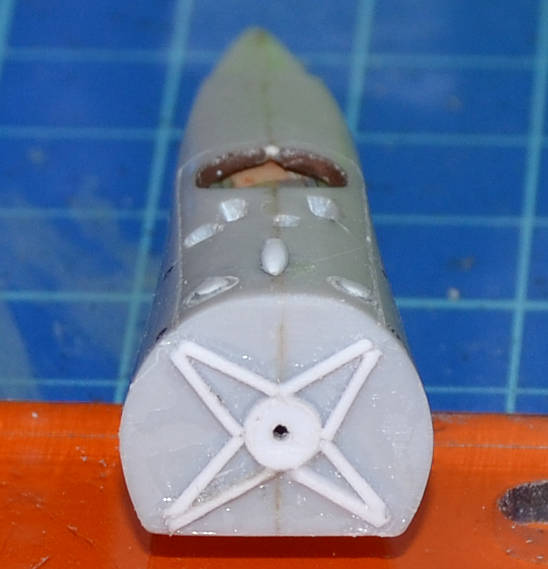
other details added to the top side of the cowling and to the firewall to be painted metal.
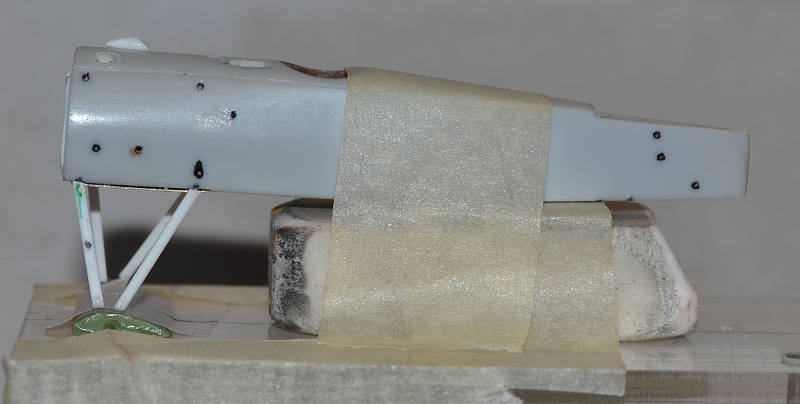
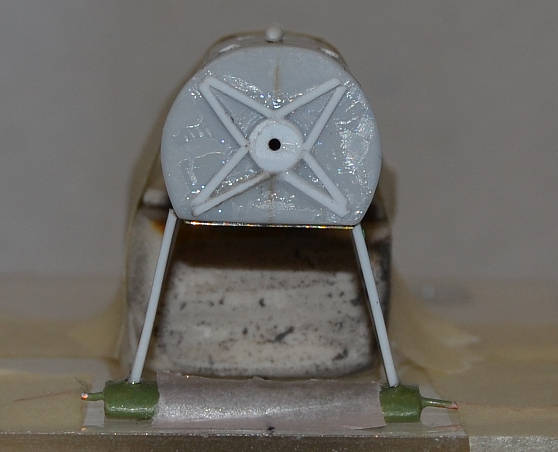
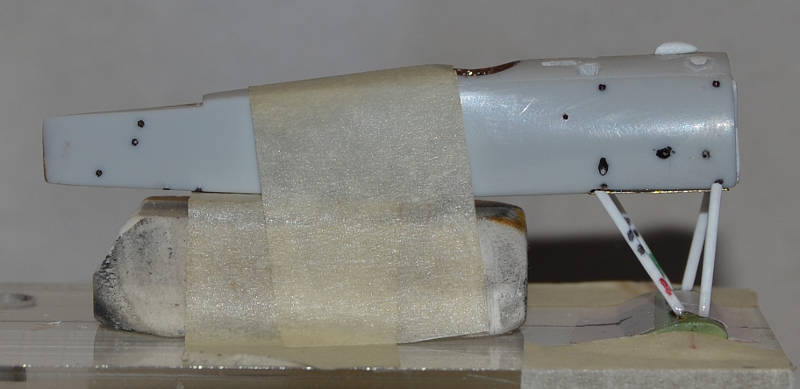
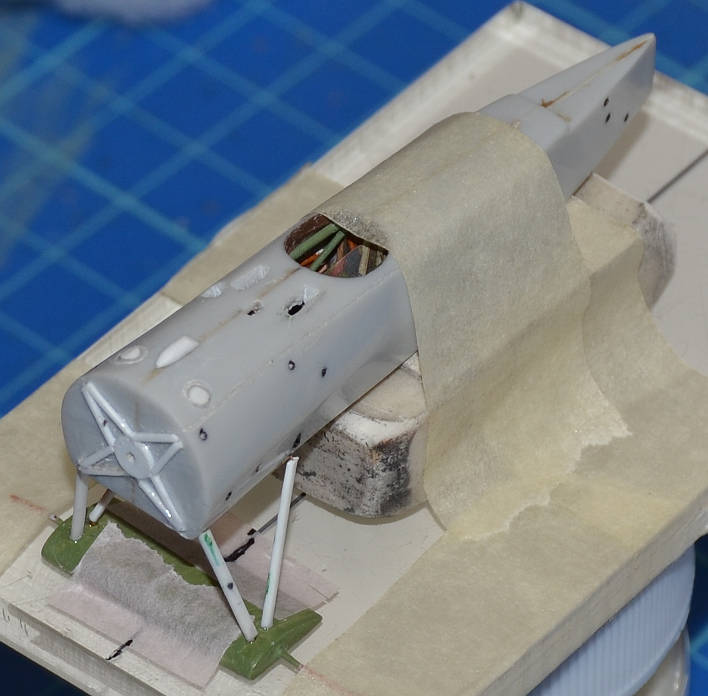
Here I glued the bottom part of theundercarriage struts in their final position, the fuselage was used to give the struts the correct position, not yet glued.
The whole carriage sub assembly has been now painted green with satin finish.
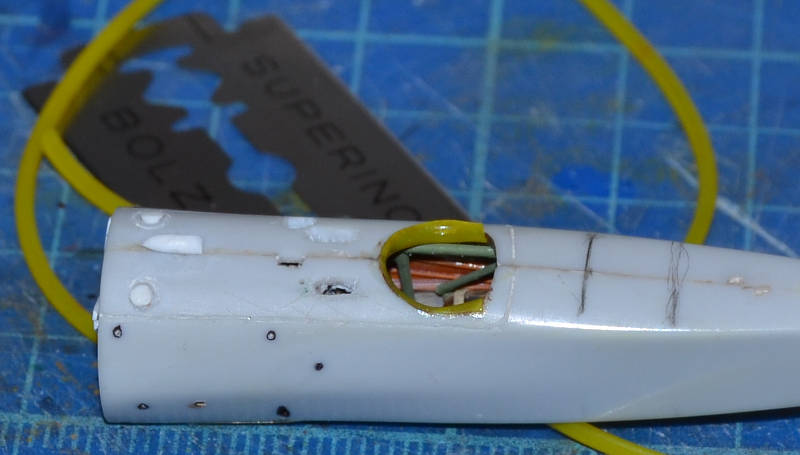
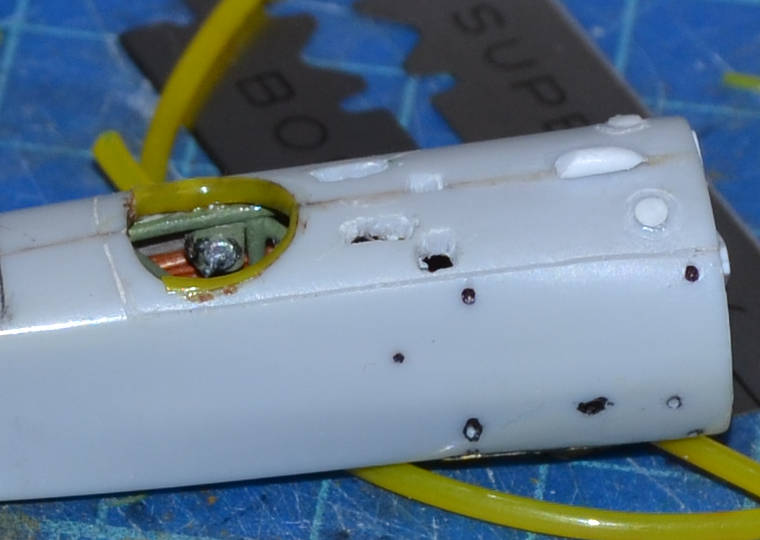

Then I cut a plastic hollow tube used to bind plants to support sticks with a razor blade to simulate the leather trimming inside the cockpit hole.
That's all for now, now I will create the struts sustaining the wing using the same technique used for the undercarriage, then will proceed to prime the fuselage and go with the lozenges.
Ciaoooo!
Antonio

