Finally time for a small workbench update, two weeks gone by in seemingly just a few days. With Christmas imminent time is at a premium!
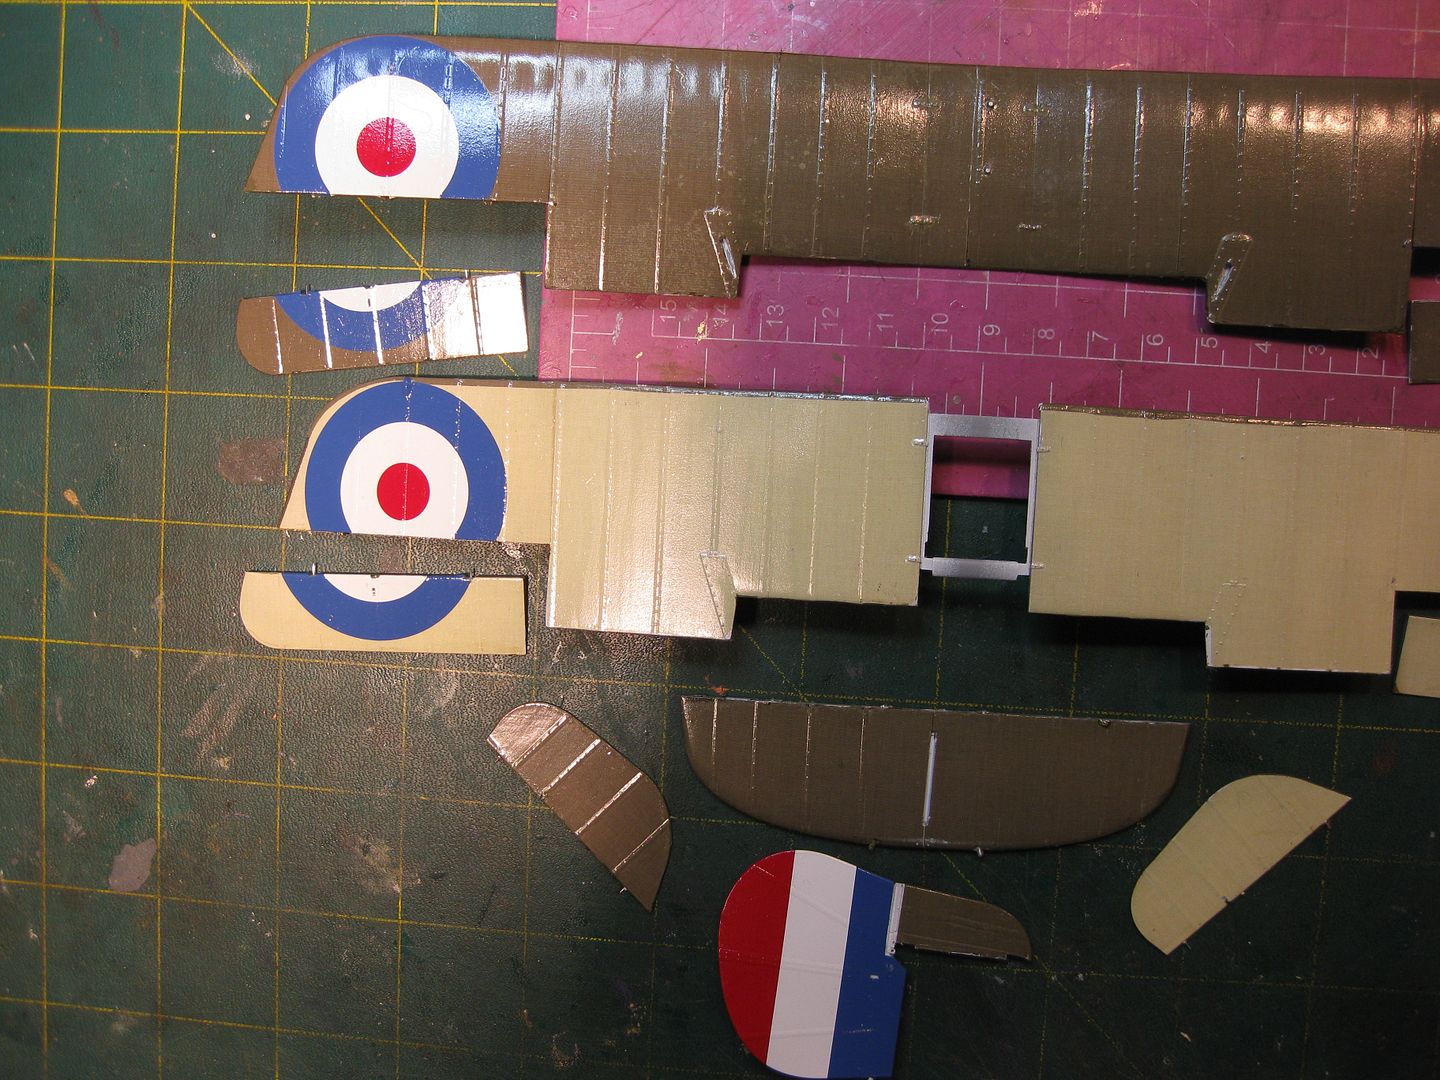
The white backed Aviattic PC10 worked well for the "wrap under" on the main planes. I did not apply it to the horizontal Stab as none of the reference profiles nor photos showed it, in fact I'm second guessing whether the wings were done either??
All of the fabric areas have been done with Aviattic's PC10 and CDL, a long process but the results are quite impressive. I'm particularly pleased with the CDL, I don't believe one could produce a more realistic finish. Here's a quick workbench shot of the components, markings applied, and a coat of Future to seal it all. They'll be getting a shot of matt clear today and then some shading and weathering once dry. I still need to do some minor touch ups and paint the metal panels around the tail lattice boom connections before the over spray. All control surfaces were drilled and "pinned" with musical wire. The slightly discoloured area on the PC10 upper wing surface by the left aileron appeared after the drying period. It`s not air, rather I think I may have over-handled it on application and worn off some of the colour. I`m hoping to cover this `wart` enough during the shading and weathering process to render it near invisible.
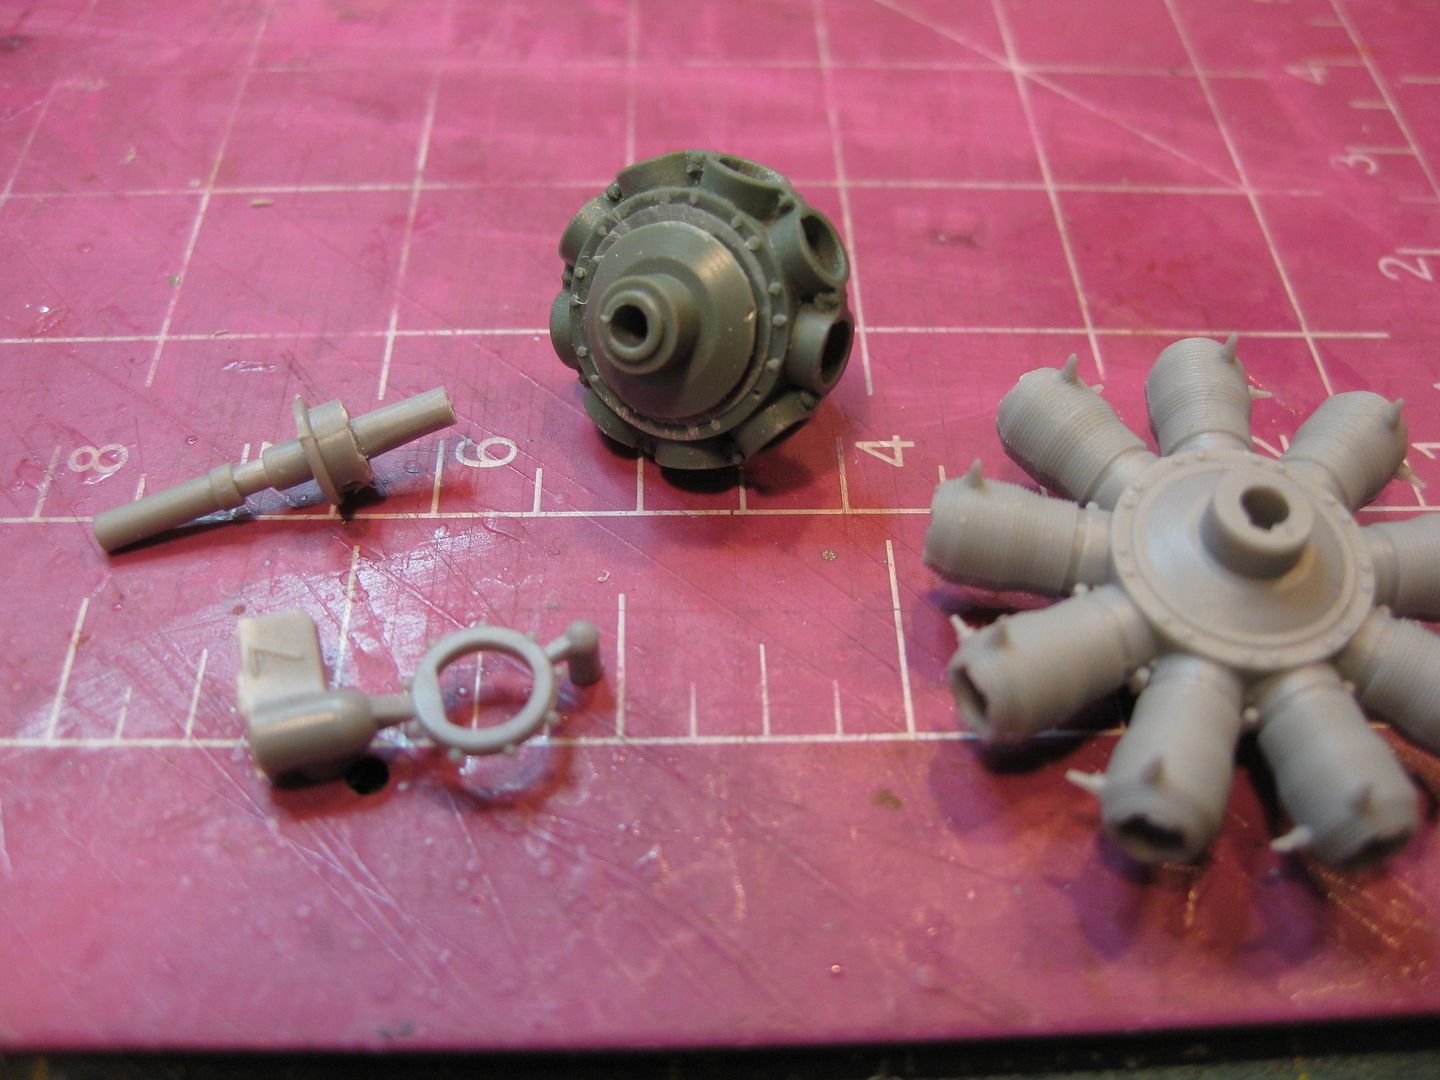
The majority of my efforts over the past two weeks have gone towards the Gnome Monosoupape 100 HP Engine. I must admit to struggling significantly with the Taurus Kit and, in the end having to compromise somewhat. Unfortunately the valve spring/lifters fret had several damaged parts however Lukasz at Taurus immediately dispatched a replacement and a few samples of his new oil pulseometers for my troubles. Outstanding service as always! As it turned out the tiny valve lifter levers and push rod connectors were beyond the capabilities of this 70 year old set of eyes and hands thus I chose to use the corresponding kit versions, slightly modified, and got the job done. This to me seemed a logical solution vs. jumping off the nearest tall bridge! The detail on the Taurus parts is extraordinary, and in the end my engine is all Taurus except for the spring and lifter assemblies.
The basic components along with the Kit bits during initial assembly:


The finish was done with a combination of Alclad II, Mr. Metal Colour, and a few Model Master enamels with a wash of Winsor Newton Oil (Lampblack).


After trying several different approaches to add the wiring harness I elected to drill the back end of the bakelight "race' and insert the plug wires (copper from old speaker wires) with CA, and then CA them to the tiny Taurus Plugs already installed.
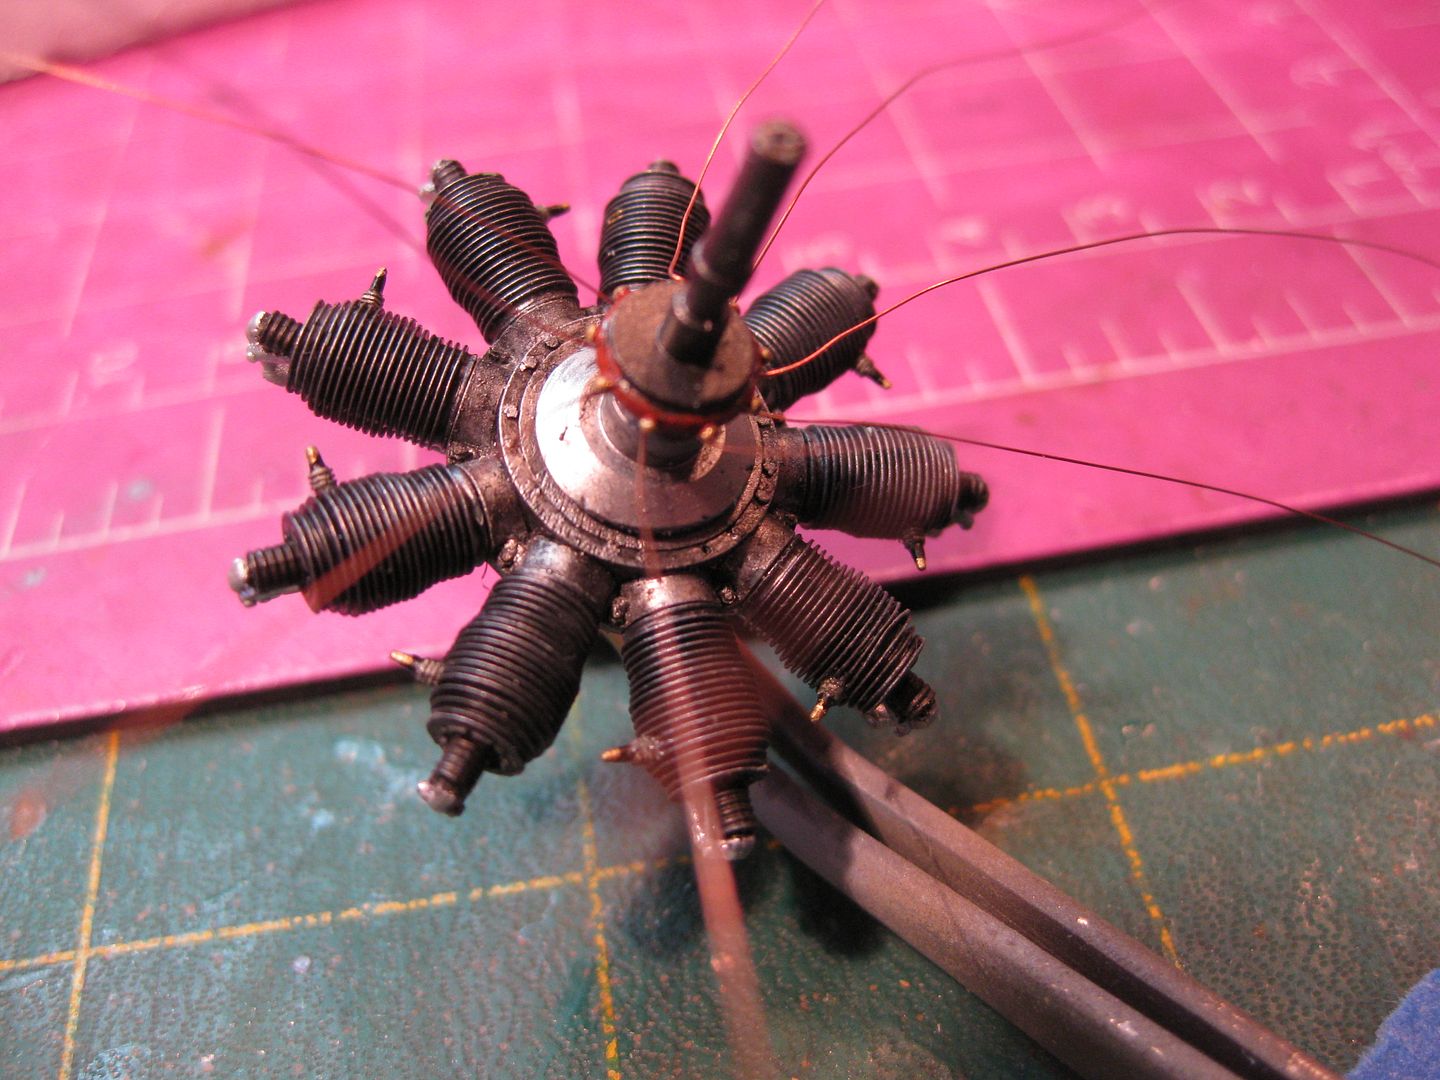


In a perfect world the slight bends in the plug wires looked horrible, until I looked at the photos of the engine in the Plans Booklet and saw that they are very slack and bent on the real thing. Bonus!

So, now it`s time to make all the gloss and clean finish look dull and worn, more to follow in a week or so.
Cheers,
Lance

