Well, my pace has been terribly slow, but I have been working on my Eindecker, and have an update to share.
As a reminder, a bit over a month ago I put up a picture (on page 6) showing that the seam along the top of the fuselage had re-appeared at some point after paint, decals and weathering. I wound up waiting on replacement decals from the folks at WnW (which they were very kind to provide me.) Here is the re-finished seam:
I took a couple of different approaches to dealing with the seam as follows. For the gray-green fabric area ahead of the decals, I took the advice from Bo and others and built up the area with a number of coats of clear, and sanding between each one. When it looked like I had a smooth finish, I used a bit of the AK Fuel Stains enamel that I had used for the stains around the fuel cap, and painted along the seam, which eliminated it from view.
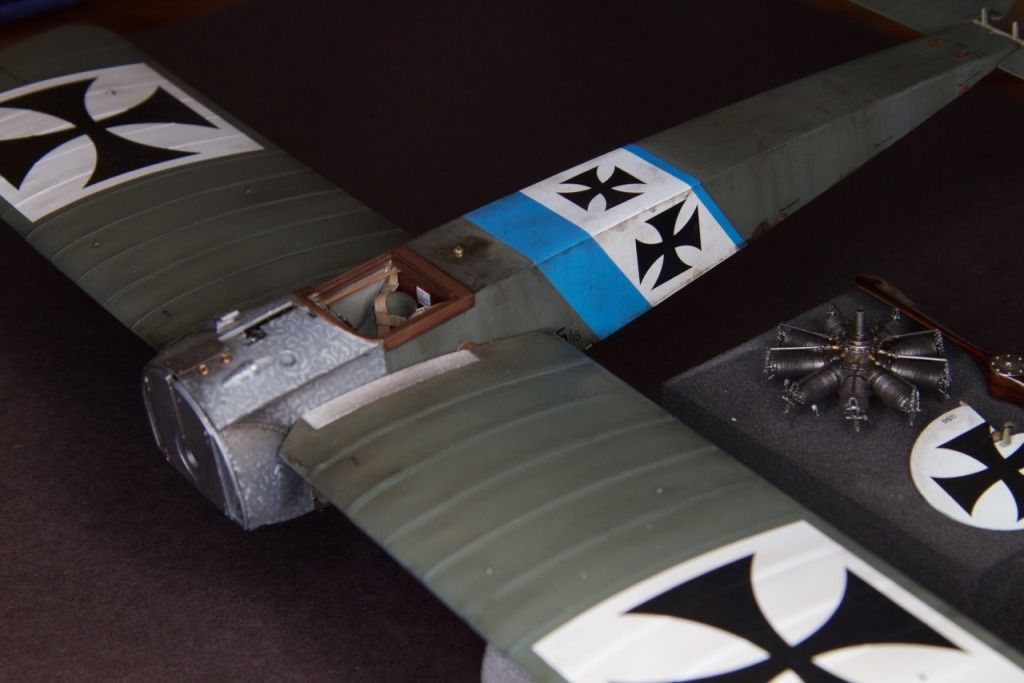
Because of some technical issues I had to do a bit more work on the decal area. I decided to try a coat of Mr. Metal Primer... clear... primer... good, yes? No. For whatever reason, I got some really nasty orange peel that required quite a bit of sanding. Fortunately, the issue was confined to the decal surface, and since I had a replacement coming, I figured I'd just strip that area down and use some actual putty (Squadron Green & Mr. Surfacer) to fill the seam. I masked off the painted areas and sides to protect them, but still wound up with a bit of repair work to do along the upper edge of the starboard side. Concerned that a strip of decal would be visible, I decided to paint the area and attempted to match that Bavarian blue. I settled on Tamiya XF-18, Medium Blue, which while not a perfect match, looks like a smokier version of the stripe color, so blended in very nicely with the rest of the weathering:

Once I had finished the repairs, and applied the decals, I attempted to blend the new work in with the old with various oil washes and gave the whole area an additional coat of clear, followed by a coat of Alclad Matte to match the rest of the paint work. I went over a couple of the oil stained areas with a thin coat of Tamiya Smoke to restore the oily sheen, and called it repaired. It was a bit scary at times, but now that it is done, I am certainly glad to have eliminated the seam.
To celebrate finally getting back to where I was a month ago, I have now also attached the wings.
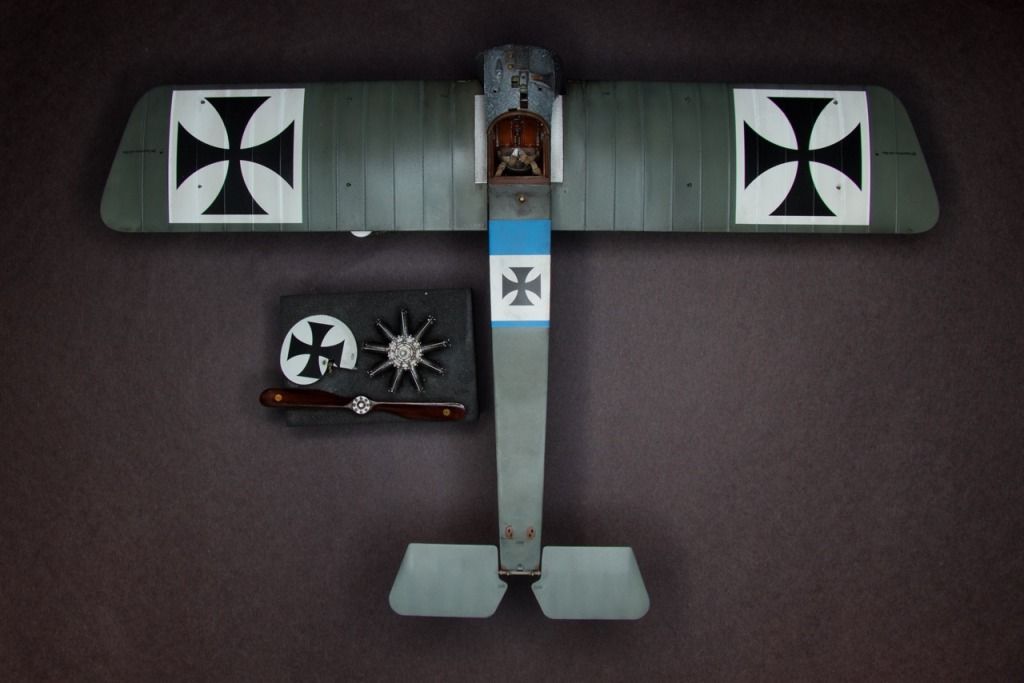
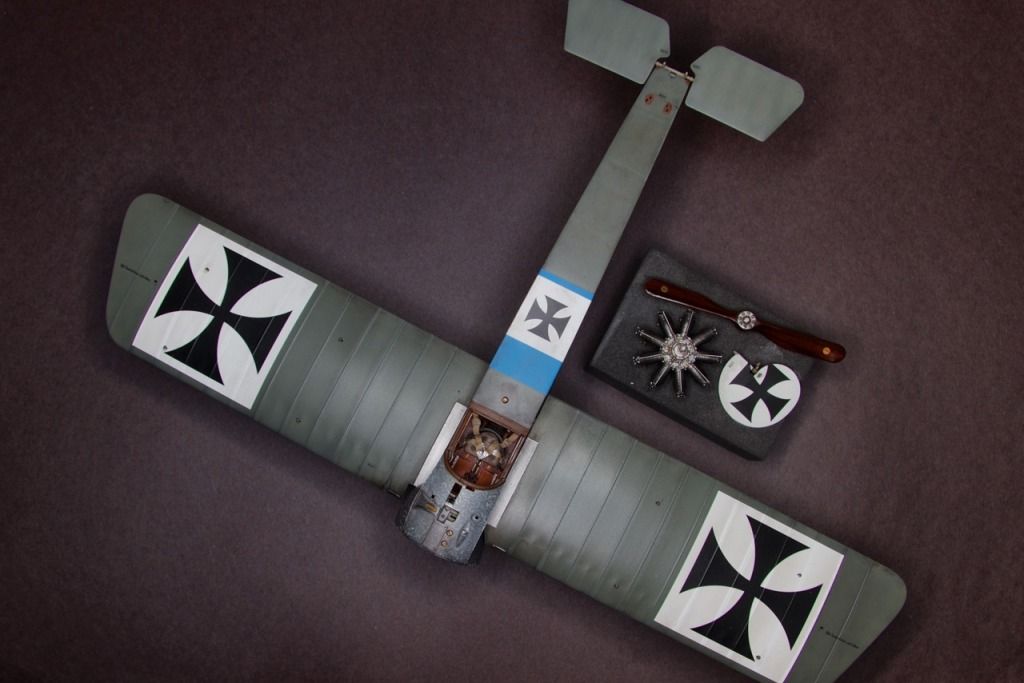
I will let the wings set overnight, and then will get the undercarriage underway tomorrow.
Thanks for checking in,
Chris
Oh, p.s. I have a quick question: I have painted the exposed cartridges in the ammo feed chute brass as recommended by the instructions. I am wondering, is this accurate, or would the bullets have been held within a canvas belt? Thanks in advance.

