Greetings folks: I have been working on the WNW Sopwith Snipe. I have been following the other builds and have learned a lot from them and thought I would post some of my progress to date. It is certainly a complex kit with a complex interior. I tried to take short cuts, but should have followed the directions. I managed to make it all work though. Let's start with the fuselage:
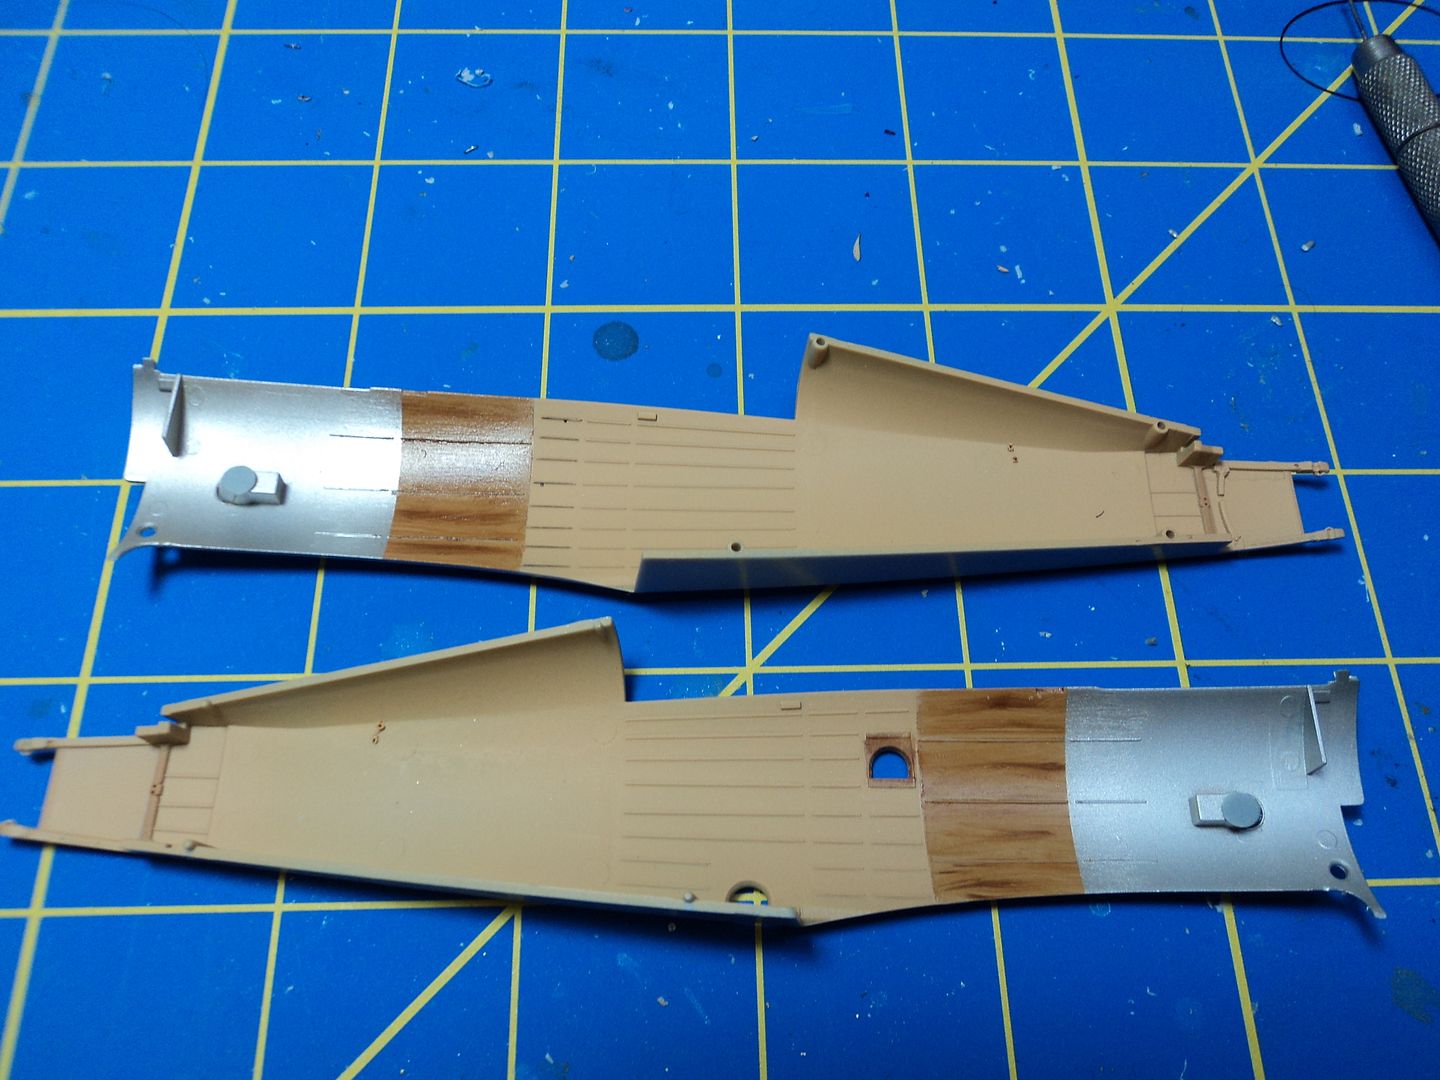
I painted the various sections and applied the standard wood grain technique to that portion called out in the instructions.
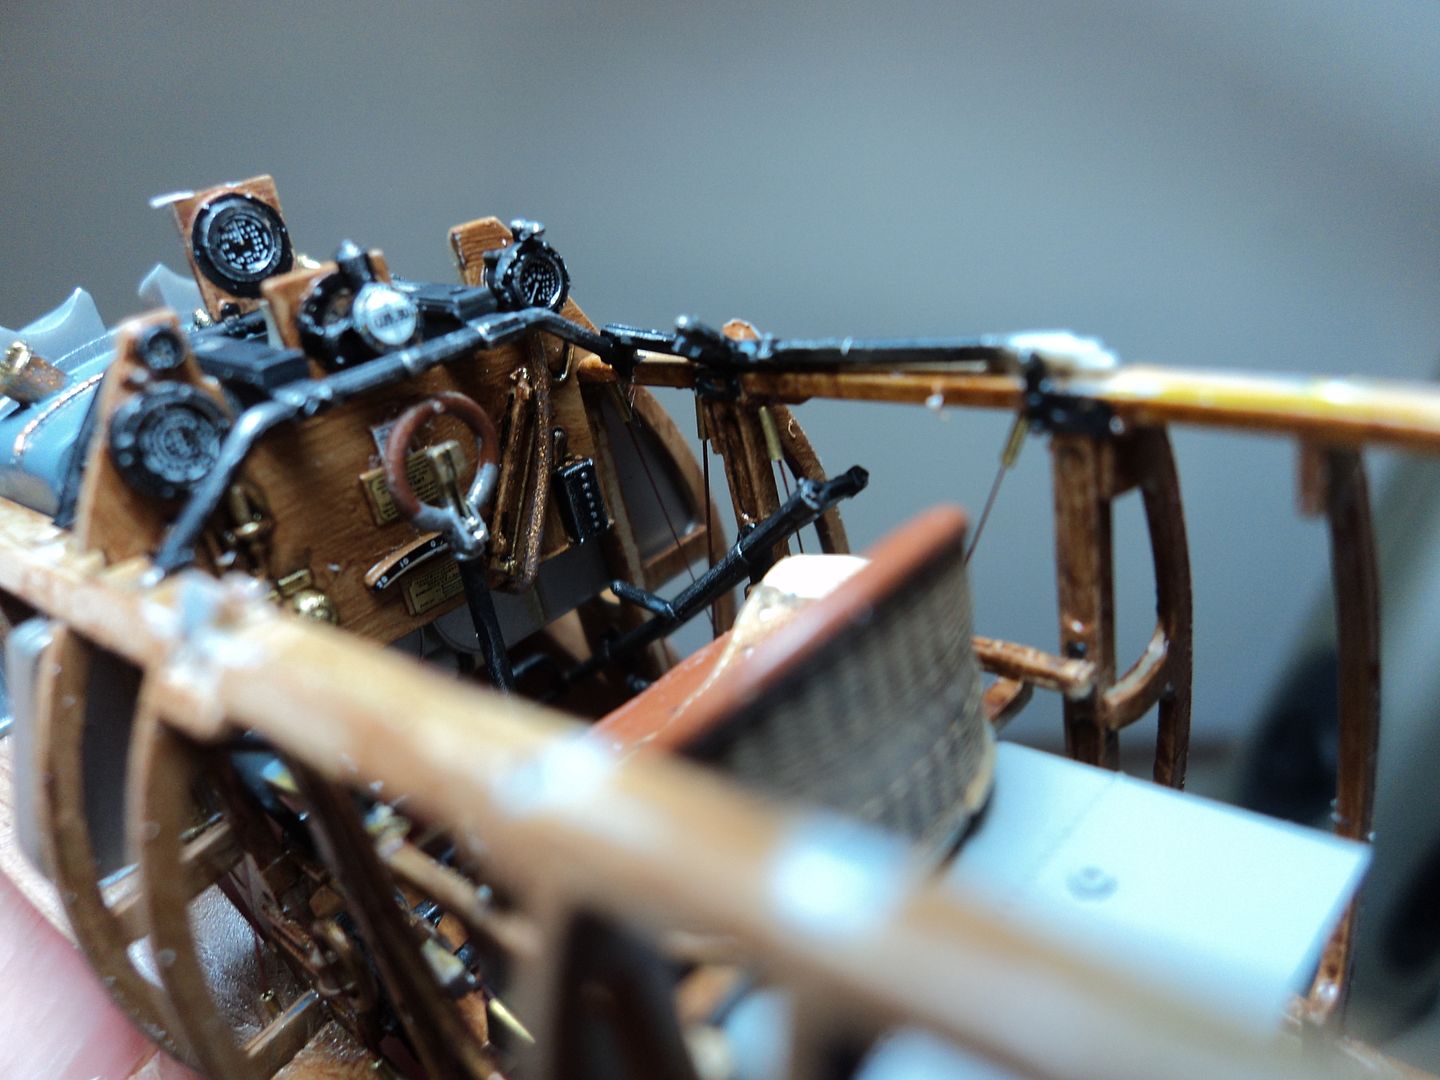
Here is the almost completed interior. I pre rigged the rudder bar parts A13 and A6. This is a very delicate assembly and care needs to be taken to prevent breakage. I used invisible thread and BVB's tubing. I then pulled the lines through the completed floor board assembly and through the pre drilled holes in part A36. I didn't CA glue the ends, but rather paper clipped the ends together until the interior side walls were assembled giving it strength. I also included a cross brace on the underside.
I used the HGW seat belts. If I did it again, I would overlap the buckle end over the leather side. I like using these. HGW has really improved their product and assembly sequence.

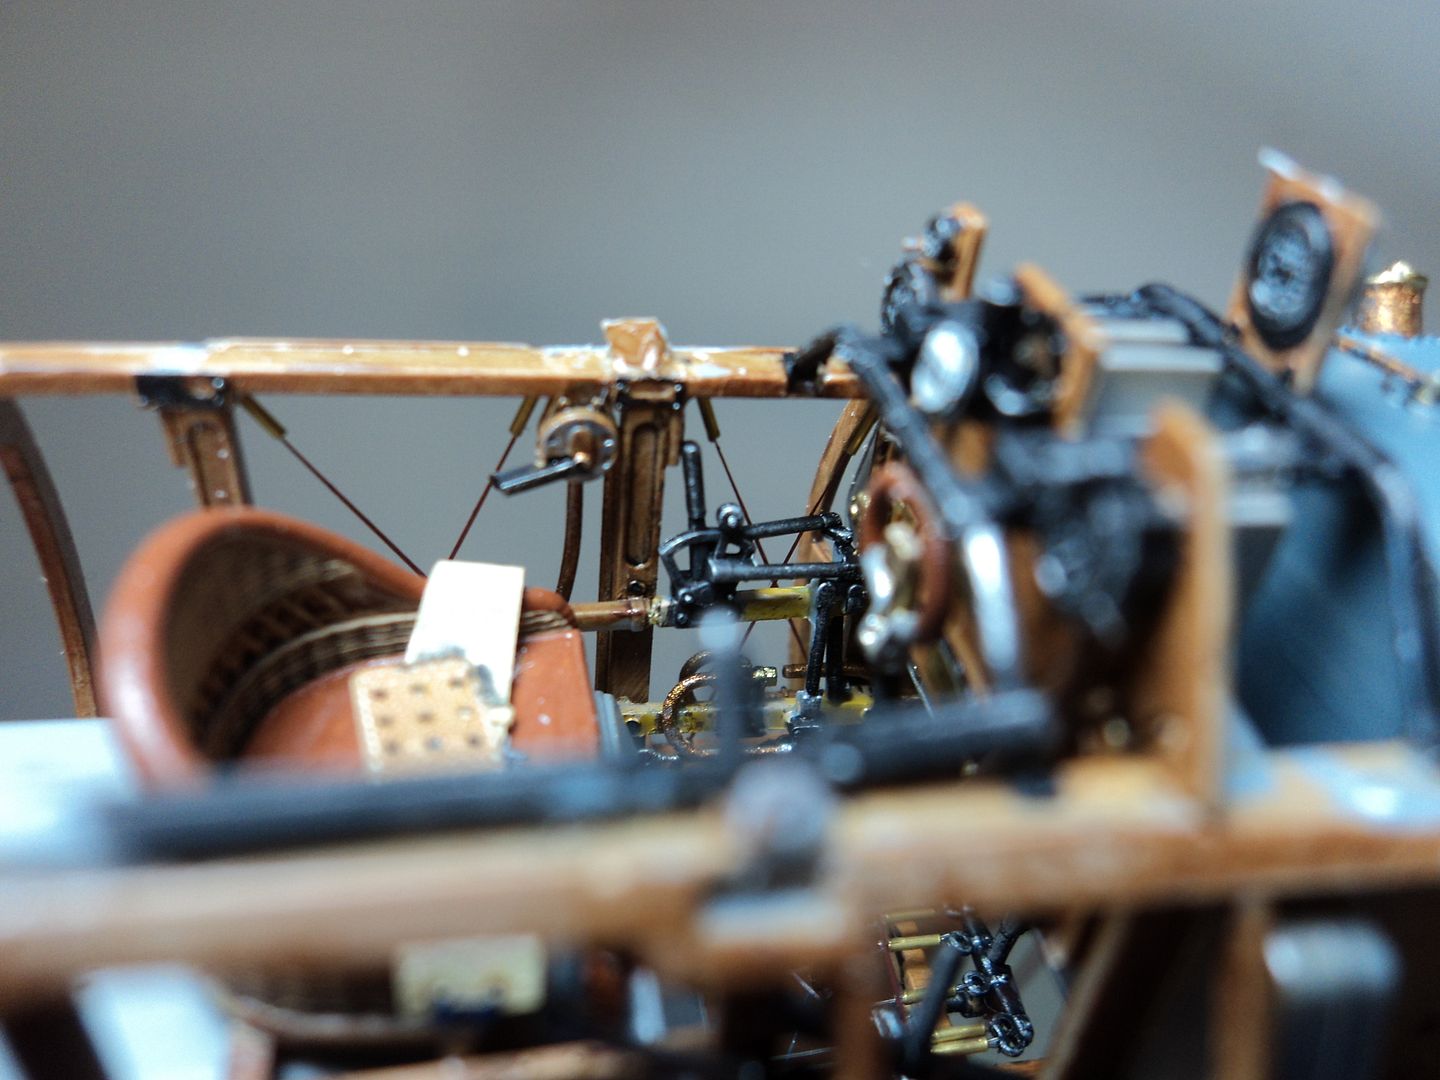
Another view of the interior with the machine gun mount in place.
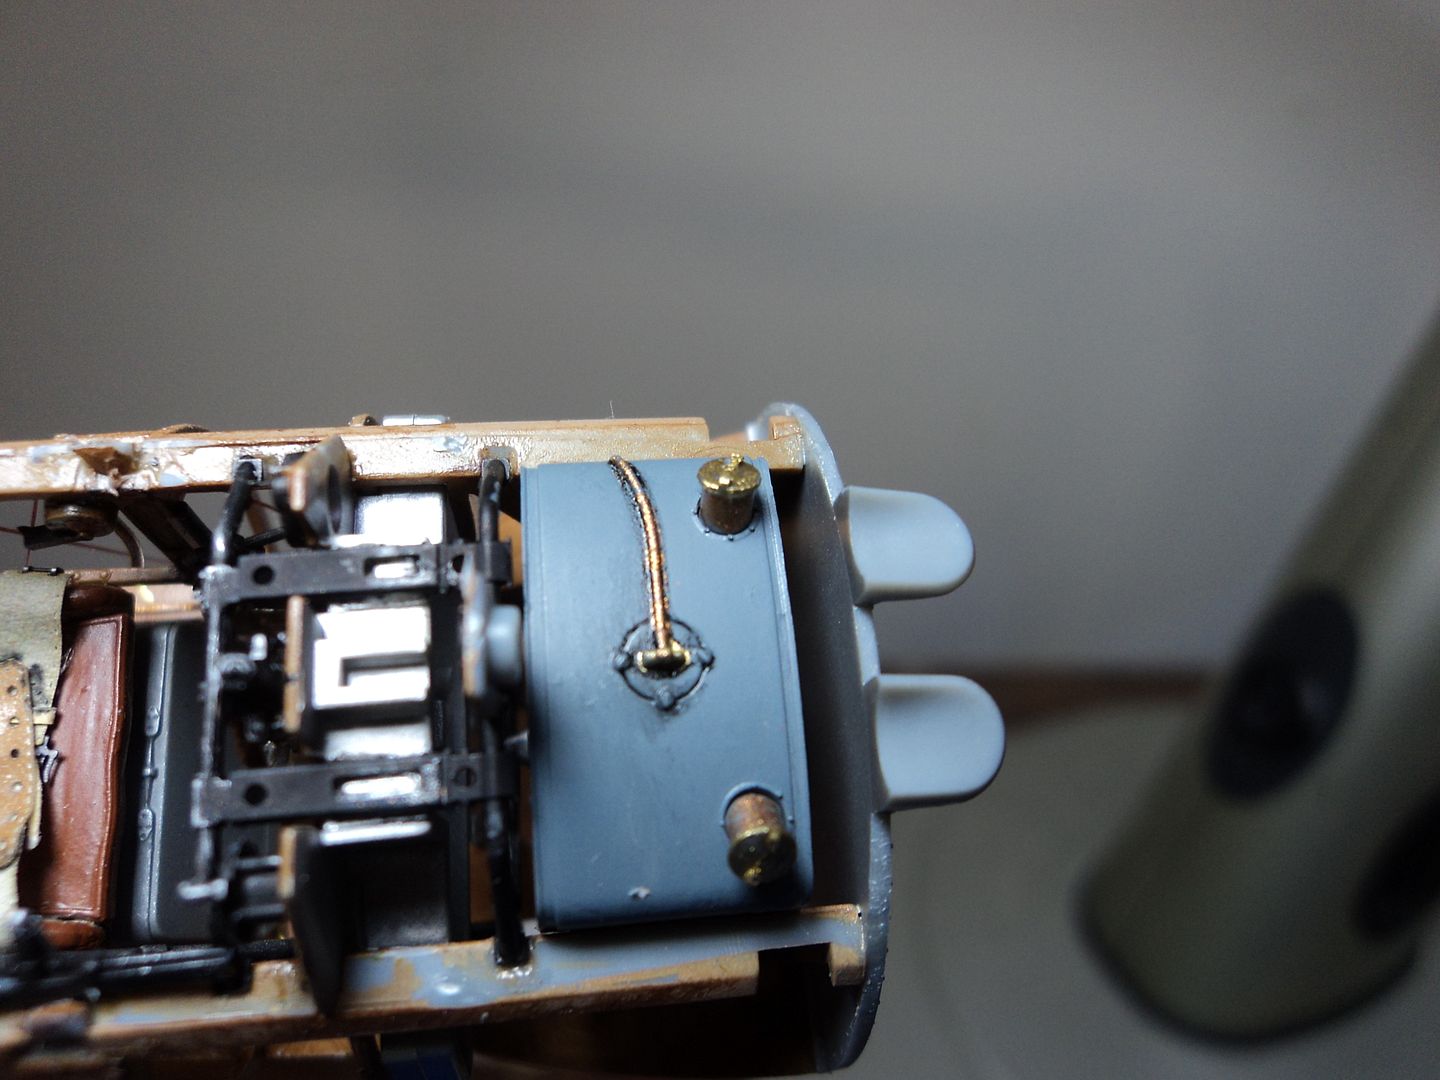
Here is the fuel/oil tank. I experimented with oils along the fuel line and the fuel line input fitting. As this is totally invisible once assembled, I thought it would be could to practice the capillary oil method. I was fairly pleased with the results and applied it to some of the internal plumbing on the instrument panel and framing.
Here is yet another of the port side of the interior with the oil method and dry brushing to highlight some of the mechanisms in the complex interior.
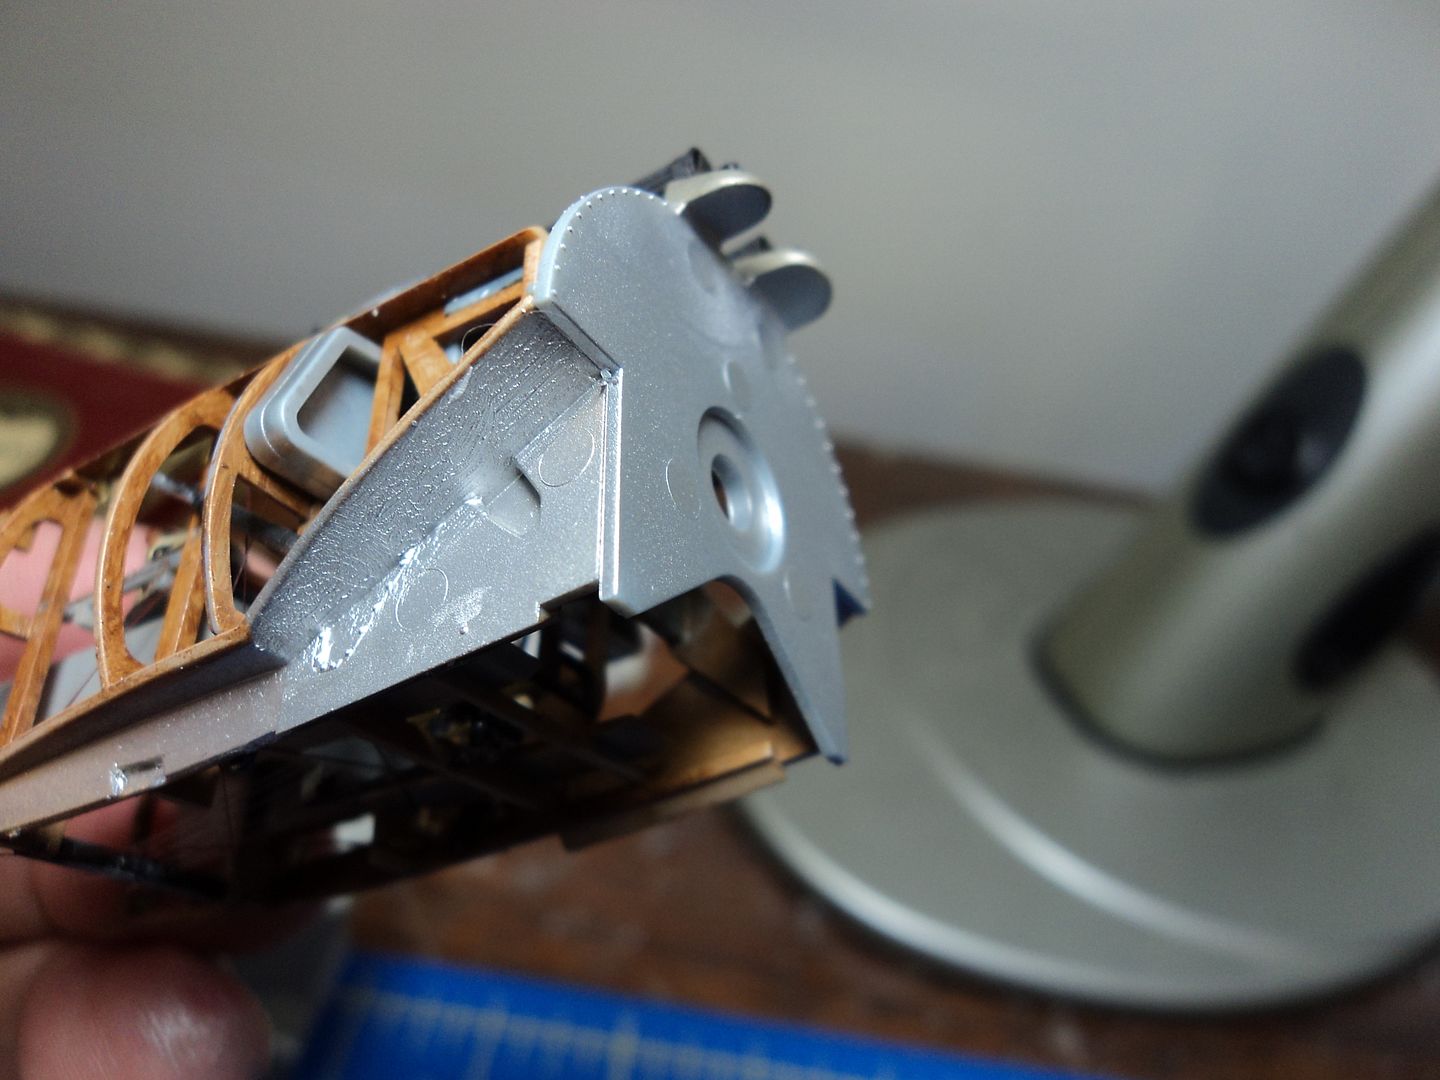
The instructions were a little vague about the painting of this area. After looking at the photo's in the instruction booklet and the actual a/c photo's, I decided to paint these parts aluminum. Some are visible once the fuselage halves are together, so I went with aluminum.
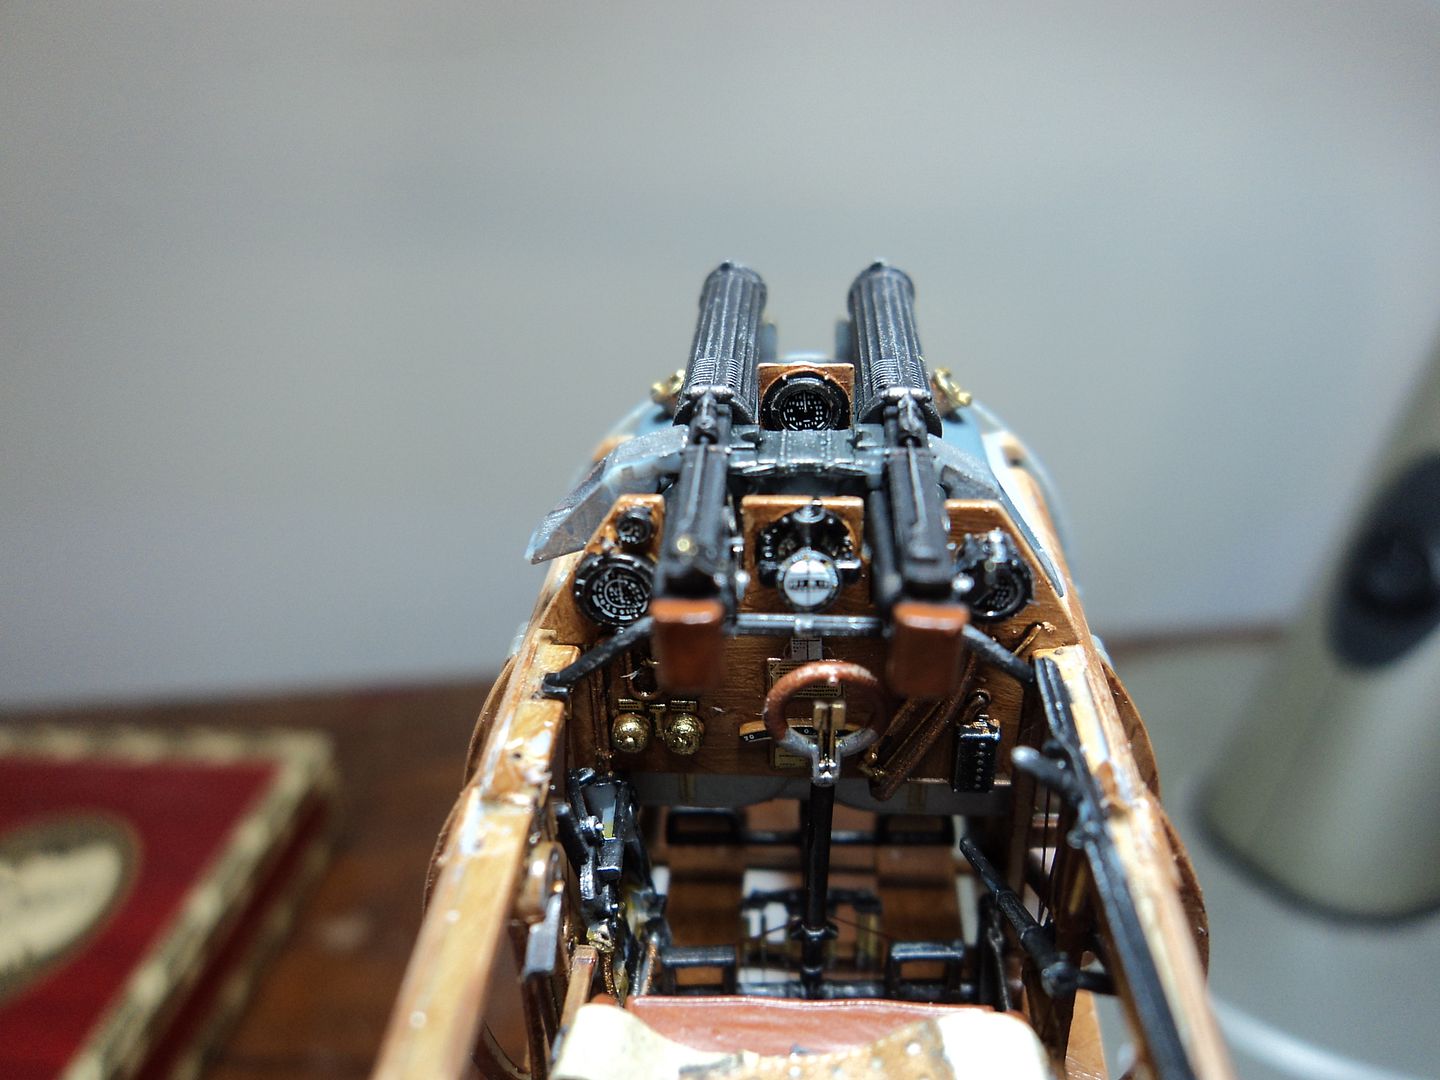
The machine guns in place. I painted them Testors Model Master Non Buffing Burnt Iron and highlighted with dry brushing. I painted the ends leather as per the photo's and instructions. I think they look fine.
They are a little fiddly to put into the mounts, but with care and patience they eventually popped in.

That's it for now. Stay tuned for more modeling excitement as it occurs.
Best
Mark

