I've been plodding along steadily on this Build since breaking out of the "Lozenge Doldrums" a week or so back. The Lozenge is as good as it's going to get and patching is at an end!
A lot of the sub components were completed and have been installed. The engine side panels, guns, a hand carved laminated prop, spinner, folded down windscreen, and landing gear (dry fitted only at this stage) are complete and on the airframe. The upper wing is completed and ready to go on the aircraft and all upper buckles (von Buckles variety) and lower buckles (GasPatch) are done. The upper wing is pre-rigged with .013 and 0.15mm Mono.
I snapped some quick work bench photos this morning, thought I'd get an update done before venturing out into the deepfreeze to spend the better part of the day clearing snow again. Worse, my neighbor is away so it's my turn to do a good deed and clear his driveway as well......sigh!
Here's the top and bottom of the upper wing with the Radiator assembly...........


The control handle for the Rad Shutter is posed and still needs a coat of grey-green.
Here's a few shots of the landing gear with Steven Robson's wonderful spoked wheels mounted. The tires are the supplied O-rings painted dull grey and I'm going to finish the Kit wheels as well in the event that I don't find the end product worthy of these little jewels! Has anyone tried spraying these with a flat or satin finish??
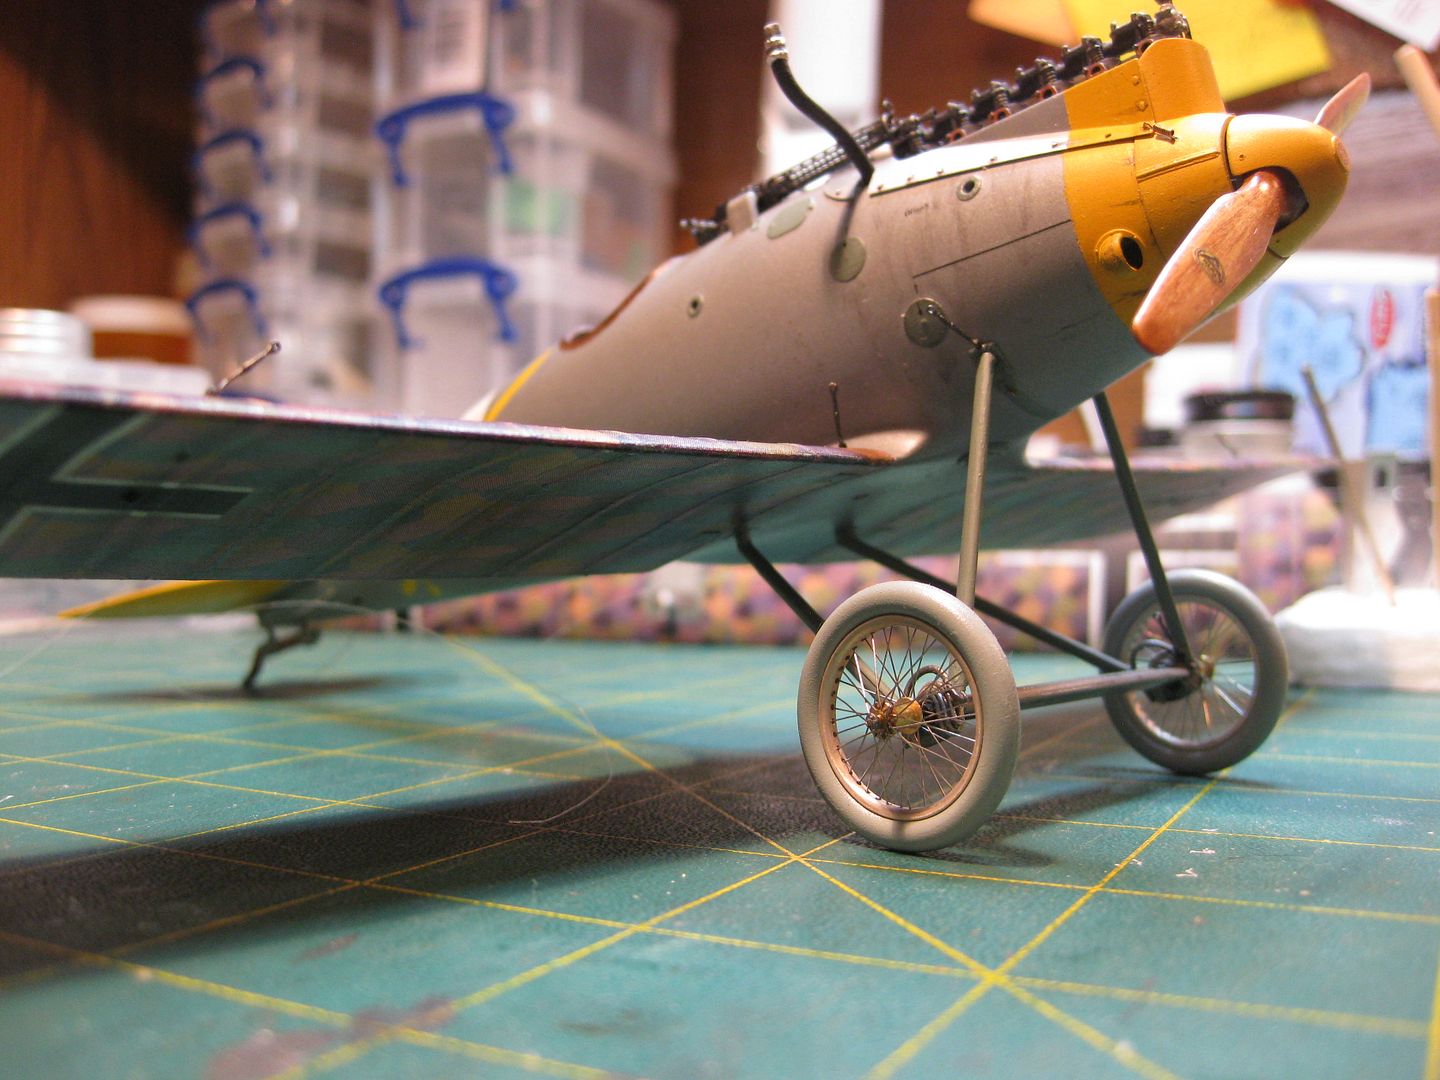
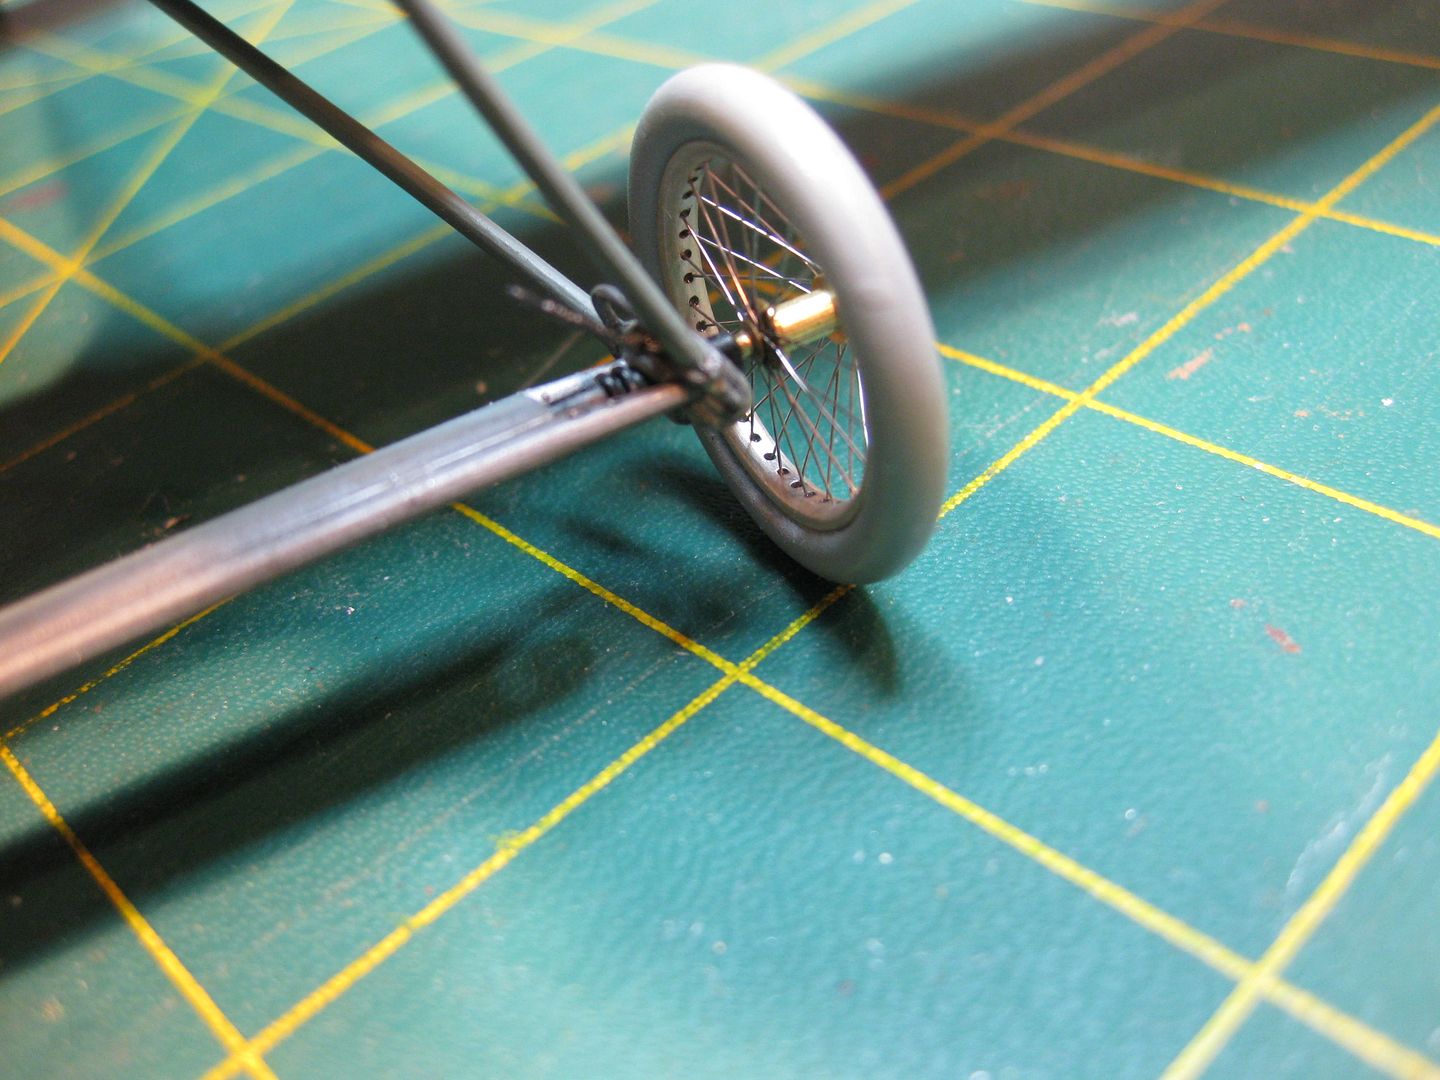
I've installed Gas Patch Turnbuckles on the landing gear as well.
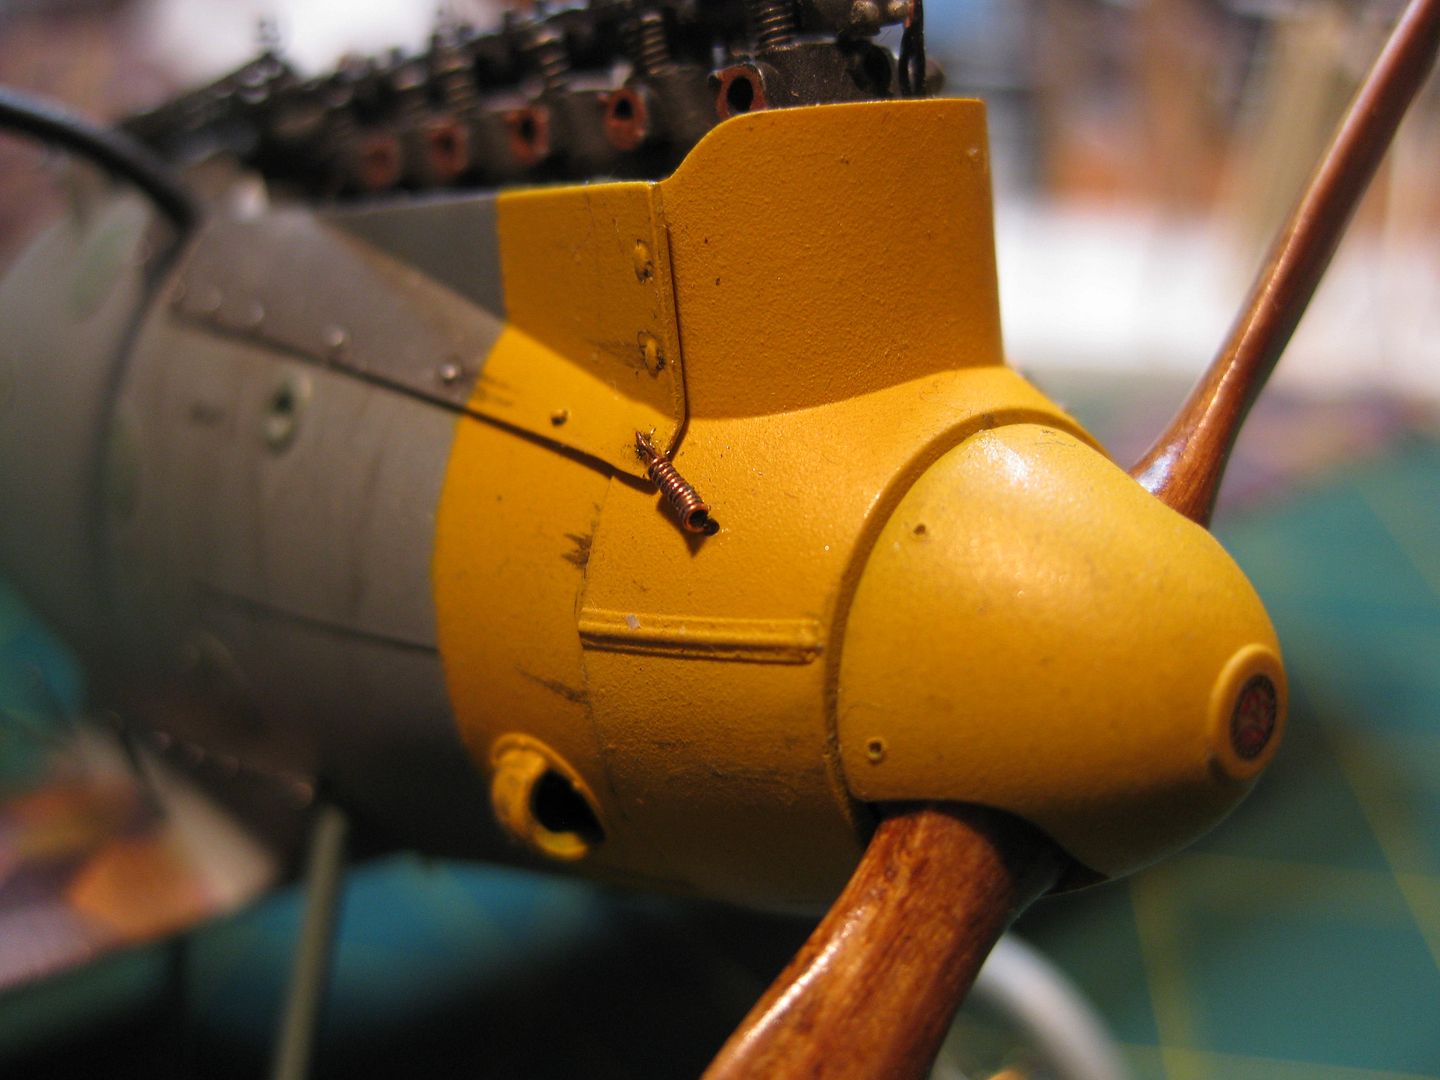
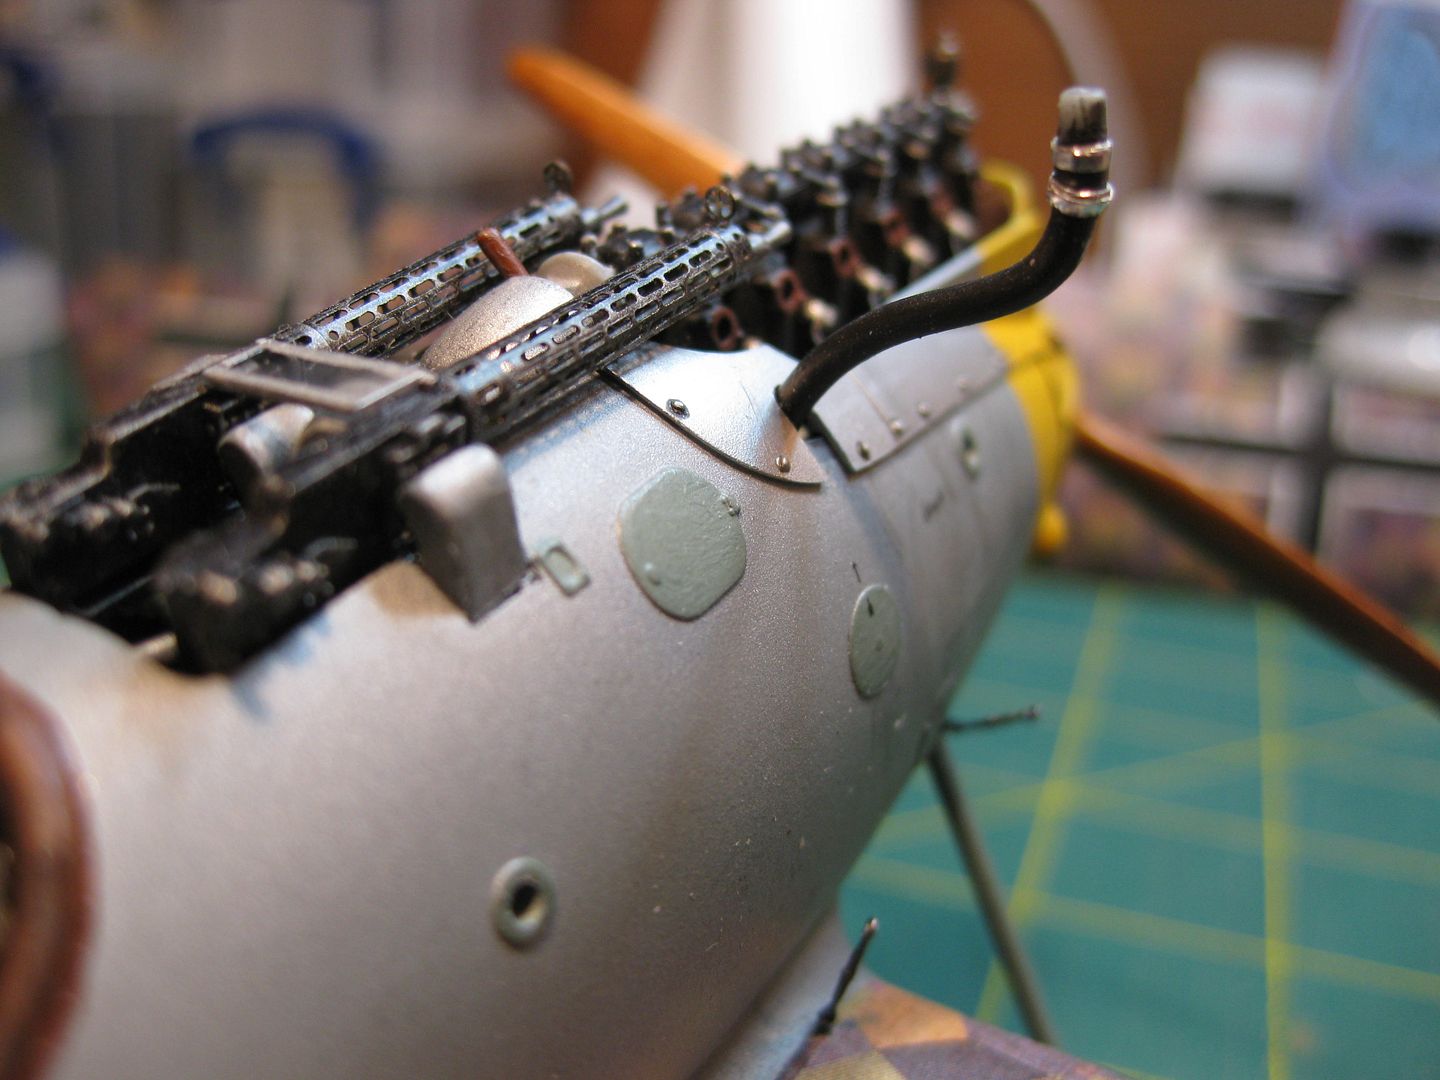
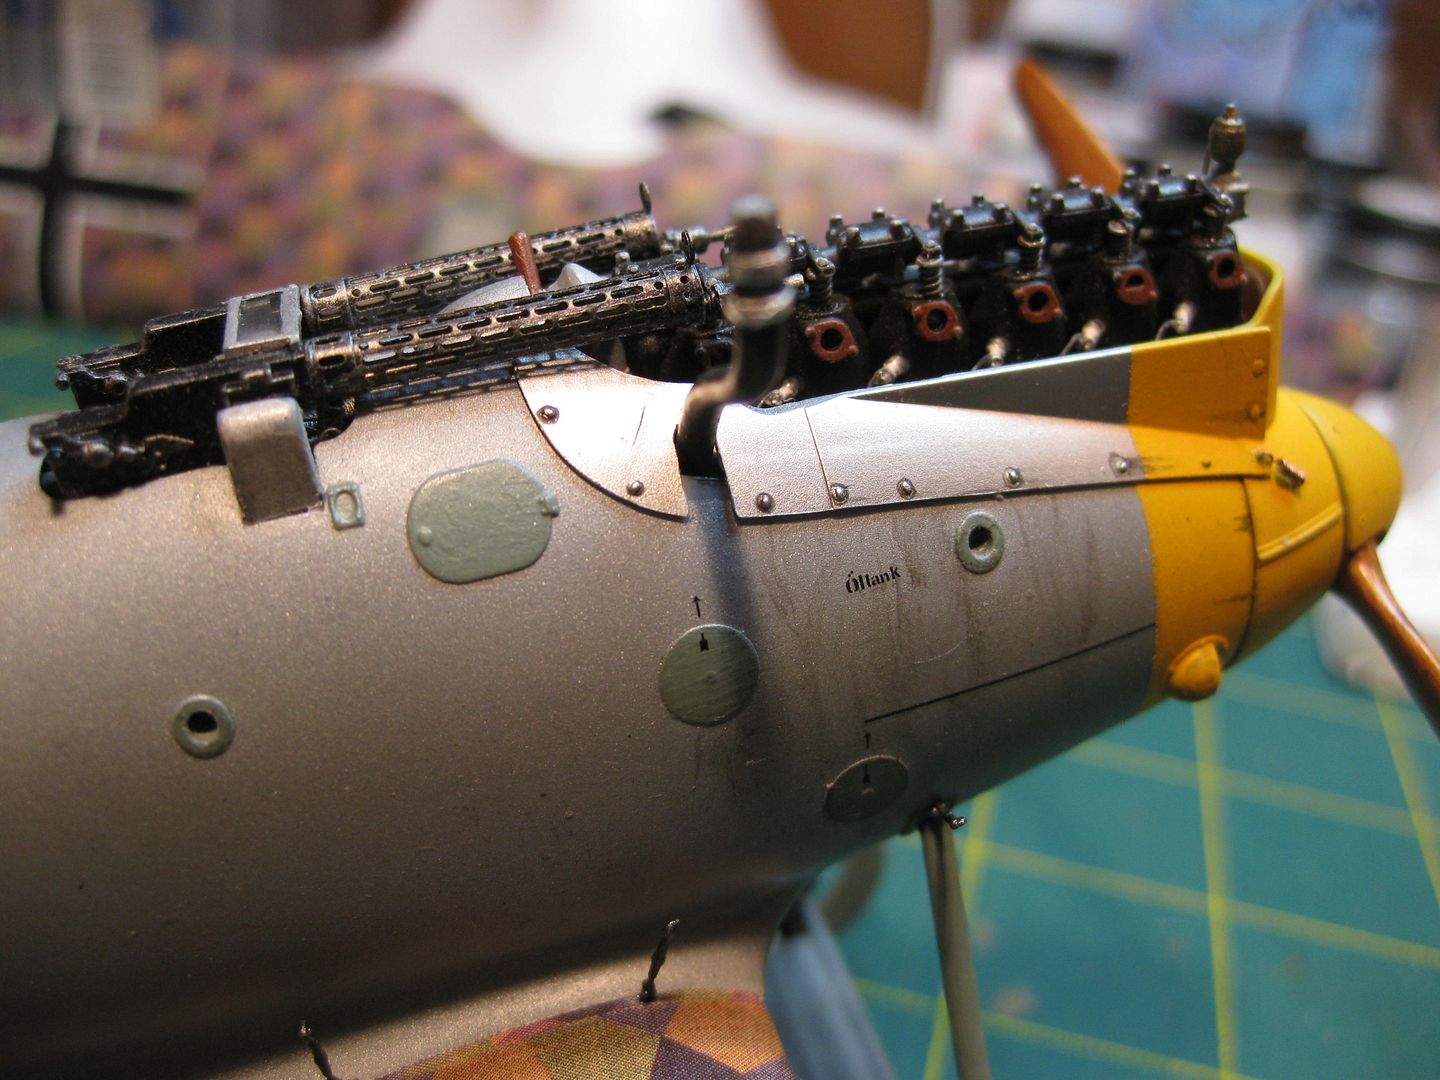
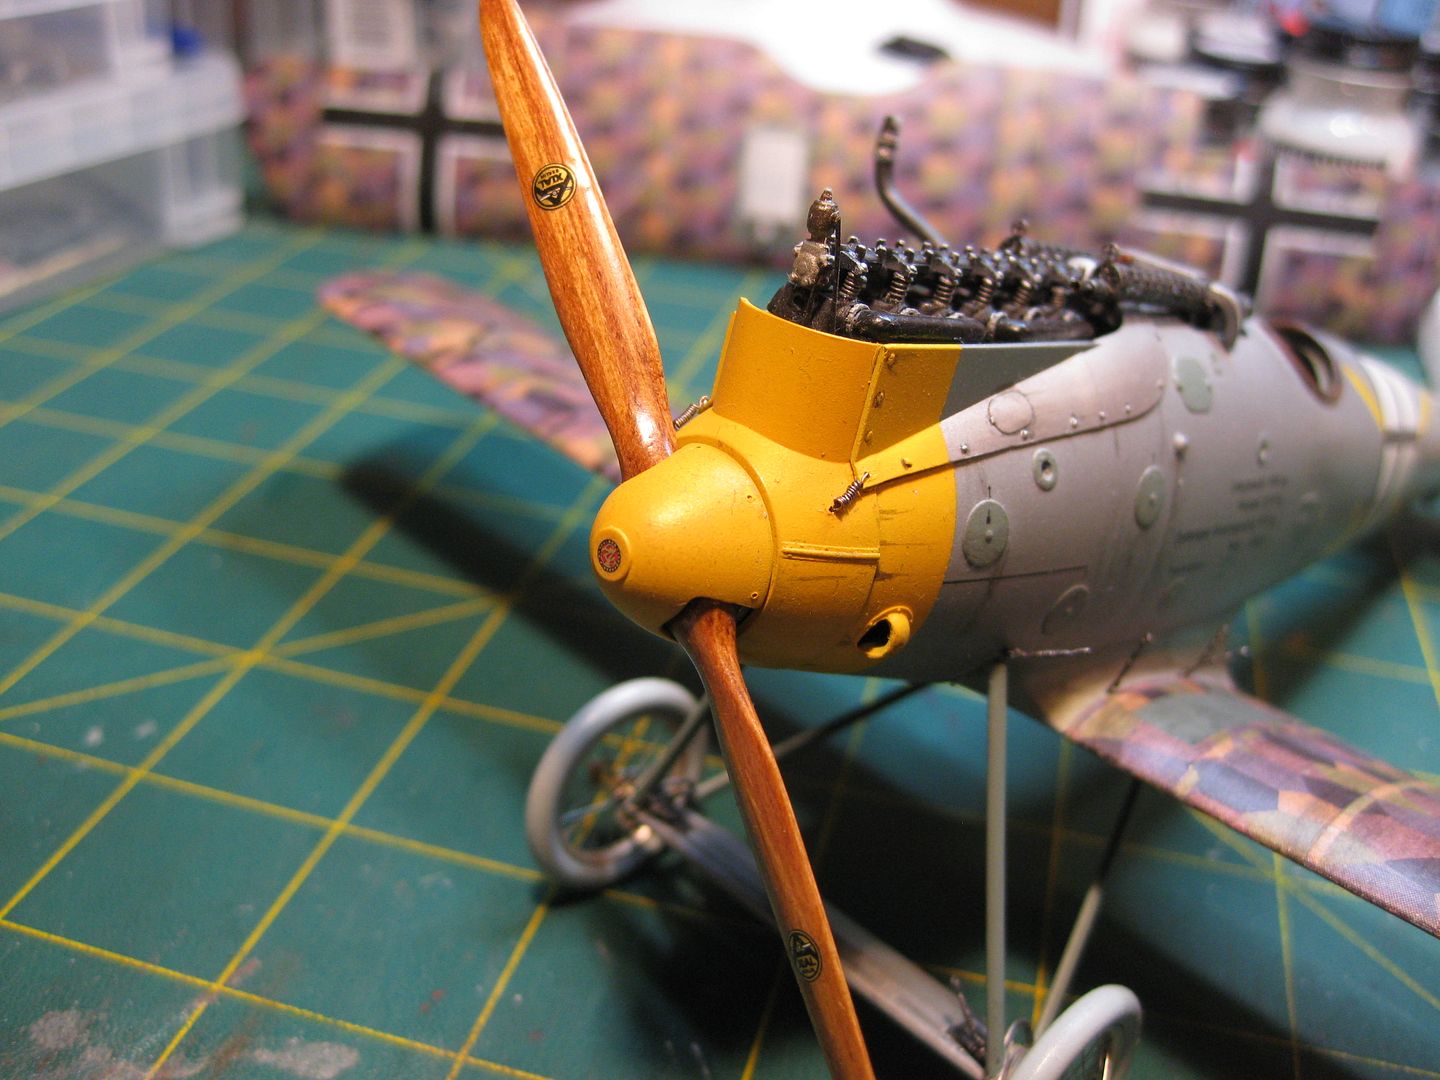
I added the panel retaining springs to the engine side panels, made from very fine copper wire, I'll be repainting them as I managed to wear the stainless colour off installing them. I also added the spinner mounting bolt holes; some photos showed 6, others 8 total. I used the smaller number.
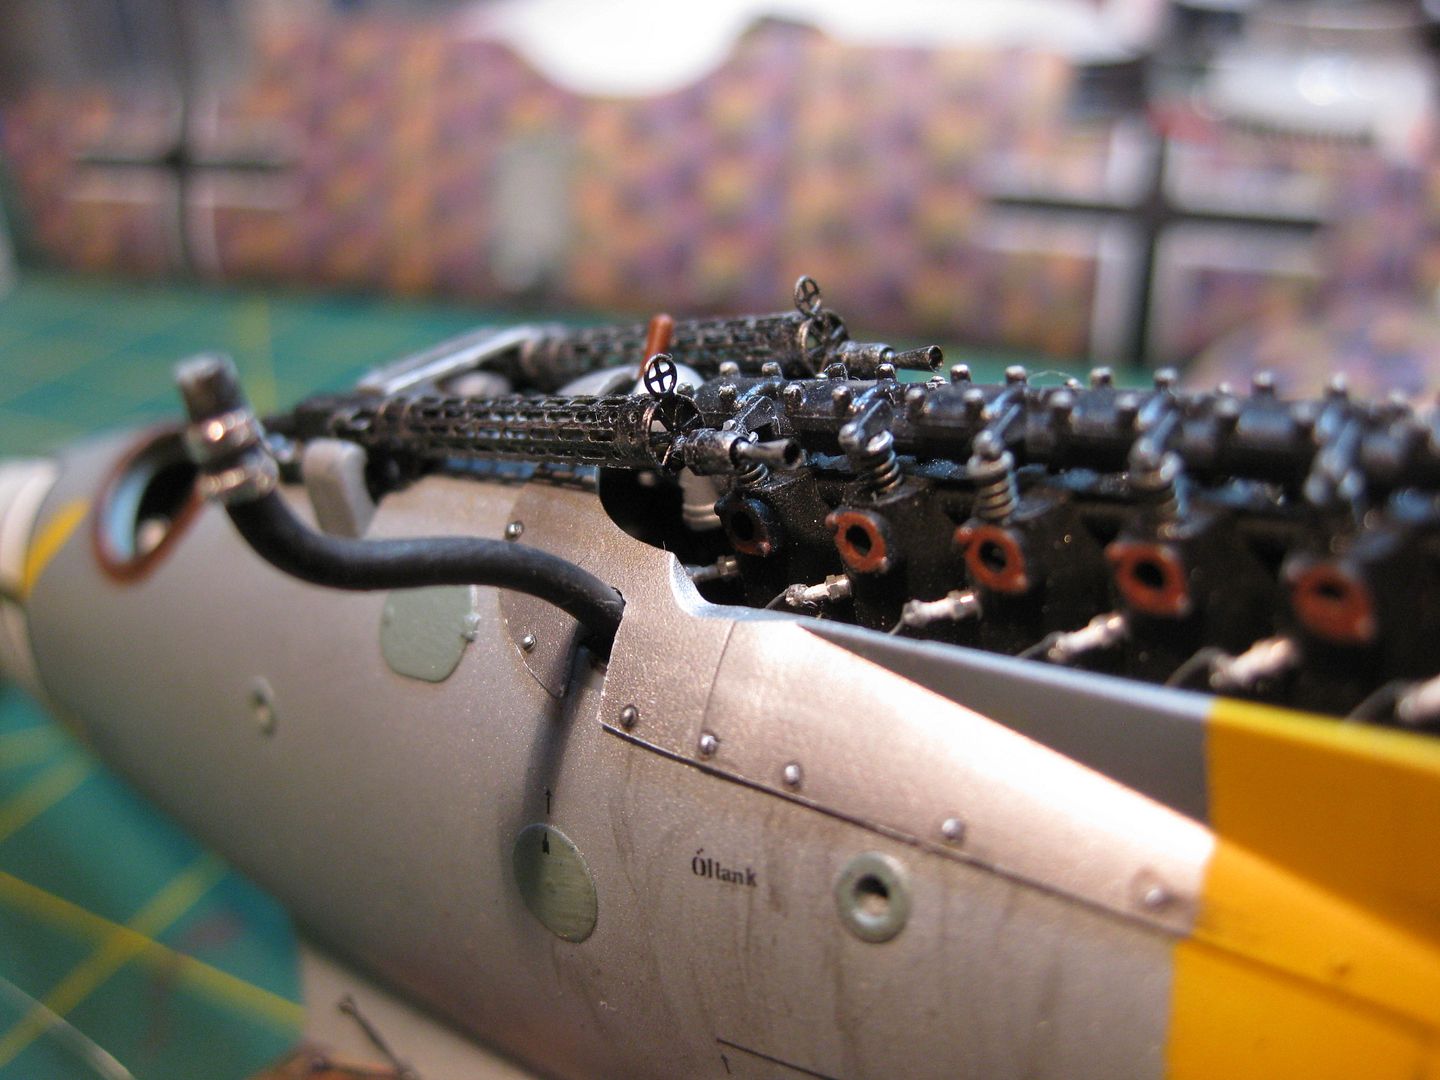
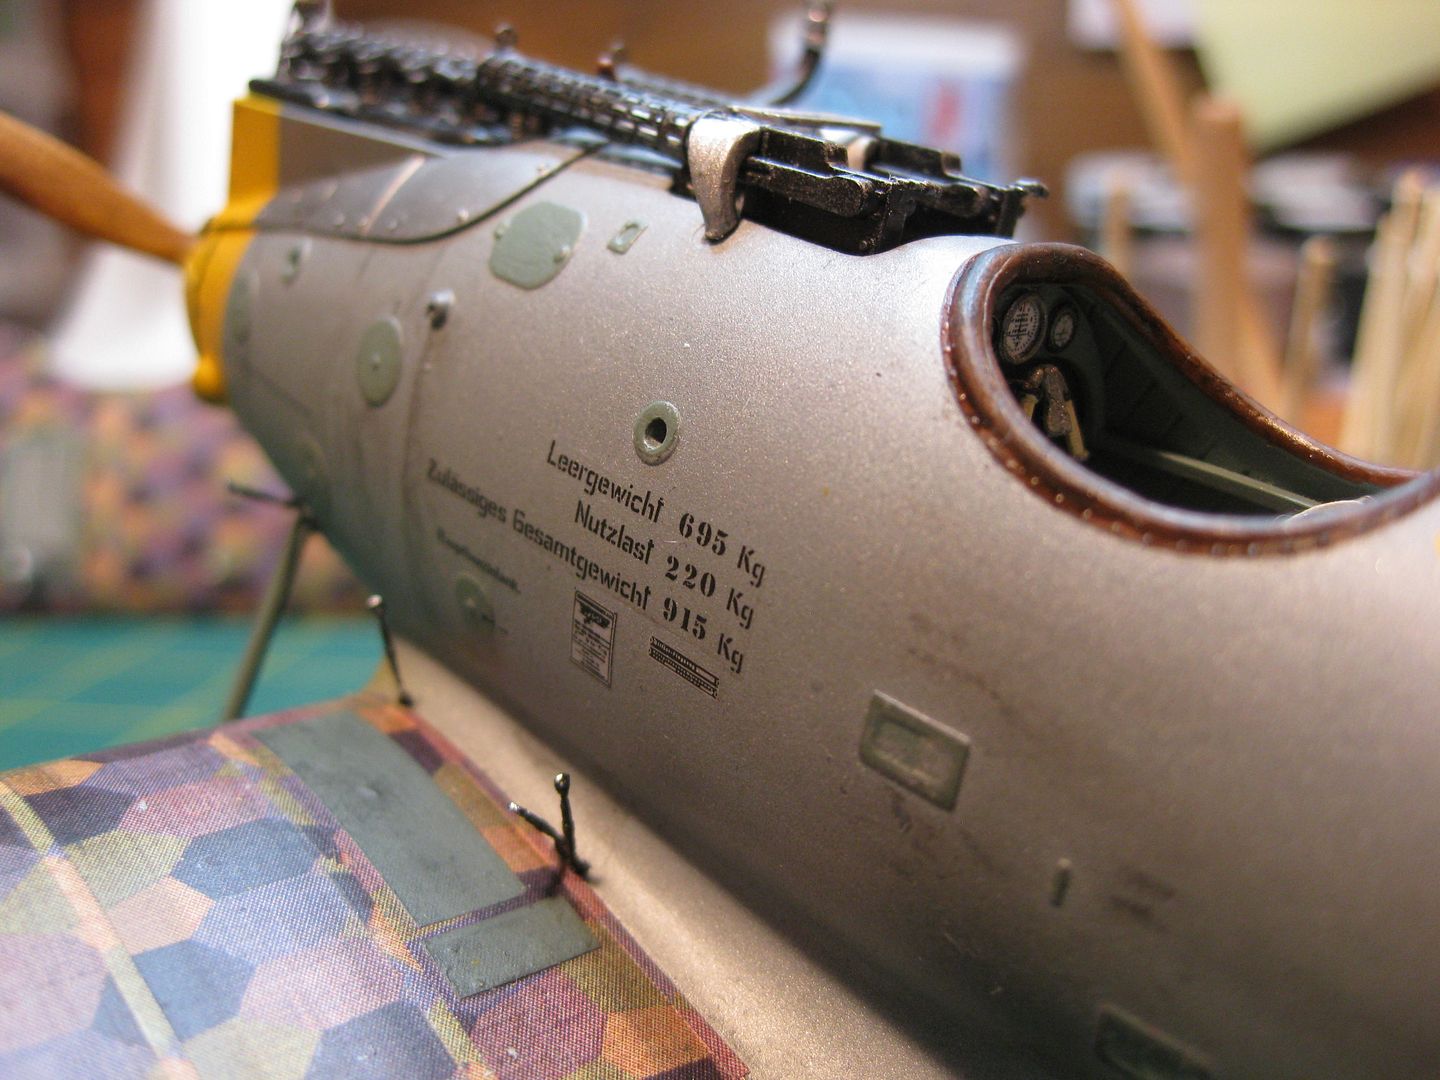
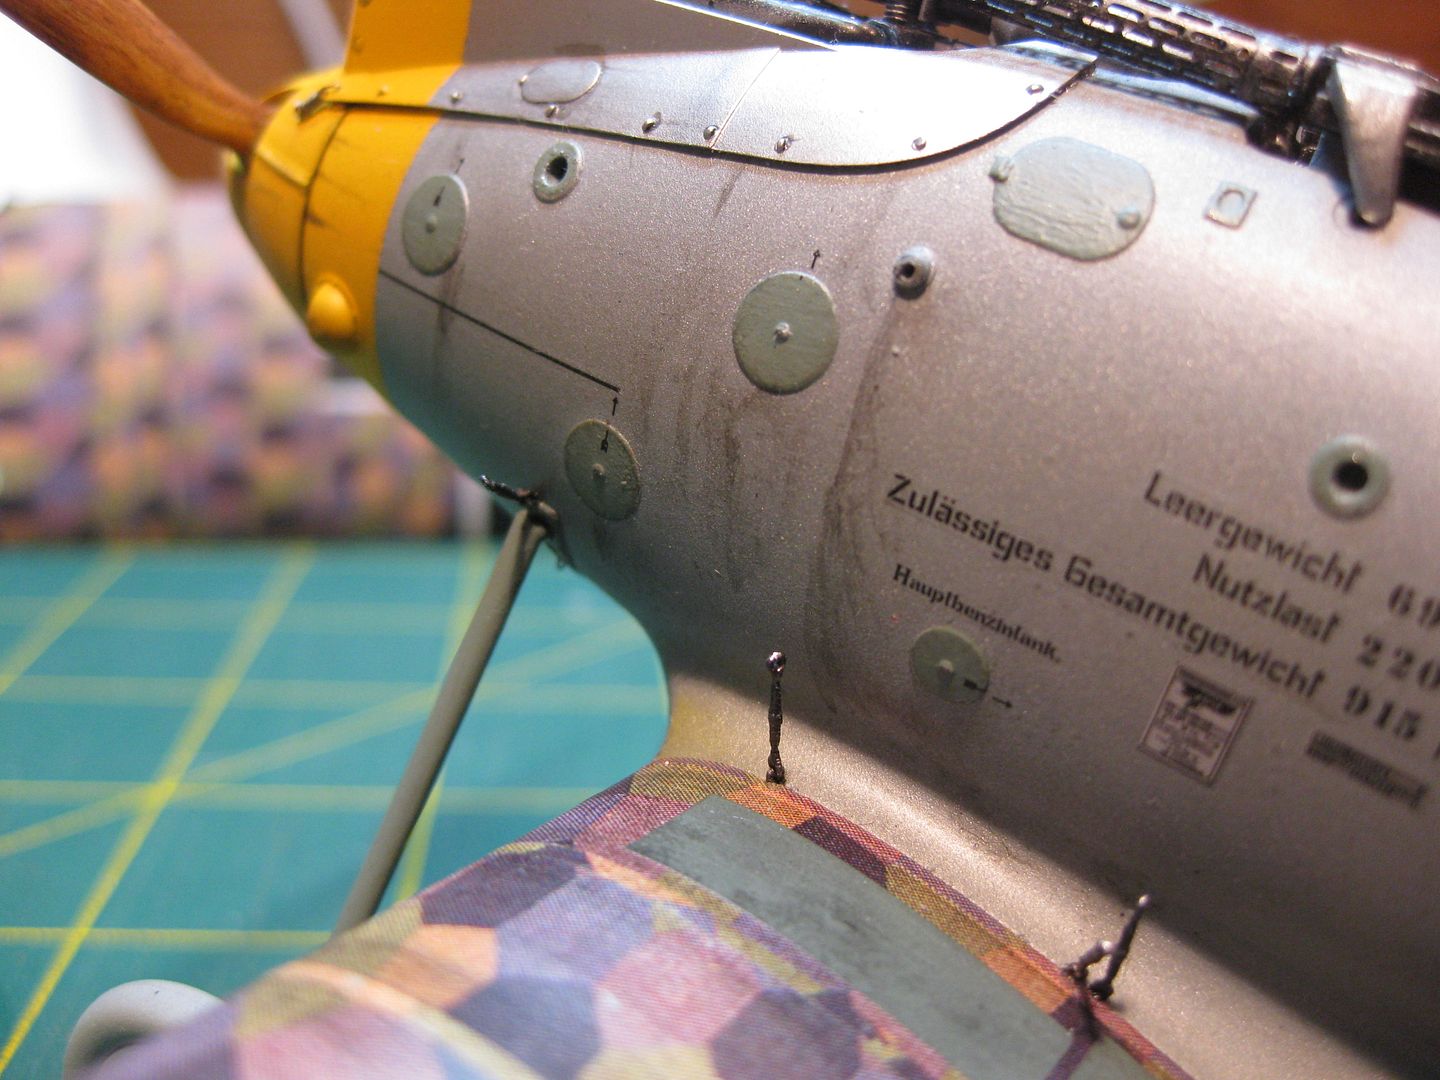
The forward fuselage has been weathered with all the "mechanical" ingredients of oil and fuel stains and grease marks; I still want to add a bit of mud and dust to complete that process and get a tiny bit on the aft portions. Here's a number of shots showing the weathering and the additions of panels, guns etc.
Here's the Gas Patch Buckles on the lower wing......

........great find on macro mode, got a scratch to fix!
More weathering and Gas Patch items.....................
and last a shot of the hand made prop, (Axial) In retrospect I wish I'd chosen a tighter grained light colour veneer to get more contrast however this one will fit the bill; it does show the laminations quite well under most light conditions. It's a six layer veneer lamination and I got lucky, usually takes two or three attempts however this one worked as the only one required right from the beginning!
Next step will be a little pastel/pigment addition, then off with the landing gear and into the assembly jig for the upper wing mounting. The struts are completed and dry fitting appears excellent, hopefully it'll prove to be a "non-event"!
Cheers,
Lance

