Des, RAGlll, Jacek, PrzemoL, Ernie Parsons, Nigel Jackson, lcarroll, coyotemagic,
Thanks for the kind words. They are appreciated.
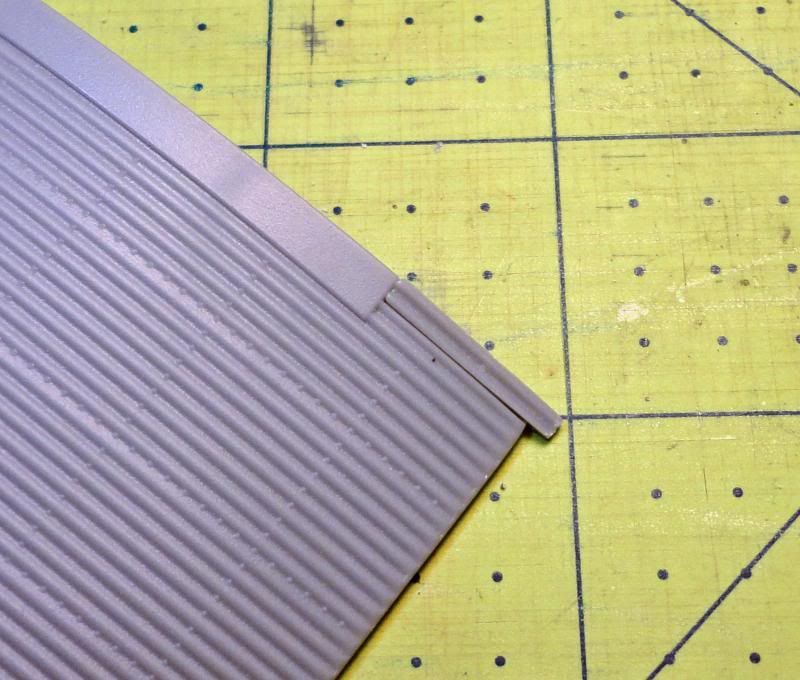
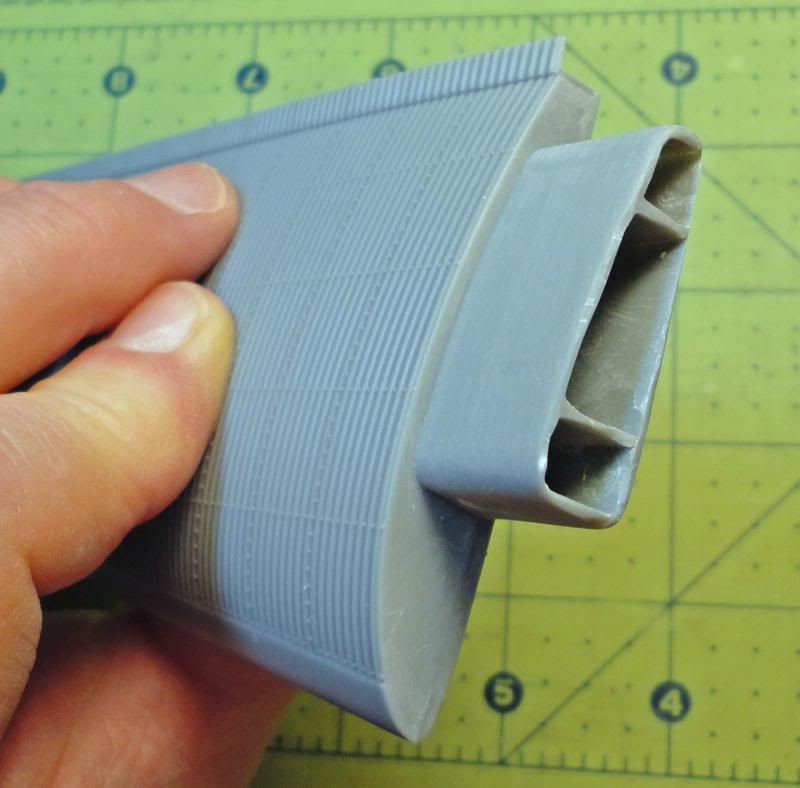
1st Image: Work has moved to building the wings. The biggest “internet” complaint about this model is the “missing” sections on the rear center wing. These missing corrugated areas (5/8” long X 1/8” wide”) are very noticeable and need to be filled in. Fortunately, the kit provides two spare corrugated parts that are not required (shown in the photo), and just happen to match the pattern on the wings (very odd)!

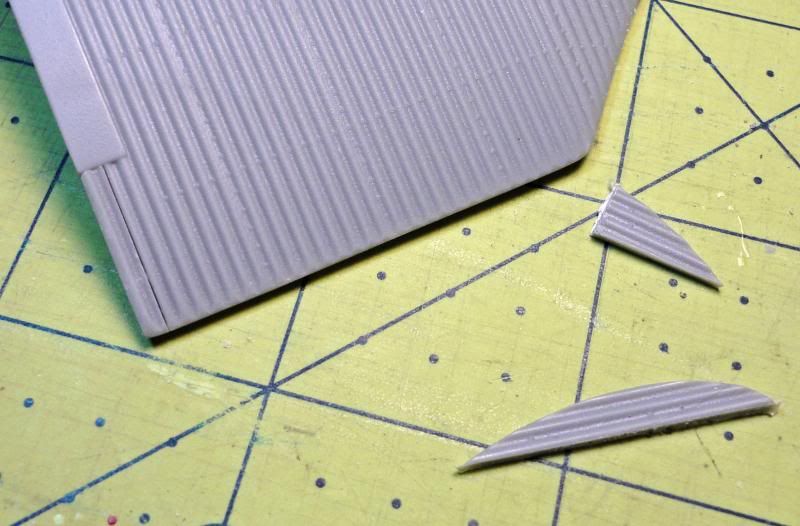
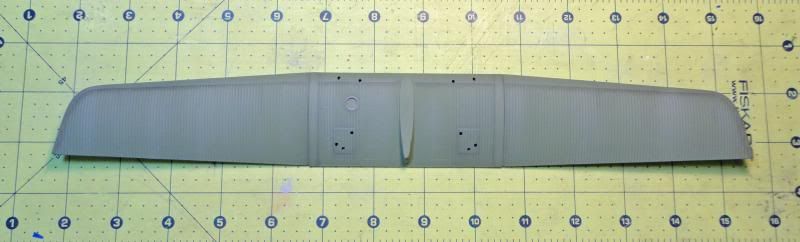
2nd Image: The first step was cutting the top piece and gluing it in place. Care was taken not to make a careless cut, since there was barely enough extra parts to get the job done.
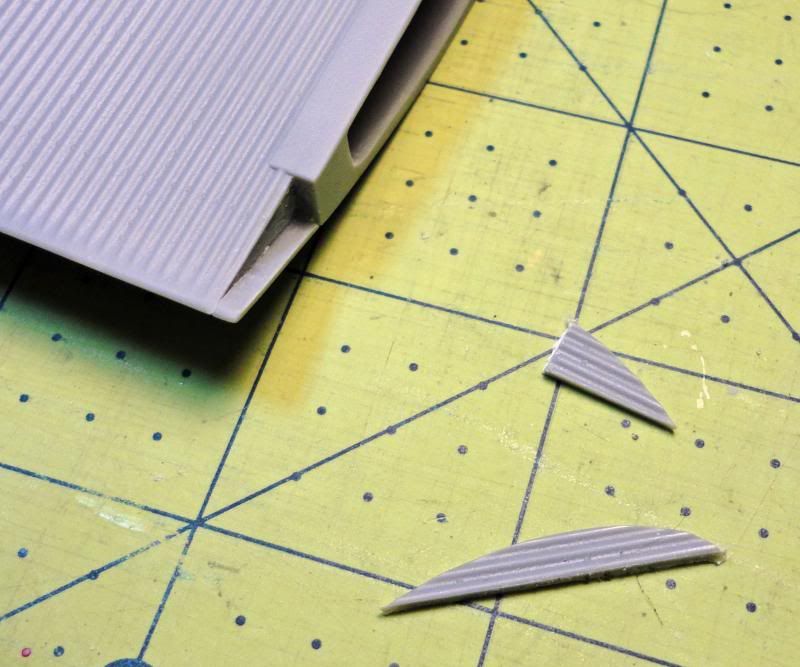
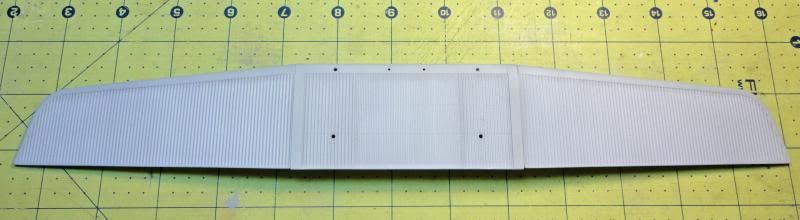
3rd Image: The newly glued part was cut off and sanded even with the wing trailing edge.
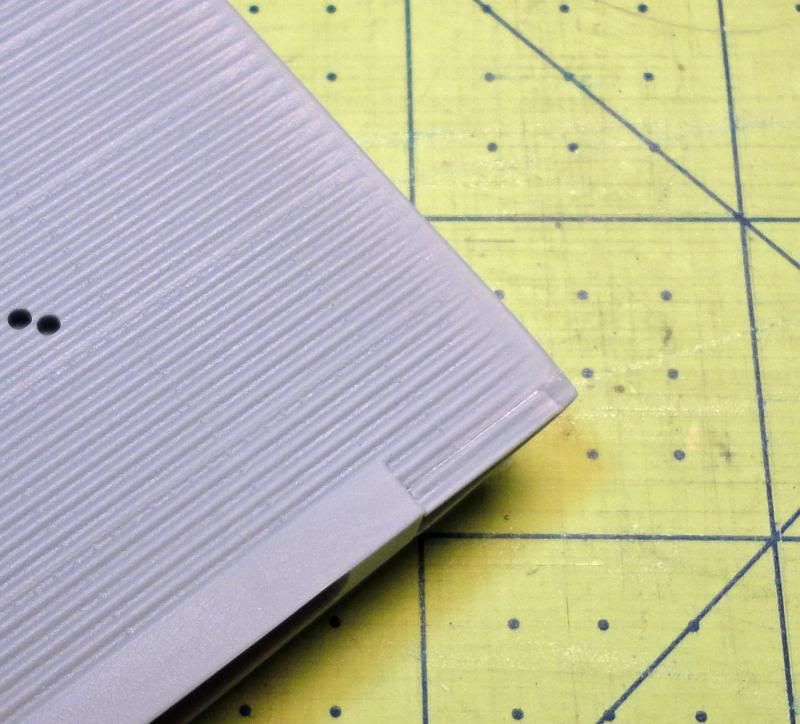
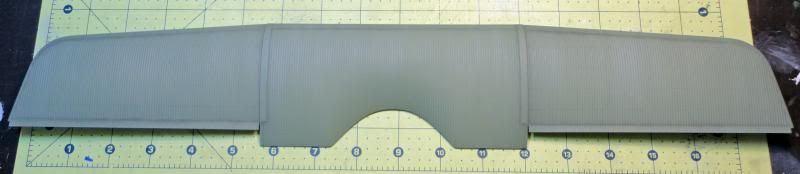
4th Image: The wing was turned over and the lower piece was cut from what remained.
5th Image: The lower piece is shown in place. The last step was adding a triangle shape styrene piece between the top and bottom pieces.
6th Image: Another common complaint about the kit (that I agree with) is how the fit between some of the parts is too tight. The two worst areas are where the lower wing joins to the lower fuselage, and where the left and right outer wings join to the main wings. In all of these areas it appears the size of the mating tabs are the exact same size of the mating slots, producing a fit that is difficult to work with. I did some serious sanding and cutting on all of the outer wing tabs to get an acceptable fit.
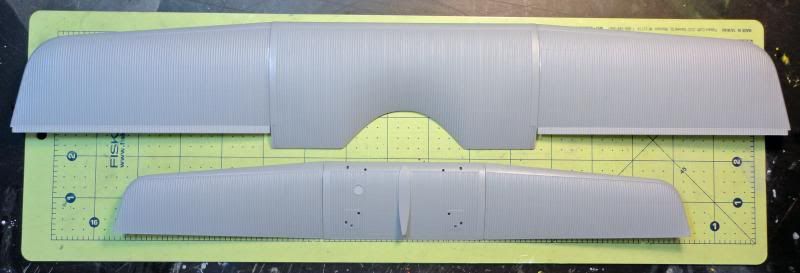
7th Image: The upper and lower wings are shown completely assembly and ready for painting. The instruction said to attach all of the outer sections after the center sections were attached to the fuselage, but I decided not to do that. I wanted to be able to fill in the gaps between the sections with 5-minute epoxy, and completely paint/decal the wings before final attachment. Notice how large the upper wing is (18.25” without the ailerons and 19.50” with them!). After the Gotha, does anybody know if this is the largest combat plane the Germans used in WWI?
8th Image: Time to paint! This image is from the kit instructions and shows the color scheme I am I going to use. I know many will think these markings a bit dull, but I really like them. In fact this was the only option I considered doing.

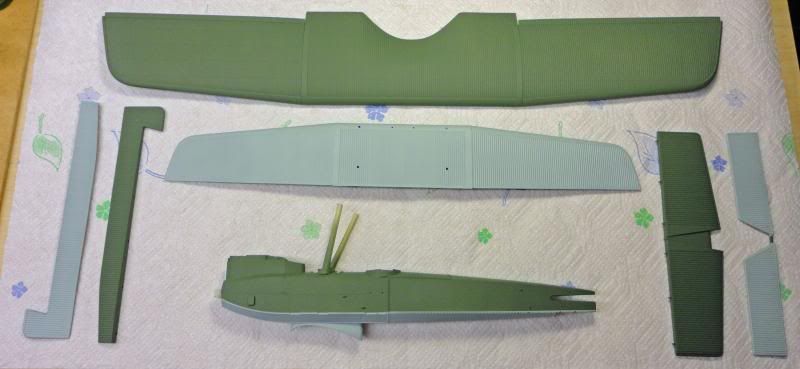
9th Image: All of the major components are shown after the basic exterior colors have been applied. For the upper surfaces I used Model Master SAC Bomber Green. For the lower surfaces I made a special mix, combining Model Master Hellblau (100 drops) and Testors Flat White (75 drops).
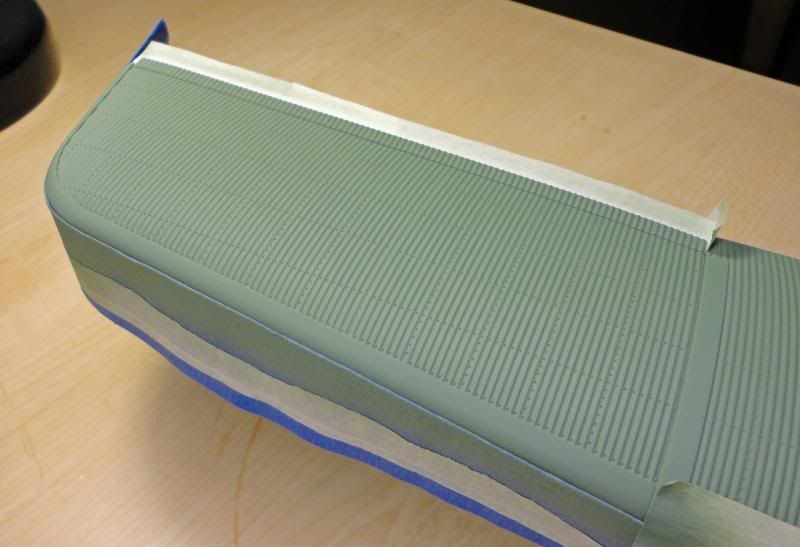
10th Image: After the light green and light blue were applied, painter’s tape was laid over the underside color so a sharp demarcation line could be created.
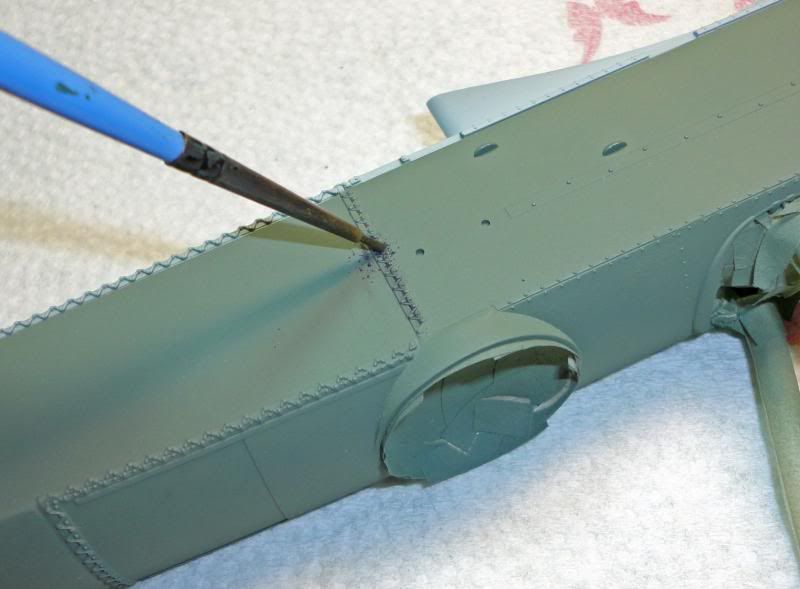
11th Image: Weathering began by applying dark gray pastel dust over specific areas of the airplane using a small, pointed brush. Next, most the dust was brushed away with a thick, soft make up brush.
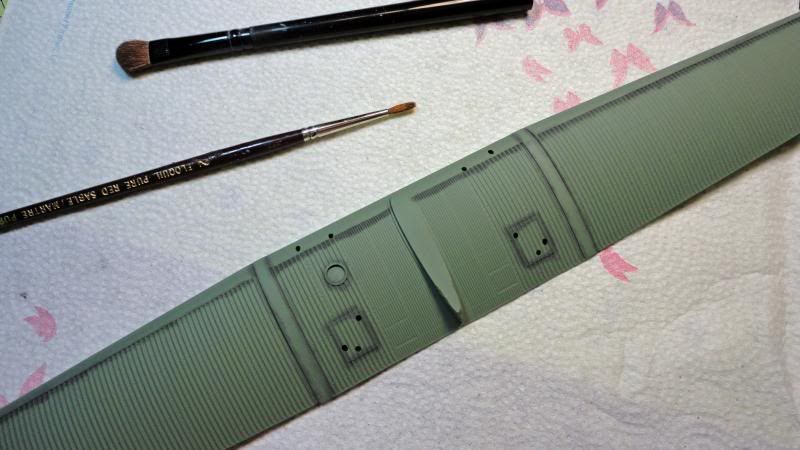
12th through 14th image: Dry-brushing was applied to highlight some of the raised edges and corrugations. Model Master Dark Ghost Gray was the color used. Doing this helped break up the single color and made the finish more interesting.
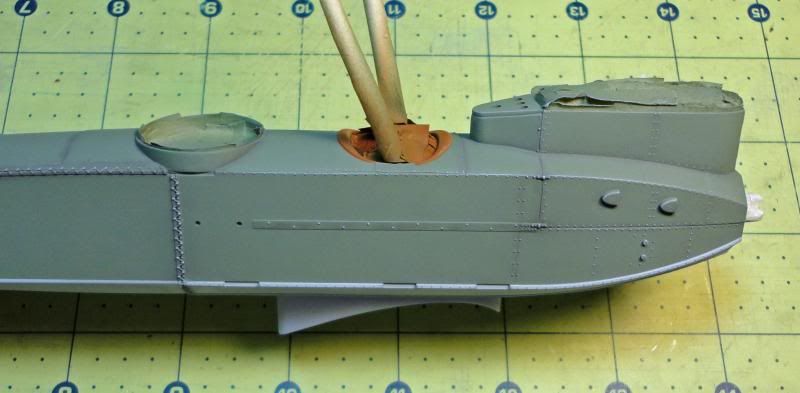
13th Image: The same weathering technique was used on the fuselage, starting with the canvas stitching.
14th Image: This photo shows the fuselage after adding the pastel dust and dry-brushing.
Until next time…

